


 Welcome crafty friends! This is Amanda from Twiddler’s Nook today with a few projects to share with you for Vacation Theme Week. Today I’m thinking wintery winter vacations – not the kind where you escape winter by going to the Bahamas. Lol!
When I go somewhere without my daughter, I have always left a surprise on the counter or her pillow to find when I’m gone. It’s usually something fun that she can do while I’m gone or a treat to have for dessert that night. That’s kind of what I was thinking when I was creating this time.
Products used:
Laura Kelly Toner Sheets – Sprinkled Stripes
Deco Foil – Ocean Blue
Deco Foil Flock – Midnight Blue
Glitz Glitter Gel – Turquoise sea
Deco Foil Transfer Gel Blanco
Craft & Carrier Sheets
Stencil Pal
Foam squares
UltraBond liquid glue
Ellen Hutson Bon Bon Box die
Ellen Hutson Farmhouse Tag dies
Ellen Hutson Mini Tags dies
Ellen Hutson Small Sayings stamps
Pretty Pink Posh Holiday Signs stamps and dies
Pretty Pink Posh Tropical Birds stamps
Newton’s Nook Snowfall stencil
Lawn Fawn Extra Sentiment Strip dies
Distress Oxide Ink – salvaged patina and salty ocean
Glossy accents
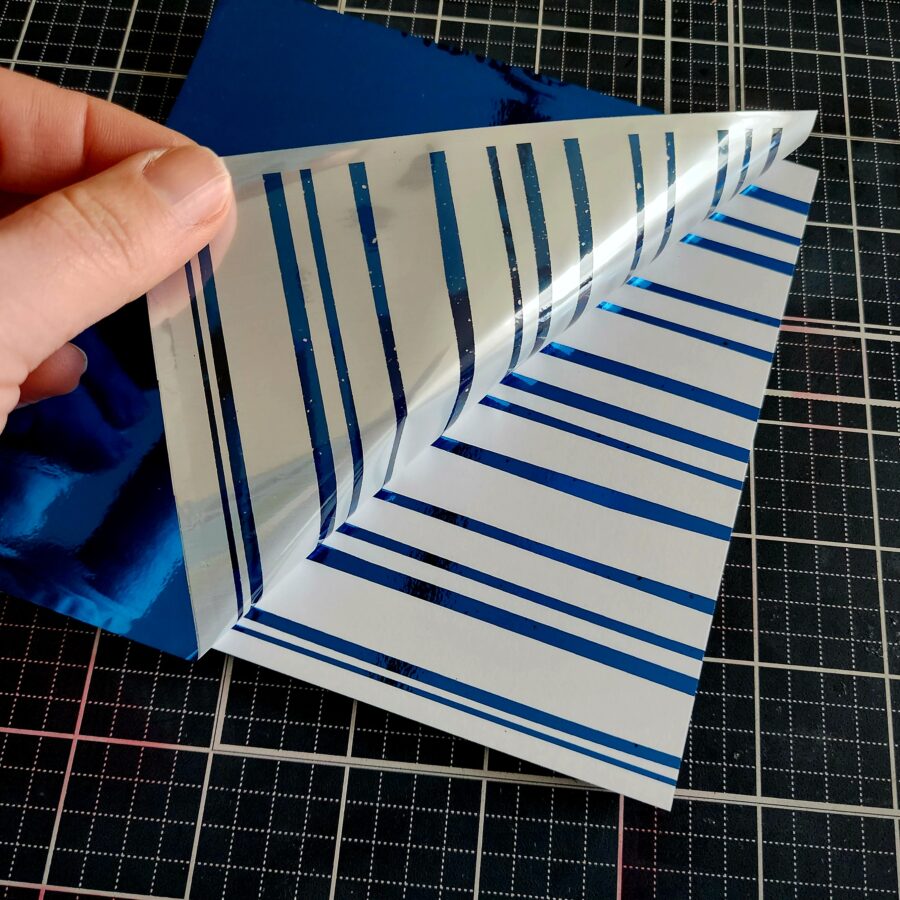
I chose one of the Laura Kelly toner sheets to foil today because they are almost 6×6 inches which is great for creating treat boxes. These wonky stripes are super fun and whimsical which I love. I heated up my laminator and ran 2 sprinkled stripes toner sheets through with ocean blue deco foil. I always use a craft & carrier sheet when foiling or flocking in my laminator. They work so well to keep things from getting jammed or misaligned.
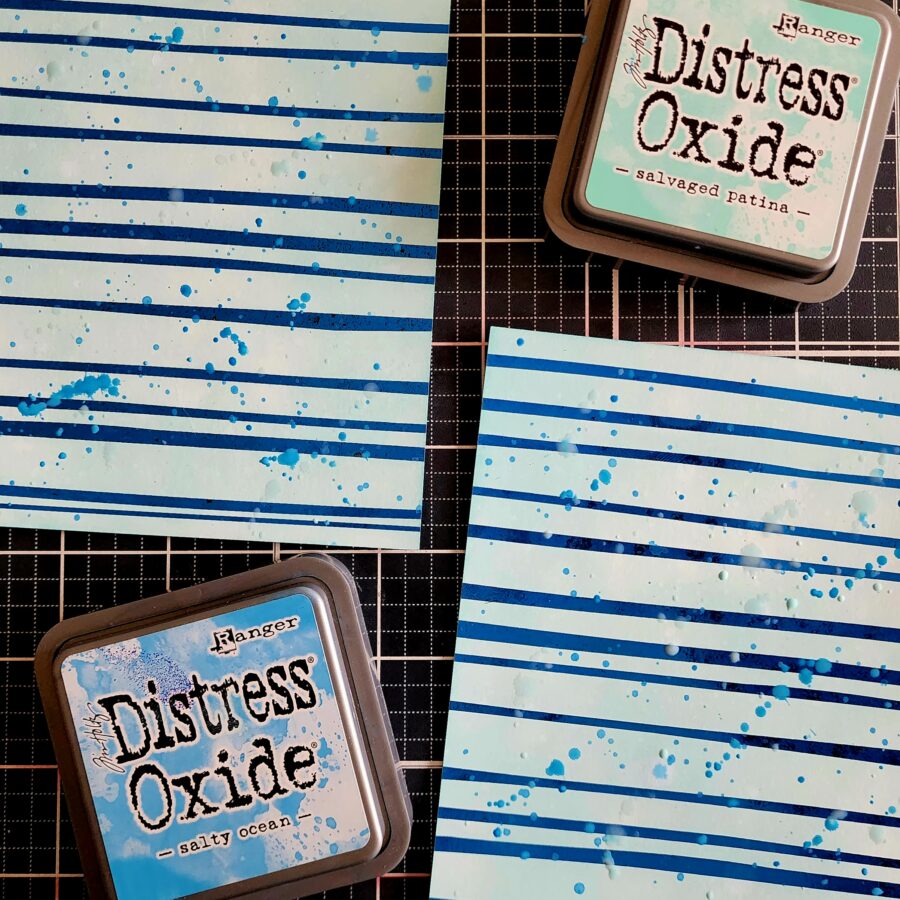
Next, I lightly blended salvaged patina distress oxide ink on both panels. Then I flicked watered-down salty ocean distress oxide ink on the panels for texture and interest. I set the panels aside to dry overnight and came back to work with them more.
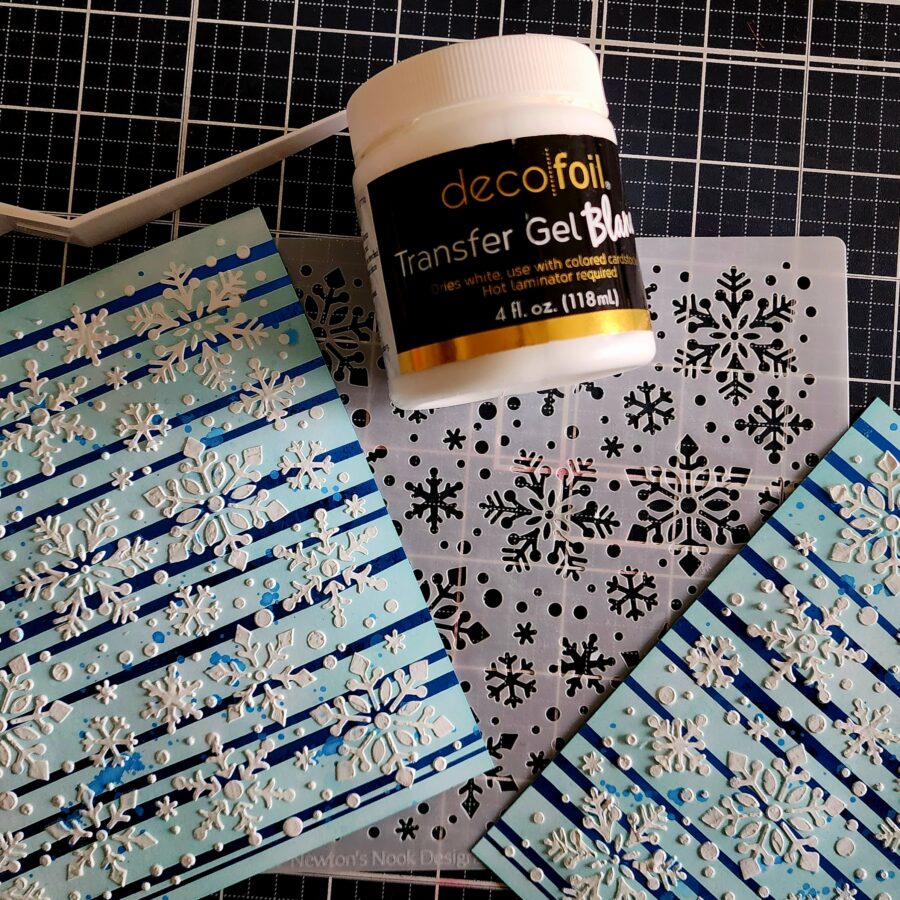
Next up, I took the Newton’s Nook Snowfall stencil and spread transfer gel Blanco through it onto the foiled toner sheets. We’re going to flock these beauties so we have shiny foiling and fuzzy flocking on our projects. I love different visual textures on projects. It looks amazing!
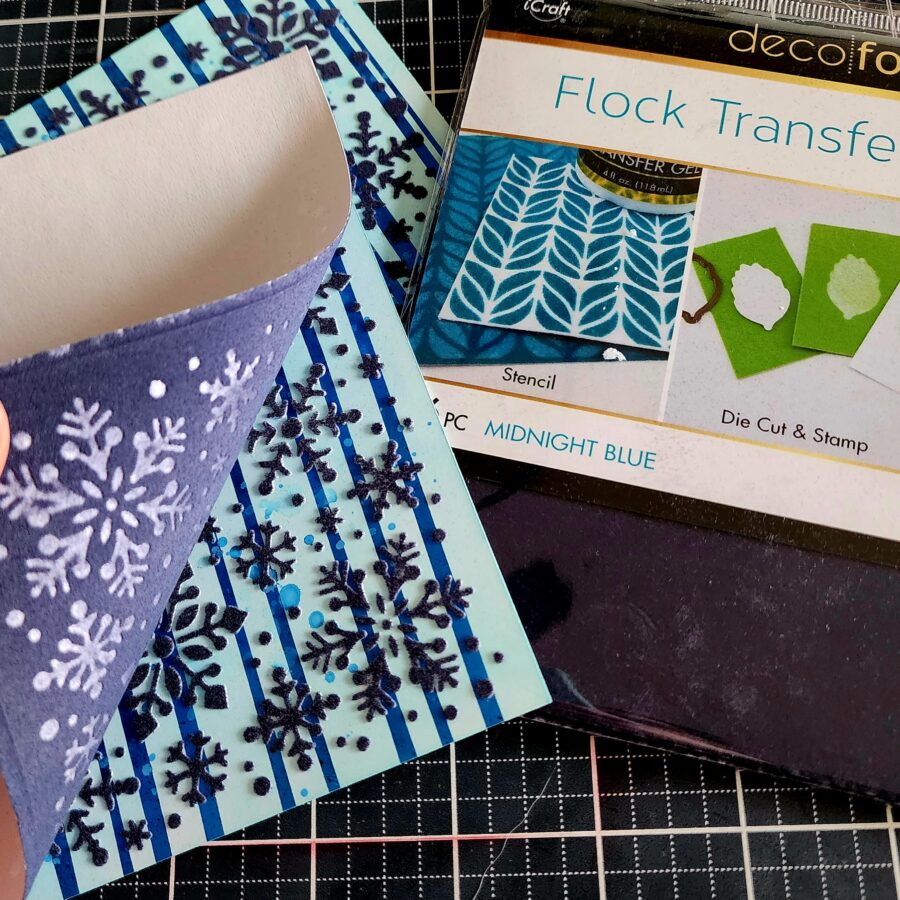
When the transfer gel was dry, I placed the panels with deco foil flock in midnight blue in craft & carrier sheets again and ran them through my hot laminator. Peeling away foiling and flock sheets is so satisfying! Don’t you think so?
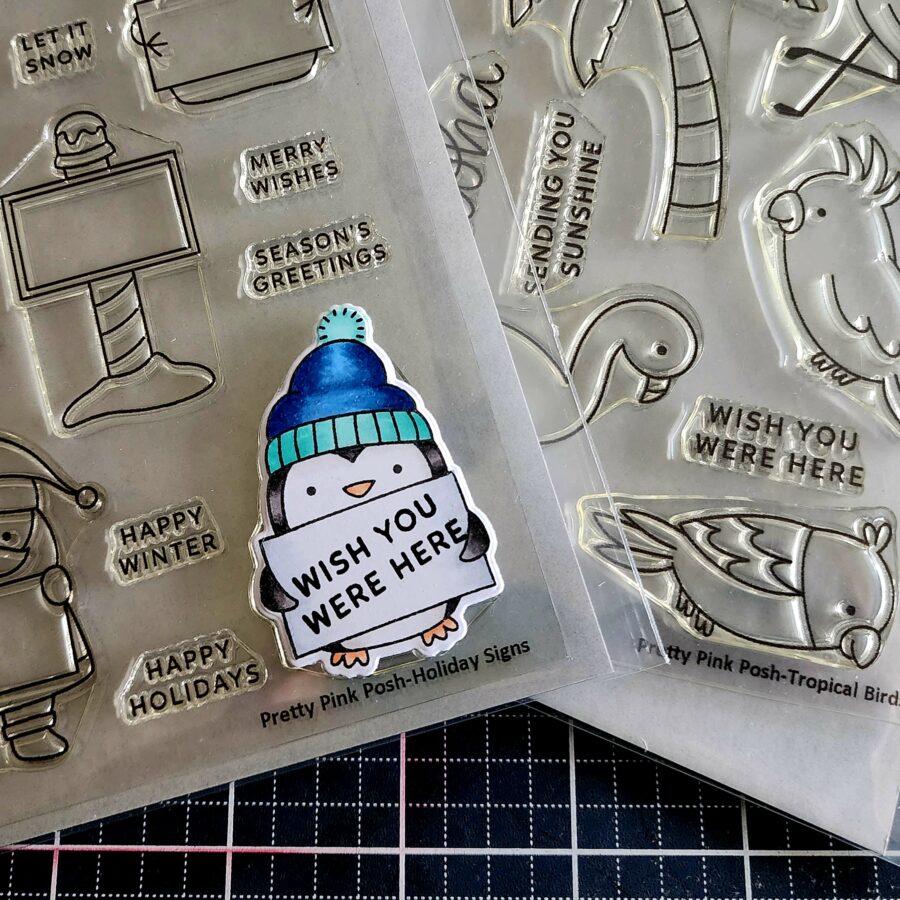
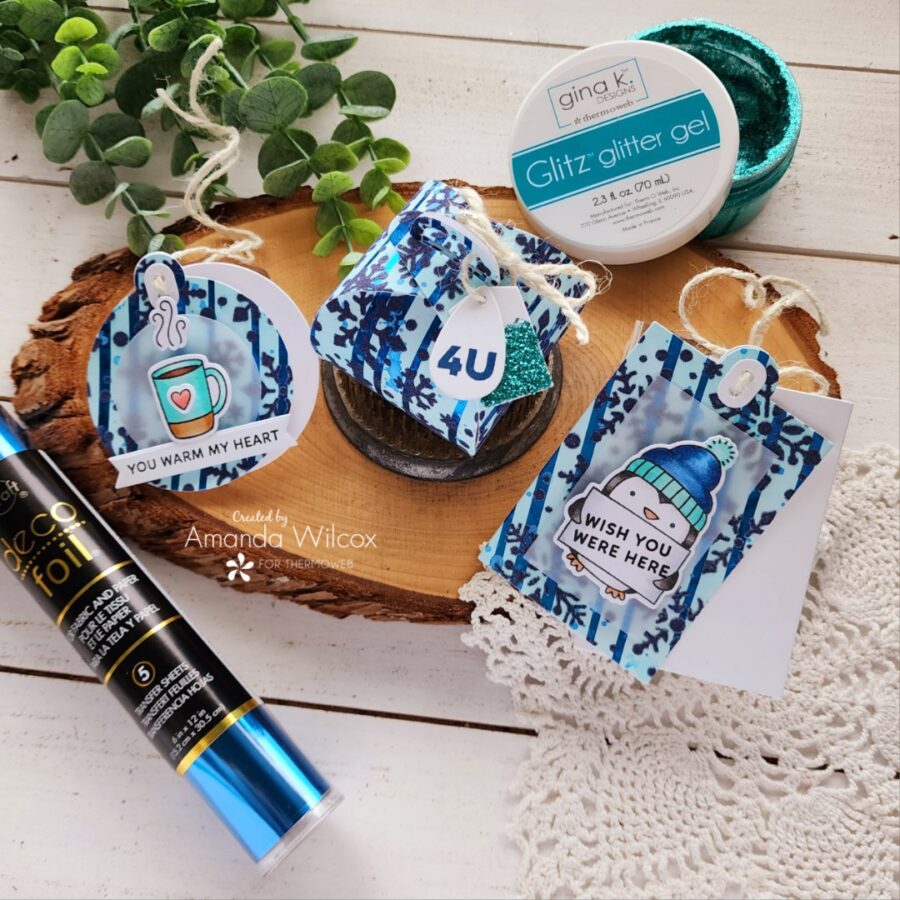
With the panels done, I pulled out some stamps to decorate my creations. Here I stamped and colored the sweet penguin from Pretty Pink Posh Holiday Signs set but I stamped a sentiment from Tropical Birds so that it fit the vacation/going away vibe. It’s really fun and satisfying to mix and match products together!
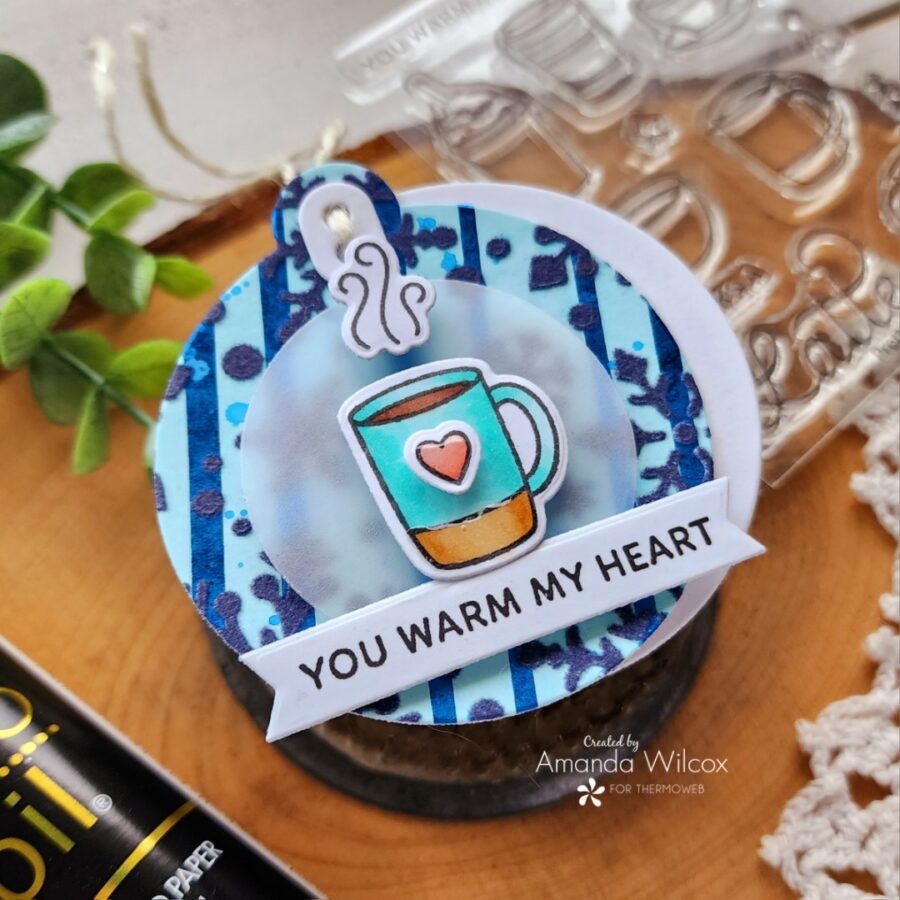
What you don’t see here is that later on, I ended up with 2 tags so I stamped and colored the cup, heart and steam from the Pretty Pink Posh Winter Drinks stamp set separately. Although I used the same Copic markers so the colors all coordinate. The blues I chose to go with the foiling were B39, B37, B34 and the teal is BG13, BG32 and BG11.
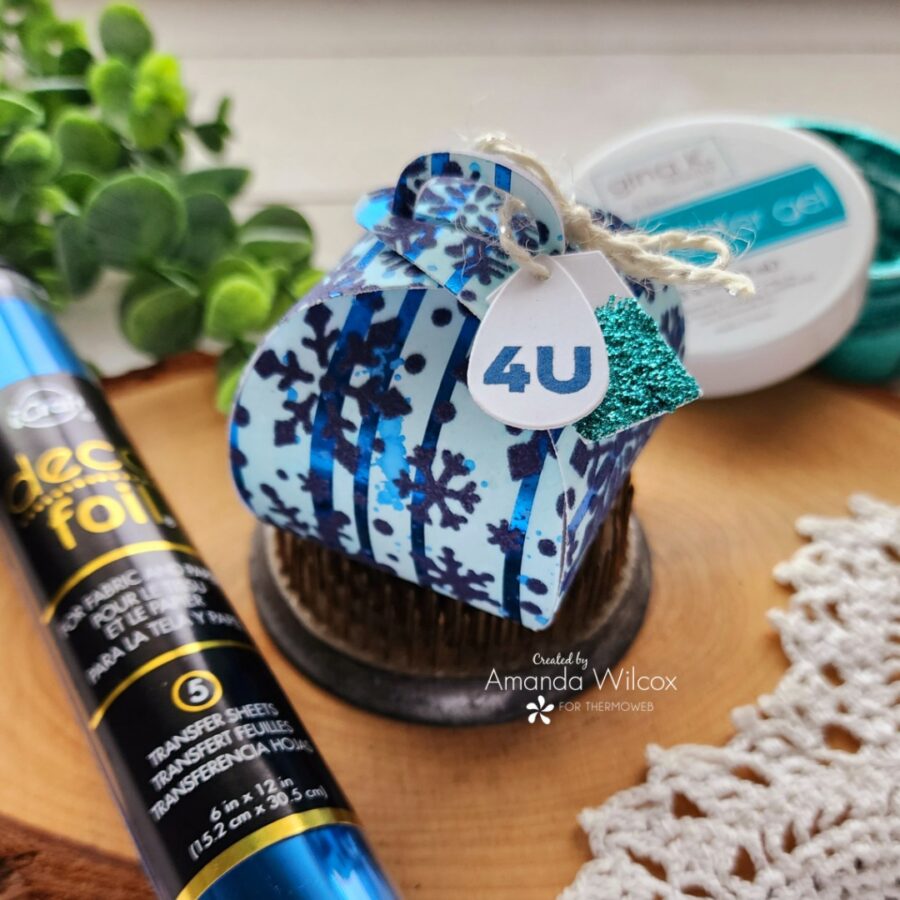
I die cut the flocked and foiled panels with the Ellen Hutson Bon Bon Box die, one half of the box from each panel. I made sure to position the die in the corner of the panel which gave me ample space to die cut 2 tags and get more from my previous work.
I used UltraBond liquid glue to adhere the box together. I thought it was boring and my penguin was too big though so I went digging in my stash and found these adorable Ellen Hutson Mini Tag dies and the Small Sayings stamps that coordinate.
I cut 2 tags of different shapes, stamped a sentiment on one and used my finger to smear some glitz gel on the other. I layered them together and tied them to the top of the box with twine.
For the tags, I cut using the “scraps” of my flocked panels I pulled out the Ellen Hutson Farmhouse Tags die set. I absolutely LOVE these tags. They are a fabulous size and the double holes at the top make them so simple to tie on things.
I cut two – one from the flocked panel and a solid white one to write on. Then I cut a smaller circle from the vellum and used foam squares to add the mug and sentiment to the vellum before using more foam squares to add those to the tag front.
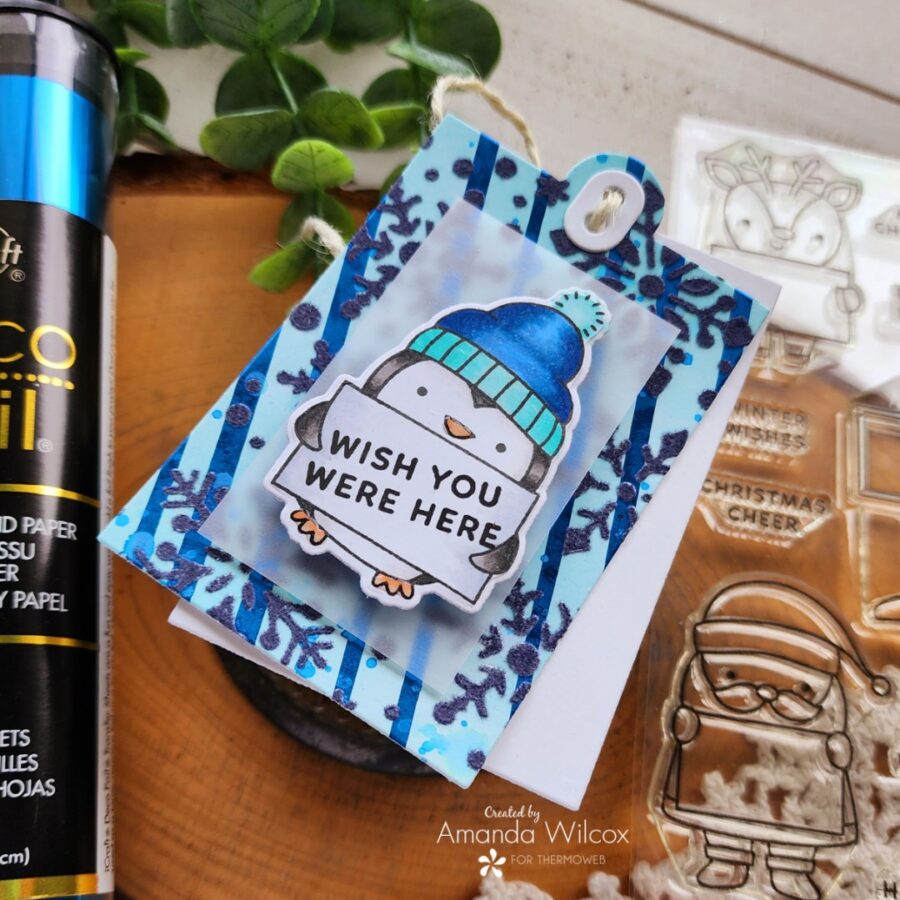
From the other panel, I cut a different shape tag, trimmed a piece of vellum and adhered these with the same foam squares as the other tag.
I finished both tags off with some glossy accents to the colored images – beak and feet, heart and mug base. I think the shine brings them to life a little.
As I said at the beginning I was picturing what I do for my daughter. For these, I would probably put a small toy in the box and add the tags to small bags with additional goodies…maybe hot cocoa in the mug bag and a movie or something in the other.
Do you have any silly traditions like this that you do? I can’t be the only one. Haha.
I hope you enjoyed today’s projects and found some inspiration to create something wonderful to share with someone.
Have an amazing day!