
We are having such fun here on the Therm O Web blog, joining up with our friends at Waffleflower Crafts. I am a huge fan of the whimsical art of Big Bear & Bird, and today I have two cards to share mixing those adorable bear and bird stamps with Therm O Web’s fabulous line-up of cardstock, ink, dies, and adhesives. First up is a celebratory card featuring a chef bird and bear from Waffle Flower’s Therefore I am combo set.
Whimsical Stamped Cards with Therm O Web and Waffle Flower 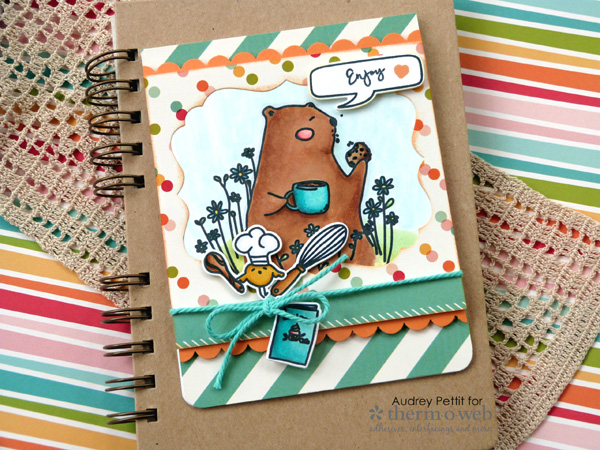
Enjoy Card by Designer Audrey Pettit
Supplies:
Therm O Web Gina K Designs Premium Cardstock – Luxury White, Sweet Mango
Therm O Web Gina K Designs Wafer Thin Die Sets – Decorative Label Set
Therm O Web Gina K Designs Premium Dye Inkpad Sets – Prime Time
iCraft Deco Foil White Adhesive Foam
Zots Clear Adhesive Dots – 3D
Memory Tape Runner XL
Waffleflower Crafts – Therefore I Am Combo
Simple Stories – Summer Days Collection Kit
Gina K Designs Ink- Amalgam Ink
Copic Markers
Fiskars Scalloped Border Punch, EK Success Corner Rounder
Stampin’Up Twine
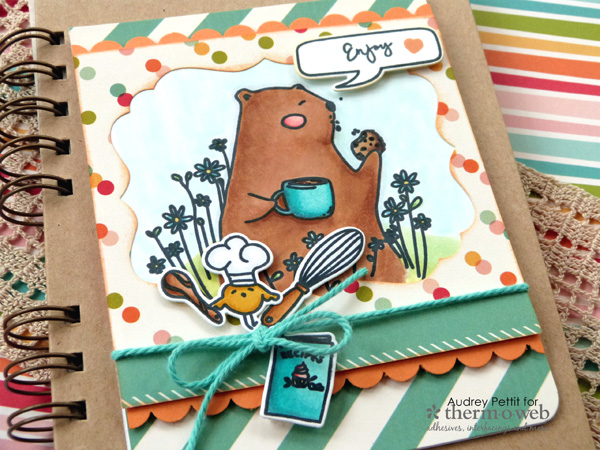
We are having such fun here on the Therm O Web blog, joining up with our friends at Waffleflower Crafts. I am a huge fan of the whimsical art of Big Bear & Bird, and today I have two cards to share mixing those adorable bear and bird stamps with Therm O Web’s fabulous line-up of cardstock, ink, dies, and adhesives. First up is a celebratory card featuring a chef bird and bear from Waffle Flower’s Therefore I am combo set.
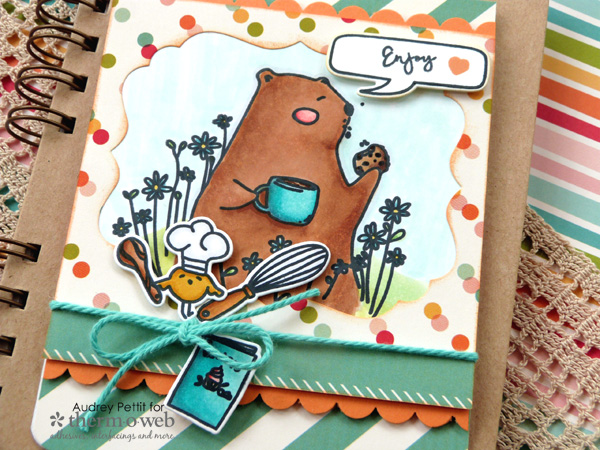
This card features simple Copic coloring along with bright and happy patterned paper from Simple Stories’ Summer Days collection. And of course cardstock, ink, and dies from Therm O Web’s Gina K Designs line.
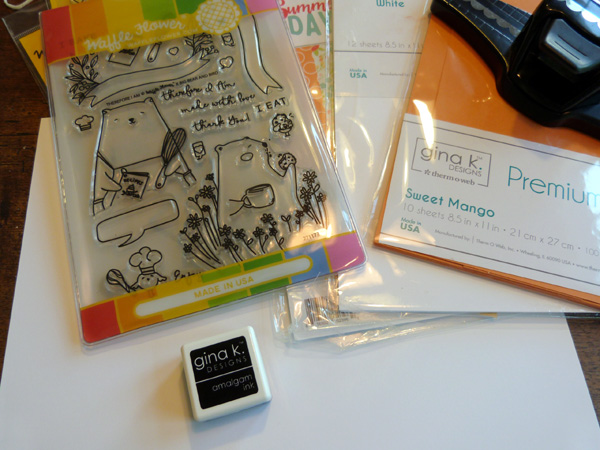
To begin, gather your supplies. For Copic coloring, my go-to cardstock is the Gina K Designs Luxury White premium cardstock from Therm O Web, and for this card, I also used some of the Sweet Mango cardstock, as well. Gina K Designs amalgam ink is perfect for stamping, as this ink formulation works for both Copic and watercolor coloring techniques.
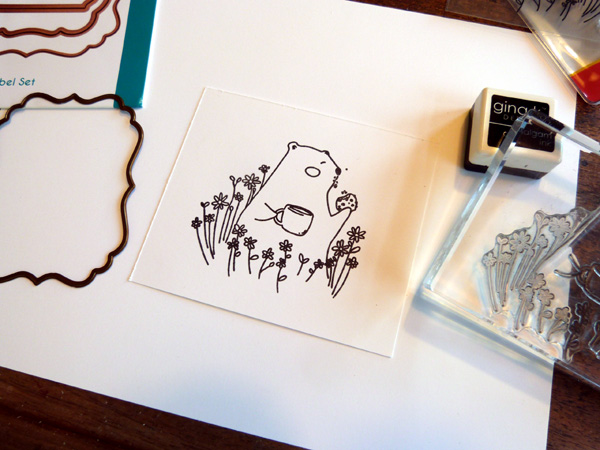
Trim a square panel of Luxury White cardstock, that is about 4 1/4″ x 3 1/2″. Stamp the bear in amalgam black ink in the center of the panel.
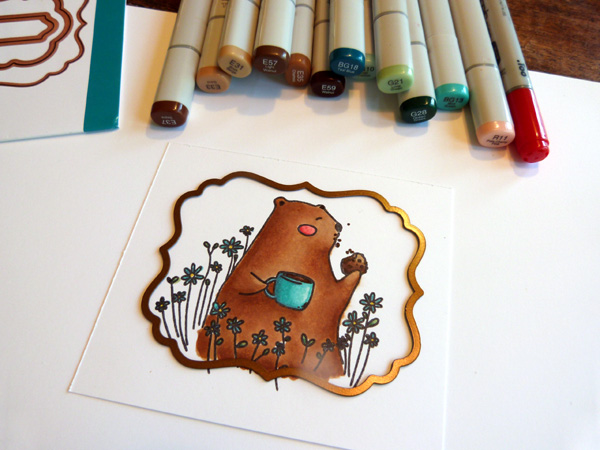 Color the image with Copic markers. I knew I wanted to create a window opening for the focal image using the largest label shape from the Decorative Label Set dies, so I’m using the die shape here to gauge how far out I need to color.
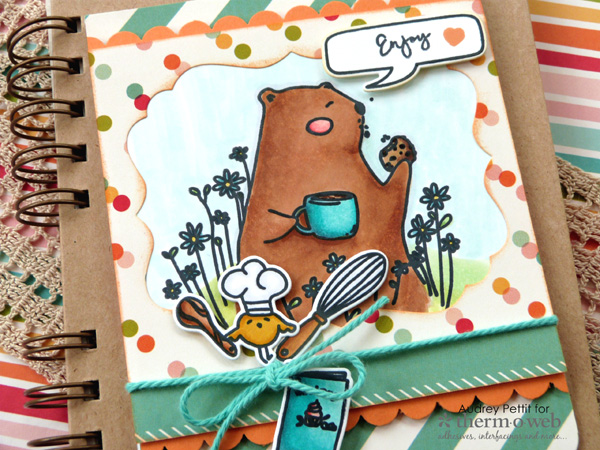
Create a top-folding A2 card base from Luxury White cardstock, and layer the front with patterned paper. Round the bottom two corners with a corner rounder punch. Punch two scalloped borders from Sweet Mango cardstock, and add the borders along both the top and bottom edge of a piece of patterned paper.
Die cut the largest label shape from the middle of the panel. Adhere the die cut window frame to the stamped image using XL memory tape runner. Add iCraft Double-Sided White Adhesive Foam to the back of the panel, and adhere the panel to the top of the card base. Stamp, die cut, and color additional images from the stamp set. Add the images to the scene using 3D Zots Clear Adhesive Dots. Tie twine around the card.
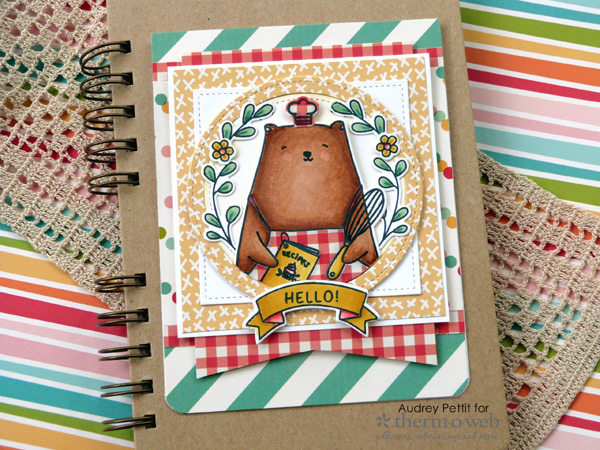
Hello Card by Designer Audrey Pettit
Supplies:
Therm O Web Gina K Designs Premium Cardstock – Luxury White
Therm O Web Gina K Designs Wafer Thin Die Sets – Large Circle Set, Large Square Set
iCraft Deco Foil White Adhesive Foam
iCraft Purple Tape
iCraft Mixed Media Adhesive
Therm O Web Zots Clear Adhesive Dots – 3D
Therm O Web Memory Tape Runner XL
Waffleflower Crafts – Therefore I Am Combo, Big Bear & Bird Stamps, Big Bear & Bird Dies
Simple Stories – Summer Days Collection Kit
Gina K Designs Ink – Amalgam
Copic Markers, Stampin’ Blendabilities Markers
EK Success Corner Rounder
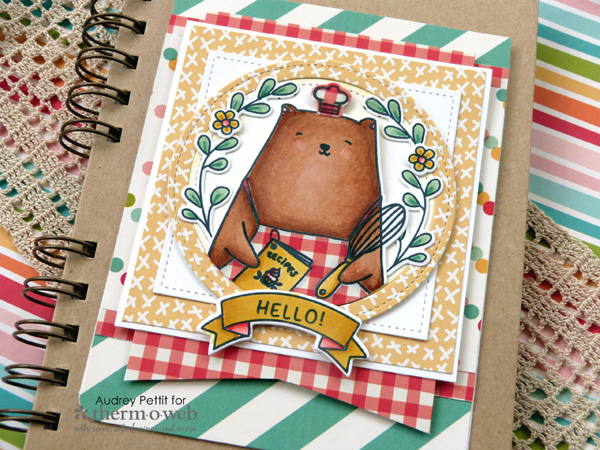
My second card once again features a cute chef stamp from the Therefore I Am Combo set, this time mixed with floral and sentiment images from Big Bear & Bird. The images are all Copic colored, and the paper is once again from the Summer Days collection by Simple Stories.
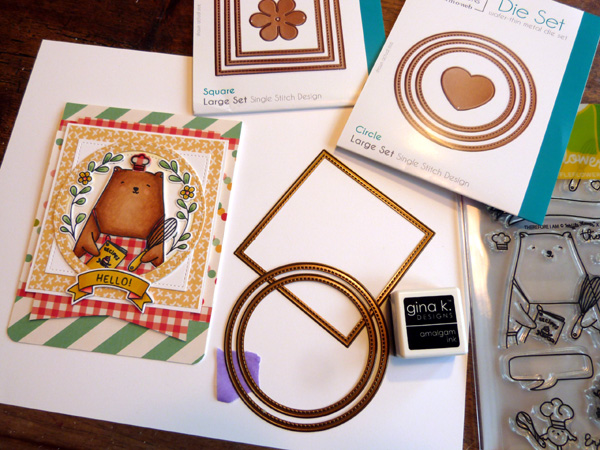
To frame my cutie pie bear, I turned again to my Gina K Designs die sets, this time combining both the large square dies and the large circle dies for my focal point.
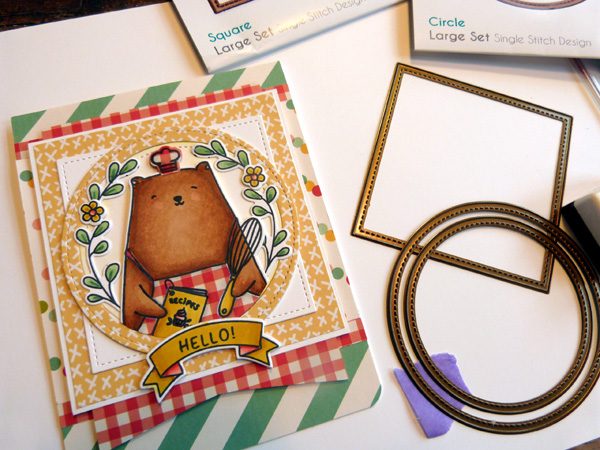 In this closer look, you can see that both square and circle shapes were layered to create a porthole style window opening. The largest square die was used to cut the panel in the background. And then the two largest circle dies were nested together and held in place with Therm O Web Purple Tape to create the circular frame. Cut the frame once from patterned paper, and two times from Luxury White cardstock, and then adhere them in a stack. That’s a great way to add dimension to your die cut pieces.
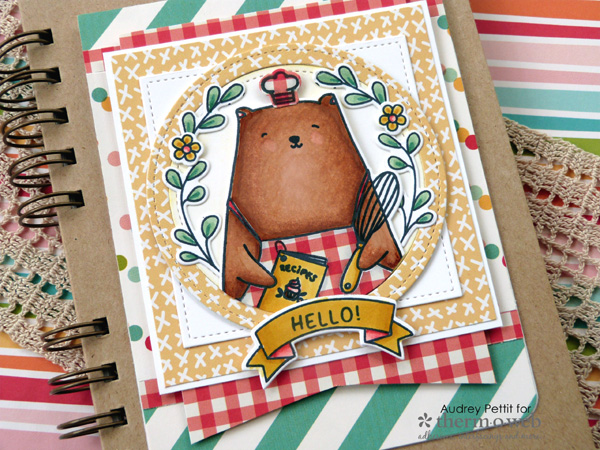
Stamp the images with Copic-friendly Amalgam ink, and die cut with the matching Waffleflower Crafts dies. Stamp the chef hat and a portion of the bear onto gingham-print patterned paper, and fussy cut the apron portion out. Die cut the chef hat with the coordinating die. Carefully glue the apron to the main image using a bit of Mixed Media liquid adhesive.
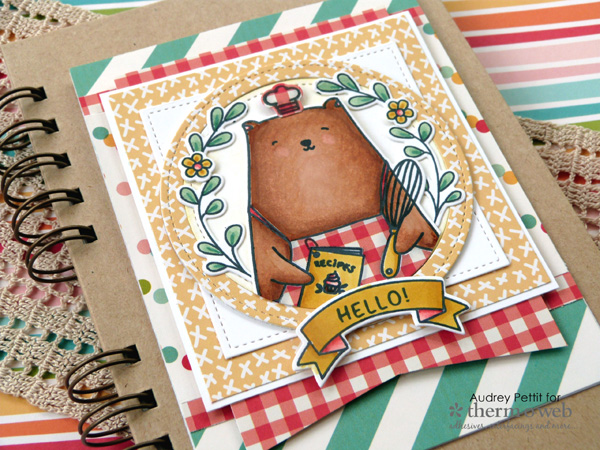
Adhere the die cut floral sprigs directly to the window opening, and add the chef hat and sentiment banner to the scene using 3D Zots Dots for dimension. Did you know that you can easily cut apart the dots while they are still on their backing sheets to create smaller dots for smaller images, like this chef hat? And for larger areas, like this layered focal panel, try using iCraft Double-Sided White Adhesive Foam, which comes in sheets that you can cut to any size you need.
Enjoy!
Save
Save
We’re thrilled to pieces that all this week we’ve teamed up with our friends at Waffle Flower. I mean who doesn’t love that name let alone their adorable stamps and dies!
We’re offering to one winner a chance to shop our ThermOWeb online store! Simply follow the Rafflecopter to get yourself entered to win! And be sure to visit our friends at Waffle Flower to see what they’re up to as well!
PLUS our friends at Waffle Flower are offering to you a $25 Gift Certificate too!


F. Andre
May 29, 2018 at 9:51 pm (7 years ago)Beautiful colour palettes and colouring on both your cards. The illustrations on these stamps are so lovely.