Hello everyone! It’s Kim Lapacek from Persimon Dreams. I’m excited to share with you a fun project that’s perfect for the upcoming season of spring. I do have to laugh a little because the pictures I took of my final project are outside in the dreary, snow-covered winter … and we have a freezing rain winter weather advisory starting in just a few hours. Definitely not spring!
Welcome Spring Bunting with Garden Girls Fabric
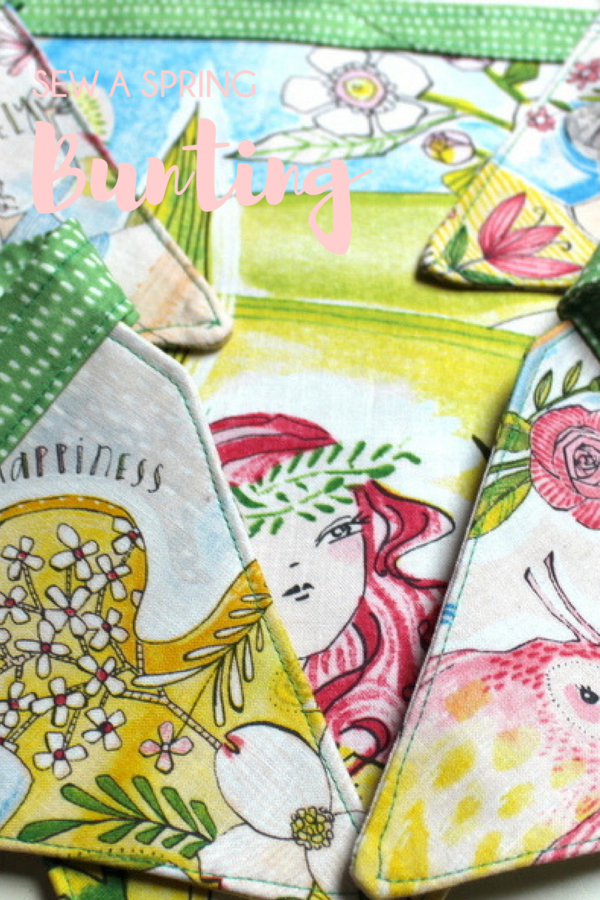
Supplies:
-
- Garden Girls Fabric from Blend
- How Does Your Garden Grow Panel
- The Garden Panel
- Seeds Fabric in Grass – (2) 4″ x WOF strips
- StitchnSew Woven Sew-In Hair Canvas (1/2 yard will be plenty)
- Aurifil Thread 2865
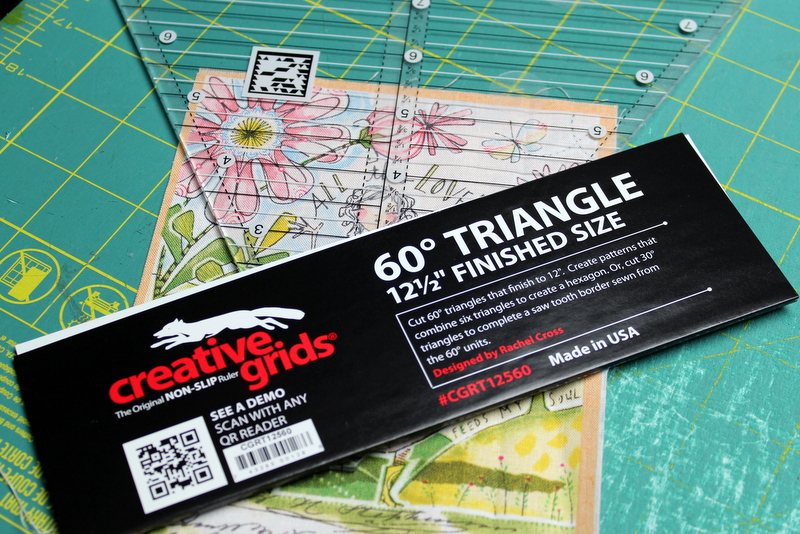
- Creative Grids 60-degree Triangle, 12″ finished
- Garden Girls Fabric from Blend
Instructions to Make Welcome Spring Bundle
I had some scraps of Garden Girls Fabric from Blend fabrics including pieces from the How Does Your Garden Grow Panel and The Garden Panel. When I saw my assignment was to come up with a Springtime bunting I knew I had the perfect idea. I absolutely adore Cori Dantini’s designs and love coming up with new ways to use her panels that aren’t just adding borders (not that there’s anything wrong with that). I thought these images would look adorable as a bunting. It turns out I was not wrong. What I’m going to show you can be done with any of her fabric lines … I’m pretty sure I’ll be making a Halloween and Christmas bunting too!
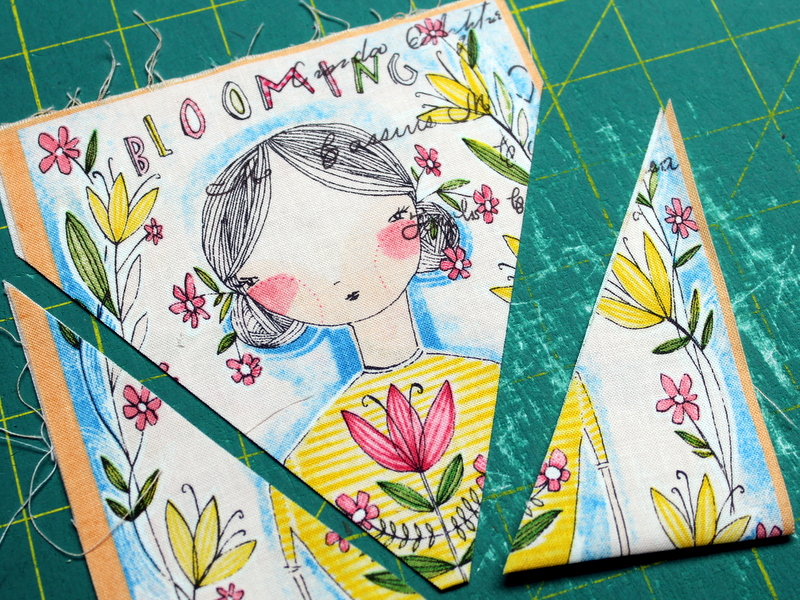
Since I only had scraps I decided to keep my bunting whimsical and not necessarily all the same size. I did, however, want the same basic shape and I chose to use my Creative Grids 60-degree Triangle, 12″ finished accomplishing that.
Each design I cut into is a slightly different size. Just make sure that a good portion of the actual design is in the triangle shape. The four smaller flags created are all near 5.5-inches. Cut two triangles (a front and back) that are the exact same size for each bunting.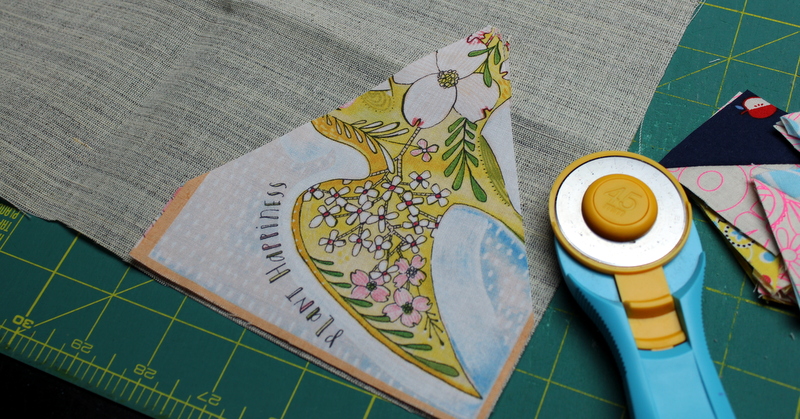 Because no two flags are exactly the same – use the fabric shapes cut out as a template for cutting out the StitchnSew Woven Sew-In Hair Canvas. You want to include this interfacing to help stiffen up the flags.
Sandwich the two pattern fabrics right sides together and the sew-in hair canvas against one of the wrong sides.
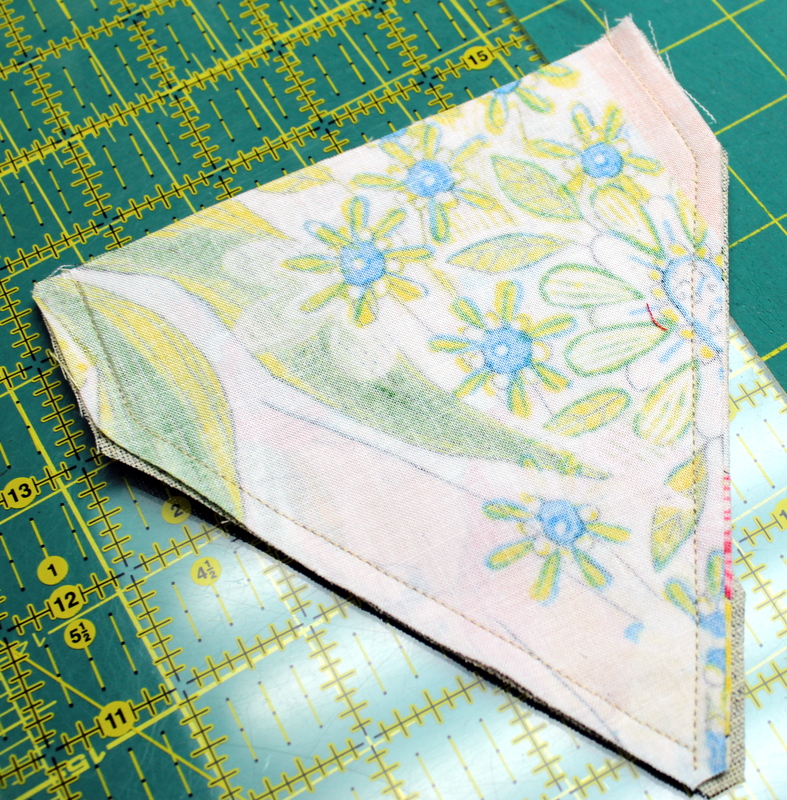 Stitch a quarter-inch along the sides (not the top).
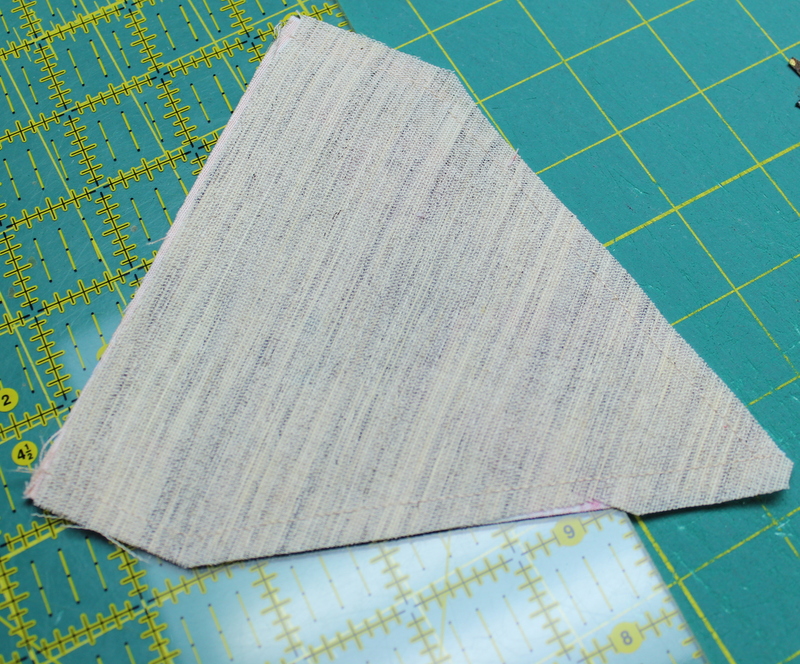 Trim any excess fabric/interfacing from the corners. Be sure to leave at least a 1/8-inch from the stitches.
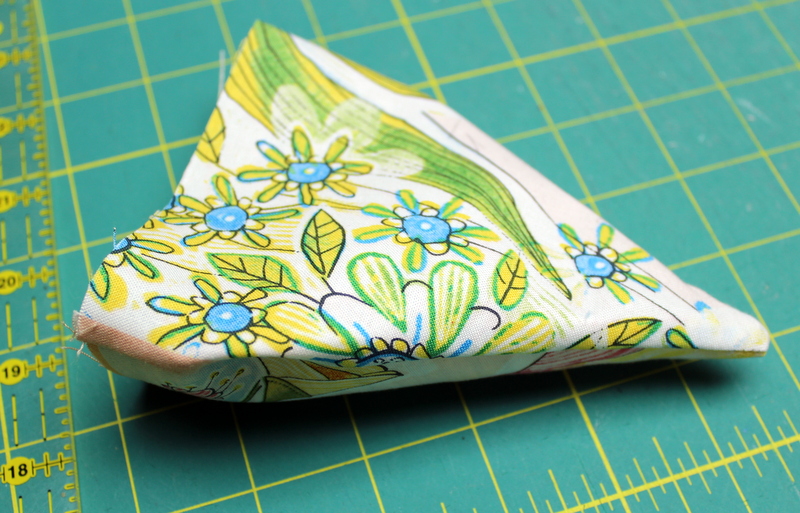
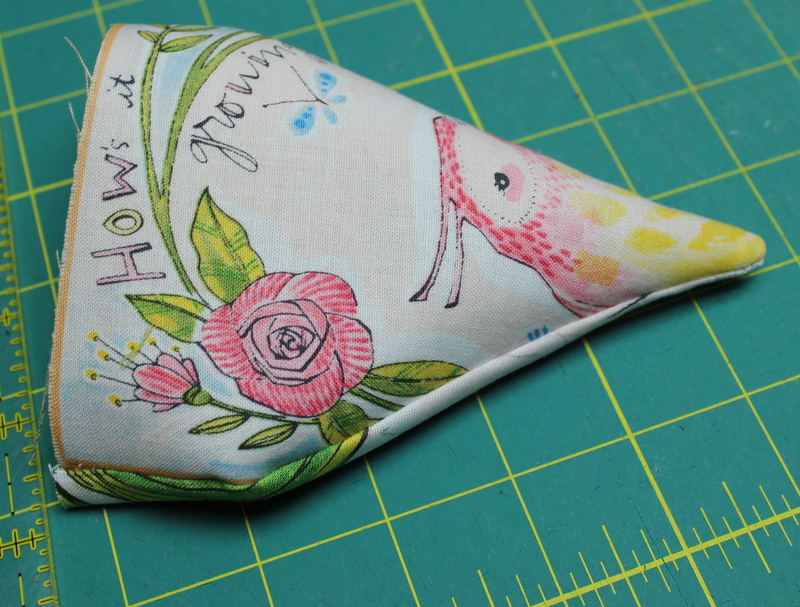
Flip the flag shape so the fabrics are right sides out. Use a dull point object to help turn the corners out as best as you can.
Once your flag is flipped and corners popped out as best as you can, press to flatten.
Once your flag is pressed flat, stitch an eight-inch seam right along the edges of the bunting (not the top). Repeat this for each of the flag’s you decide to make. I created four small flags and one 12″ flag from the larger garden panel I had for a total of five buntings.
Connect the two four inch strips of grass seeds fabric the long way. Do this with a diagonal seam to minimize bulk. Place the two strips right sides together at a 90-degree angle as shown in the picture above. Draw a diagonal line between the corners in which the fabrics intersect. Stitch right on this line and trim outer triangles. Press. (this is the same method many of you use to make binding for quilts).
 Press the four-inch fabric strip in half.
 Unfold the fabric strip. Now, fold over the two edges and press so they meet in the middle.

You are creating a bias tape to connect the flags.  For the final step, fold the two pressed edges together and press. This will hide all raw edges of the fabric.
Find the center of your largest flag triangle and finger press so you know where it is. Center that inside the bias tape just created.
Placed the smaller flags with six inch spacing between each other to spread them out along the fabric nicely. Pin in place.
Once all the triangles are pinned in place, stitch a scant quarter-inch from the lower edge of the biased tape with Aurifil thread … I used 2865 because I liked the green with my fabric choices.
You could only stitch it once but I think it looks nicer to stitch the other edge as well.
Before you know it – you’ll have some adorable “Welcome Spring Bunting!”
I took a picture sort of bunched up on my couch too … I can’t hang it on my walls as we’re in the process of remodeling and everything is a mess!


