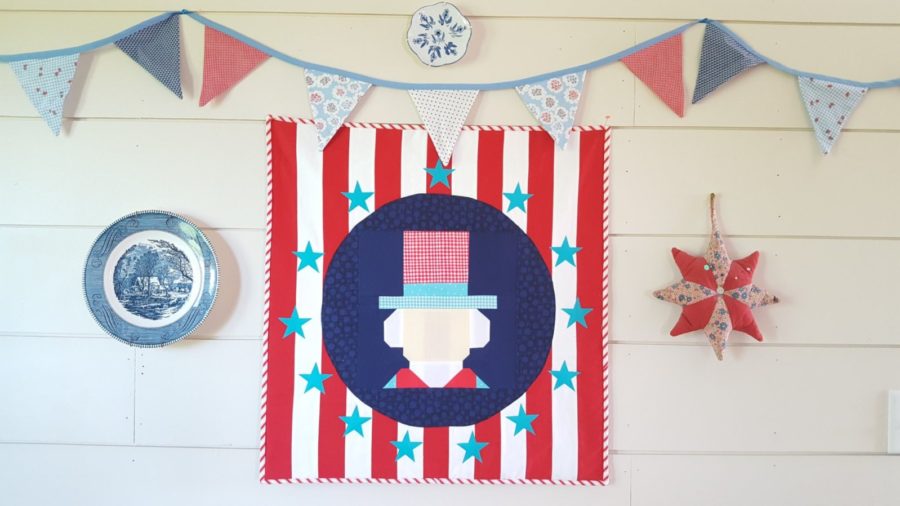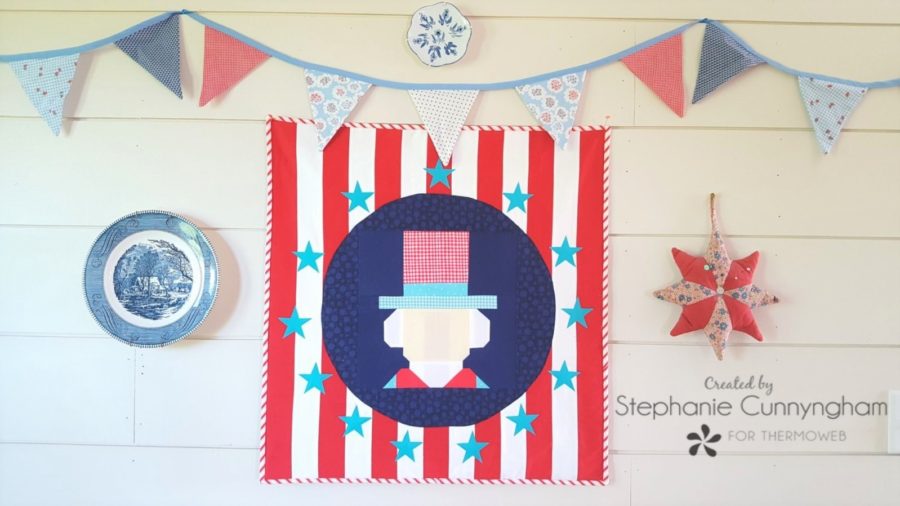
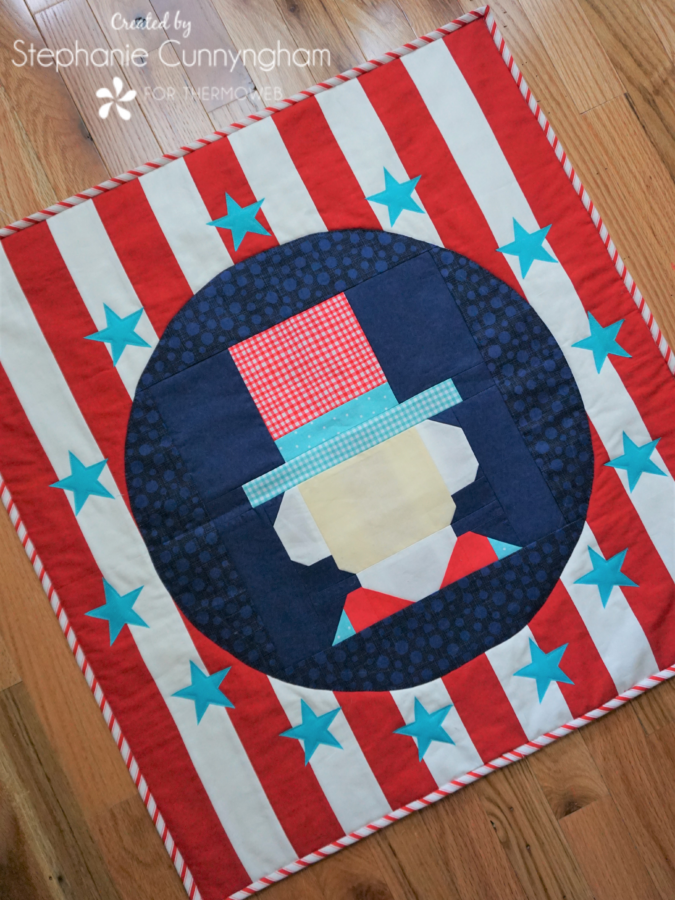
Patriotic Banner
I don’t know about you, but I love summer. The longer days, the warmer months, being outside and celebrating birthdays and holidays. I start decorating for the Fourth of July around the first of June, and I usually leave up all my red, white, and blue until school starts again in August. I have made flag pillows, buntings, and mini quilts that I use year after year, but this year I wanted to make something new. And when Gracey from Burlap and Blossoms patterns published her two new patriotic quilt blocks, I had just the inspiration I needed to come up with something fun to hang on our walls!
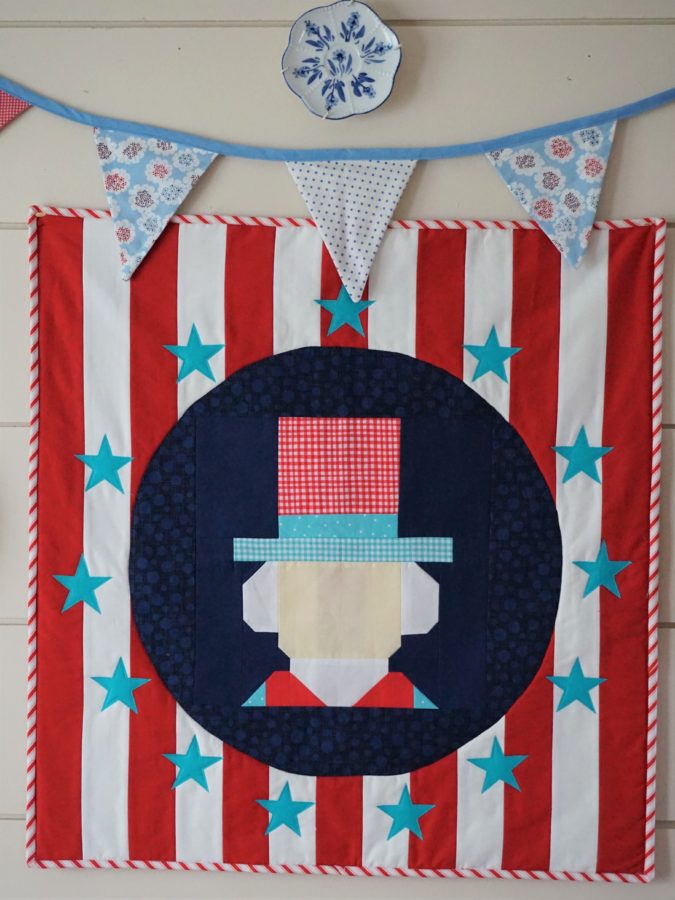
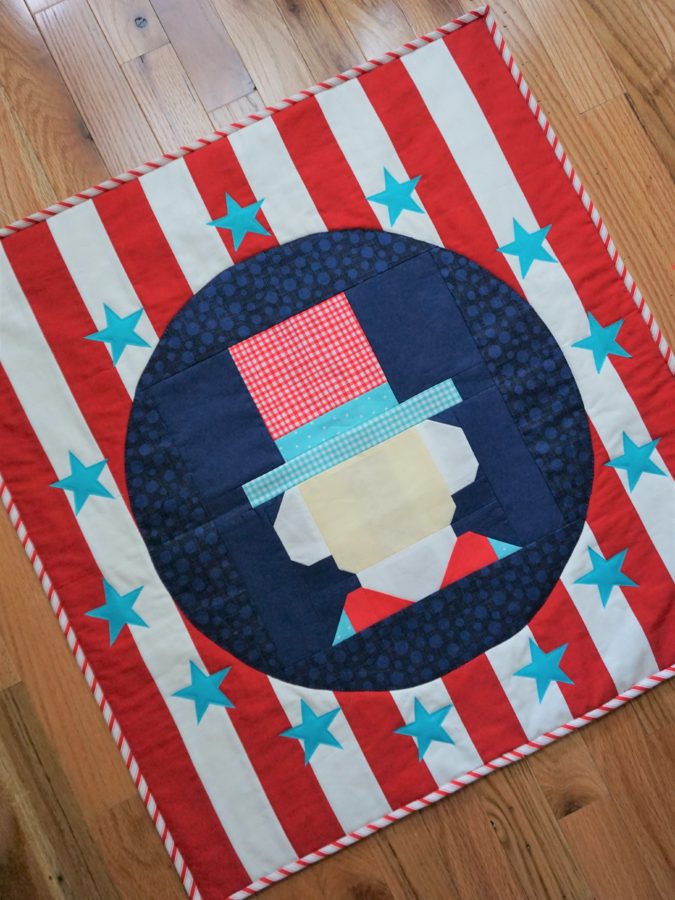
And the best part of this project is, you can completely customize it to fit your taste. Not a fan of the founding father block in the center? Make a flag, star, or another patriotic block instead! Any 12″ block will work as the center. For me, I couldn’t resist this cute little guy, so I snatched it right up and got to work on this “George Washington for President” flag right away! If you want to make one too, follow the instructions below and have fun!
Patriotic Banner Supplies
- One 12.5″ quilt block (Click here for the block pattern I used)
- Quarter yard of border fabric for your 12″ block
- Fat quarter fabric for stars
- Quarter yard of fabric for the binding
- 28″ x 28″ piece of batting
- 29″ x 29″ piece of backing fabric
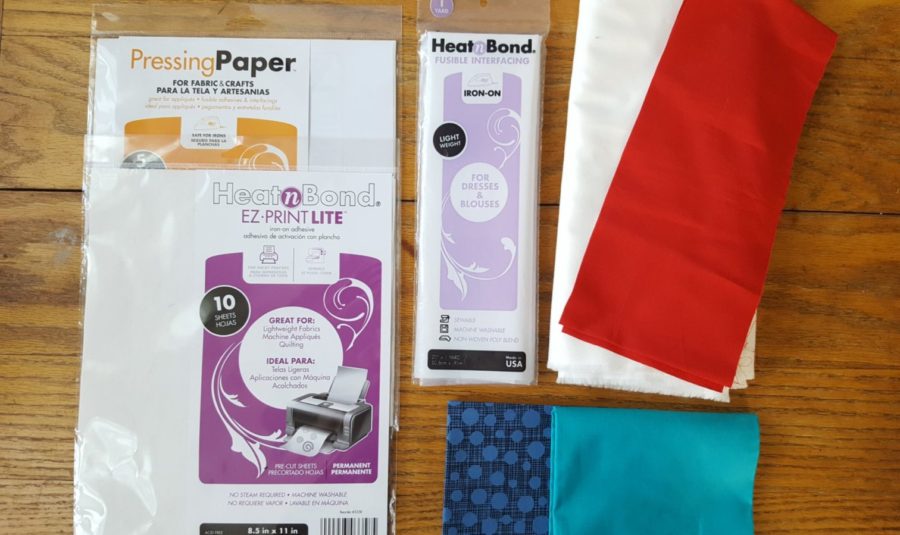
- 1 package of HeatnBond EZ Print Lite Sheets
- 1 package of HeatnBond Light Weight Fusible Interfacing
- 1 package of Pressing Paper (optional, but I use it every time I fuse fabric to protect my iron)
- One pattern for stars, printed on one sheet of HeatnBond Lite
- A compass or circular ruler
- STARS PATTERN
Patriotic Banner Sewing Instructions
- Cut the Quarter yard of border fabric into 3.5″ strips. Cut two strips 3.5″ x 12.5″, and two strips 3.5″ x 18.5″. Sew these strips to your 12.5″ block.
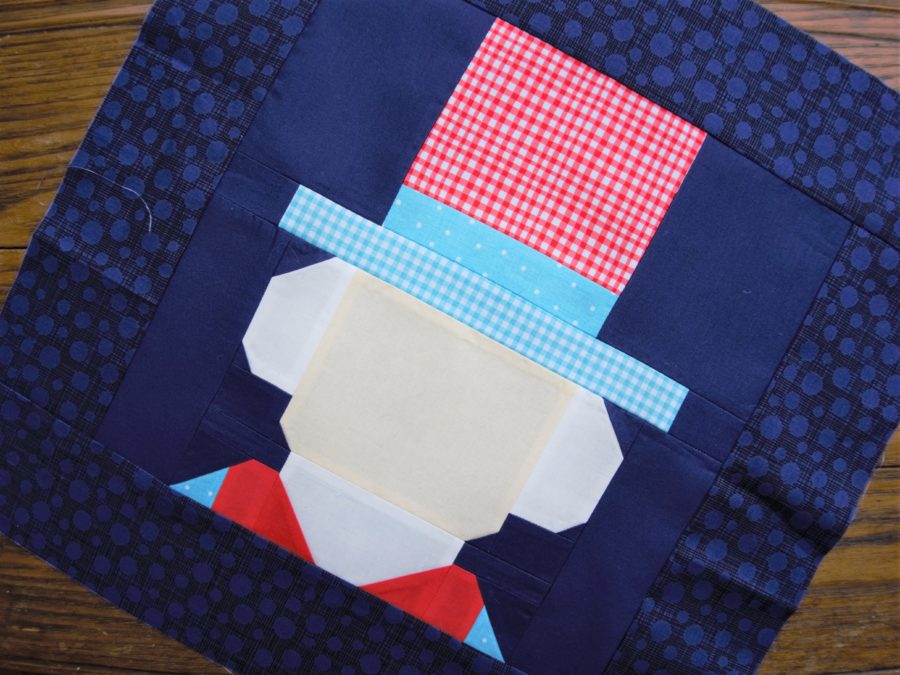
- Find the center of your block and make a small mark or insert a pin. Using your compass, draw a circle with a 9.25″ radius all around your block. Cut along the drawn line to turn your square block into a circle.
- Cut a 20″ square piece of the HeatnBond Lite interfacing. Place it glue side up on your table, and center your round quilt block right side down on the interfacing. Stitch all the way around the circle with a 1/4″ seam. Trim off excess interfacing.
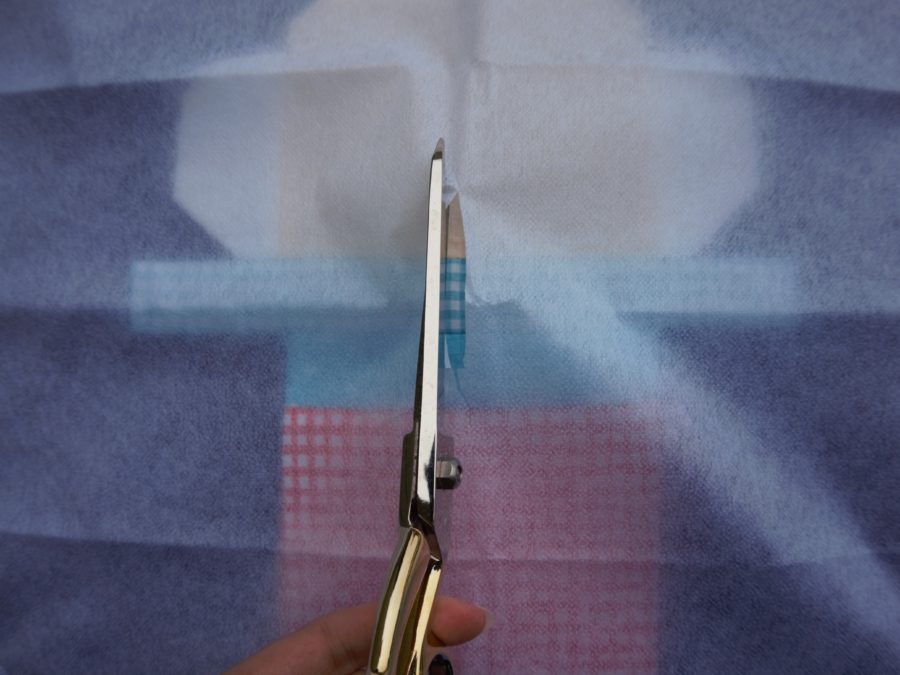
- Using your scissors, cut a slit in the interfacing and turn your round quilt block right side out. Gently push out edges using your finger or a blunt turning tool, being careful not to puncture or tear the interfacing along the seams. Set this aside for now.
- From your red flag fabric, cut seven 2.5″ x 26.6″ strips. From the white flag fabric, cut six. Sew these strips together using a 1/4″ seam, starting and ending with the red strips.
- Center your round quilt block over your flag stripes. Pin around the edges, making sure your fabric overhangs the interfacing slightly so that it does not show when you press it.
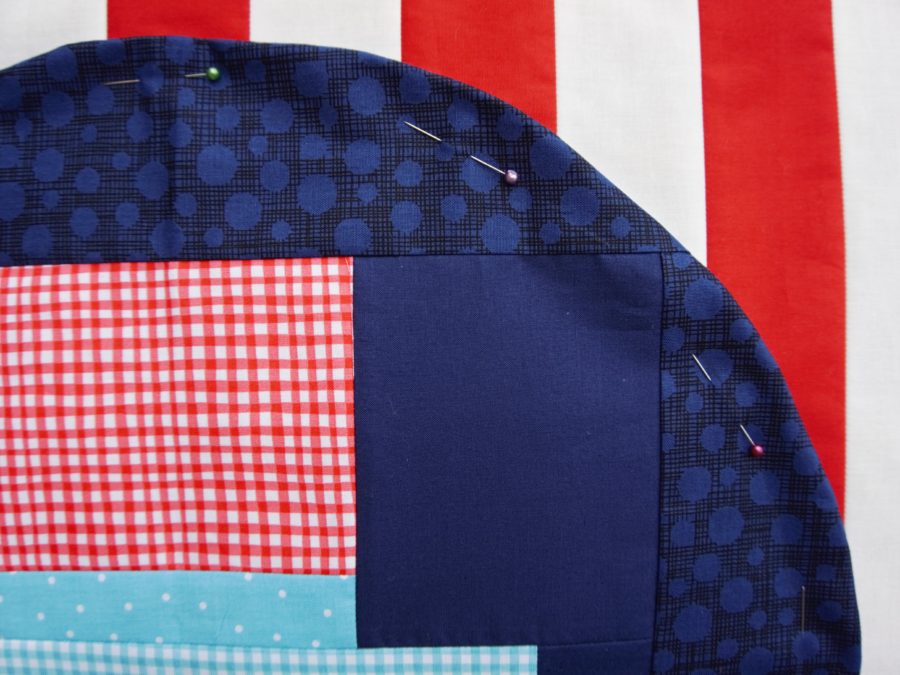
- Carefully iron the quilt block in place, fusing it to your flag strips and removing pins as you go.
- To make the stars, print the pattern onto one sheet of HeatnBond EZ Print Lite fusible interfacing. Gather your pressing paper, fat quarter for stars, and printed star pattern.
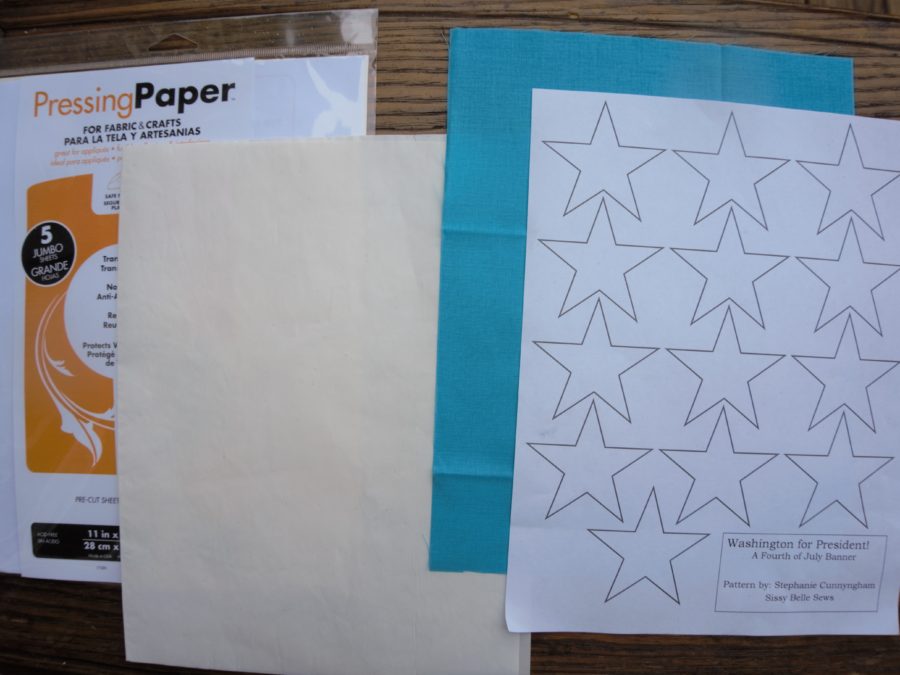
- Fuse the pattern onto the wrong side of the fat quarter according to package instructions. Cut out the 13 stars, leaving the paper on the back until ready to use.

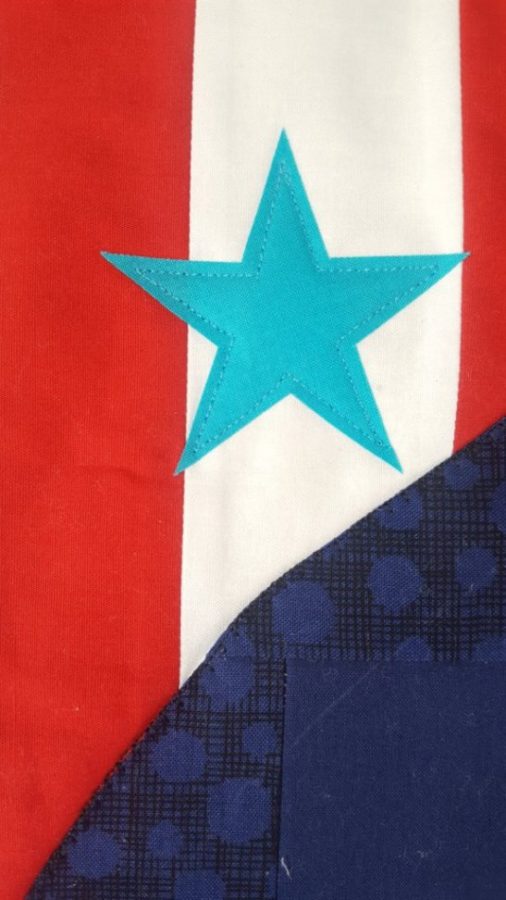
- After you have all the stars cut out, arrange them around the center quilt block as desired. Remove the paper and fuse them in place to secure.
- Layer your flag, batting, and quilt backing. Quilt as desired. I did minimal quilting on this project as I wanted it to look more like a flag or banner and less like a quilt. I stitched around each star and around the circular center block, but that was it!
- Trim your quilt to 26.5″ square. Cut your binding fabric into three 2.25″ x WOF strips, and bind using your favorite method.
- Hang up your banner and enjoy!

