 Hi there! It’s Katrina from Paper, Scissors and Glue and I was so excited to learn that we were going to work with some Waffleflower stamps and dies! I will say, I am not much of a coloring person, but their stamps are so fun and cute they are hard not TO color!
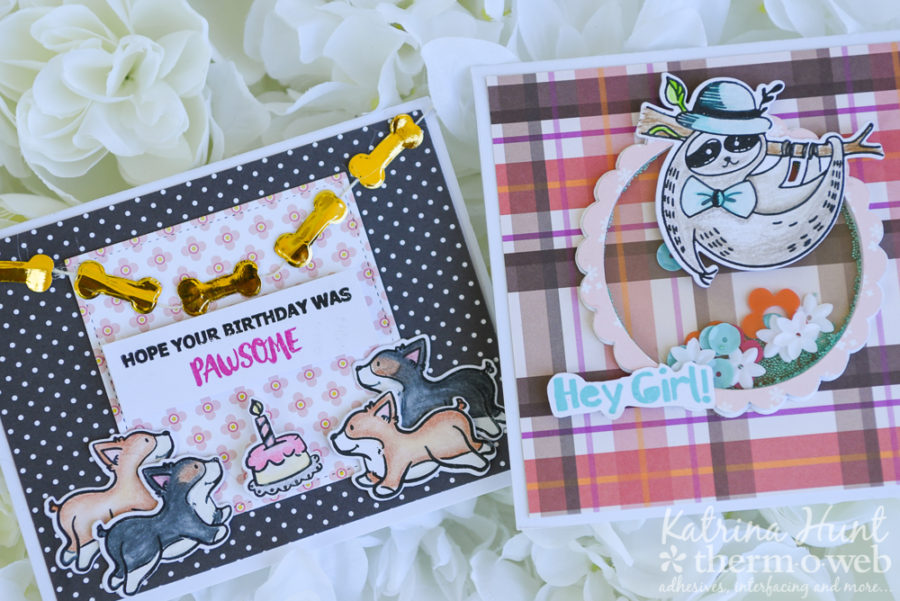
Working with a couple of different sets, the Pawsome set and the Hey Girl set, I have created a couple of cards. When I saw corgis and sloths, well, it was a no brainer! And they are both so versatile. The Hey Girl set is perfect for either a birthday card or a bestie card!
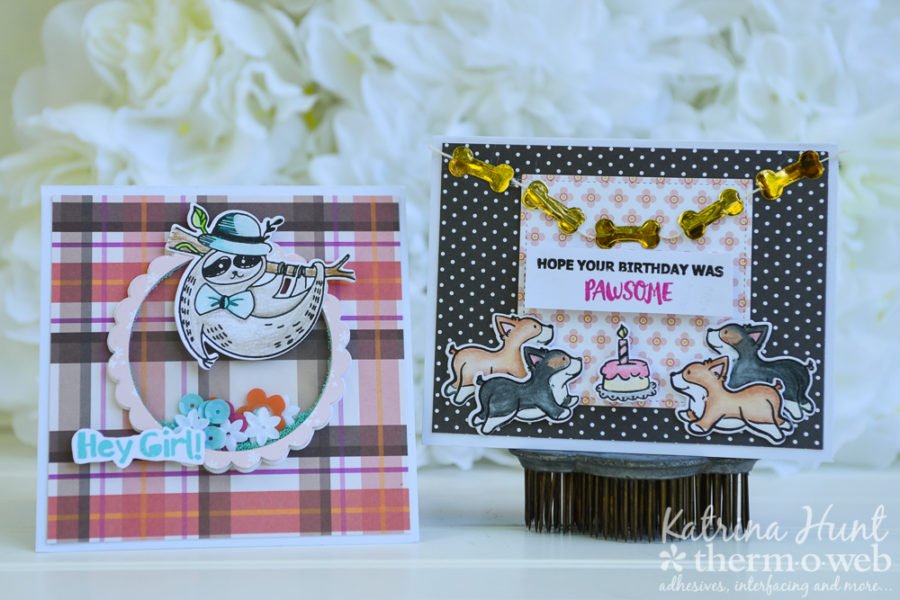
Therm O Web Supplies:
Therm O Web 3D White Foam Squares-Combo Pack
Therm O Web Mini Tape Runner
Therm O Web iCraft® DecoFoil™ Foam Adhesive Sheets
Therm O Web iCraft® DecoFoil™ Transfer Sheets Value Pack – Gold
12″ inch Laminator
Gina K Designs Premium Dye Ink Island Dream
Gina K Designs Cardstock-White
Gina K Designs Nested Squares Dies-Large Set
ICraft Mixed Media Adhesive 2.1 oz
Other supplies: Pawsome, Hey Girl Stamp/Die sets-Waffleflower; Primsacolor Pencils; Versafine Ink; Silhouette Cameo; Acetate Sheet; Sequins and Beads; Twine-May Arts; Cuttlebug; Washi Tape; Pattern Paper-Gossamer Blue; Gamsol blending solution; Blending Stumps.
First of all, let’s start off with the Pawsome Birthday Card for you today.
Pawsome Birthday Card Instructions:
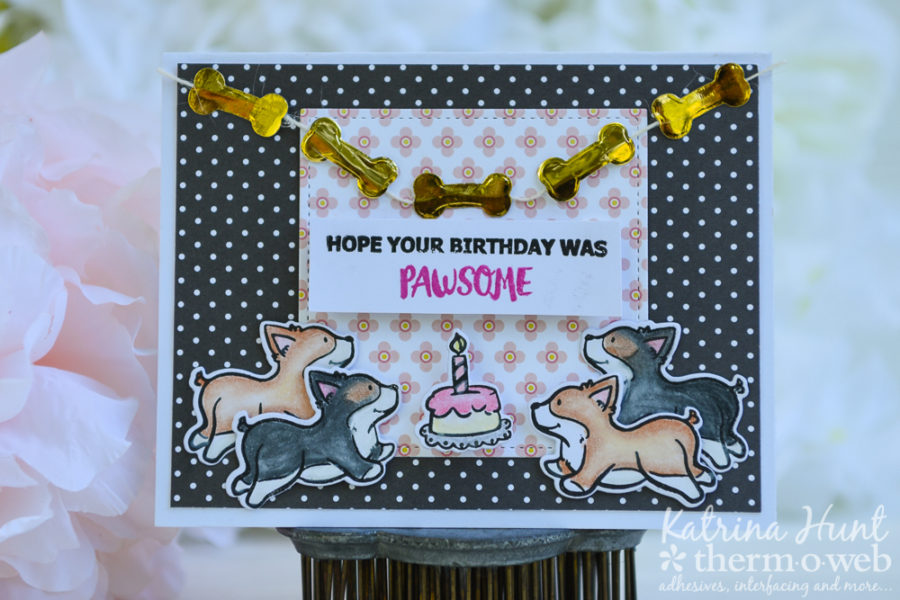
- Stamp images with Versafine ink and let dry overnight. This will keep the ink from smearing when you are blending the colored pencils. If you are new to coloring, like I am, I suggest stamping several of the same image and then you can pick the ones you like best for your card. (applies to both cards)
- Color images with colored pencils and blend with Gamsol solution. (applies to both cards)
- Turn laminator on to heat up for at least 20 minutes.
- Die cut your stamped images and set them to the side. (applies to both cards)
- Create a card base to make a card 5.5 inches by 4.25 inches.
- Trim the larger pattern paper background 5.25 inches by 4.00 inches and adhere to card using the Sticky Dot Mini Tape Runner.
- Using the largest square die in the Gina K set, die cut a piece of coordinating pattern paper and adhere to background, centering it on card front.
- Gather your DecoFoil supplies that you want to use for the bones. Use the Toner Sheets and the Foam Adhesive for a variety of texture.
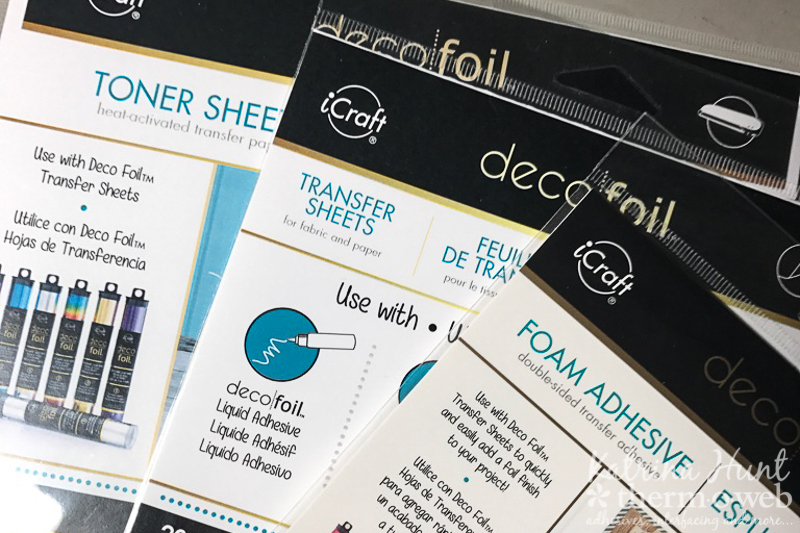
- Cut a small piece of toner sheet and apply the Gold DecoFoil on top of it. This will make it a little easier to die cut your shapes and get even foil coverage.
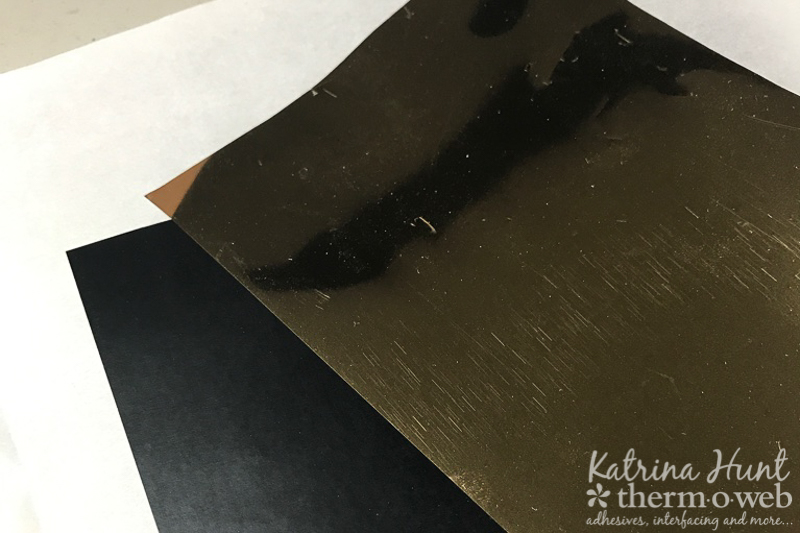
- Along with foiling the piece of toner sheet, cut a small piece of the DecoFoil Foam Adhesive and go ahead and cover it with the Gold DecoFoil also. Below, you can see that I let the foil slightly overlap the foam adhesive, just a personal preference.
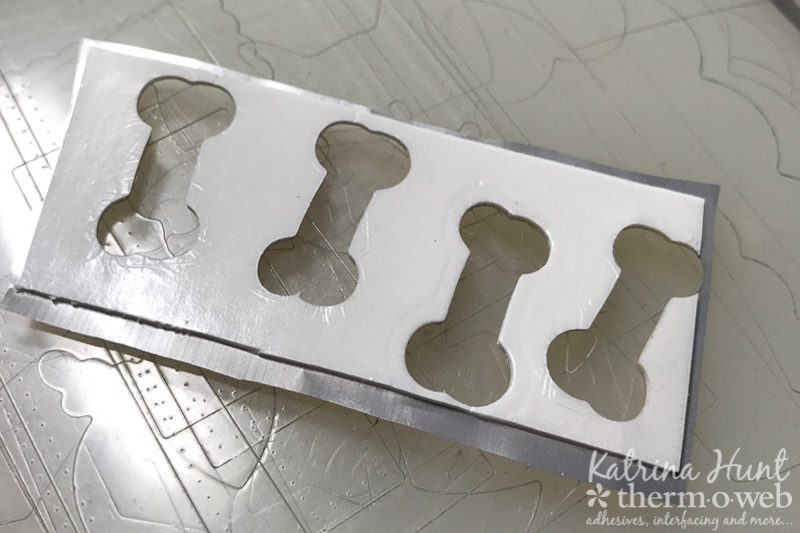
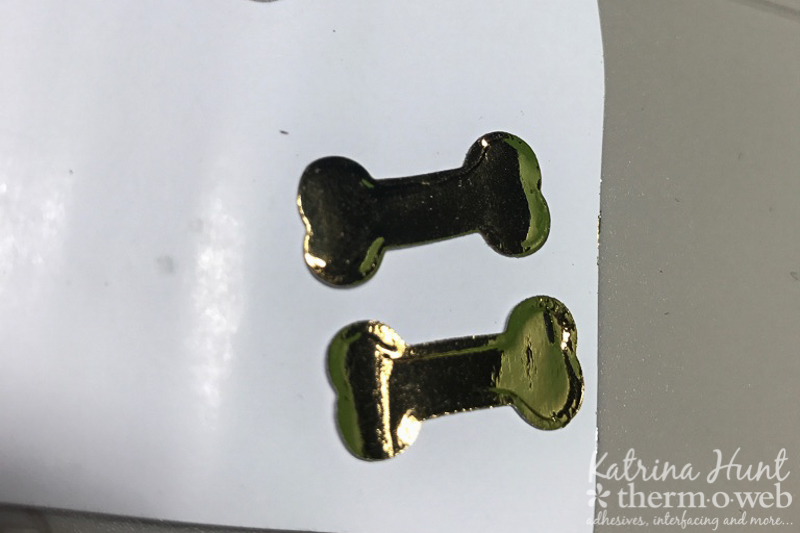
- Die cut bones out until you have as many as you need. It doesn’t really matter how you lay the die on the toner sheet or foam adhesive to cut, there isn’t much difference in how the shape turns out. Below are two bones, one cut with the foil side up and the other cut with the foil side down. Once is little “flatter” and one is a little more raised, but that’s the only real difference.
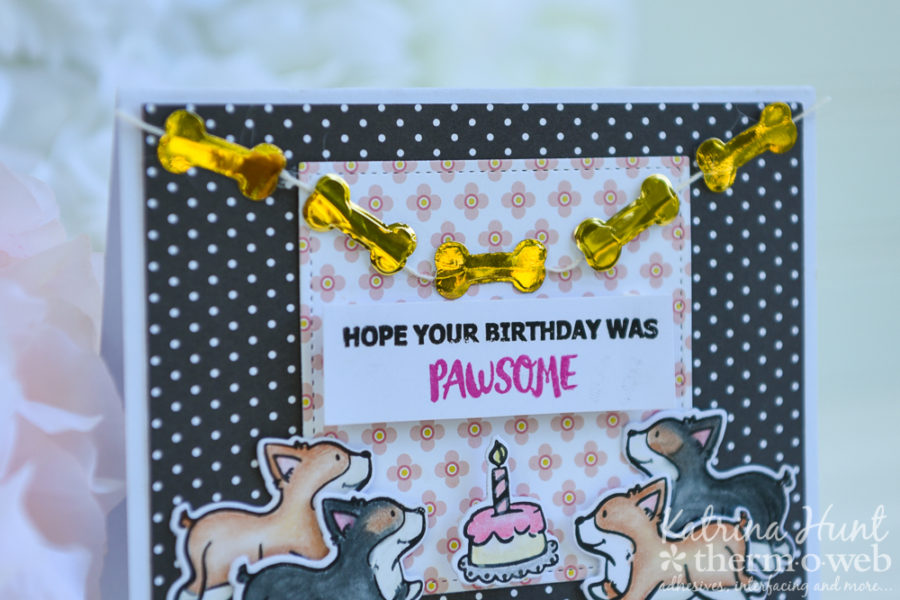
- Create the scene on the front of your card base that you have decorated. To vary the height of items, use the 3D Foam Adhesive Squares and the DecoFoil Foam Adhesive. These products are different thicknesses, so it gives you some play room.
- In addition to your scene, cut a length of twine and adhere it to the card front with the bones. Use the Sticky Dot Mini Runner on the back of the toner sheet bones to adhere those. The bones that were die cut with the DecoFoil Foam Adhesive are good to go and just peel off the backing and stick down!
- Stamp your sentiment on a piece of cardstock and adhere with the 3D Foam Squares.
Next is this cute sloth! I fell in love with the set when I saw the hanging sloth and the “hey girl” sentiment! I knew it had to be in my collection!
Hey Girl Sloth Card Instructions:
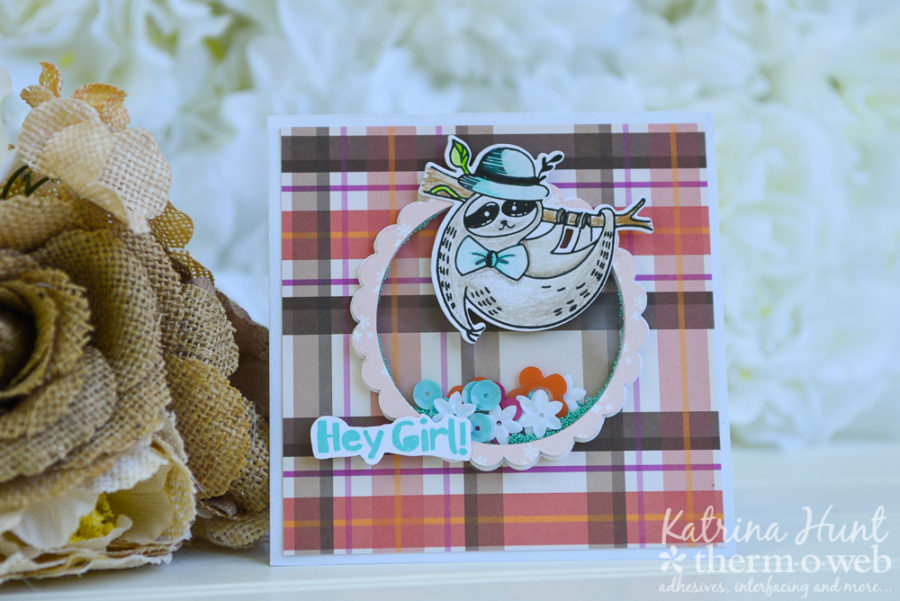
- Cut card base 10 inches by 5 inches and fold in half to create a 5×5 inch card.
- Measure and trim pattern paper for background 5.25 x 5.25 inches and adhere to card base front with the Sticky Dot Mini Tape Runner
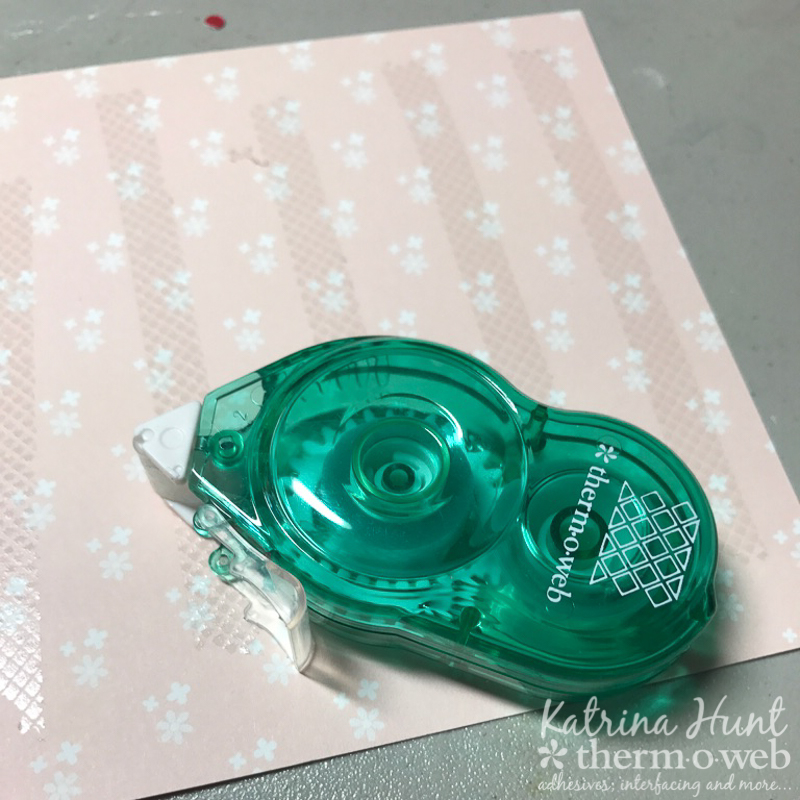
- Die cut 6-8 scalloped circles out of cardstock, with either a die set or an electronic die cutter. These shapes will be adhered together to create the shaker part of the card. I used my Silhouette to cut these scalloped circles out faster.
- Use the Mixed Media Adhesive and adhere one die cut onto another die cut until you have adhered 6 or seven of the layers together. Let dry and then adhere to your card base, centering on the front.
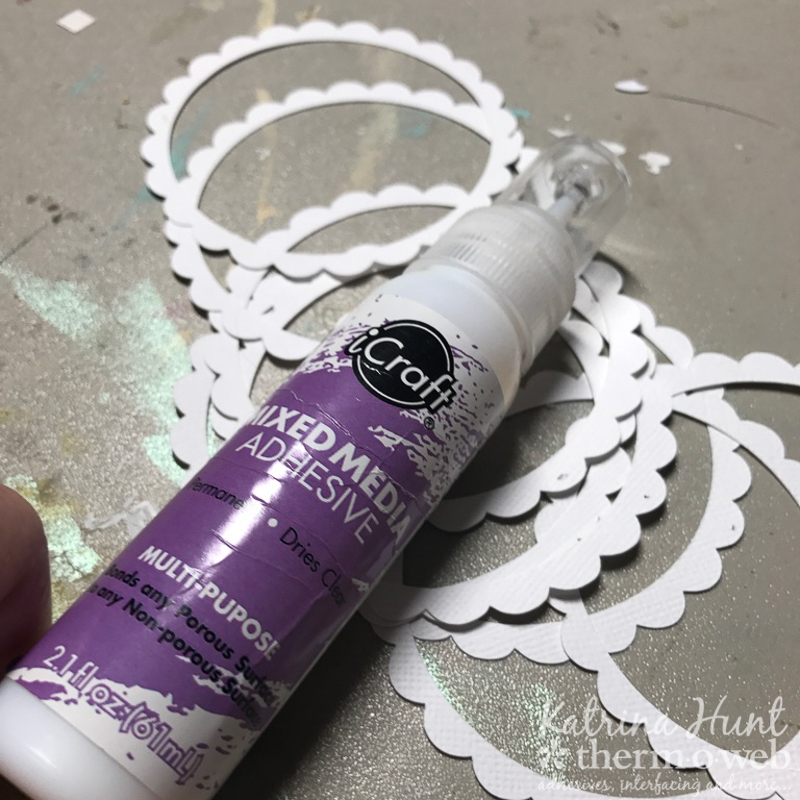
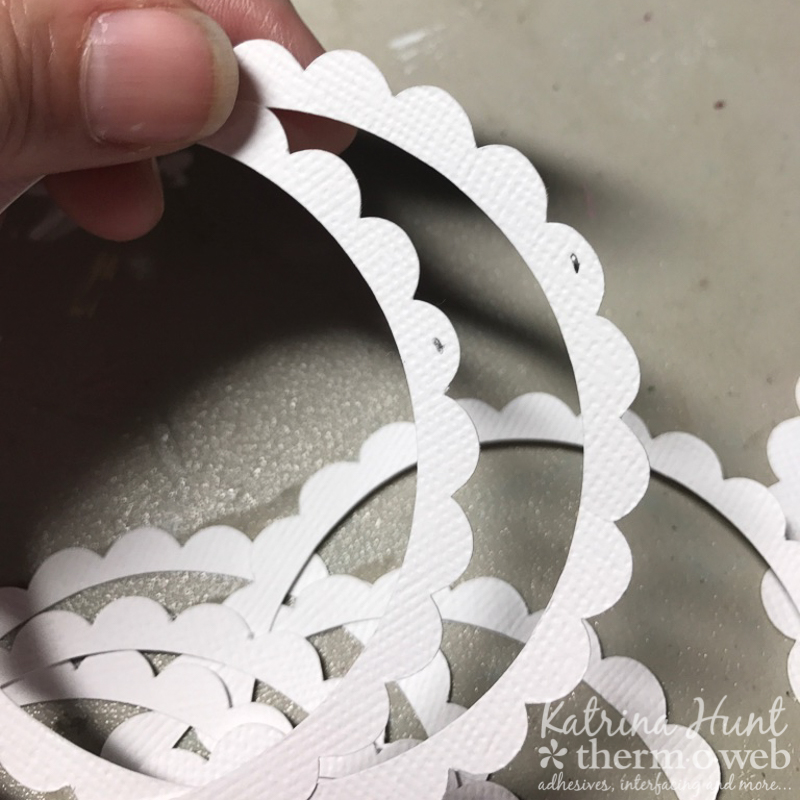
- In addition, if you use an electronic die cutter, your cut file may not be exactly even. Mine wasn’t. So to make sure the circles were lined up properly, I placed a dot on one, and then lined up the next cut on top, then placed a dot on that cut. After that, then when I went to adhere them together I could easily match the shapes up.
- Finally, after adhering your glued together stack of shapes on the front of the card, fill the area with a few sequins, beads or glitter. Apply the Mixed Media adhesive to an acetate or plastic piece that will fit over your open area. It doesn’t have to be perfect, just keep your shaker goodies in the opening. You will hide with this layer with another cutout shape. I cut the shape for the top out of a coordinating pattern paper.
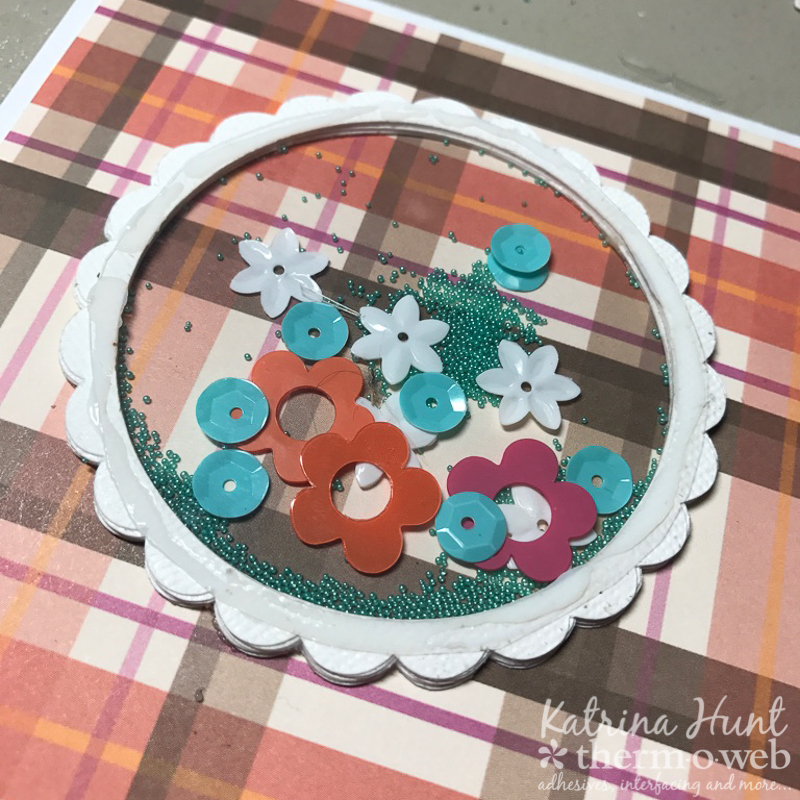
- After you have completed the shaker part, adhere stamped colored image to the top part of the shaker and then stamp a sentiment. Adhere sentiment to card front using Sticky Dot Mini Tape Runner and 3D Foam Adhesive Squares.
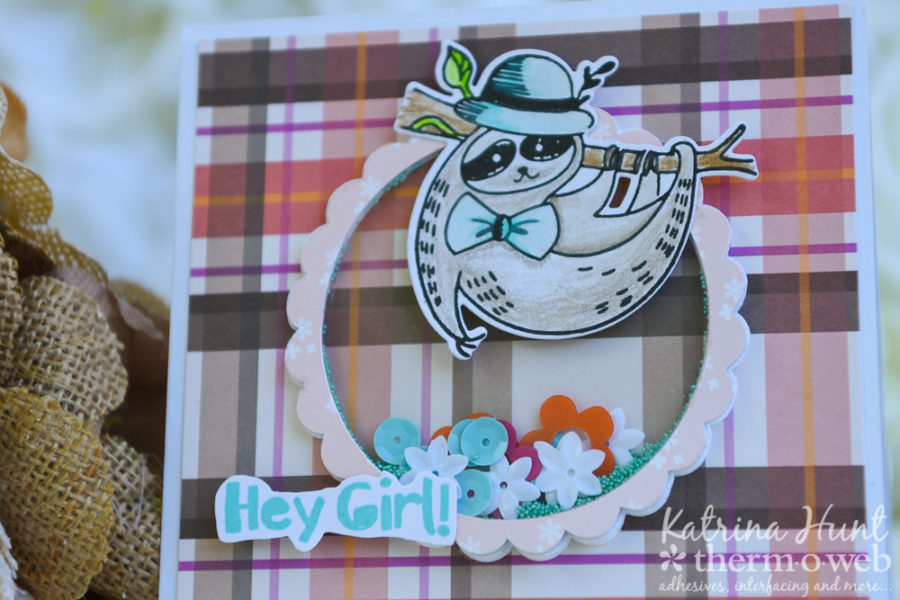
Thanks for stopping by during our Waffleflower week! And if you haven’t check out all the products I used, you need to! They make paper crafting fun and easy!
 How would you like a chance to win some our of Deco Foil, Gina K. Designs and other products? We’re giving away a $30 Gift Certificate which means you can select the products you’d like! Simply follow the Rafflecopter steps to enter to win! We’ll pick one random winner next Monday morning! It might be YOU!

Mary Holshouser
July 26, 2017 at 1:25 pm (8 years ago)Couldn’t get along without Thermoweb. Would love
to be able to go shopping. So many things I want.
thanks for sharing.
kajunhunnie
July 26, 2017 at 3:45 pm (8 years ago)Love this card!