Hi Everyone, It’s Becky from Patchwork Posse. Home of fun sewing projects, quilt alongs, and a lot of chit chat!
Place mats are super quick and simple to sew. This project is great for using your scrap fabric strips too.
To help the mat last a bit longer, it has been covered with the Iron-on Vinyl. This makes it super easy to wipe down when you spill a little bit.
Before we start with that, let’s get our piecing done.
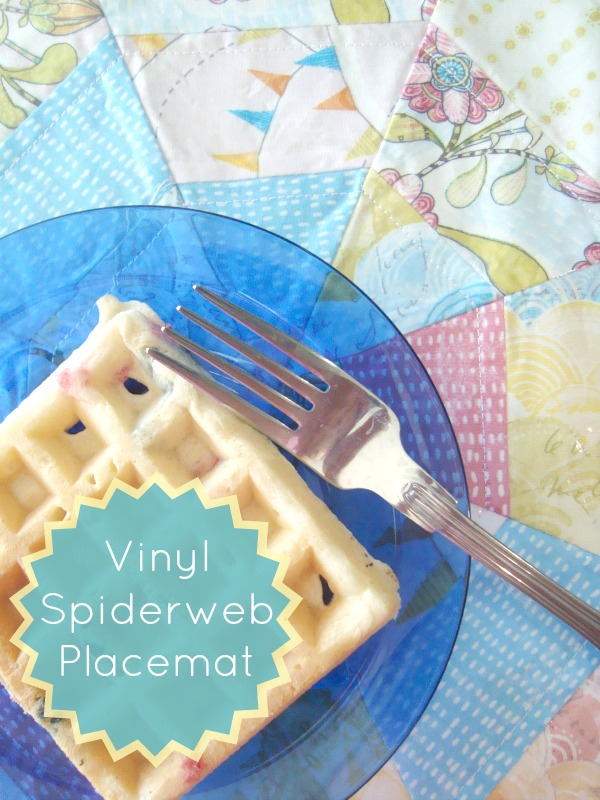
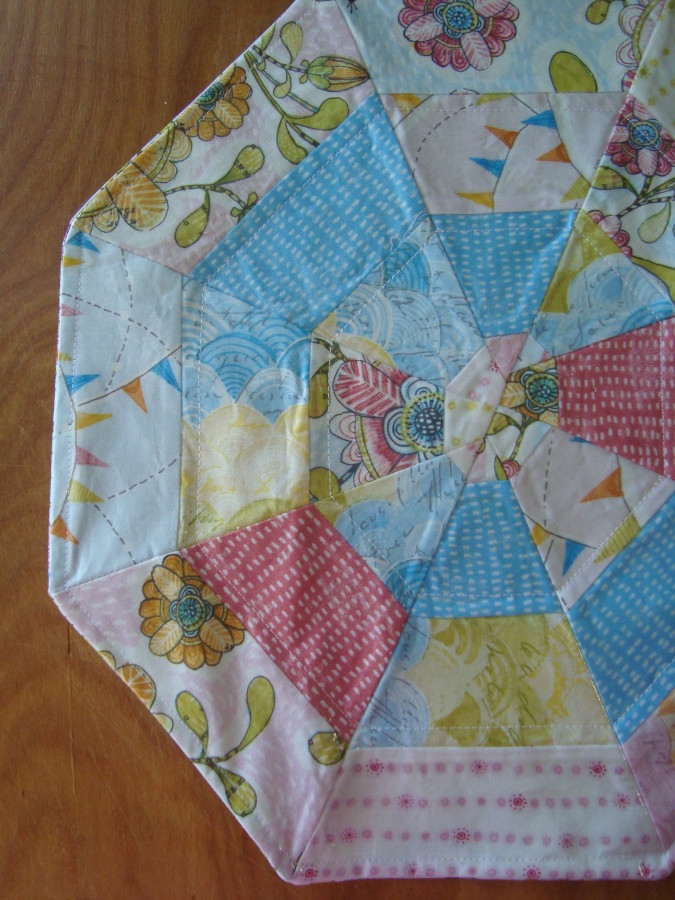
The place mat is made with a spider web pattern. It looks a bit complicated, but don’t worry, it’s not! Simple strip piecing is all you need to do with a template you make yourself.
Let’s get started!
Materials needed:
16– 2 1/2″ X 11″ strips
15″ X 15″ backing fabric
card stock paper for template
Make your Template:
1) Cut a rectangle out of card stock paper 6 1/2″ X 7 1/2″
2) Along the top – measure 3 3/4″ from the left corner and mark a small dot
3) Along the top – measure 3 3/4″ from the right corner and mark a small dot
4) Draw a line matching the top dot to the bottom corner of each side
5) Cut from the bottom right corner to the top right dot
6) Repeat the cut on the left side
Your template is ready to use!
Instructions:
1) Sew 4 strips together- repeat with the other strips until you have 4 sections of 4 strips together
2) Using your template, line it up at the bottom and then cut using a ruler on top of the template
3) Flip your template over and line it up along the top edge and cut a second piece
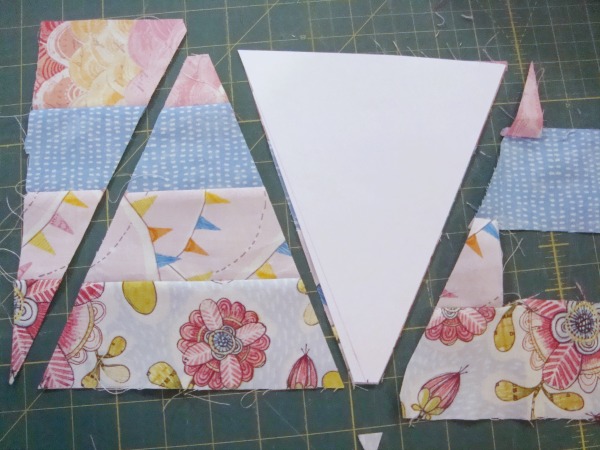
4) Repeat until you have 8 fabric triangles
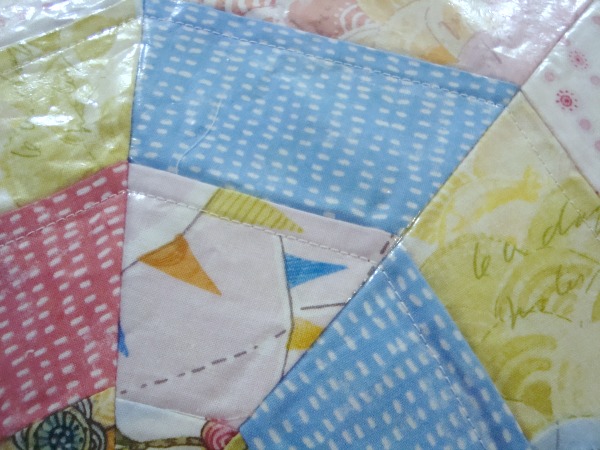
5) Arrange them in the order you’d like and sew 4 together. The sides will match up as well as the seams
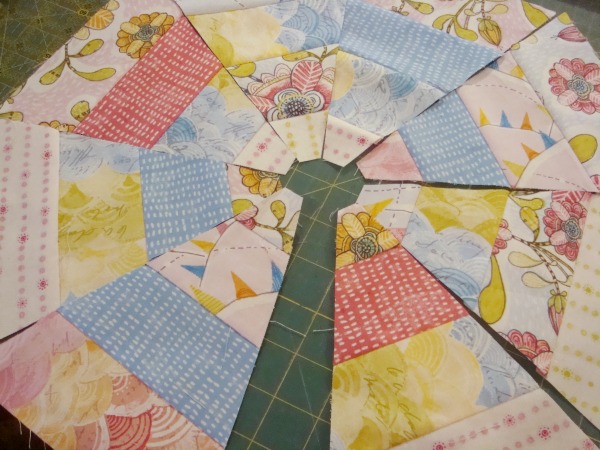
6) Take a ruler and cut the bottom of the section so it is straight
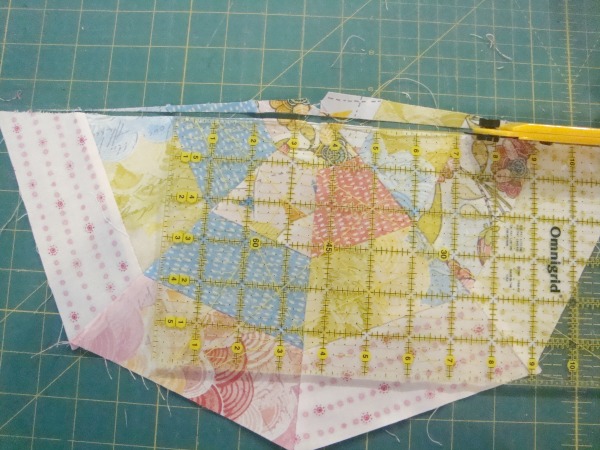
7) Sew the two sections of 4 triangles together
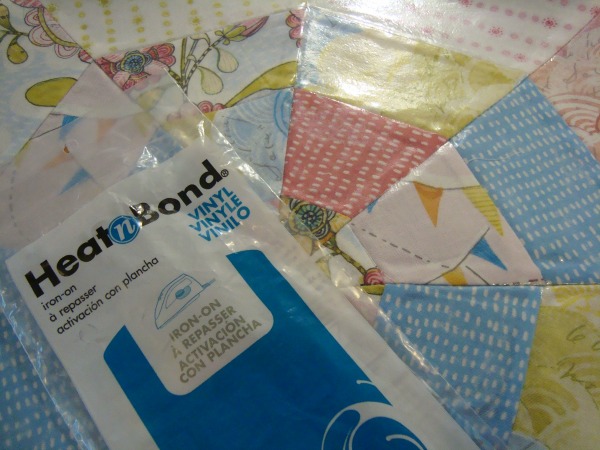
8) Following the instructions for the HeatnBond® Iron-On Vinyl, apply this to the right sides of the octagon shape. Make sure you remove all the strings before you do this, or they will be trapped in the vinyl!
9) Lay your octagon on top of the backing- right sides together
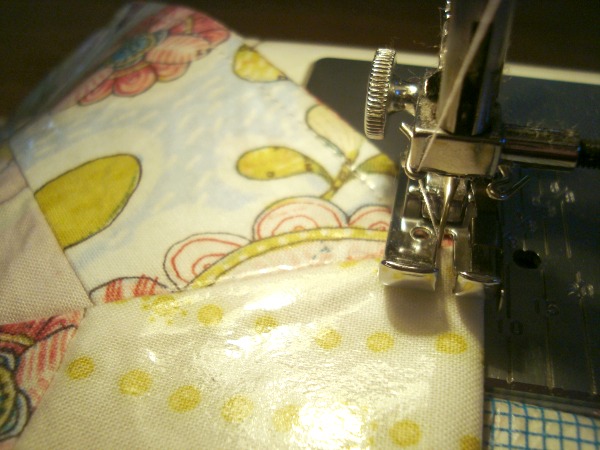
10) Pin at each point, as the vinyl is slick it will shift while sewing, so pin it to keep it in place
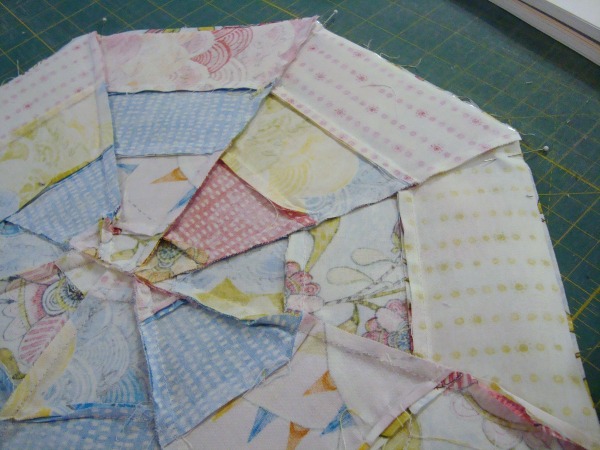
11) Sew all the way around the outside of the place mat, leaving a 3″ opening for turning
12) Turn right sides out, push corners out with a stick and hand stitch the opening closed
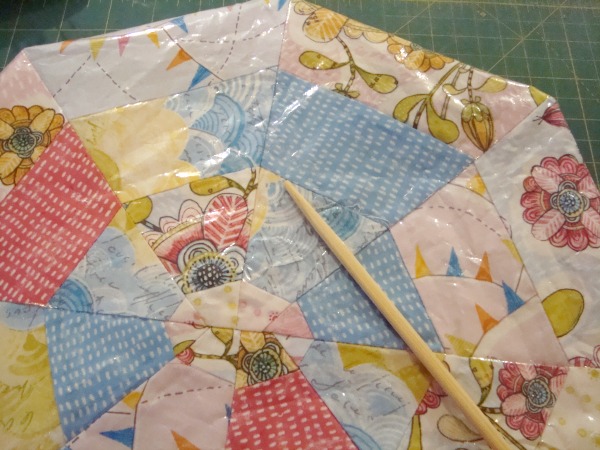
13) Sew 1/4″ from the outside edge around the whole place mat. Repeat with a few other quilt stitching if you’d like
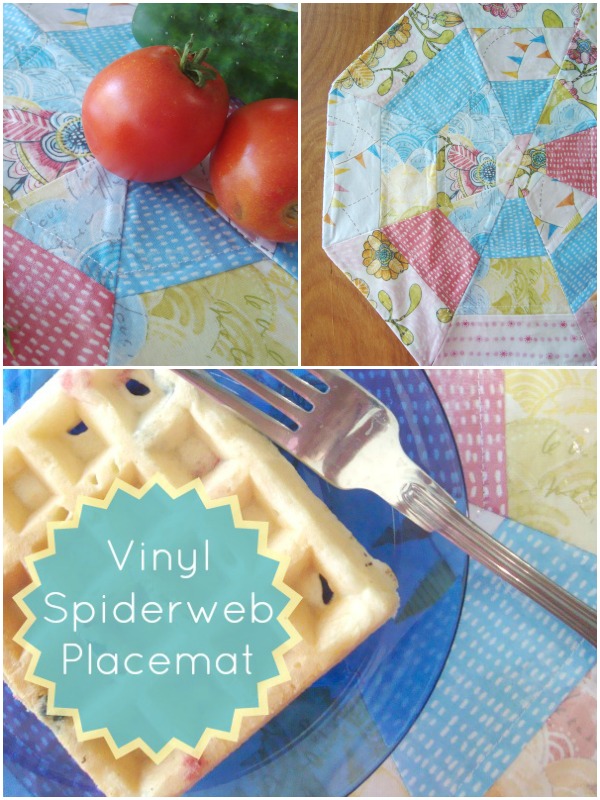
It’s the perfect size for snacks, breakfast or whenever. The vinyl lets you quickly wipe and use again. Great for little kiddos.
For more quilt tutorials and easy sewing projects, stop by my blog or facebook.
– Becky
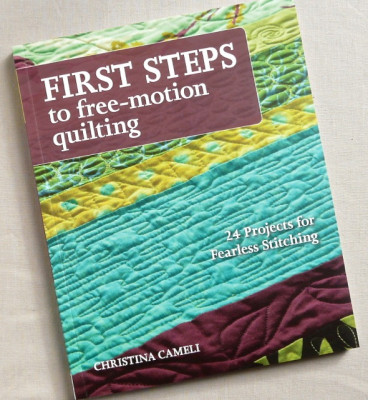
To go along with our fun Quilt Week we’d like to give you a chance to win some fun goodies including this NEW Idea Book from Designer Christina Cameli!



Linsey
August 7, 2014 at 7:42 pm (11 years ago)What a beautiful and unique placemat! I’ve never made a version like this and it’s super inspiring! I’d love to be even more inspired with that great idea book and some fantastic Therm-o-web supplies! I want to make a fall table runner and placemats for my table come Autumn and perhaps some coordinating throw pillows with a cool free hand stitch on the front–I want to expand on my artistic side of sewing so my imagination is the limit! 🙂 Thanks so much for all you do! xoxo
Sarah C.
August 9, 2014 at 7:50 am (11 years ago)Not Sure what I would make but I sure do need the practice w freemotion.