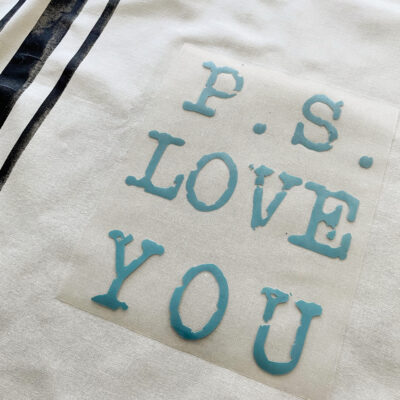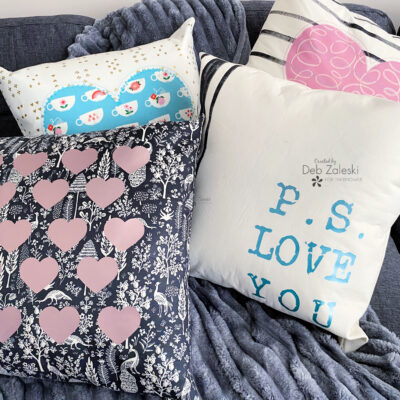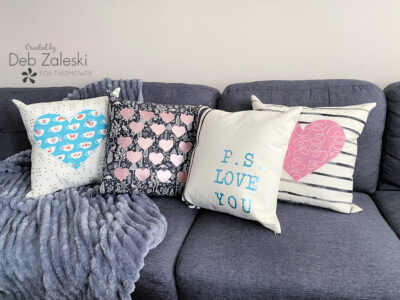
It’s time to get creative so gather your supplies and tools!
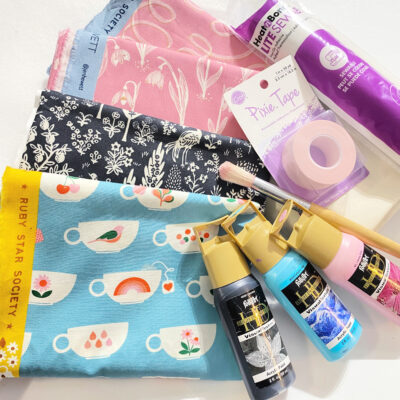
SUPPLIES:
- HeatNbond Fusible Fleece
- HeatNbond Lite
- Pixie Tape
- Various quilter’s weight cotton prints
- 18″ x 18″ pillow forms
- Acrylic paint and paintbrush
- Zipper (optional)
- Thread
- TOW Valentine’s Day Pillows Downloadable SVG and pattern template
- HTV to use with an electric cutting machine
TOOLS:
- Iron & ironing board
- Sewing machine
- Scissors
- Rotary cutter and self-healing mat
- Cutting machine (I’ve used the Brother ScanNcut)
GETTING STARTED:
1. Download the ZIP file (TOW Valentine’s Day Pillows) Print the pattern template PDF actual size – DO NOT “fit to page” or “shrink to fit.” You will find everything you need to make so many different pillows, there are even a couple extra designs in there! Choose the design you’d like to make and get started.
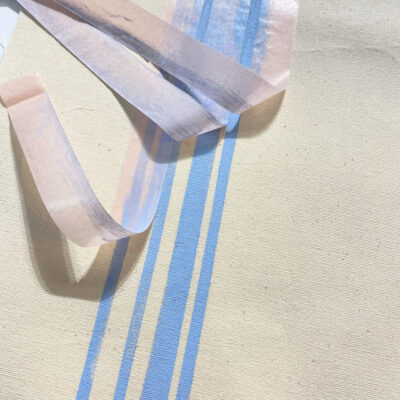
2. For one pillow cut out two 19″ x 19″ squares. I couldn’t find the striped fabric I wanted, so I made my own by taping Pixie Tape to the front of the fabric to cover the areas I wanted to keep natural, and using acrylic paint to create the stripes. Allow the paint to dry completely before removing the Pixie Tape.
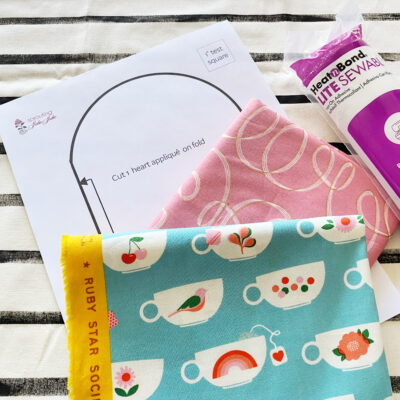
3. While the paint is drying, use the heart-shaped template to cut out a heart in the fabric of your choice and apply HeatNBond Lite to the back of the fabric heart.
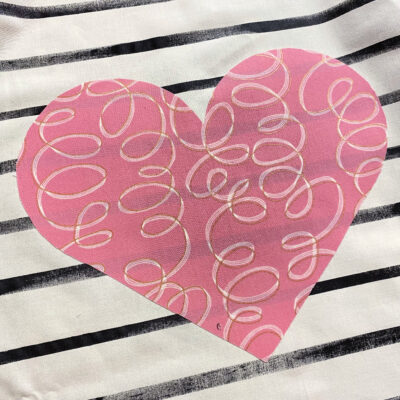
4. Place the fabric heart on the front of the pillow and fuse the heart to the pillow with a hot iron NO STEAM. I like to use HeatNBond Fusible Fleece to give extra body to my pillow covers. Now is the right time to apply the fleece to the 19″ squares.
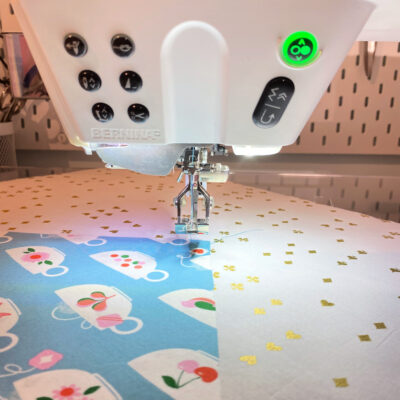
5. Select a decorative stitch on your sewing machine and sew around the perimeter of the heart. Assemble the rest of the pillow by sewing in a zipper and then sewing right sides together around the perimeter of the pillow case with a 1/2″ seam allowance. Or, sew around the perimeter of the pillow case, right sides together, leaving an opening to insert the pillow form. Close the opening with a ladder stitch.
Now you’re ready to move on to the next pillow!
TIPS:
Make sure your SVG files are edited to be mirrored if you’re using an HTV to apply them to fabric, especially if there are sentiments or words in the SVG. Allow the fabric and vinyl to completely cool before removing the protective film. Use contrasting colors, and it’s okay to use colors and fabrics that aren’t traditionally associated with Valentine’s Day. Finally, enjoy the creative process!
