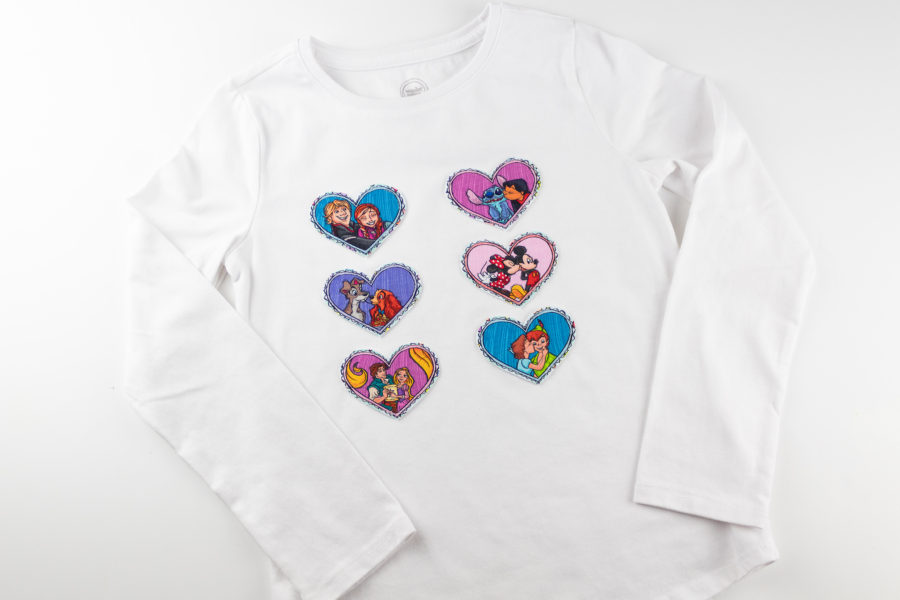
Hello my crafty friends! Gail here from Sunflower Seams Pattern Co. Today I am sharing with you a quick and cute Valentines Day tutorial.
I don’t know about you but I have been struggling to find time for all of the crafty things I want to do this past year. We are all stuck at home, but I feel like I have less time now than I did when we COULD go out! Needless to say, I am LOVING quick and easy crafts right now. And this is a quick one that literally anyone can do.
Heart Applique Shirt
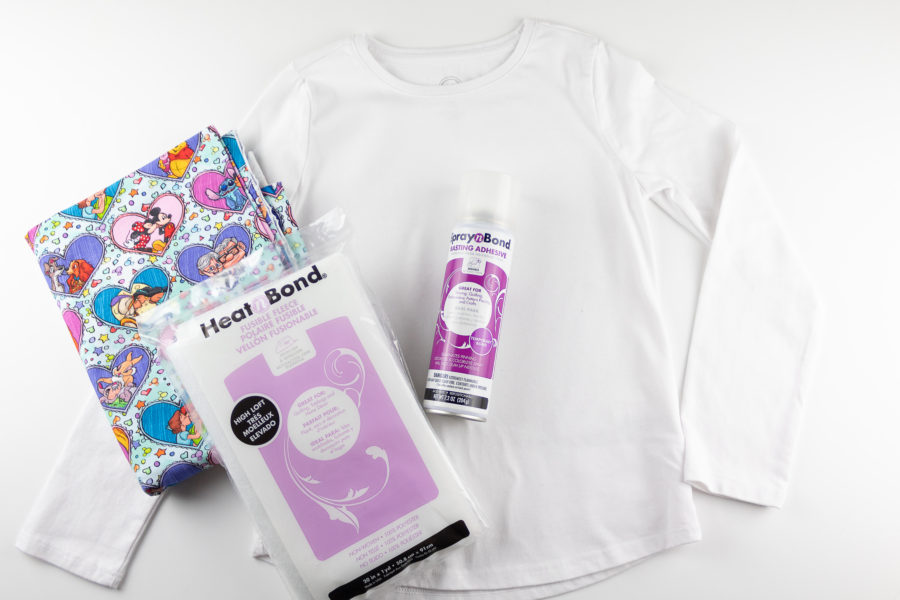
Supplies Needed:
- A plain t-shirt, any color will do!
- Scraps of your fav fabric
- HeatnBond Fusible Fleece to add some extra puff to our hearts
- SpraynBond Basting Adhesive
- An Iron
- And something to mark your fabric with (a pen or chalk works!)
Instructions:
Please read through the instructions completely before sewing.
Step 1
The very first thing you need to do is to make yourself a heart template. My fabric actually had hearts already on it so I didn’t need a template. But to make one, you simply fold a piece of paper in half and draw half of a heart so that the middle of the heart is on the folded edge of the paper. Now cut out your heart template and open up the fold and voila! You have a symmetrical heart. So easy, right?
Step 2
- If you are tracing your hearts onto your fabric, do so now. Don’t cut anything yet!
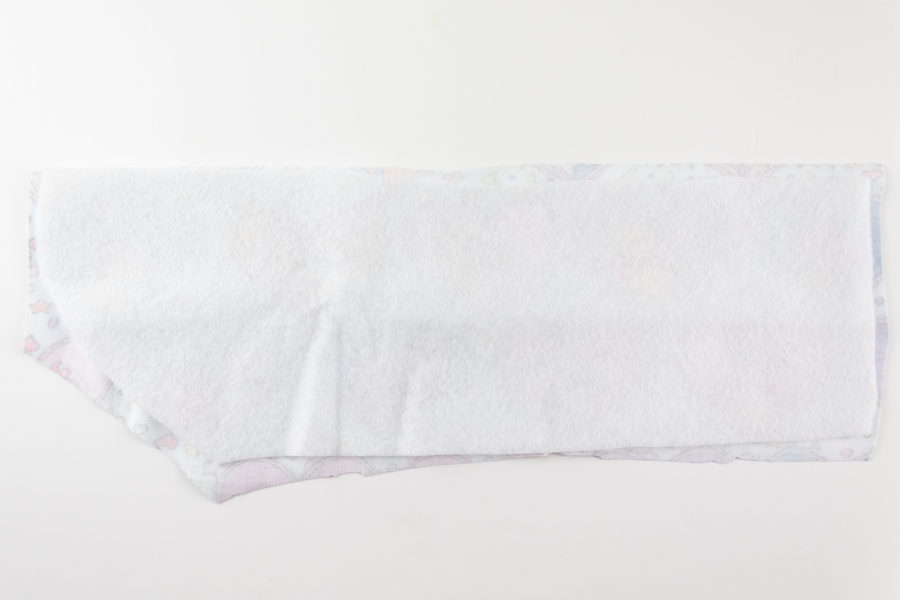
- Using your iron, fuse the HeatnBond Fusible Fleece to the WRONG side of your applique fabric. As you can see below, I just cut around the design and didn’t worry about making perfect edges yet.
Step 3
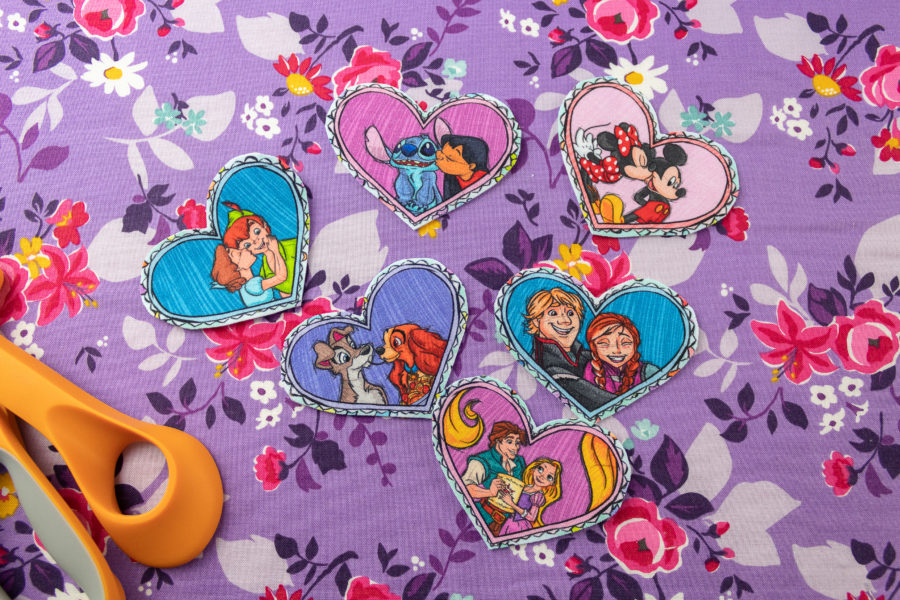
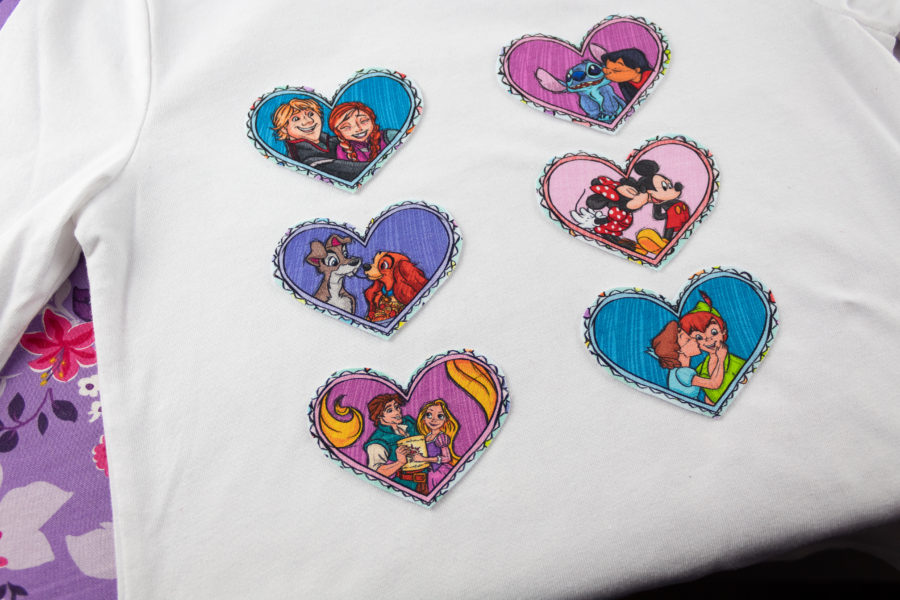
- Using fabric scissors (or just some sharp scissors) cut around the heart that you traced. I used a total of 6 hearts and picked the ones with my daughters favorite characters.
Step 4
- Spray the back side (the side with the fusible fleece) with the SpraynBond Basting Spray following the manufacture directions.
- Now place your hearts in the layout of your choice. The basting spray is AMAZING, you can peel back up and stick back down any of the hearts as needed to adjust them and they held up so well when sewing. And best of all, no sticky residue!
Step 5
- Topstitch around the hearts using your favorite stitch. Using a heavy stitching around the edges helps to hide the edges making the poof of the fusible fleece underneath look a little extra fun!
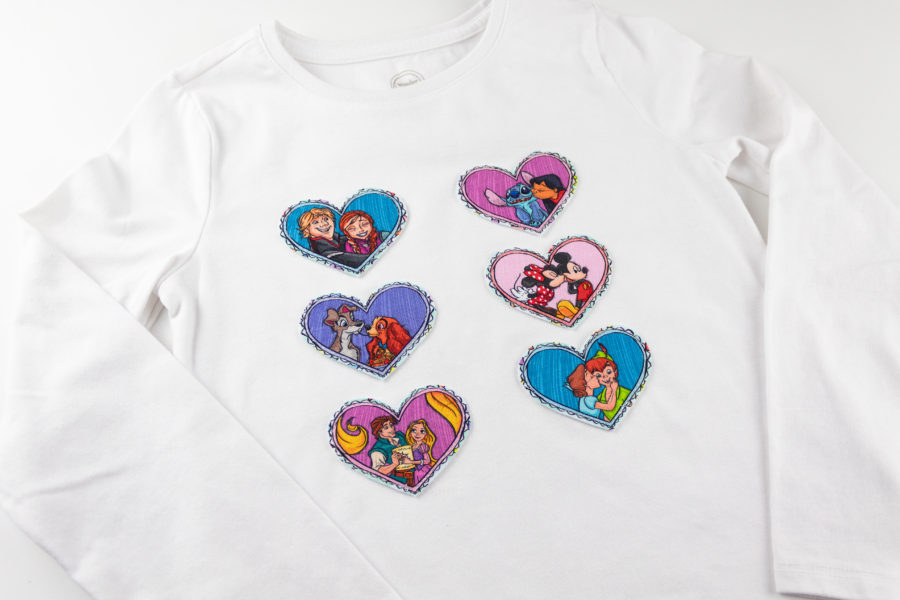
Now you’re done! I told you that would be quick and easy.
Happy Sewing, xoxo Gail
