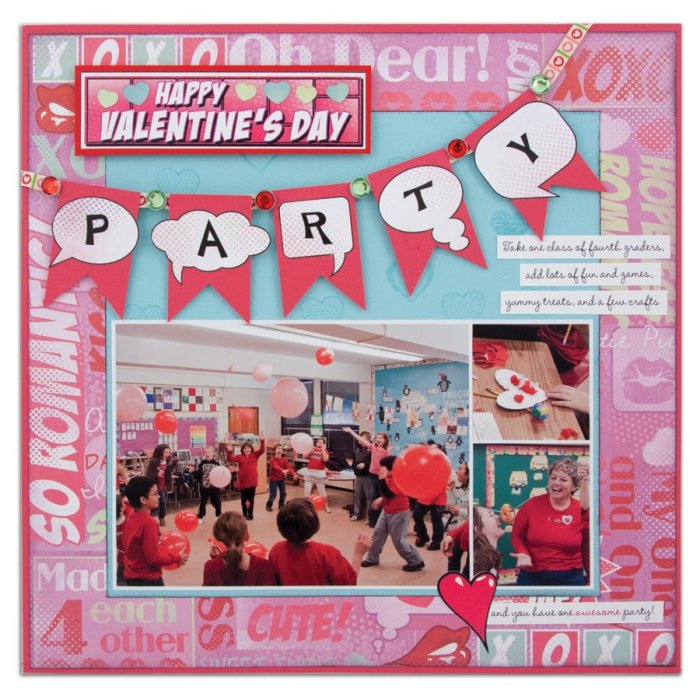
Hi there, Alice here today with another Valentine’s Day idea – the Therm O Web team sure has this holiday covered! Today I’m sharing a layout I created using photos from my youngest son’s last Valentine’s Day party at school when he was in fourth grade. (Now that he is in middle school apparently no one wants to even acknowledge that a holiday all about love even exists, never mind celebrate it… sigh).
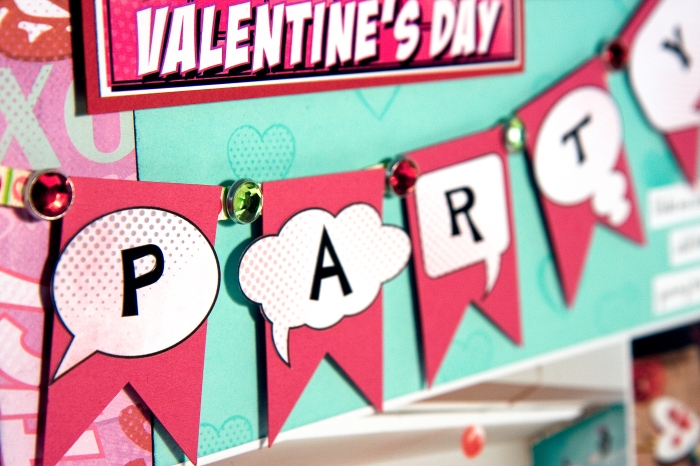
The fun part of this layout was creating the banner, so I thought I would show you a little more about how I did that.
I die cut the flags and fussy cut the thought bubbles out of patterned paper then added the letter stickers, as shown.
Since I was using a rather stiff, flat ribbon it needed a little help taking on the curved shape of the banner – my mini stapler was just the thing and the staples are hidden behind the flags (that can be our little secret, okay?).
I used SuperTape to attach each flag to the ribbon.
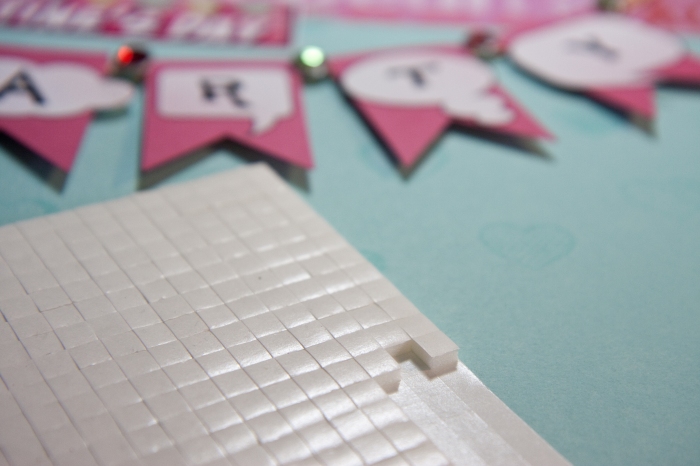
and foam squares to add some dimension to each flag, as well as holding it securely in place.
I also used SuperTape to adhere the ends of the ribbon to the back of the layout.
For a complete supply list and step-by-step instructions for creating the entire layout, be sure to check out the online bonus projects in the next issue of Paper Creations magazine.
Until next time… Happy Crafting!


erin
January 23, 2012 at 10:32 pm (13 years ago)This is adorable, Alice!