 Hello Friends!
I’m Dori, and I’m new here on the Therm O Web blog and so eager to begin sharing all sorts of fun fabric projects! I don’t know about you, but beautiful fabric is just about my favorite thing in the world – my sewing studio is proof of that! With Valentines Day right around the corner and my mind on all the pink hearts and flowers, I’m excited to share a sweet project that you can hand deliver to your favorite Valentine!
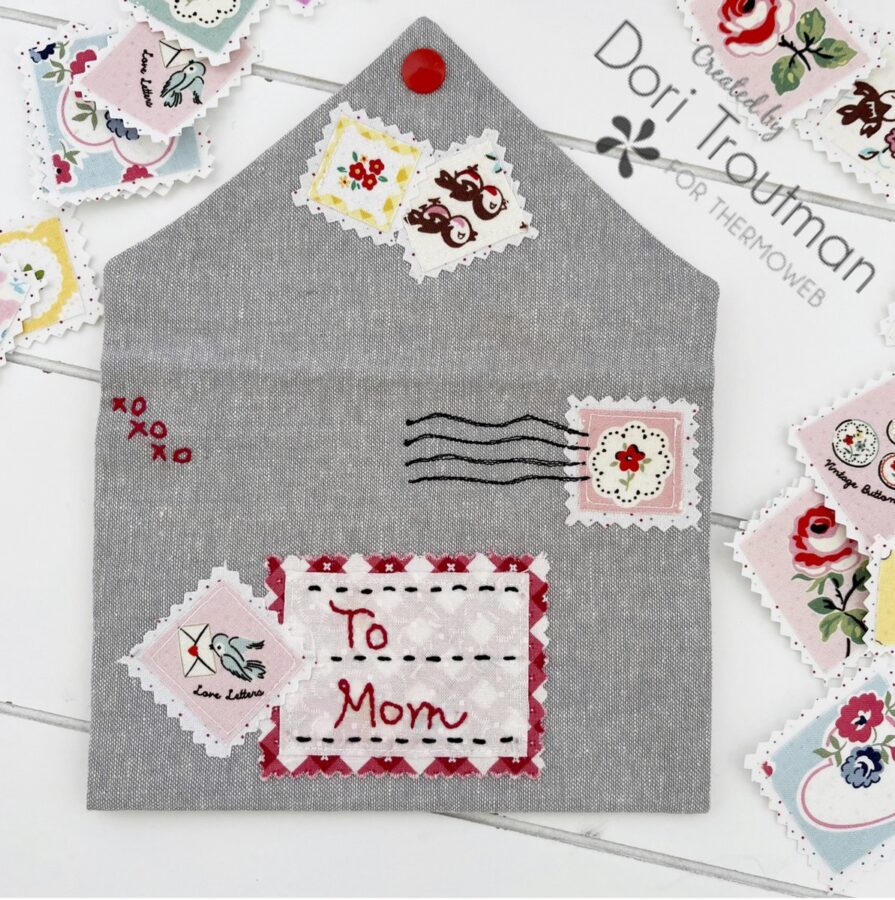
Valentine Love Letter Envelope Pouch
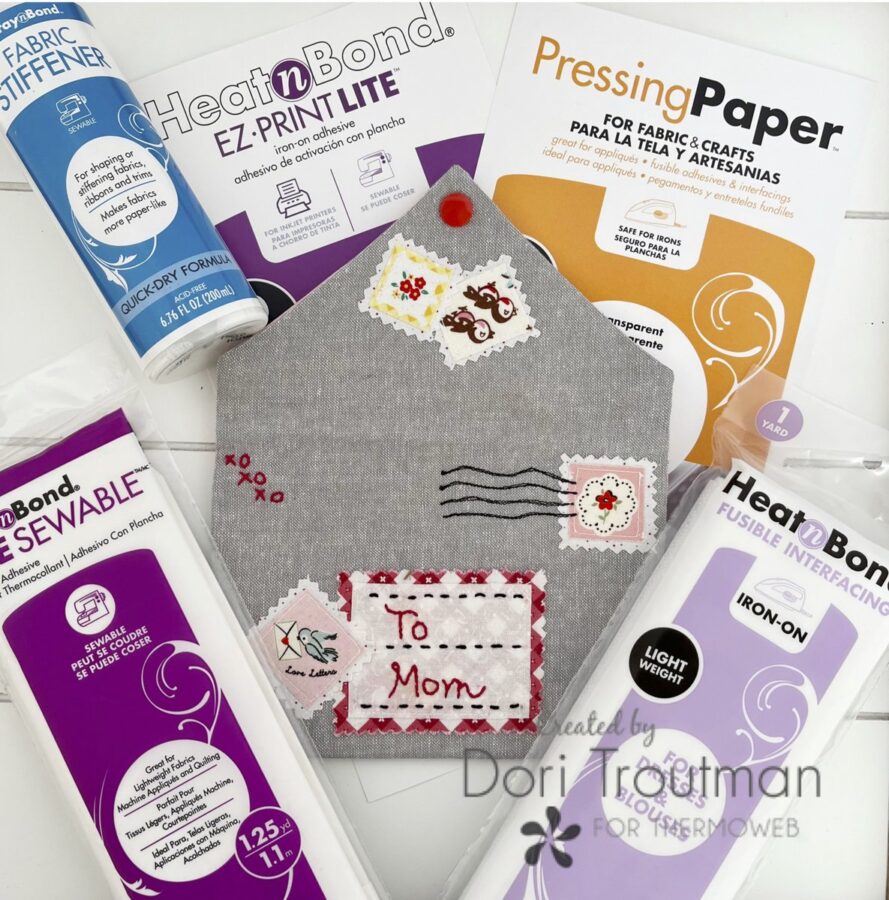
Supplies:
- Fabric scraps (choose numerous little scraps with a design that can be cut around to form a stamp)
- White or low-volume fabric; approximately 8.5 inches by 11 inches (I used Country Confetti Marshmallow White by Poppie Cotton)
- Exterior fabric for pouch: 8 inches by 16 inches (I used a gray Essex Linen from Hobby Lobby)
- Interior fabric for pouch lining: 8 inches by 16 inches (I used an out-of-print pink floral)
- Heat n Bond Lightweight Non-woven Fusible Interfacing 8 inches x 16 inches
- Heat n Bond Lite iron-on adhesive
- Heat n Bond Lite EZ-Print Iron-On Adhesive Sheet
- Spray n Bond Fabric Stiffener
- Pressing Paper
- Printable Pattern Valentine Envelope Pattern
- Snap for closure
- Scissors
- Sewing Machine
- Straight Pens
- Iron
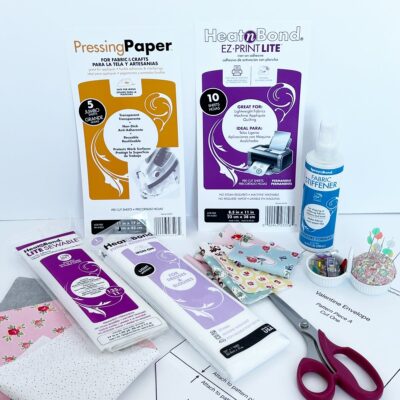
Step by Step Sewing Instructions:
Step One: We are going to begin this project by making our fabric stamps! This is actually my favorite part of the project and one that I think you will really enjoy! Let’s start by gathering small fabric scraps that you can “fussy cut” around a particular design or object. Roughly cut them out with scissors, iron so that they will lie flat. (These do not have to be cut in a perfect square.) You can make as many or as few as you’d like. They are actually really fun to have on hand for other projects, so I made WAY more than I needed for this project!
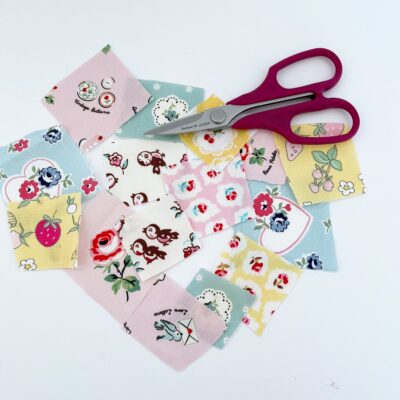
Step Two: Place all your little fabric scraps on a sheet of Heat n Bond Lite; the adhesive side facing up, the wrong side of the fabric facing down. You don’t have to be too particular about the placement… just place them together so they are touching, but not overlapping.
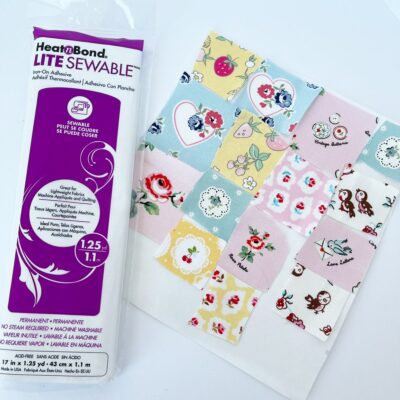
Step Three: Once you’ve laid them all out, carefully place a sheet of Pressing Paper over the top and iron them in place. The Pressing Paper is fabulous because it holds all the stamps in place while you are moving your iron around AND if there are any spots where the adhesive is not covered with fabric it keeps it from sticking to your iron! These pressing sheets are reusable, so be sure to place them back in the bag for safekeeping until you need them again!
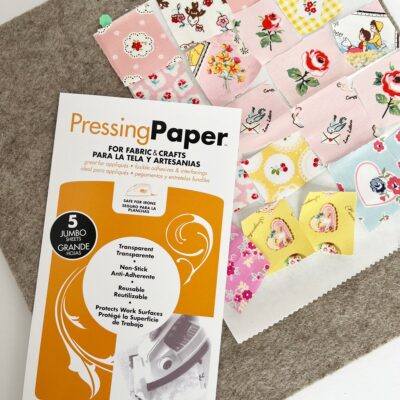
Step Four: Remove your pressing paper and confirm that each stamp adheres. Now you will use your scissors and just cut around each fabric scrap. You can just do this quickly until you have them all cut out.
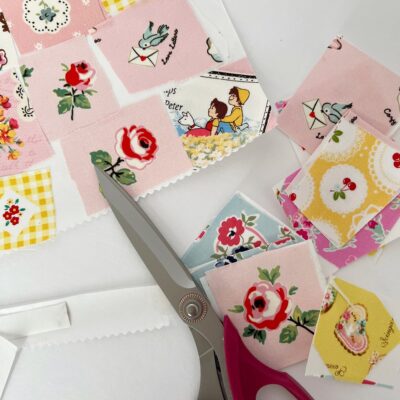
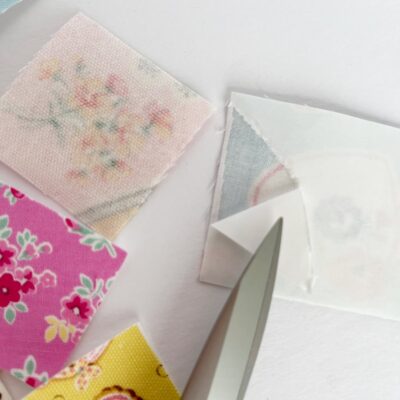
Step Five: Take the time to carefully cut each fabric stamp to the exact size you want. I just use sharp scissors, but you could also use a ruler and rotary cutter. Turn the fabric stamps over and using the sharp point of your scissors, score a little spot on the paper backing of each stamp. Use this to help in removing the paper. Set them aside for now.
Step Six: Take your white (or low volume) fabric piece and iron it to a sheet of the Heat n Bond Lite. Be sure to iron the wrong side of the fabric to the adhesive side of the Heat n Bond. Do not remove the paper backing.
Step Seven: Take all your little fabric stamps and carefully lay them on top of the white fabric. Be sure to leave at least 3/8 inch of white fabric between each stamp. Lay them out as uniformly as you can. Place the Pressing Sheet on top and iron again.
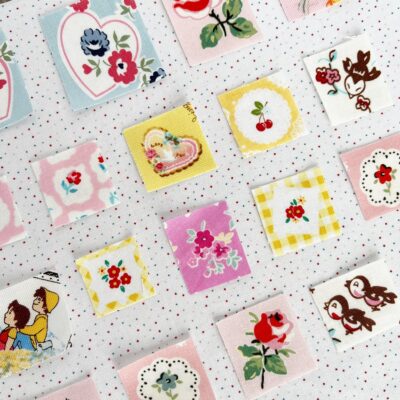
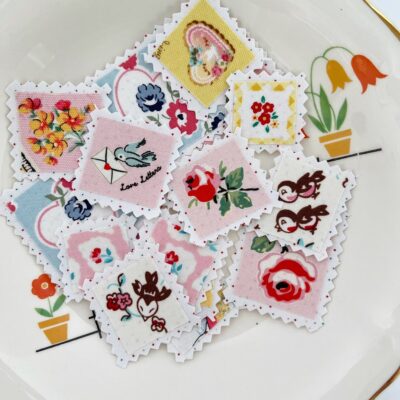
Step Eight: Once all the fabric stamps have adhered to the white fabric, you will take Pinking Scissors and cut around each stamp, making sure there is a little white border showing… this is what creates the stamp effect! Continue until all your stamps are cut out. Set them all aside for now! (Aren’t they the cutest things EVER?!)
Let’s proceed with the Envelope Pouch part of the project now!
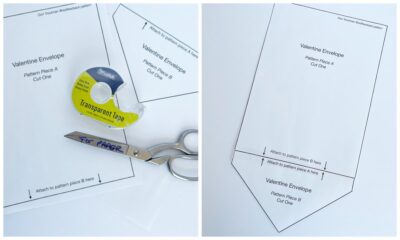
Step Nine: Print the pattern by clicking here: Valentine Envelope Pattern There are two pages to the pattern; be sure to print them at 100% in size. Once you have printed both pages, attach pattern piece A and pattern piece B by taping at the specified solid lines. Cut around the pattern and set aside. (Don’t use your good sewing scissors to cut paper!)
Step Ten: Using the pattern, cut one each of your exterior fabric, interior fabric and fusible interfacing.
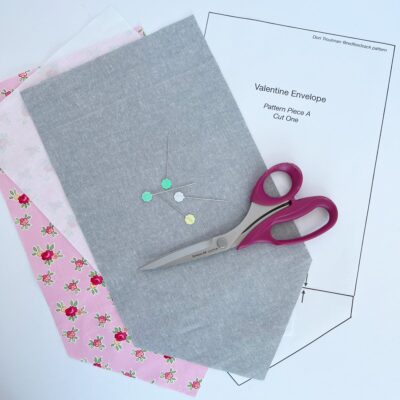
Step Eleven: Fuse the interfacing to the wrong side of the interior fabric. Use Spray n Bond fabric stiffener on the back side of the linen fabric piece (follow instructions on the back of the bottle). This creates a more stable envelope as well and gives it a nice crisp finish.
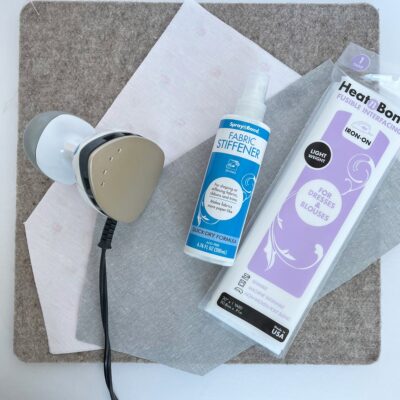
Step Twelve: Fold your exterior fabric in such a way that it creates an envelope look. It’s just a little trial and error to get it right, but I folded the bottom up 4.5 inches and the top (pointed) part down until the envelope was about 5 inches. Press a crease at the two folds. Open the envelope back up to a long piece.
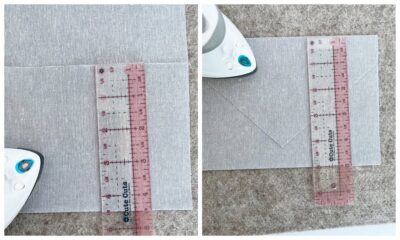
Step Thirteen: Now get creative and have fun with the front part of the envelope. This will be the middle section between the two creased lines. Once you determine where you’d like to place your fabric stamps, remove the paper backing before you iron them to the envelope front. (Be sure to leave a half inch along the side edges as this will be the seam allowance.)
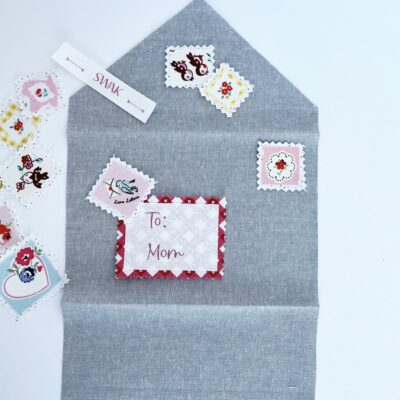
Step Fourteen: OPTIONAL!!! I made a mailing label that I embroidered, but that is a little more work and definitely optional! Feel free at this stage to add any hand embroidery, and to sew your stamps in place with the sewing machine. This is also optional, as the Heat n Bond adhesive on the back of your stamps will hold perfectly, but I always love the added look of stitches!
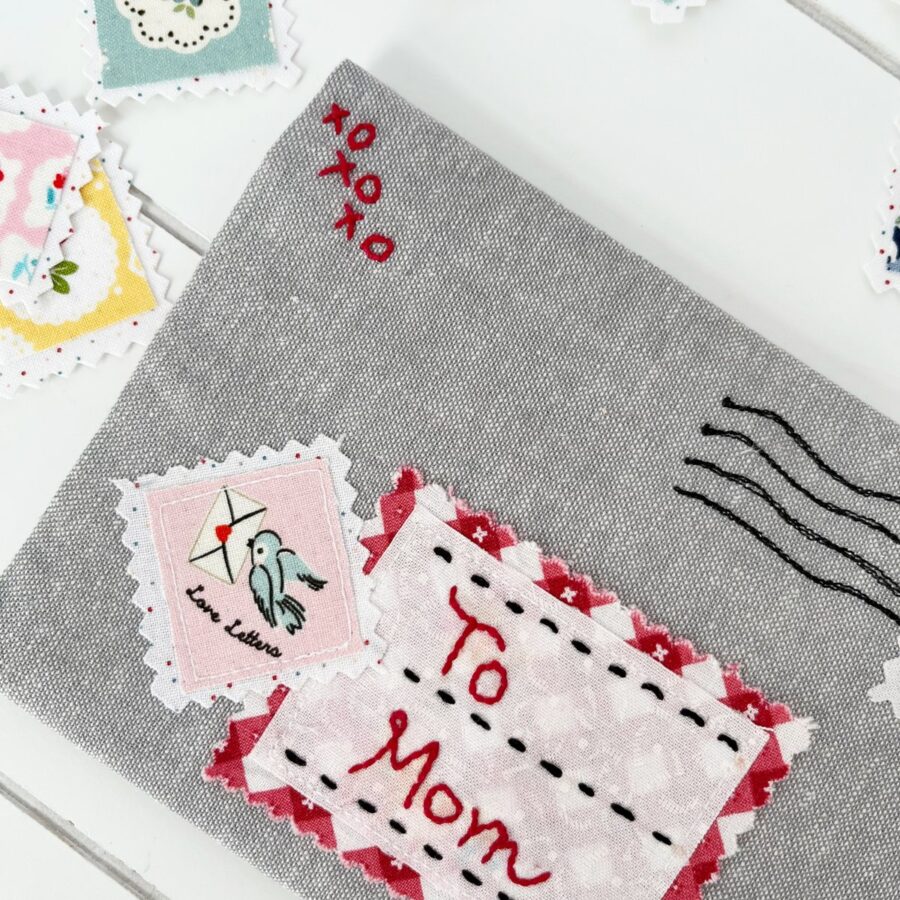
Step Fifteen: Once the front of the envelope is decorated to your satisfaction and everything is ironed in place, move to the back of the envelope. Keep in mind that you will be attaching a snap closure at the point of the envelope so keep that area free.
Step Sixteen: Now we will actually sew up the envelope! Place the exterior fabric and lining fabric’s right sides together and carefully pin them in place. Sew a 3/8 inch seam, leaving a 3-inch section open for turning. Clip corners after sewing.
Step Seventeen: Turn the fabric right sides out through the opening and carefully push out the corners and pointed end. Press until you have very crisp edges all the way around, folding the envelope along the previous folds. Be sure the opening is pressed closed.
Step Eighteen: Attach a snap to the back of the envelope.
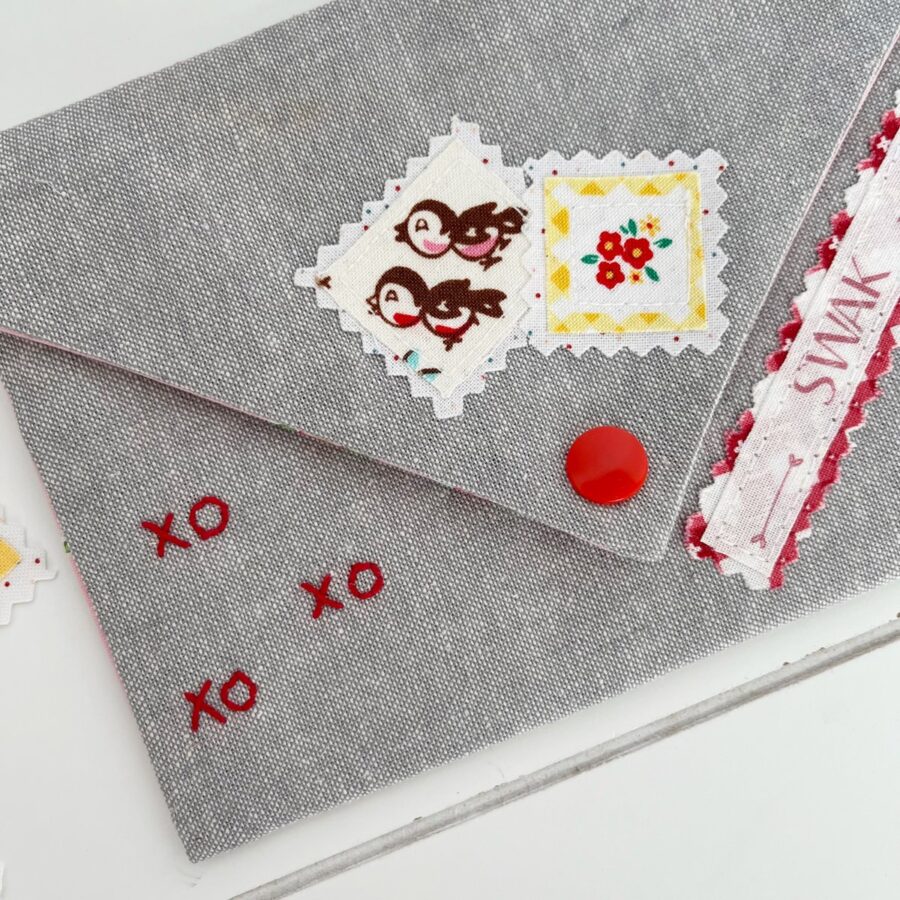
Step Nineteen: Using your sewing machine, carefully sew a top stitch along the edges of the envelope, or you could hand sew a ladder stitch if you don’t like the looks of a top stitch. (I used the hand-sewn ladder stitch on mine.)
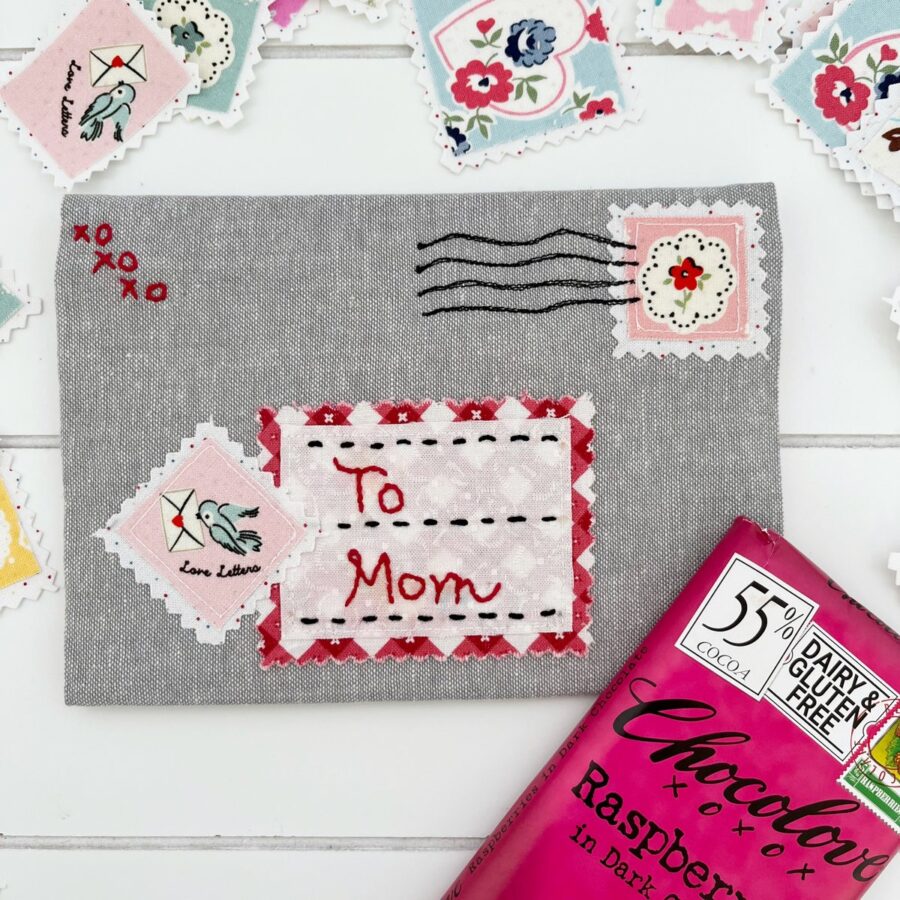
YAY!!! That was a lot of steps, but really it is so easy and so much fun!!! Fill your sweet envelope pouch with fun valentine’s treats, a love letter, and leftover adhesive stamps and hand deliver it to your favorite Valentine!
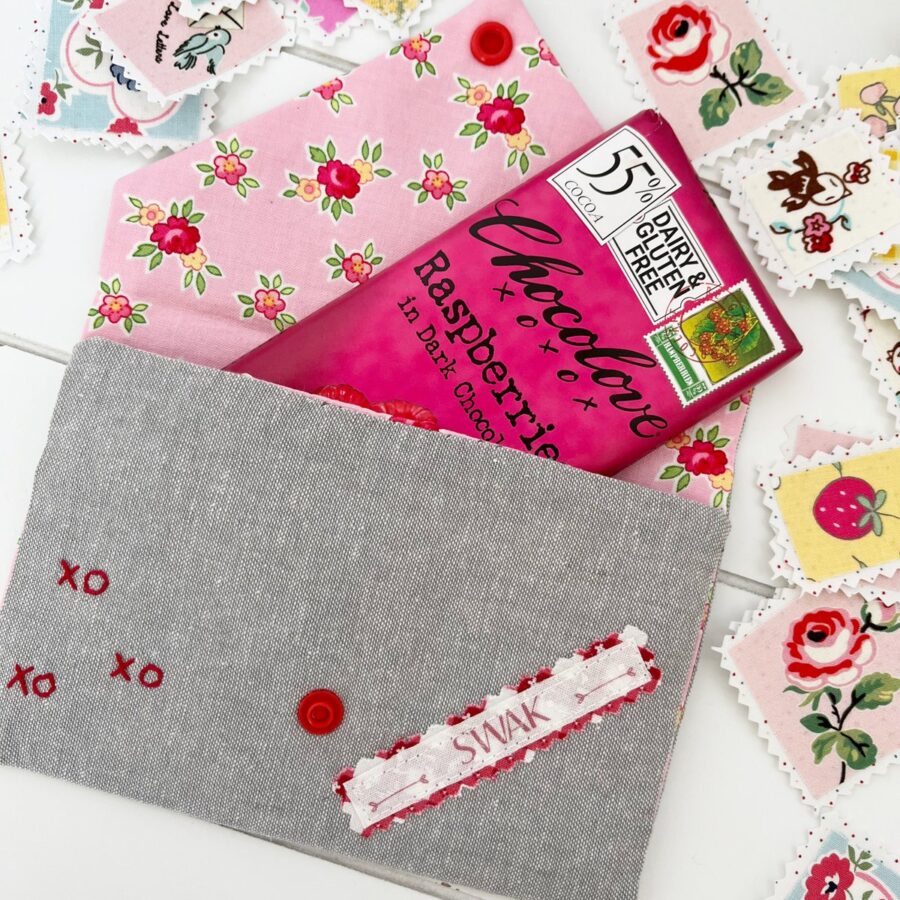
P.S. My mother is visiting me and she insisted that I attach a label on the back that said SWAK because (her words), “Honey, when we mailed a love letter we always wrote that on the back of the envelope”. Do you know what that stands for? Maybe it’s time to bring that back… “Sealed With A Kiss”!! Happy early Valentine’s Days my friends! I’d love for you to come follow me on Instagram! Just click here to find me!

Cindy
January 9, 2023 at 1:51 pm (2 years ago)I adore this pouch! Looking forward to making one. Thank you so much for all the information!