


 There is love in the air as we are quickly approaching February, the month of Valentine’s, and love. All this week we’re celebrating love and of course…hearts as we Heart It Up!
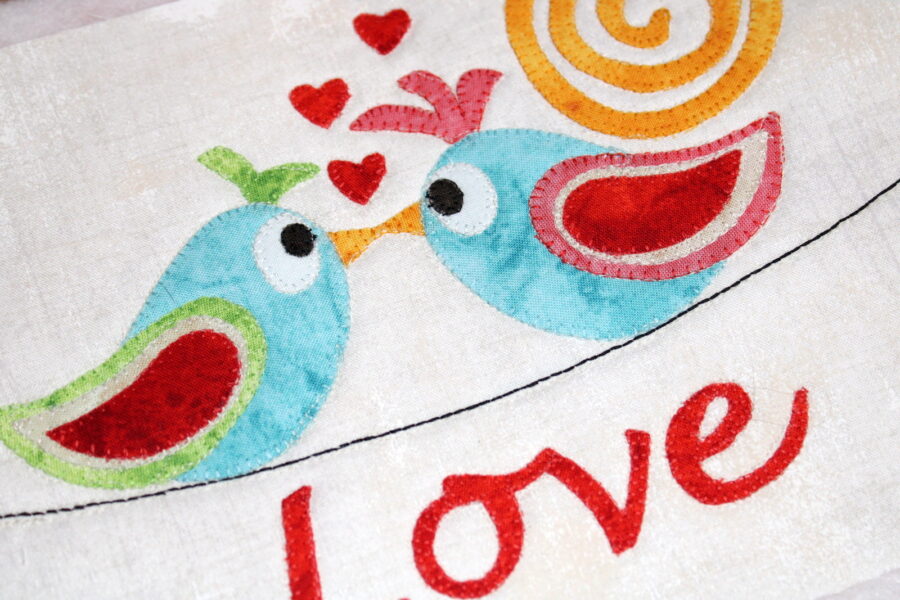
This sweet little mug rug would make a perfect gift for someone you care about!
Love At First Sight, 6″ x 8″
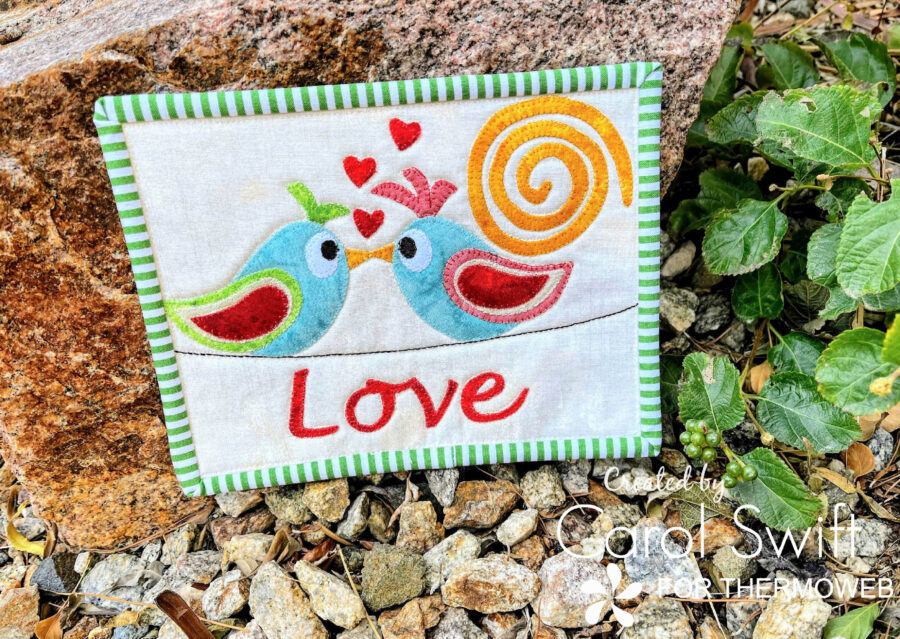
Valentine Birds “Love at First Sight” Fabric Applique Mug Rug
The “Love At First Sight” mug rug is easy to make using ThermOWeb’s amazing products. Adding HeatnBond Liquid Vinyl to the front and/or back makes it waterproof, too!
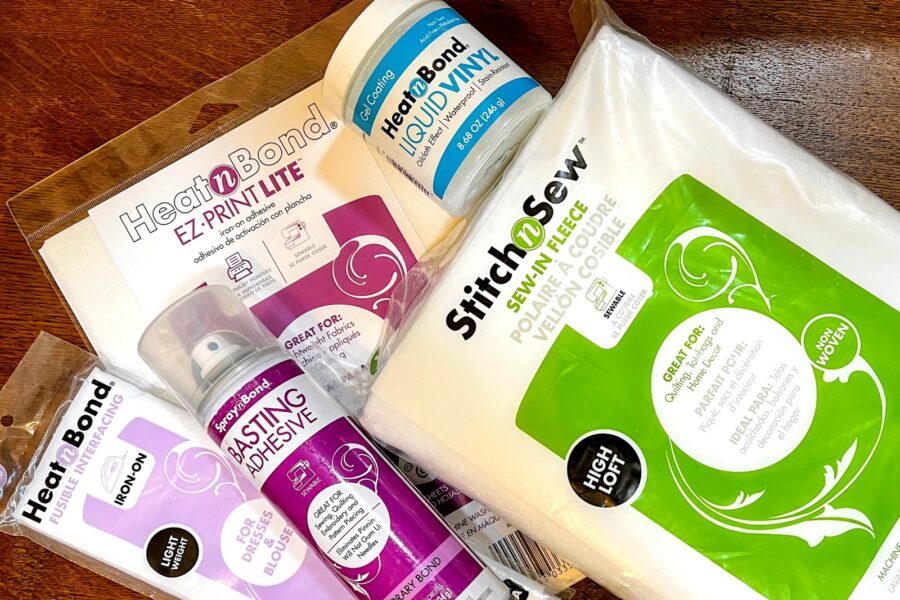
SUPPLIES:
Heat n Bond Lite Iron-on Adhesive or Heat n Bond Lite EZ Print Sheets
Spray n Bond Basting Adhesive
Stitch n Sew High Loft Fleece
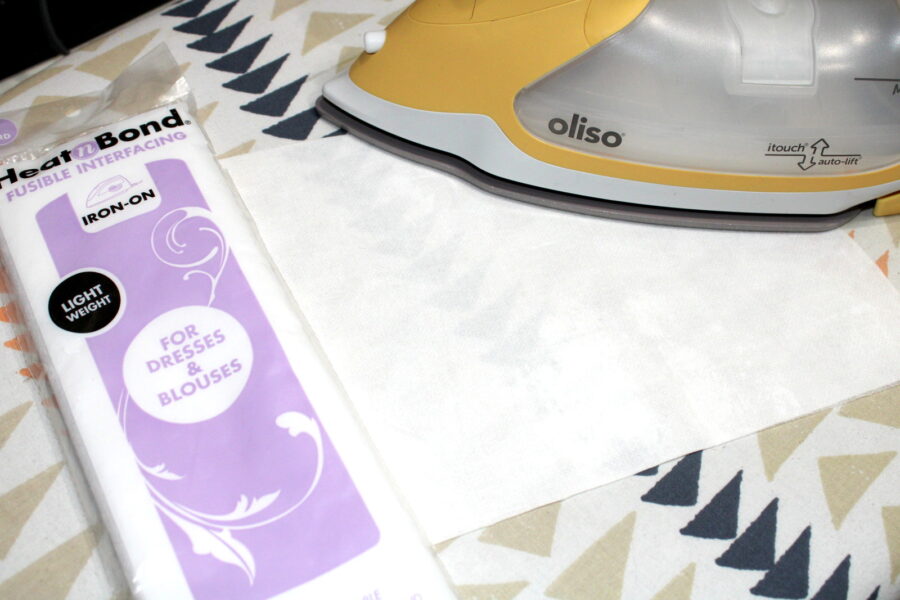
Heat n Bond Light Weight Non-Woven Interfacing
HeatnBond Liquid Vinyl
Aurifil Thread
Oliso Iron
FABRIC NEEDED:
9 – 10 x 10” squares of fabrics – front, back, and applique
1/8 yard – binding
CUTTING INSTRUCTIONS:
Cut 1 – 7” x 9” fabric rectangle (front mug rug)
Cut 1 – 8” x 10” fabric rectangle (back of mug rug)
Cut 1 – 8 x 10” Heat n Bond Light Weight Non-Woven Interfacing
Cut 1 – 8” x 10” Stitch n Sew High Loft Fleece
Cut 1 – 2 ½” x 43” fabric strip (binding)
SEWING/APPLIQUE INSTRUCTIONS: All seams are sewn 1/4” unless otherwise noted.
Step 1: Using your inkjet printer, copy designs to Heat n Bond Lite EZ Print Sheets or trace applique designs on the smooth side of Heat n Bond Lite Iron-on Adhesive. Be sure to write the letter on a piece of traced designs. Designs are reversed so they will be in the correct direction when ironed on fabrics.
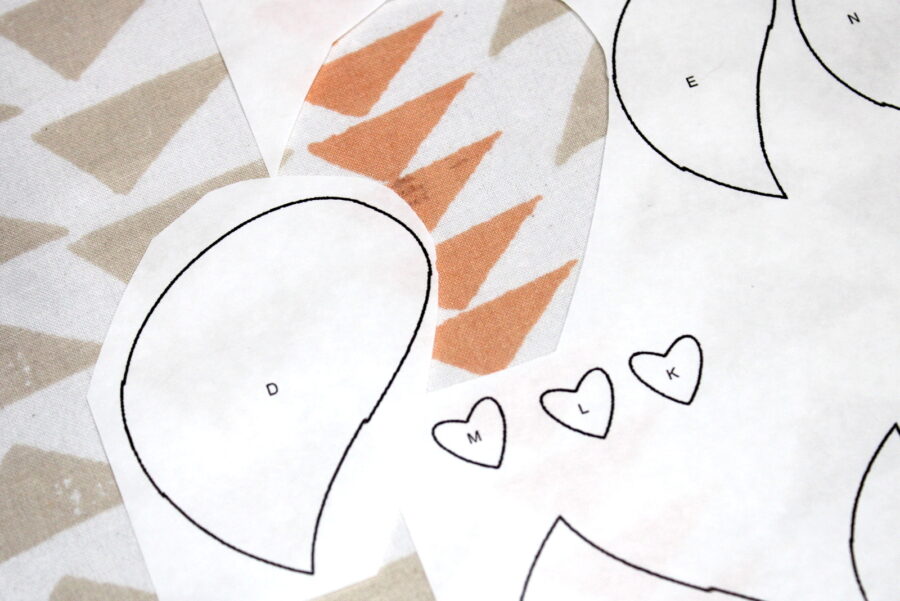
Step 2: Cut around traced applique designs leaving at least a quarter-inch from the solid line. Hint: Writing the desired fabric color on the paper applique piece can avoid confusion when ironing to the fabric. Iron applique designs (rough side down) to the wrong side of fabrics following package directions. Let cool.
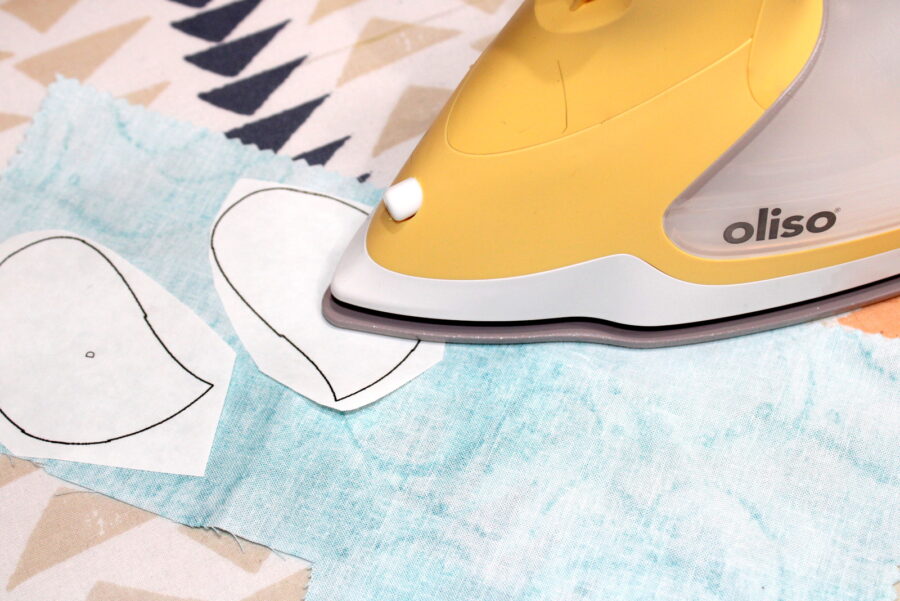
Step 3: Cut out applique pieces on solid lines. Peel off paper liner from the backs of applique pieces. Follow design keys for correct placement. Place applique, adhesive side down, on right side of the fabric. Press according to package directions until the entire piece is bonded. Let cool.
Step 4: Sew around applique design edges using a straight, zig-zag, or blanket stitch.
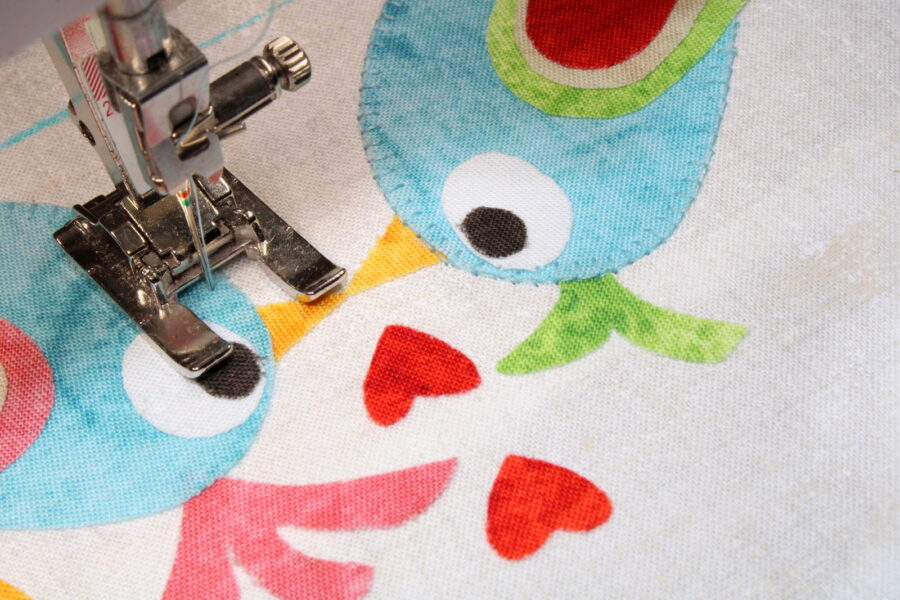
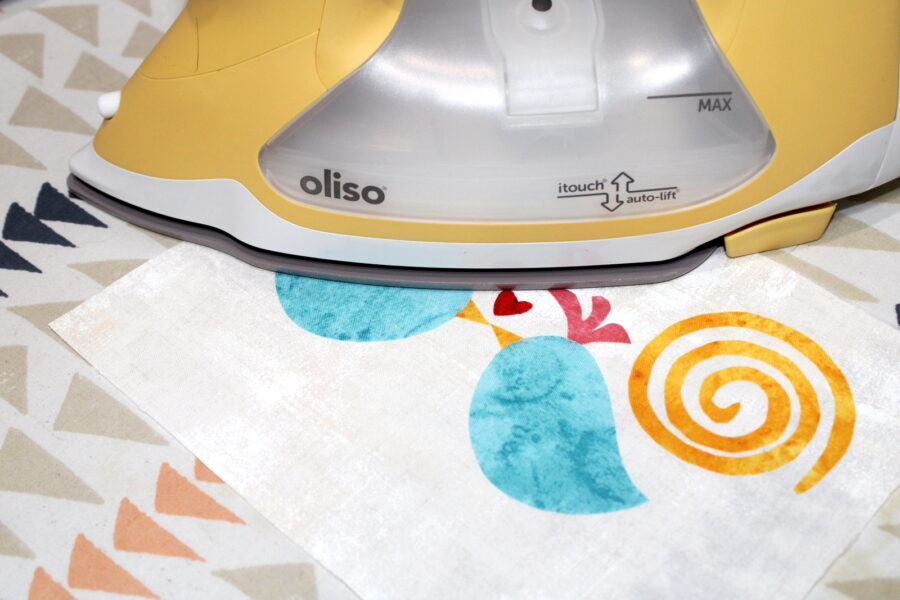
Applique Tip: Ironing lightweight interfacing to the wrong side of the fabric used in applique blocks can add stability and make stitching easier.
Step 5: HeatnBond Liquid Vinyl can be applied to the front and/or back of the mug rug. *This mug rug has it applied to the right side of the back fabric only and was applied to the fabric before assembling.
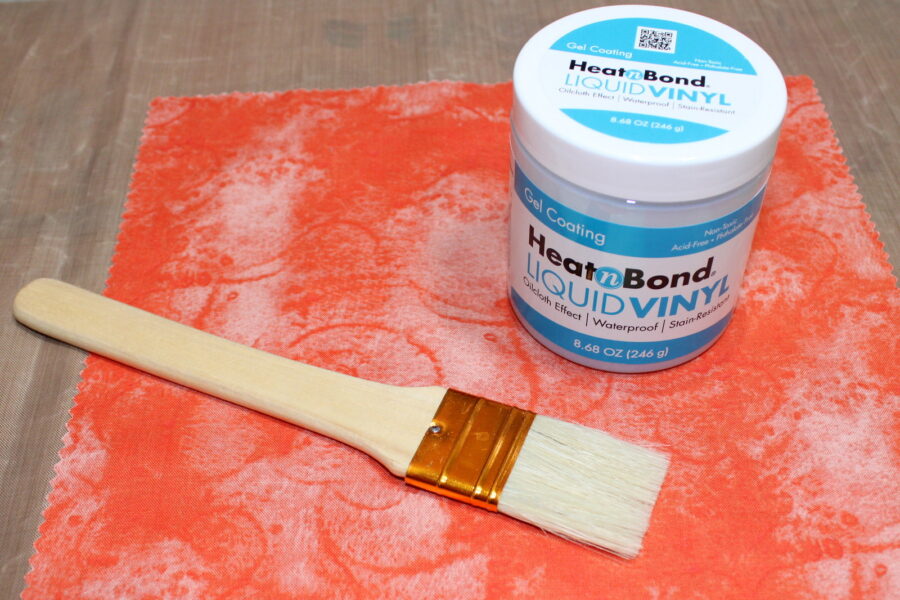
There are three ways to use the HeatnBond Liquid Vinyl gel coating:
One coat: Fabric is water and stain-resistant
Two coats: Fabric is waterproof and stain-resistant
Three coats: Waterproof and stain-resistant with a semi-gloss oilcloth finish
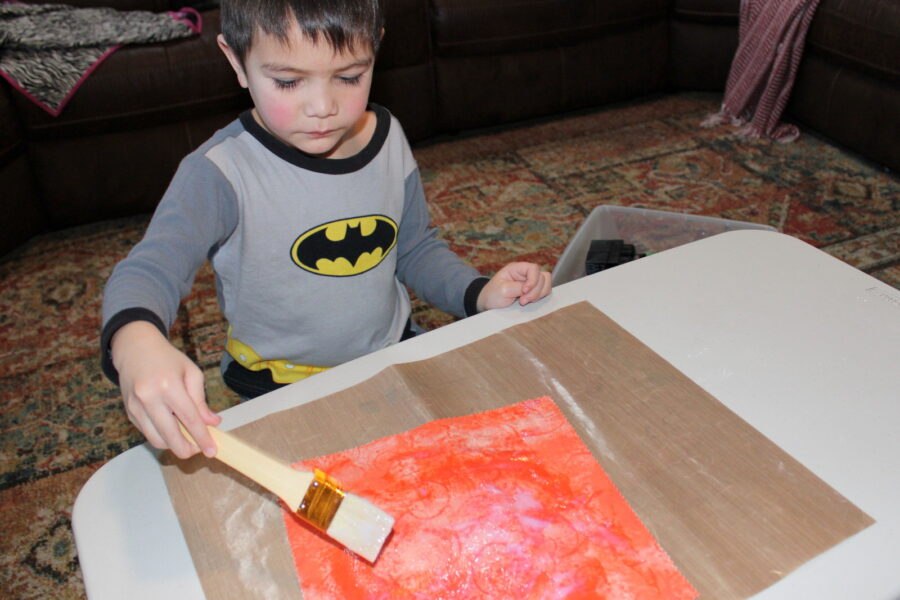
1: Use a paintbrush to apply a light coat of HeatnBond Liquid Vinyl to the right side of the fabric.
Even a four-year-old can do it!
2: Let dry for 30-45 minutes.
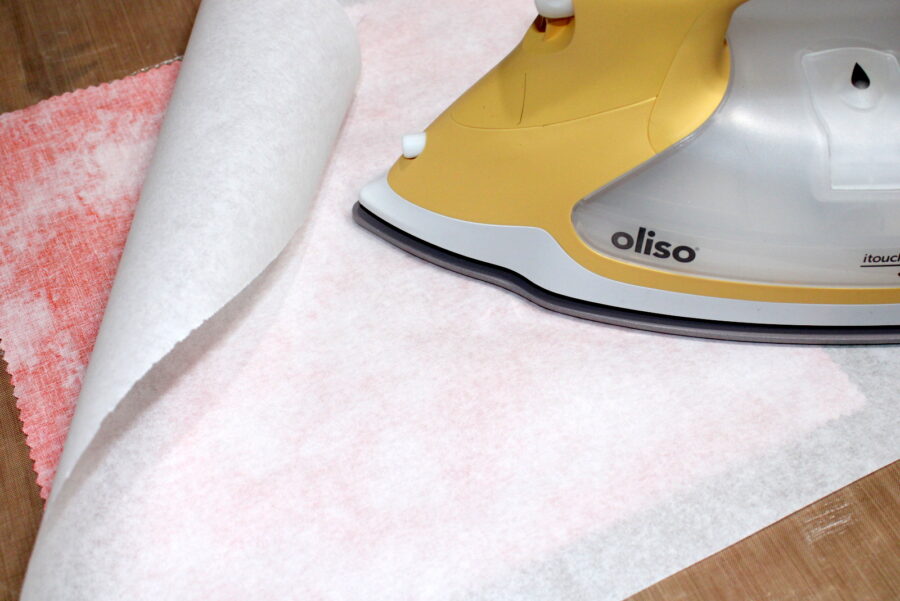
3: Preheat iron to medium heat, no steam. Place fabric on top of parchment paper on a firm, protected surface (not an ironing board) and cover with HeatnBond Pressing Paper or non-stick pressing sheet. Press for 45 seconds, moving iron slightly. I love how easy my Oliso iron is to use!
Once applied, Liquid Vinyl is totally ready for use after just 24 hours. It is machine washable in cold water and needs to be removed promptly and laid flat to dry. You can apply HeatnBond Liquid Vinyl to products that can’t be ironed, but they aren’t machine washable. They will still be water and stain-resistant.
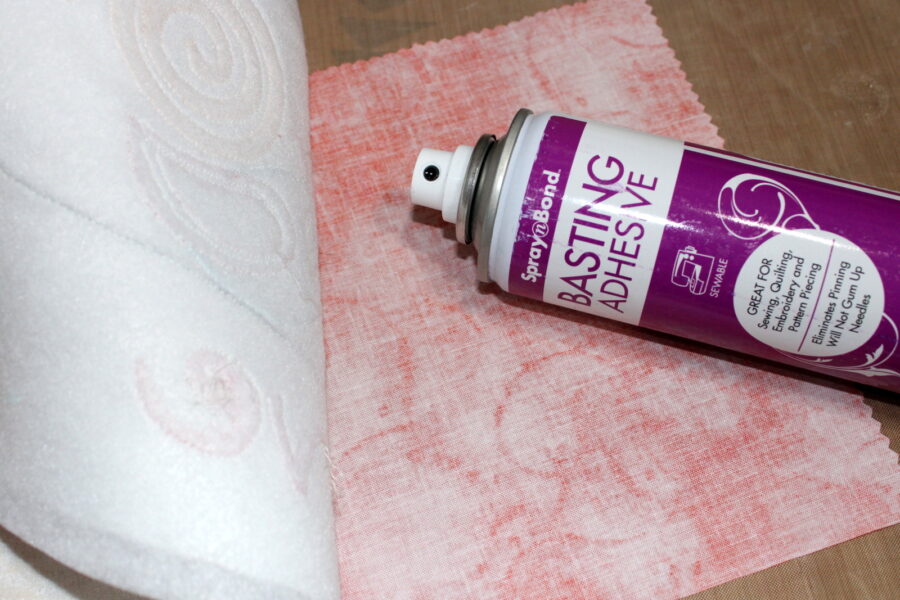
Step 6: Lay Stitch n Sew High Loft Fleece on protective cloth or paper (to prevent overspray.) Lightly spray batting with Spray n Bond Basting Adhesive. Lay mug rug back, the wrong side down, on sprayed batting. Smooth to remove wrinkles and creases. Turn over to have batting facing up. Lightly spray batting with spray adhesive. Lay mug rug top, wrong side down, on sprayed batting. Smooth to remove wrinkles and creases.
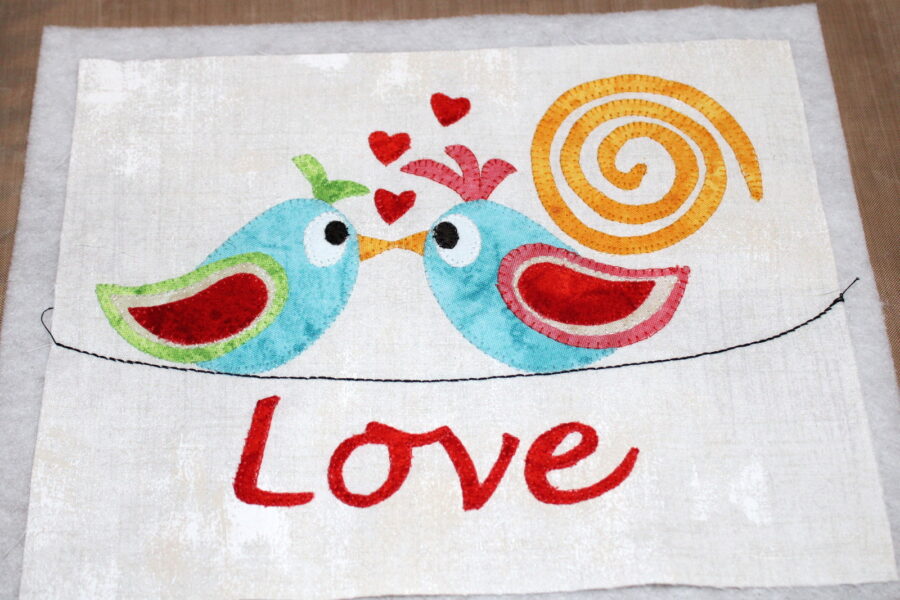
Step 7: Add a line below birds using hand or machine embroidery. If desired, quilt using your favorite method and design. This was quilted just around the applique designs.
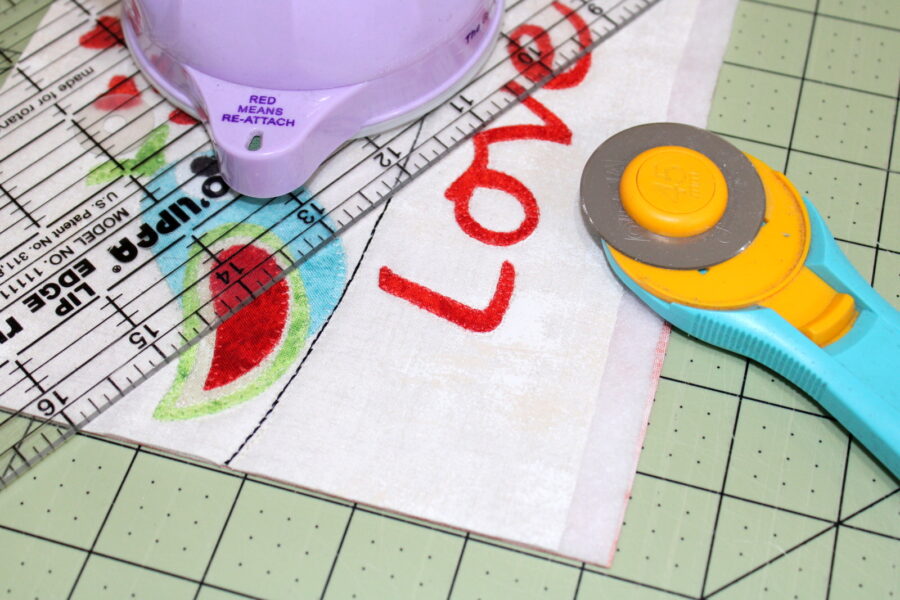
Step 8: Trim all layers to 6 ½” x 8 ½”.
Step 8: Add binding using your favorite binding method.
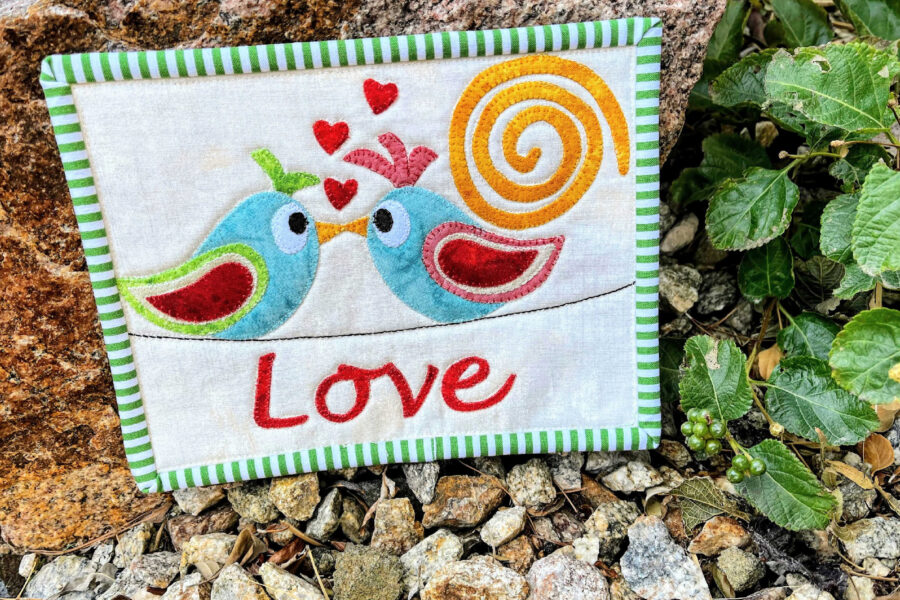
Adding a cute mug or flavored coffee/tea would make this a special treat for anyone! You can find the free pattern for “Love At First Sight” HERE.