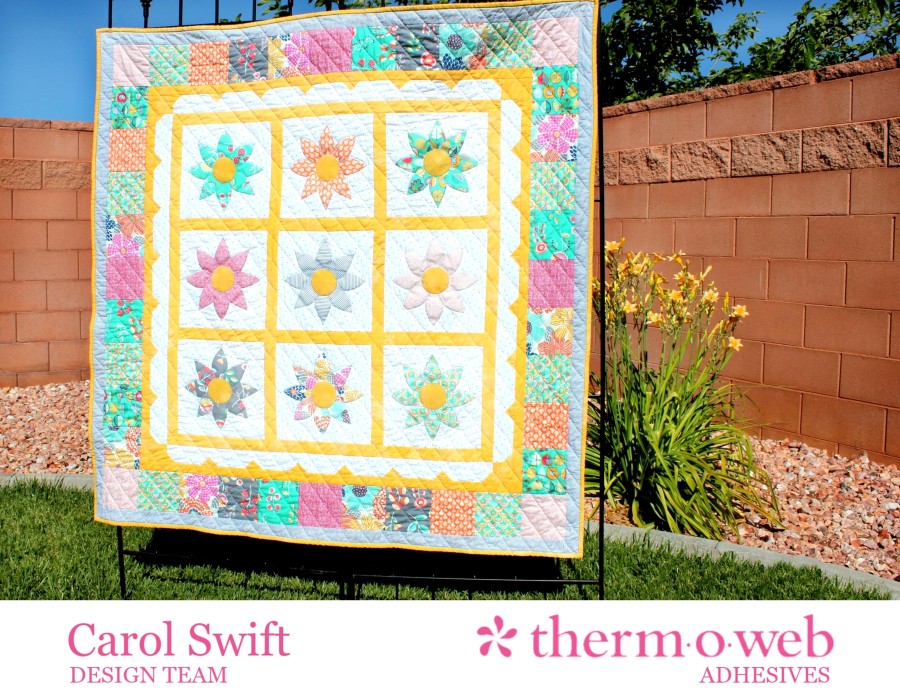
Hello to you! I’m Carol from Just Let Me Quilt and I’m really glad you came to visit the Therm O Web blog. It’s always full of amazing projects and ideas…be sure to look around! Today I’m showing my quilt “It’s All About The Flowers” using Dear Stella’s “Junebug” fabric collection and Therm O Web’s Heat N Bond® EZ Print Sheets. Dear Stella’s “Junebug” fabric is gorgeous and will definitely put a smile on your face!
It’s All About The Flowers Applique Quilt, finished size 53″ x 53″
 Making quilts with applique designs opened up a whole different type of creativity for me, but the one thing that usually stopped me from appliqueing was having to draw all the pieces on the iron-on adhesive paper. Without a lightbox to trace things, I had to stand in front of a window with my design and iron-on adhesive taped to the glass so I could trace it. It wasn’t a big deal if it was light outside, but once the sun went down I couldn’t trace things anymore. Also, if there were lots of pieces, my arms would get tired from all the tracing and my legs would beg me to go sit down. Then I started using Therm O Web’s Heat N Bond® EZ Print Lite Sheets. All I had to do was run the design through my inkjet printer onto the sheets and they were ready for me to iron them to my fabric. Wowzers…talk about easy! I’m sure you will love the Heat N Bond® EZ Print Lite Sheets, too!
 What you’ll need:
Therm O Web Heat N Bond® EZ Print Lite sheets, 8½” x 11” (you’ll need 10 sheets)
Heat N Bond® Fusible Interfacing – Light Weight – optional – *Ironing Heat N Bond Fusible Interfacing to the back of the applique base block can help stabilize the fabric when sewing on applique pieces, keep threads from showing through and maintain block size.
Oliso Iron
Batting/fleece
Applique templates *A PDF pattern with more detailed instructions and templates is available at Just Carol’s Etsy Store HERE.
Dear Stella’s Junebug fabric (or fabrics of your choice)
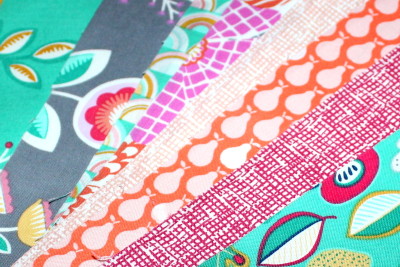
Fabric Needed:
1½ yard dotted fabric for the background and scalloped border
1½ yard yellow fabric for sashings, borders, flower centers, and binding
3/8 yard each of 9 different fabrics for flowers
5/8 yard white and gray striped fabric for the border. *Border will be pieced if you use 5/8 yard or you can use 1½ yard for continuous white and gray striped border strips
Backing and batting to fit 54” x 54” quilt top; additional fabric may be needed for quilting
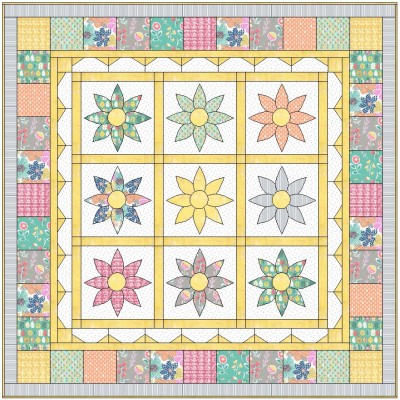
Fabric Cutting Instructions:
Cut 9 – 10½” x 10½” dotted squares
Cut 28 – 2½” x 5½” dotted rectangles
Cut 2 – 2¼” x 50½” dotted border strips
Cut 2 – 2¼” x 54” dotted border strips
Cut 6 – 1¾” x 10½” yellow sashing strips
Cut 4 – 1¾” x 33” yellow sashing strips
Cut 2 – 1¾” x 35½” yellow sashing strips
Cut 56 – 1½” x 1½” yellow squares
Cut 2 – 1½” x 39½” yellow border strips
Cut 2 – 1½” x 41½” yellow border strips
Cut 4 – 2½” x 2½” yellow squares
Cut 5 – 2½” x WOF (remove selvages) yellow binding strips
Cut 40 – 5” x 5” squares using multiple colored fabrics
Cut 2 – 2” x 50½” white and gray striped border strips
Cut 2 – 2” x 53” white and gray striped border strips
*Cut backing and batting to fit 53” x 53” quilt top; additional fabric may be needed for quilting
Sewing Instructions:
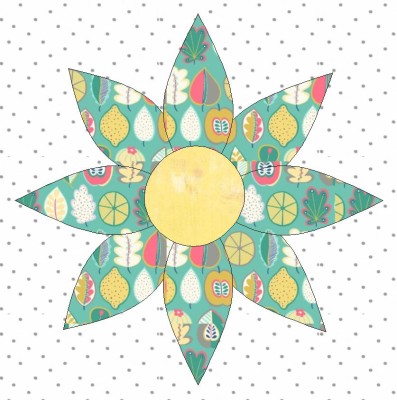
Step 1: Using the flower and center templates, prepare nine flowers and nine centers by following the applique instructions below.
Fabric Applique Instructions:
Using your inkjet printer, print out applique pattern pieces with Heat N Bond® EZ Print Lite sheets. Follow the manufacturer’s directions to iron adhesive pieces to wrong sides of desired fabrics. Let cool. Cut out applique pieces.
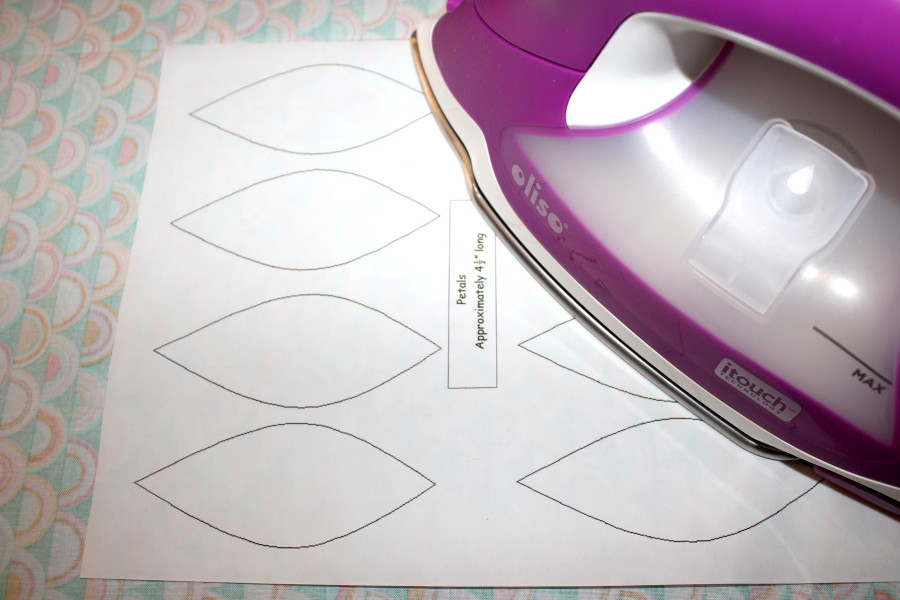
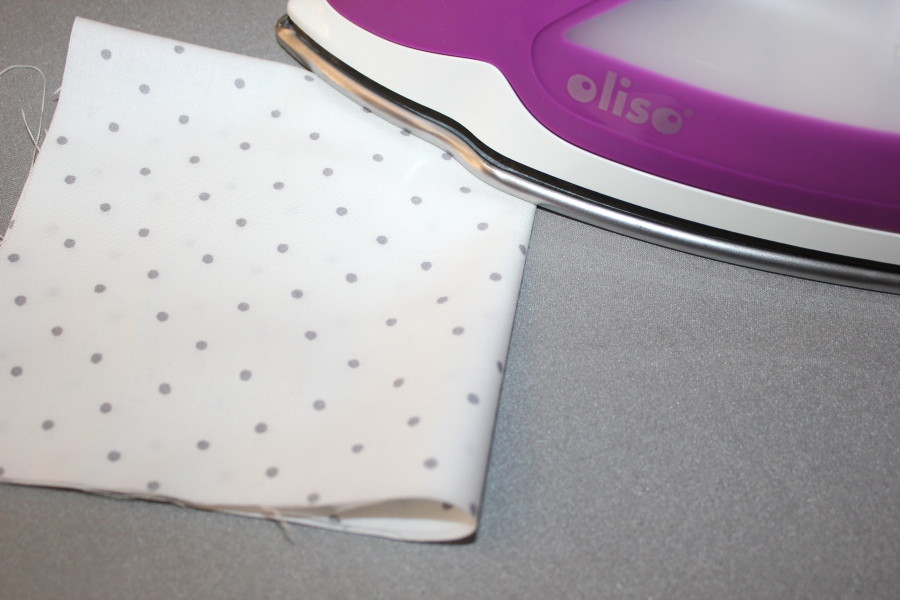
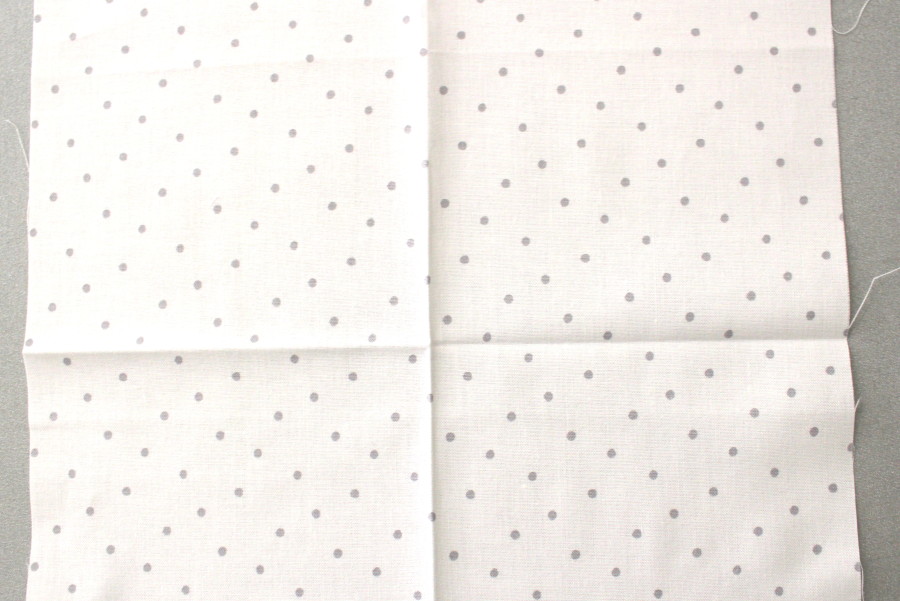
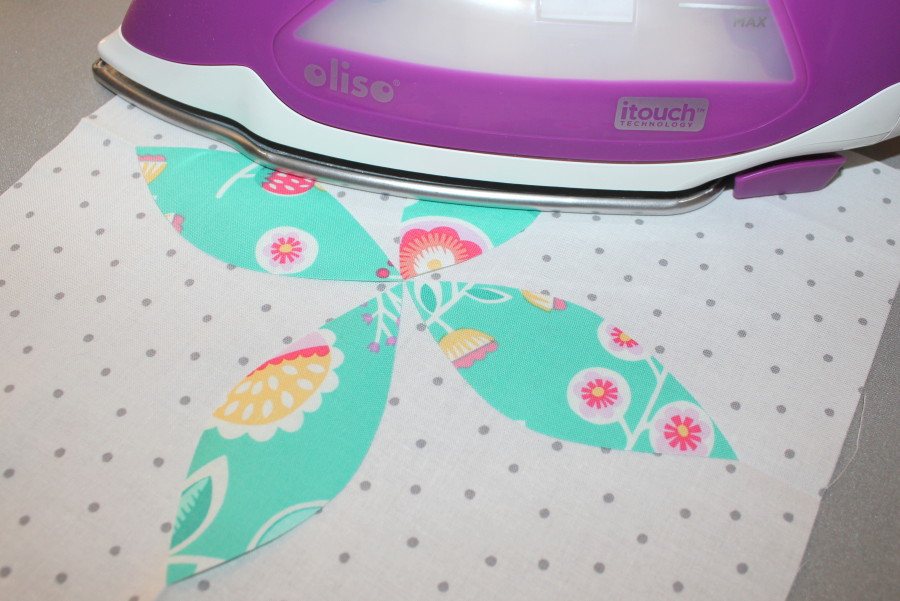
Step 2: Iron applique pieces to the right side and center of 10½” x 10½” fabric squares following manufacturer’s directions. *Tip: An easy way to find the center of the block is to fold the square in half and lightly press the fold. Fold in half again and press the fold. Open and center flower pieces and flower centers on ironed creases. Blanket stitch, straight stitch, or zigzag around all pieces. Optional: Iron Heat N Bond Fusible Interfacing – Light Weight to wrong side of each 10½” x 10½” squares to stabilize square.
Step 3: Sew 1¾” x 10½” yellow sashing strips to the right side of six flower blocks. Press seams towards sashing.
Step 4: Sew three sets of three blocks together. Sew one flower block without a yellow sashing strip to the right sides of sets. There should be no yellow sashing strip on either side of the entire sewn rows. Press all seams in the same direction.
Step 5: Sew 4 – 1¾” x 33” yellow border strips between rows and at top and bottom.
Step 6: Sew 2 – 1¾” x 35½” yellow border strips to right and left of sewn blocks. Set aside.
Step 7: Sew 2 – 1½” x 1½” yellow squares to each corner of 1 – 2½” x 5½” dotted rectangle as shown below. Trim ¼” from sewn diagonal seam and press towards the corner. Repeat to make a total of 28.

Step 8: Sew four sets of seven rectangles with corners together; match seams. Press seams open.
Step 9: Sew 2½” squares to ends of two of the above strips. Press seams open.
Step 10: Sew two of the above strips (without corner squares) to top and bottom of center blocks. Press seams towards borders.
Step 11: Sew two of the above strips (with corner squares) to the left and right of center blocks.
Step 12: Sew 1½” x 39½” yellow border strips to right and left sides.
Step 13: Sew 1½” x 41½” yellow border strips to top and bottom sides.
Step 14: Sew two sets of 9 – 5” x 5” squares together varying the fabric designs.
Step 15: Sew two sets of 11 – 5” x 5” squares together varying the fabric designs with a yellow square at each end.
Step 16: Sew 9 block strips to right and left sides.
Step 17: Sew 11 block strips (with yellow fabric corners) to top and bottom.
Step 18: Sew 2” x 50½” white and gray striped border strips to right and left sides.
Step 19: Sew 2” x 53” white and gray striped border strips to top and bottom.
Step 20: Add quilt back and batting; quilt as desired. Attach binding using your favorite method.
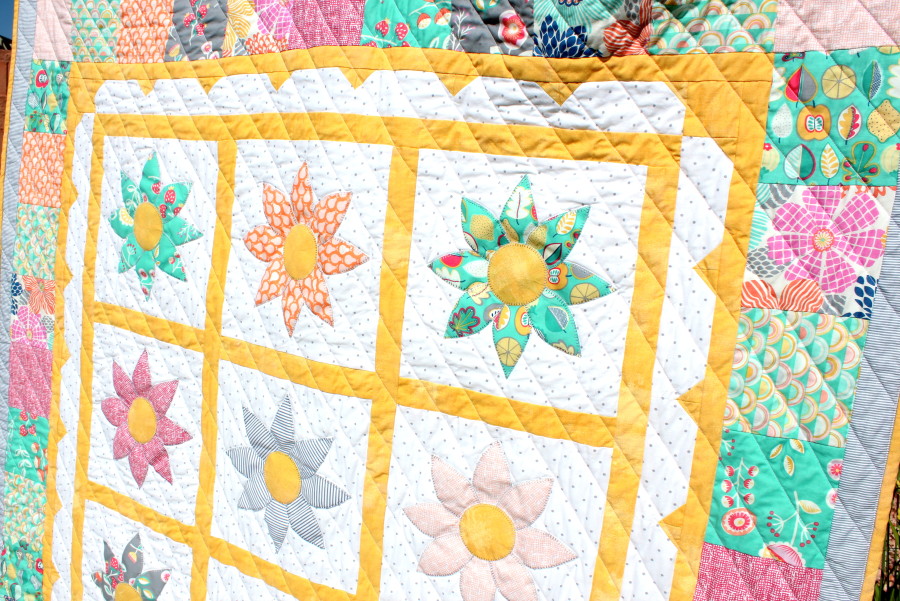
It’s All About The Flowers and how easy it is to make 72 petals and nine centers using Therm O Web Heat N Bond EZ Print Lite sheets…give them a try!

Deonn
June 22, 2016 at 12:01 pm (9 years ago)OK, these sheets are fabulous! Sending them right through the printer like that? Genius. I’ll have to try them out. Darling quilt!
Sherry
June 22, 2016 at 7:37 pm (9 years ago)Interesting Printer Sheets for Appliqué. LLove this Flowery Fun quilt. Great Job Carol…
Amy
June 28, 2016 at 12:43 am (9 years ago)Another BEAUTIFUL quilt, Carol.