


 It’s Monday and you know what that means? It’s time for a new Mix It Up Monday featuring Designer Rebekah Meier’s line! Today we have a new Designer…although not new to this industry, Deb Riddell, who will walk you through an amazing Mixed Media Canvas!
Hello everyone and thank you for stopping by. It’s Deb Riddell here with you today and I am thrilled to be here as a new member of Therm O Web’s design team, a huge thank you to Therm O Web and Julia Sandvoss for this amazing opportunity! I’ve created a mixed media canvas to share with you using a photo transfer technique with Deco Foil™ Transfer Gel and products from the Rebekah Meier Designs line from Therm O Web.
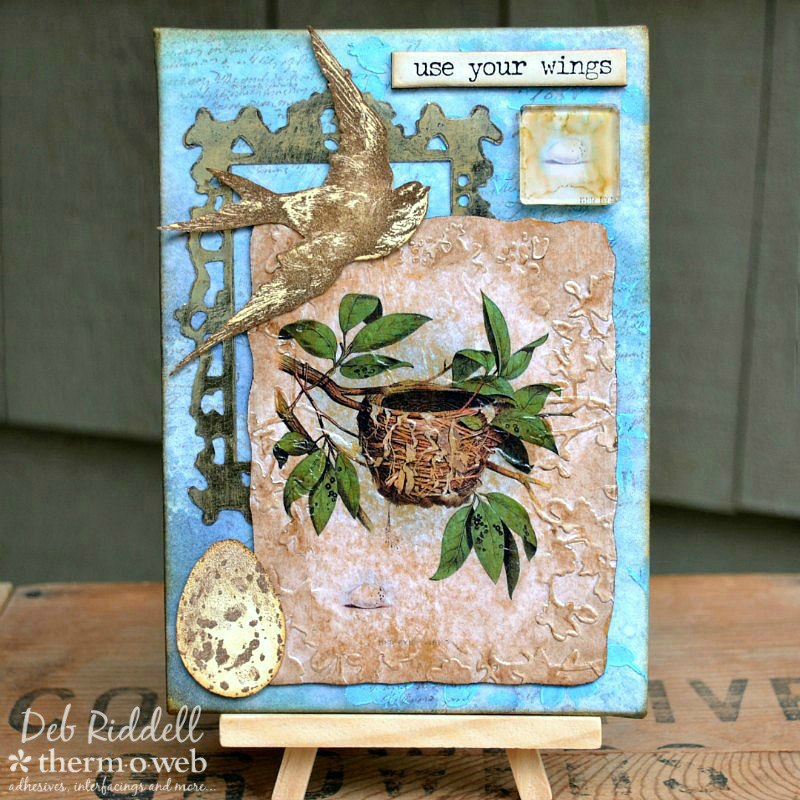
Use Your Wings Mixed Media Canvas
Therm O Web Supplies Needed:
Rebekah Meier Designs Mixed Media Art Paper 9″ x 12″ (4 sheets per pack)
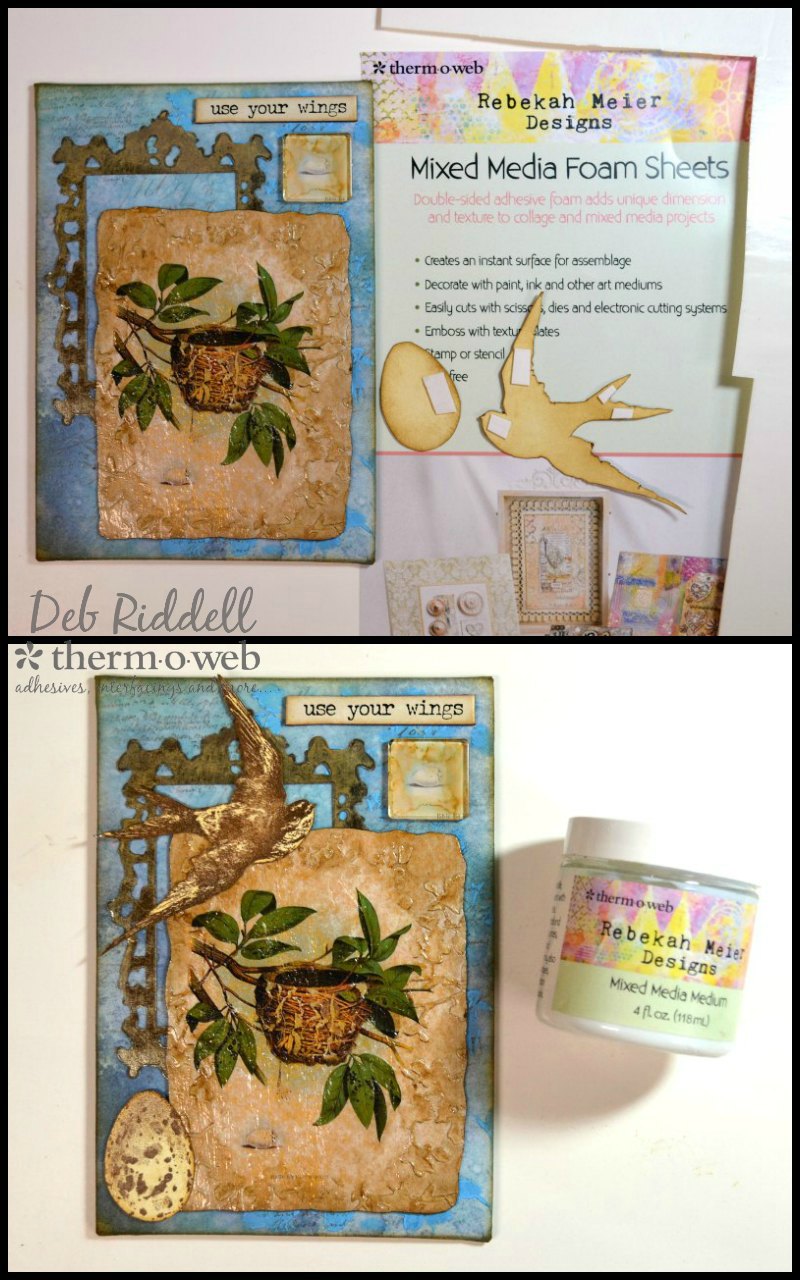
Rebekah Meier Designs Mixed Media Foam Sheets 9″ x 12″ (2 sheets per pack)
Rebekah Meier Designs Transfer Foil 6″ x 6″ (12 sheets per pack) • Old Gold (Satin)
Rebekah Meier Designs Transfer Foil 6″ x 6″ (12 sheets per pack) • Vintage Tin
Rebekah Meier Designs Mixed Media Medium Jar 4 fl oz
Deco Foil™ Transfer Gel
Deco Foil™ PeelnStick Toner Sheets
Gina K. Designs Premium Cardstock 8.5″ x 11″ • White
Other supplies:
Distress ink and Distress paint, alcohol ink, applicator tool – Ranger Ink
Embossing folder and rectangle diffuser embossing plate, Ornate frame die – Sizzix
Stamps and stencil – Stampers Anonymous
Fragment embellishment, Quote chip – Advantus
Foil Laminator • 12 inch
5″ x 7″ flat artists canvas, vintage image or photo, paint brush, scissors, paper trimmer, clear embossing powder, die cutting machine, computer and printer, sand paper
Mixed Media Canvas Instructions:
Print your chosen vintage image out on copy paper, sizing it to fit onto your canvas (approximately 3 1/2″ x 5″). Paint a fairly thick coat of Deco Foil™ Transfer Gel over the photo or image and set aside to dry overnight or until it is completely dry. (I printed out several images in case I needed a backup, this image was courtesy of The Graphics Fairy).
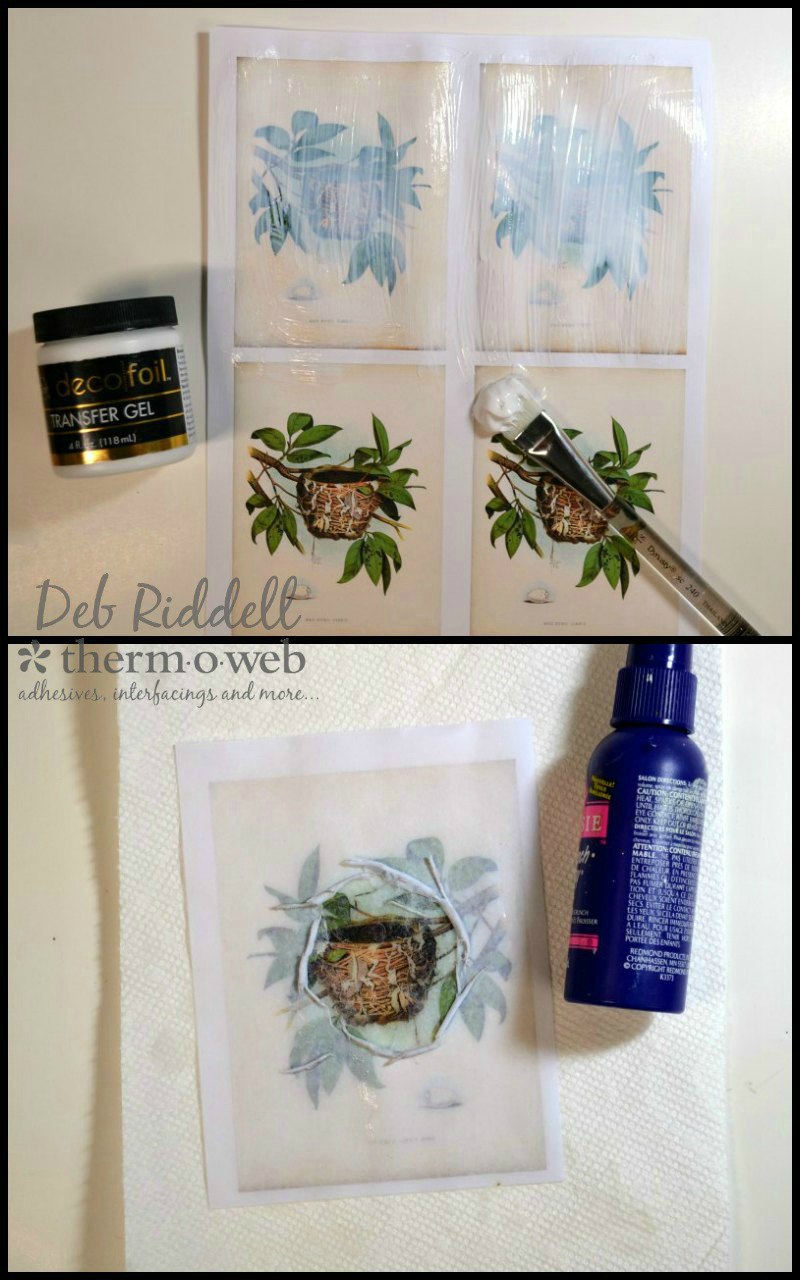
Once dry, trim your image, spritz the back with water and gently rub the back of the image with your finger to remove the copy paper. Continue spritzing with water and gently rubbing until the paper has been removed.
Once the paper has been removed from the back, gently tear a ragged edge around your image transfer skin if desired.
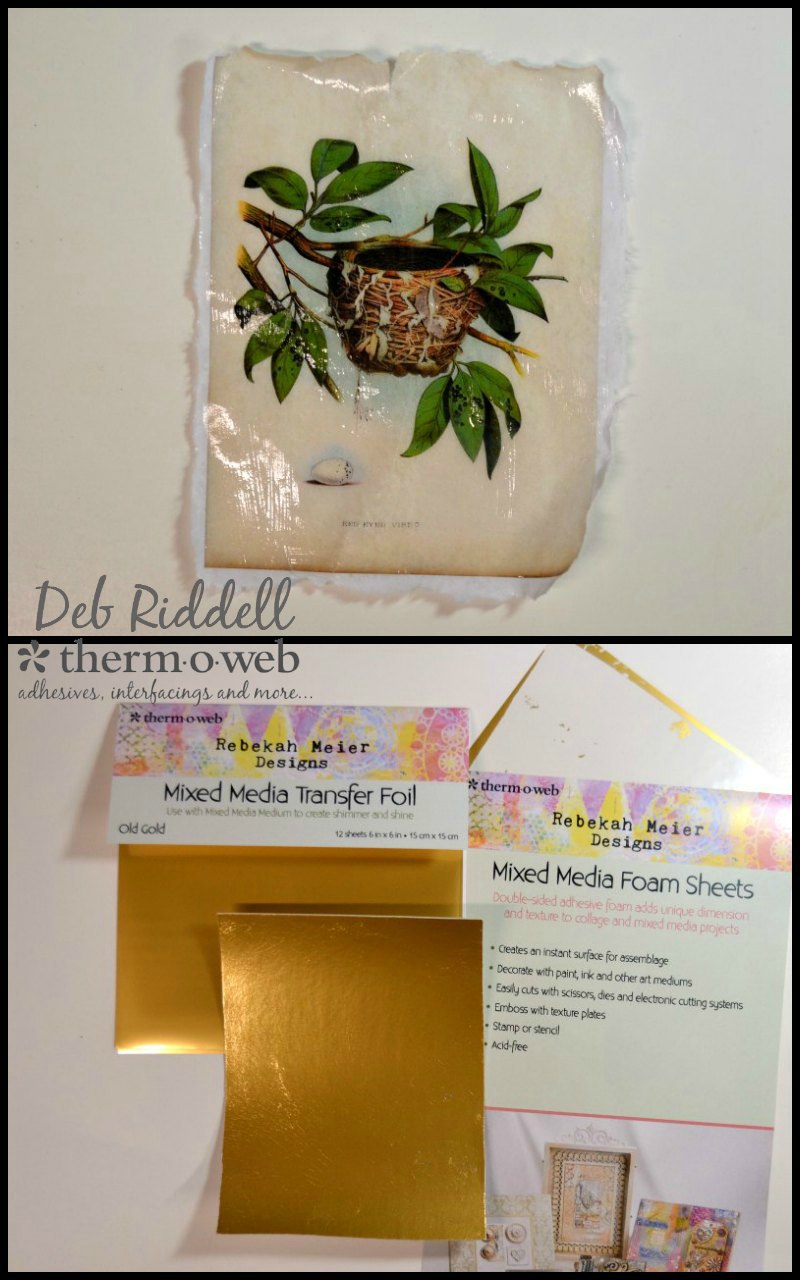
Adhere a sheet of Rebekah Meier Designs Transfer Foil 6″ x 6″ • Old Gold (Satin) to one side of Rebekah Meier Designs Mixed Media Foam Sheet cut just slightly larger than your image transfer skin. The Rebekah Meier Designs Mixed Media Foam Sheet has adhesive on each side so the foil transfers seamlessly.
Center your image transfer skin on the foiled foam sheet and adhere it with Rebekah Meier Designs Mixed Media Medium. The translucent quality of the image transfer skin allows the shimmer of the gold foil to shine through.
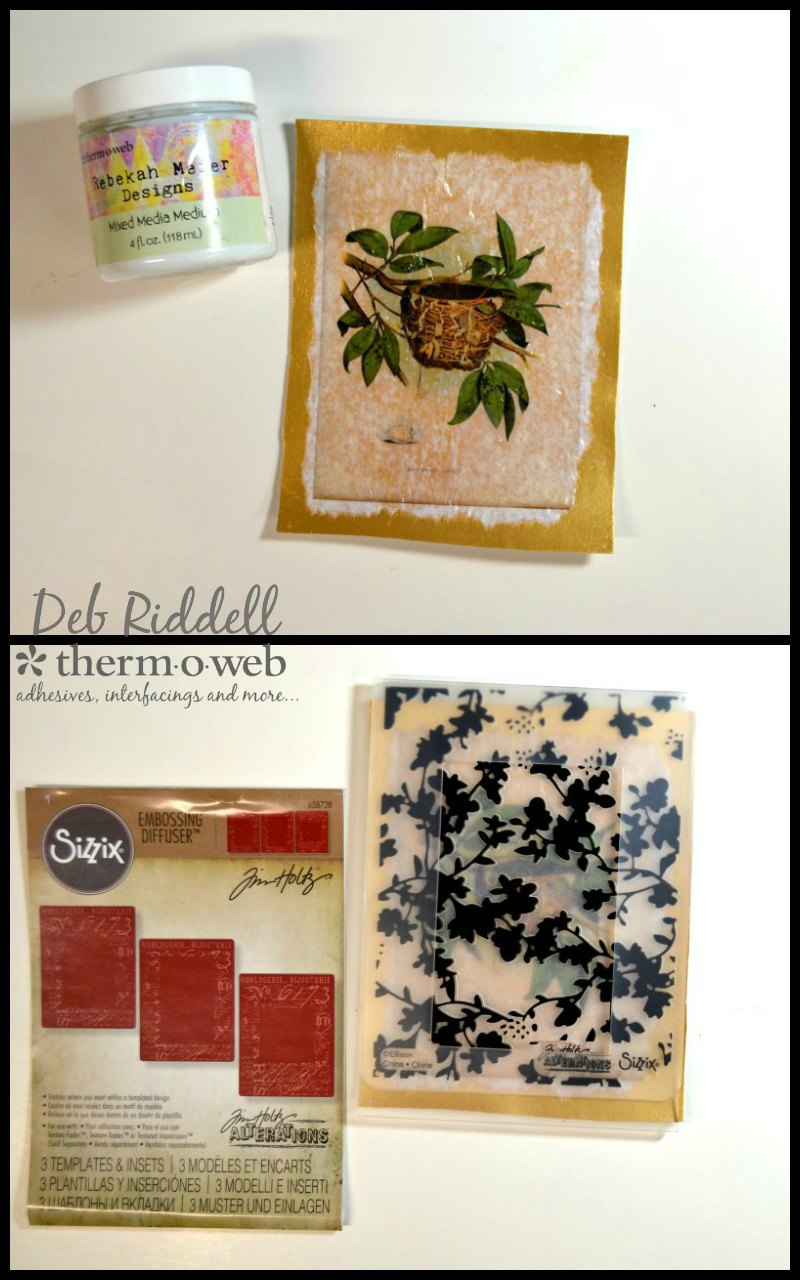
Once the mixed media medium has dried, insert the foiled foam image into a floral embossing folder (this is Floral from Sizzix) and center a rectangle diffuser plate over the top so that only the edges of the foiled foam will be embossed with the floral pattern. Run the embossing folder through your die cutting machine following the sandwich instructions for your particular model.
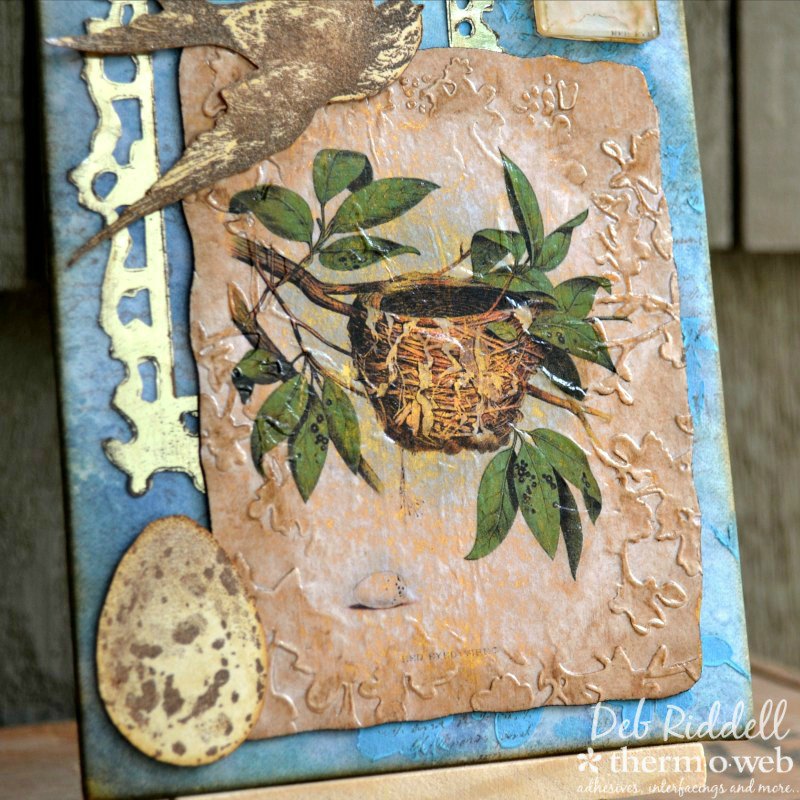
Trim the edges of your embossed foam panel, roughly following the outlines of the torn edges of your image transfer skin if you so desire, and emphasize the embossed areas with brown acrylic paint applied with an applicator tool.
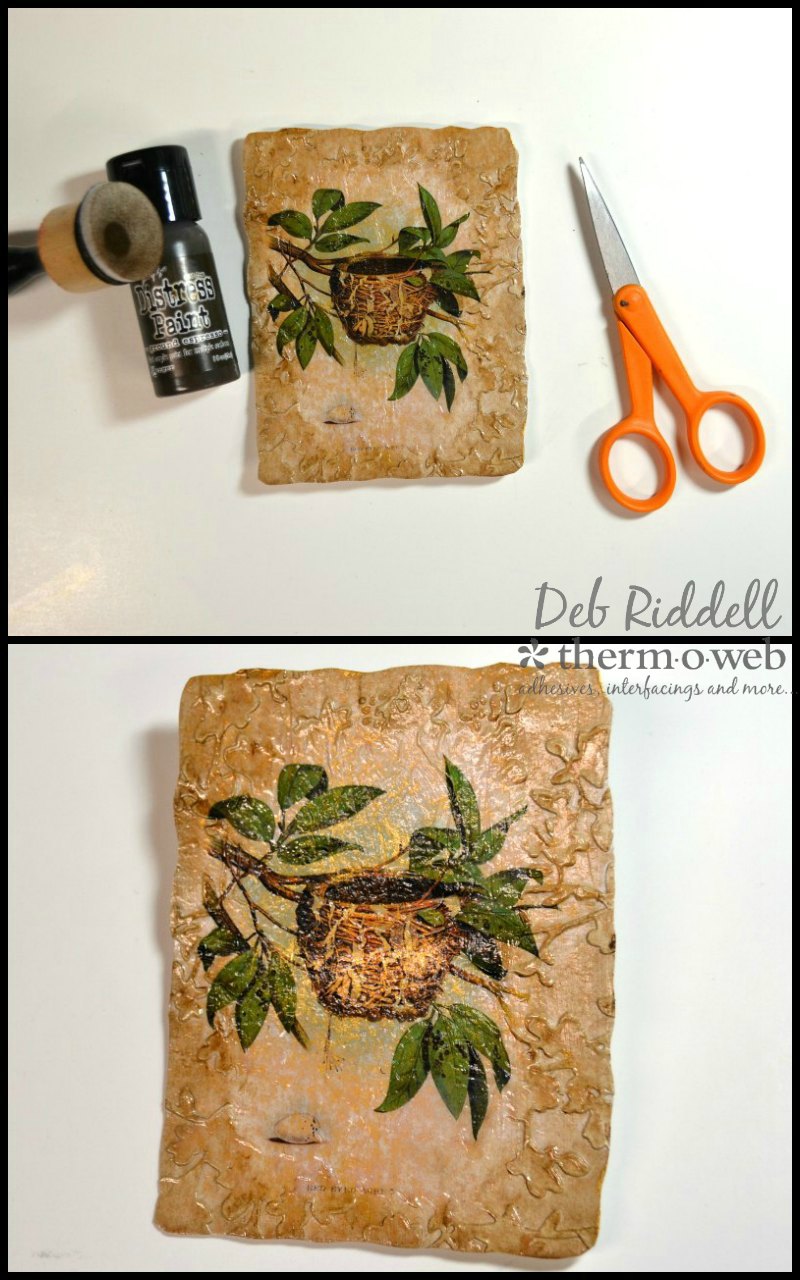
Here you can see how you catch glimpses of the Rebekah Meier Designs Transfer Foil • Old Gold (Satin) under the image transfer skin, it’s a lovely effect!
Next cut a piece of Rebekah Meier Designs Mixed Media Art Paper to 5 1/2″ x 7 1/2″ and color it with multiple shades of blue Distress inks, spritzing with water and drying it thoroughly. Stencil some floral designs onto the right side of the Art Paper with a lighter shade of blue Distress crayon for some texture (this is the Blossom stencil from Stampers Anonymous).

Peel the adhesive backing off of the Art Paper and adhere it to the 5″ x 7″ flat artists canvas, wrapping the excess around the sides. Apply script stamping randomly over the covered canvas with a permanent stamping ink in a brown colour (Papillon stamp from Stampers Anonymous). You can also shade the edges of the canvas with the same ink if you desire.
Die cut a frame from Deco Foil™ PeelnStick Toner Sheets (this is the Sizzix Ornate Frame #2 die) and cut a piece of Rebekah Meier Designs Transfer Foil 6″ x 6″ • Vintage Tin large enough to cover the die cut. Insert the die cut and foil into the parchment paper that comes with the Toner Sheets (remember, the coloured side of the foil is facing up!) and run it through your pre-heated laminator.
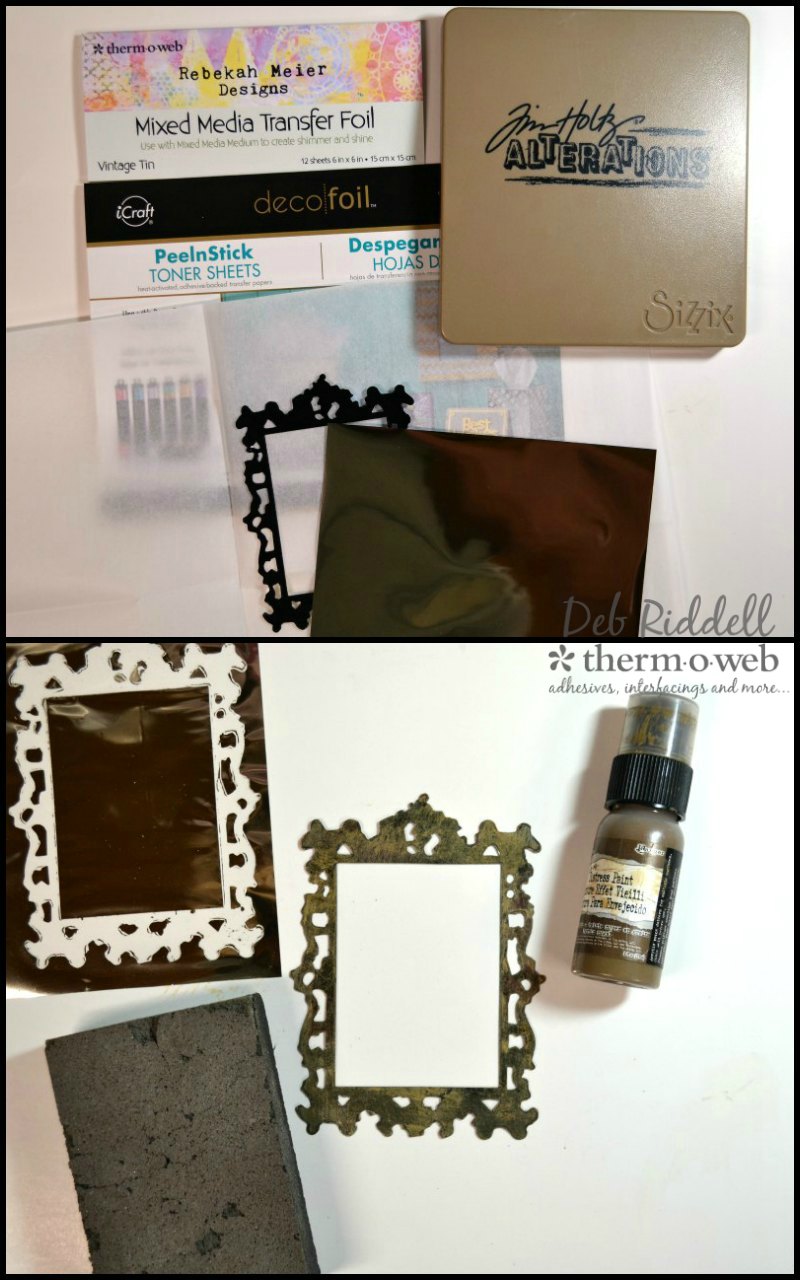
Peel off the foil sheet to reveal our foiled die cut and gently sand the foiled die with a sanding block or sandpaper, just enough to scuff the surface and reveal some of the Toner Sheet underneath the foil in places. Apply some brown acrylic paint with your finger over the sanded die cut and rub the paint off while it is still wet to give your foiled frame an aged appearance.
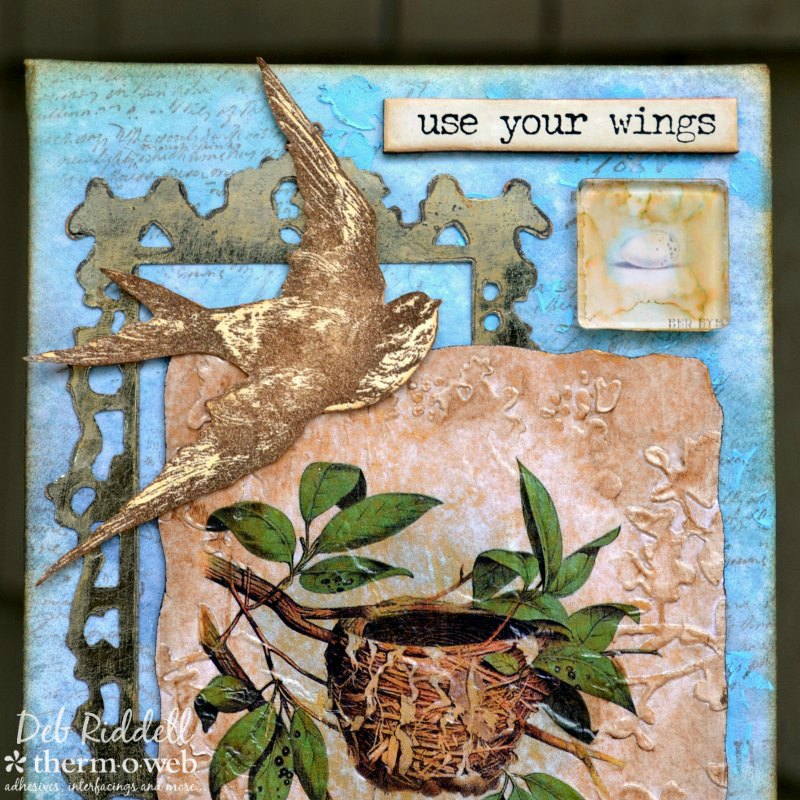
Stamp a bird and egg image onto Gina K. Designs Premium Cardstock • White (these stamps are Bird Feather from Stampers Anonymous) with a brown permanent ink, clear embossing the stamped bird. Colour both stamped images with a light beige colour of Distress ink and fussy cut.
From the second copy of your vintage image, cut out the little egg and adhere a small square Fragment embellishment over top of it, aging the Fragment with Mushroom alcohol ink before adhering it to the image.
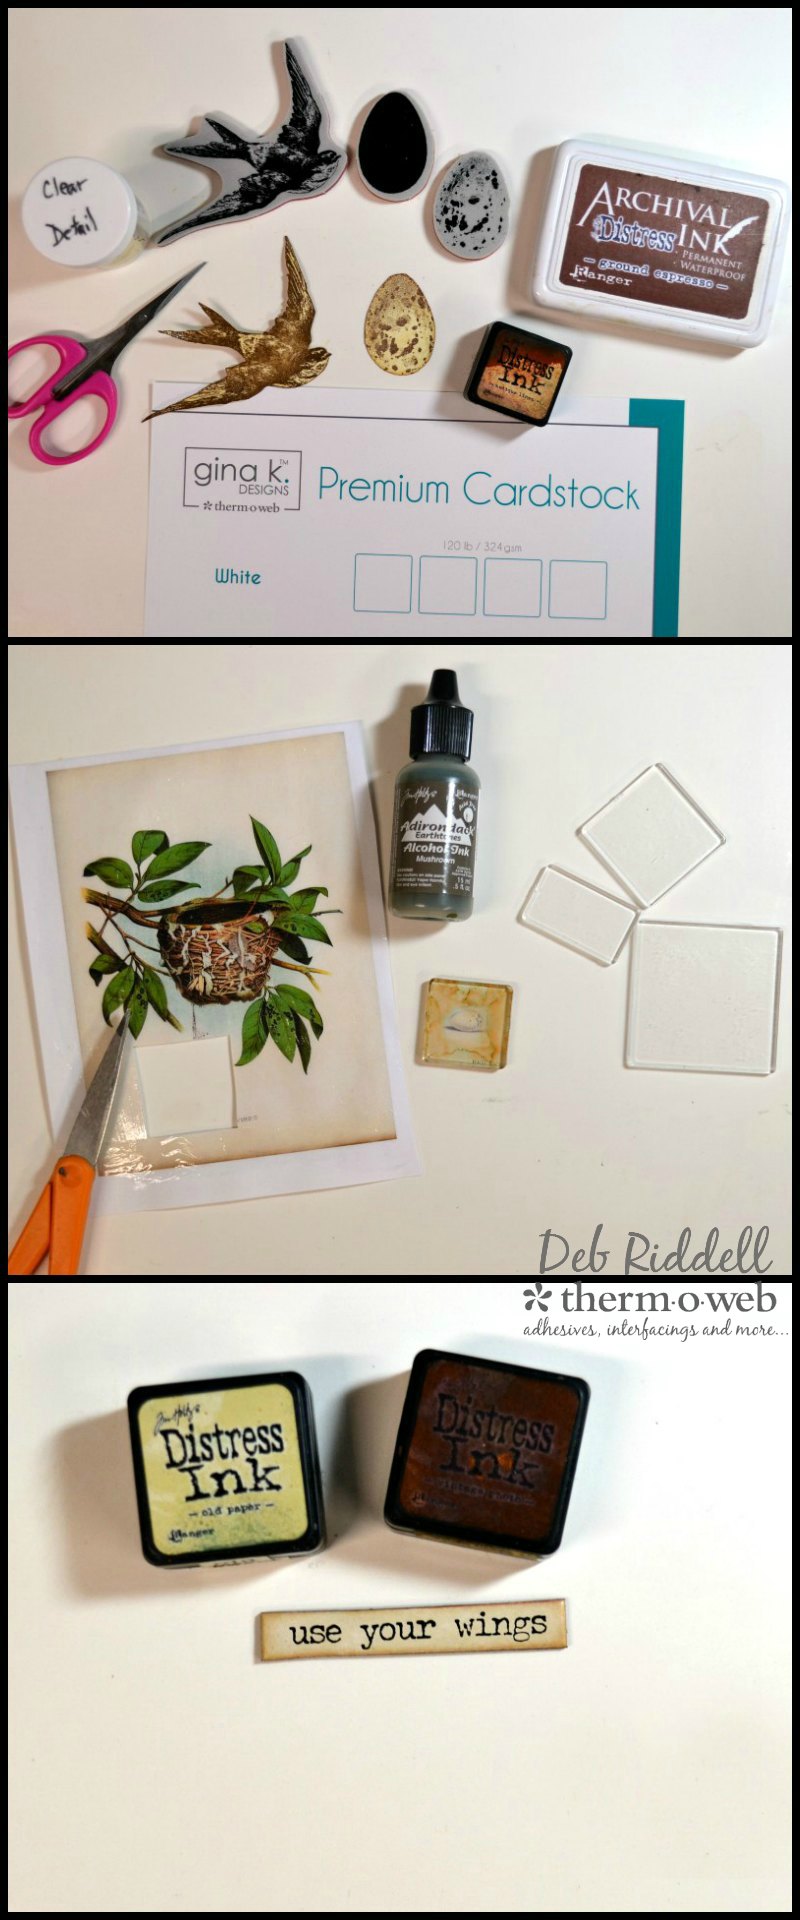
Colour a Quote chip with the saying of your choice with a light green Distress ink and shade the edges with brown. If you don’t have any Quote chips, simply print out your saying onto some cardstock and fussy cut.
Time to assemble your mixed media canvas.
Adhere your chosen quote to the top right corner of the artists canvas with Rebekah Meier Designs Mixed Media Medium and peel the adhesive backing off of your foiled Toner Sheet frame and apply it to the top left.
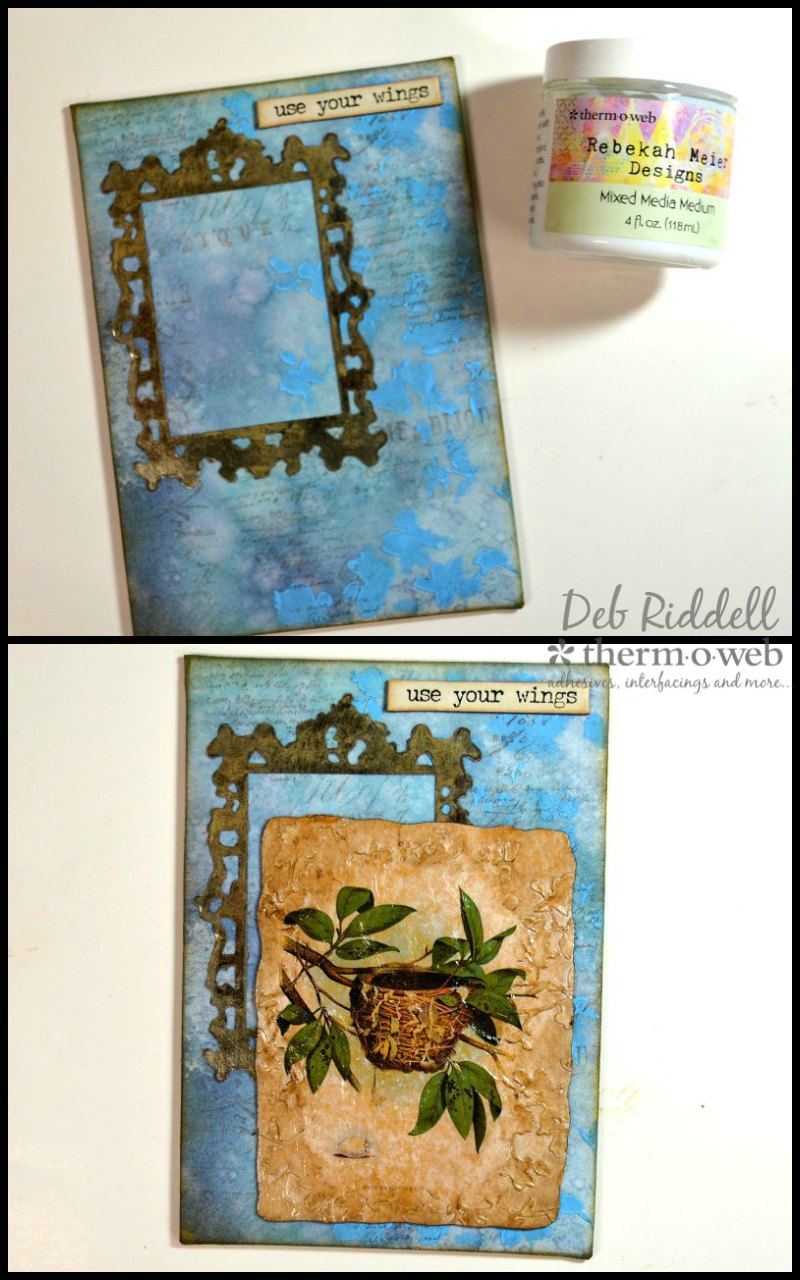
Peel the adhesive backing off the foam under your image transfer skin and adhere it over top of the frame, slightly offsetting it towards the bottom right corner.
Cut some tiny pieces of Rebekah Meier Designs Mixed Media Foam Sheet and adhere them to the back of your fussy cut bird and egg images wherever necessary to support them. Adhere the Fragment embellishment underneath the quote with more Mixed Media Medium.
Position the bird over the top left corner and the stamped egg image at the bottom left and adhere both images with Mixed Media Medium. Your mixed media canvas is now complete!
Hope that you’ve been inspired to make your own, it’s a lovely little home decor piece that you could leave out all summer long.
Thank you for stopping by today and happy creating!
Deb xo