For the next few weeks, the Therm O Web Design Team will be sharing projects created with NEW Treasured Threadz™ Fabric Panels. Here’s some information about this fun new collection we know you’ll love . . .
Treasured Threadz Fabric Panels are designed especially for sewing, quilting and embellishing projects. Curated and designed by Amy Barickman using her collection of rare vintage art, textiles and quilts, Treasured Threadz Fabric Panels are a shortcut to creating your own unique style. Upcycle thrift-shop finds, refresh favorites from your closet or make entirely new clothing, accessories and home décor.
Panels are 100% cotton, measure 14”x44” and feature faux patchwork and original collaged art ideal for applique and small projects, plus embroidery, quilting, stitching and collage techniques. Every panel purchase includes exclusive QR Code Content: three original PDF patterns, video tutorials and a digital Look Book that features 25+ pages of project ideas and creative inspiration. Treasured Threadz Favorite Fusible Stabilizer, a low-loft fusible batting designed for hand quilting and embroidery projects, adds extra stability and dimension to projects; purchase includes PDF instructions and video tutorials for Amy’s signature applique techniques. Treasured Threadz products are distributed by Colonial Patterns.
To learn more about Amy and her story, check out her conversation with Brandy Maslowski of the Quilter on Fire Podcast, episode #155; search your favorite podcast app or listen here.
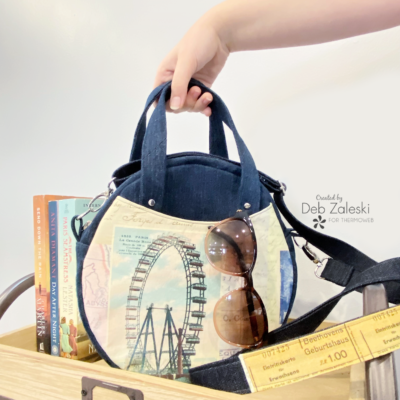
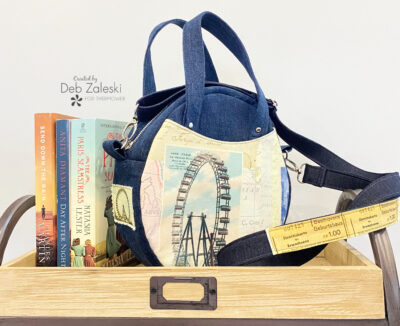
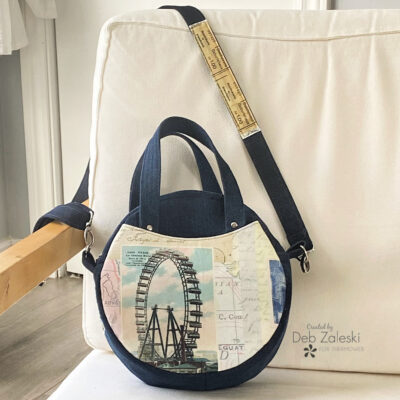
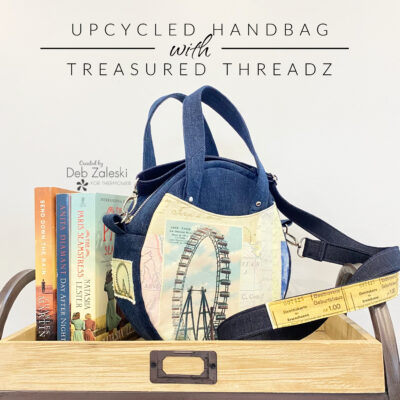
Now, on to today’s Treasured Threadz + Therm O Web Design Team Tour, featuring a gorgeous Upcycled Handbag by Deb Zaleski.
__________________________________________________________________
SUPPLIES:
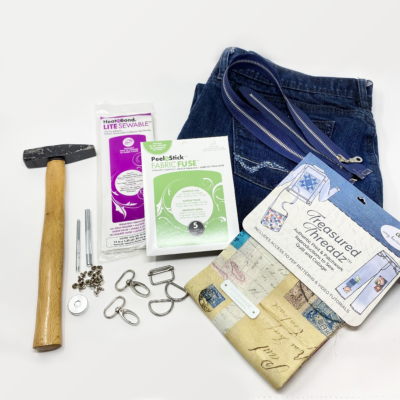
- 1.5 yard HeatnBond Non-Woven Fusible Craft Firm Interfacing
- Fusible fleece
- Fabric Fuse PeelnStick Adhesive Sheets
- HeatnBond Lite Iron-On Adhesive
- Bag pattern, I used the Magdalena Circle Bag by Oro Rosa*
- A pair of jeans for upcycling
- Lining fabric
- Treasured Threadz Around the World Fabric Panel
- Coordinating thread
*Be sure to look at the list of hardware required to make your bag pattern!
TOOLS:
- Sewing machine
- Scissors
- Rotary cutter and self-healing mat
- Ruler
- Iron and ironing board or wool mat
- Tools for any hardware required in assembling your bag
GETTING STARTED:
1. I want to take the time to talk about fabric placement. Using panels or big prints requires planning and making sure you use what you have to create the best effect. Plan how you’re going to use your printed fabric and how best to use the garment you’ve set aside for an upcycle project.
2. Cut all the fabric pieces required, make yourself a check list to make sure nothing is forgotten because the last thing I would want is to realize there isn’t any fabric left and I’m missing a critical piece for the project.
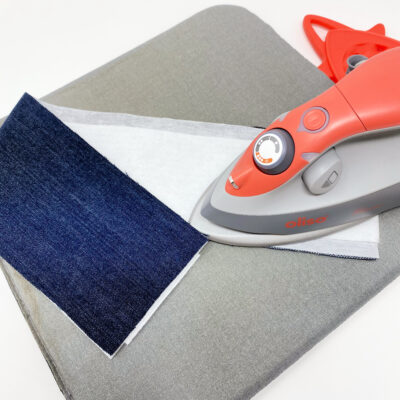
3. Cut all the required pieces of interfacing, I used the HeatnBond Non-Woven Fusible Craft Firm Interfacing and for the main panels and gusset, I added fusible fleece for more body. Fuse the pieces according to the manufacturer’s directions and as indicated in the pattern directions.
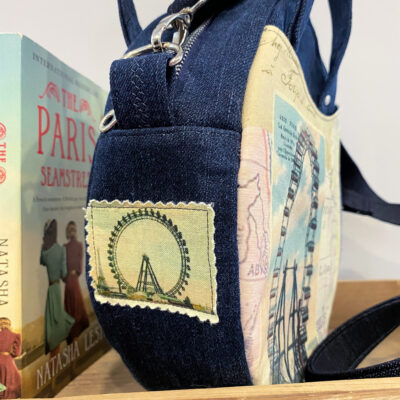
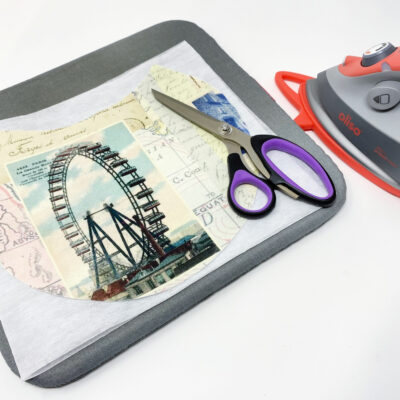
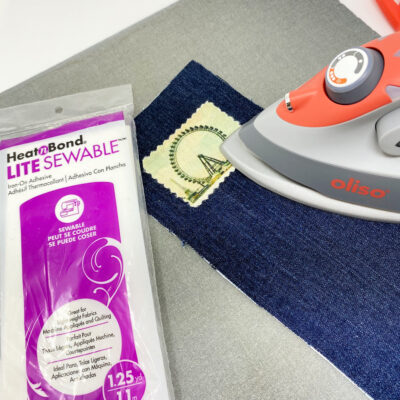
4. Before you start to assemble your bag, take the time to add little details to make your creation unique. I cut out a ferris wheel and appliqued it to the gusset with the help of some HeatnBond Lite Iron-On Adhesive.
TIPS IN ASSEMBLING:
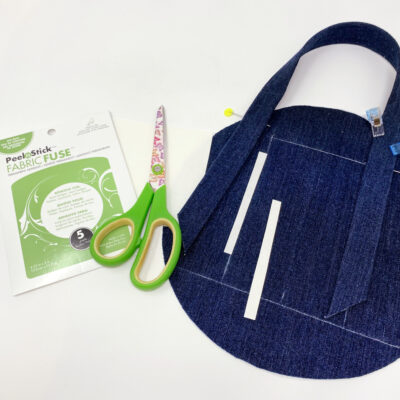
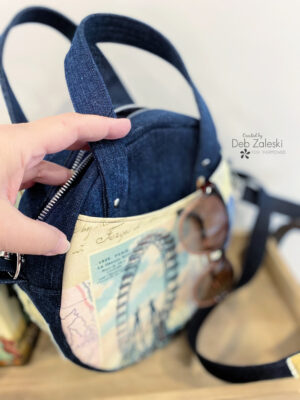
5. I used Fabric Fuse PeelnStick Adhesive Sheets in helping in placement of the straps, zippers and lining instead of using pins or hand basting. If you stitch through the glue with your sewing machine, be sure to clean the needle with an alcohol swab if it isn’t ready to be changed before moving on to the next step. This will reduce the risk of threads breaking and needles breaking.
