 If you’re like us you’re still busy creating and crafting and that’s ok! We’ve got a wonderful way for you to use the Unity Stamp Co Ornamental Pines kit to make gorgeous holiday cards or even gift tags! Read on to see what Amanda Wilcox has for you!
The Ornamental Pines stamps dies, coordinating stencil, and two new Deco Foils – gold glitter and silver glitter! These were so fun to create with that I just couldn’t stop! I have 8 cards to show you today that I put together in the afternoon.
Ornamental Pines Holiday Cards
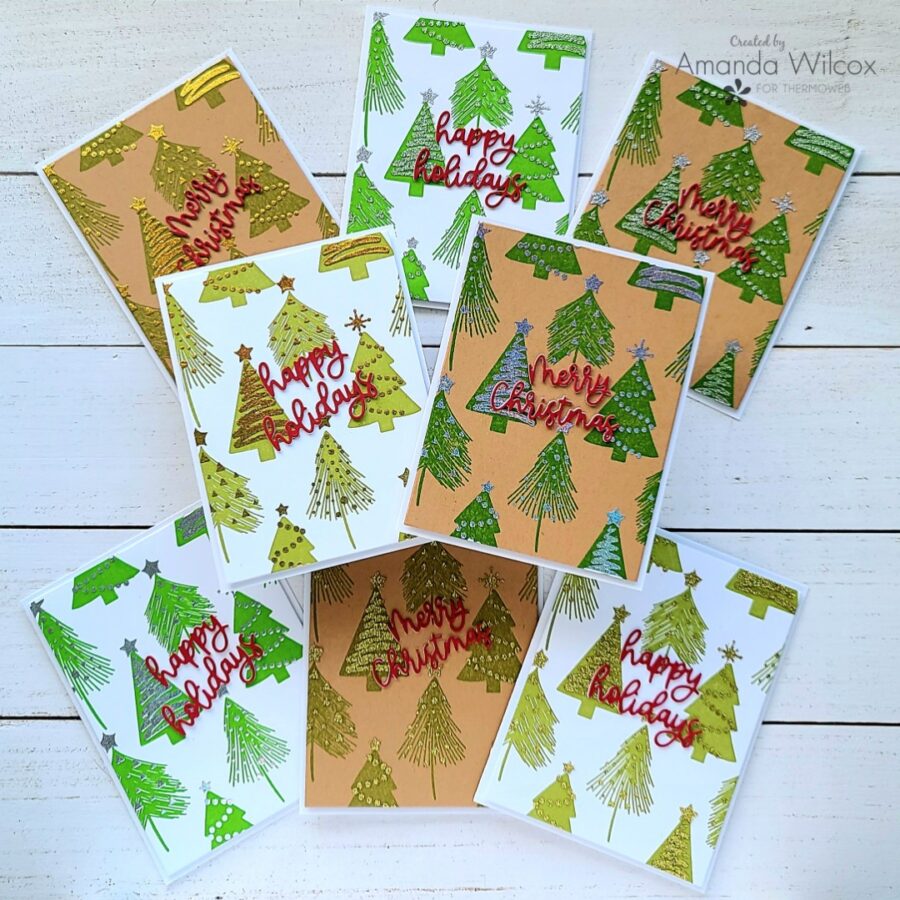
Products used today:
Unity Deco Foils – Silver Glitter and Gold Glitter
Unity Ornamental Pines stamps, dies and coordinating stencil – Avilable at Unity!
Glitz Glitter Gel – Gold and Silver
Ultra Bond liquid adhesive pen
3D Foam Tape Roll
Pink & Main Layered Rectangles A2
Lawn Fawn ink – artichoke and jalapeno
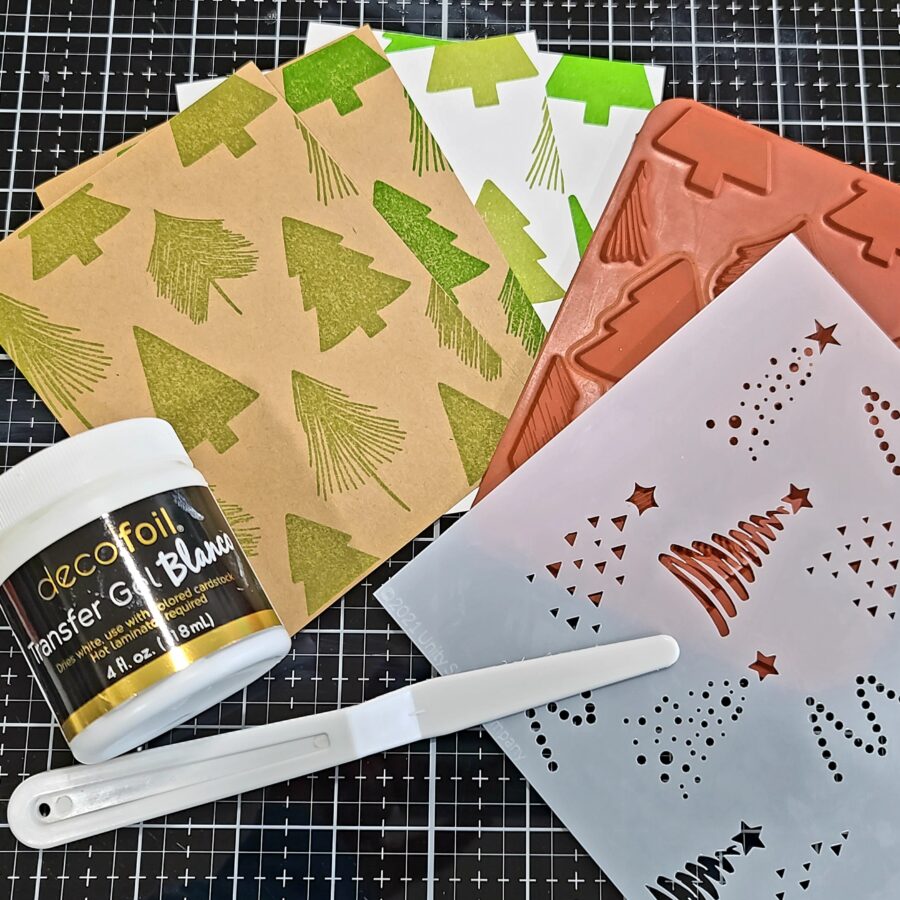
I started by cutting 2 sheets of cardstock into quarters – one white and one kraft. Then I inked them up with the ornamental pines stamp with Lawn Fawn jalapeno and artichoke inks. I did 2 of each color on each color of cardstock for variety and contrast to see what I liked best. In the end, they are all super fun and sparkly! I love them all!
I took half of them and spread transfer gel Blanco through the coordinating stencil and set them aside to dry. I couldn’t wait to try out this new foil! It’s so gorgeous in the package, I could only imagine the next level it would take these fun trees to!
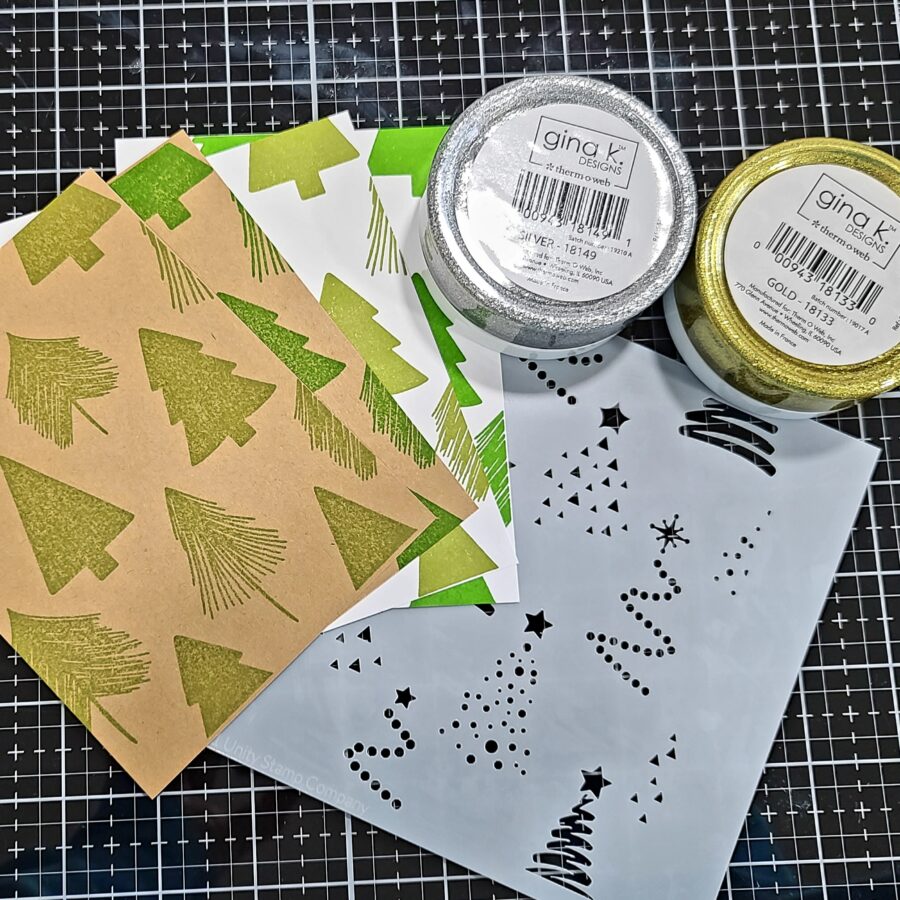
Then for the other half of my backgrounds, I used the stencil and spread glitz glitter gel through it. I did half gold and half silver. I paired the gold with the artichoke ink and silver with the jalapeno. I felt like the tones matched really well that way. Side note, I use the same thought process with the foiling.
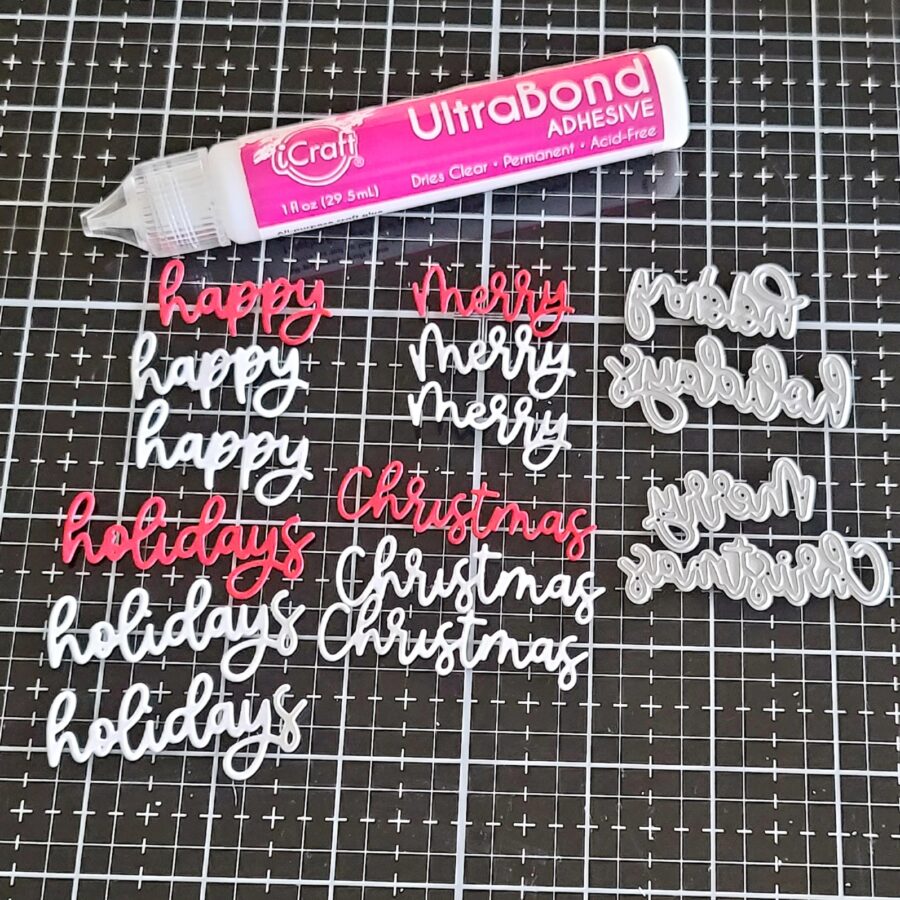
While everything was drying I die cut the sentiments from the coordinating die set from white and red cardstock. Half of my cards have Happy Holidays and the other half have Merry Christmas. For each card, I cut the sentiment from red once and white twice. Then I used my ultra bond liquid pen to adhere all the layers together.
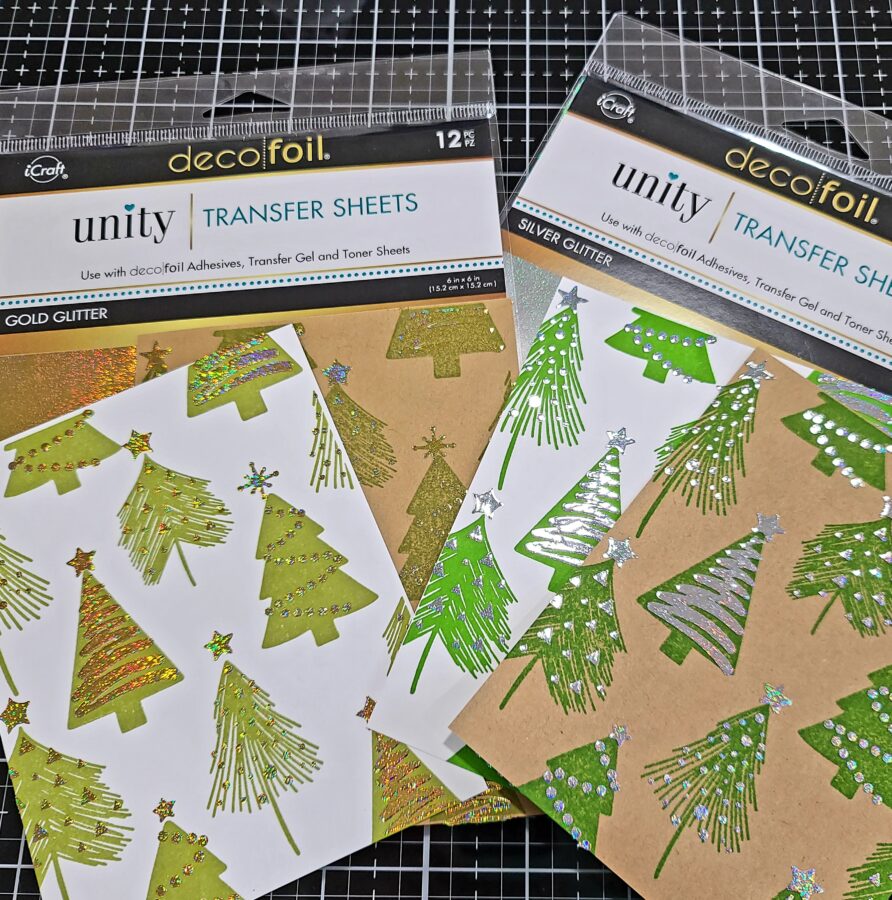
Woohoo! With everything dry and my laminator heated up, I ran the set for foiling through my laminator. I seriously sat and played with them in the light for a minute after removing the foil. They are gorgeous!!!
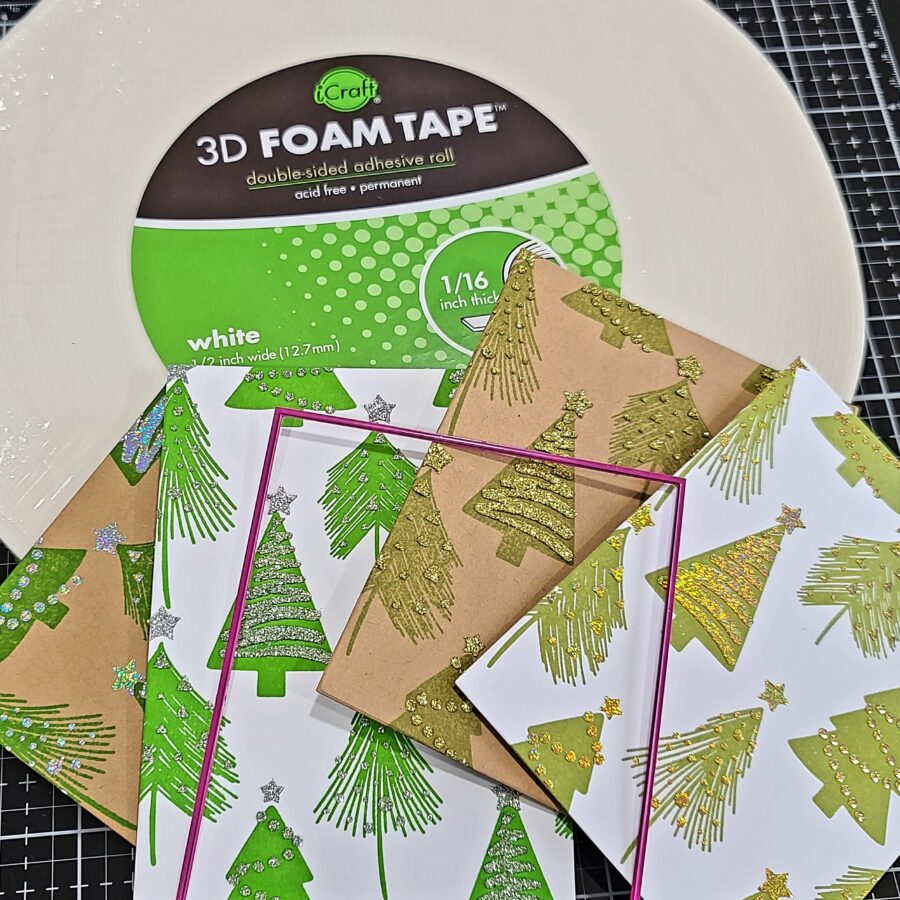
Next, I used the second-to-largest Pink & Main layered rectangle die to cut all of my card fronts down. Then I lined the back of each one with foam tape and adhered them to white card bases.
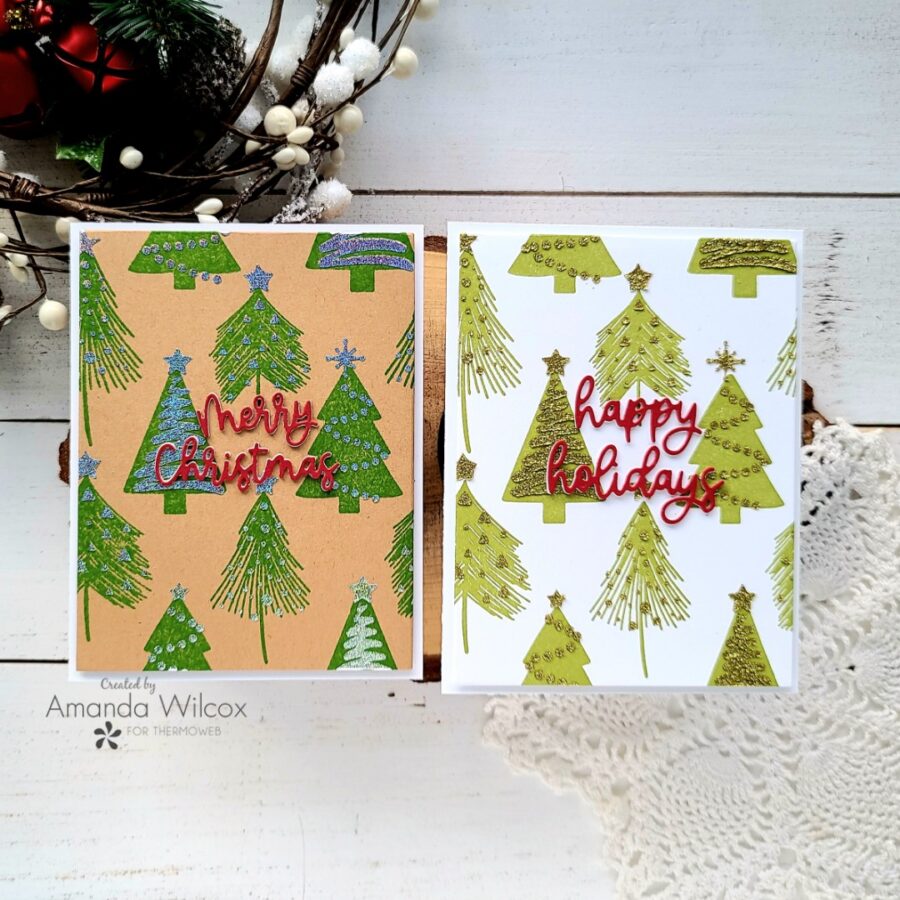
Finally, I used my Ultra Bond Liquid Adhesive Pen to adhere the sentiments to the center of each card front and my set of cards is all finished. Here is a look at the kraft to white background comparison. I love them both and couldn’t really choose a favorite.
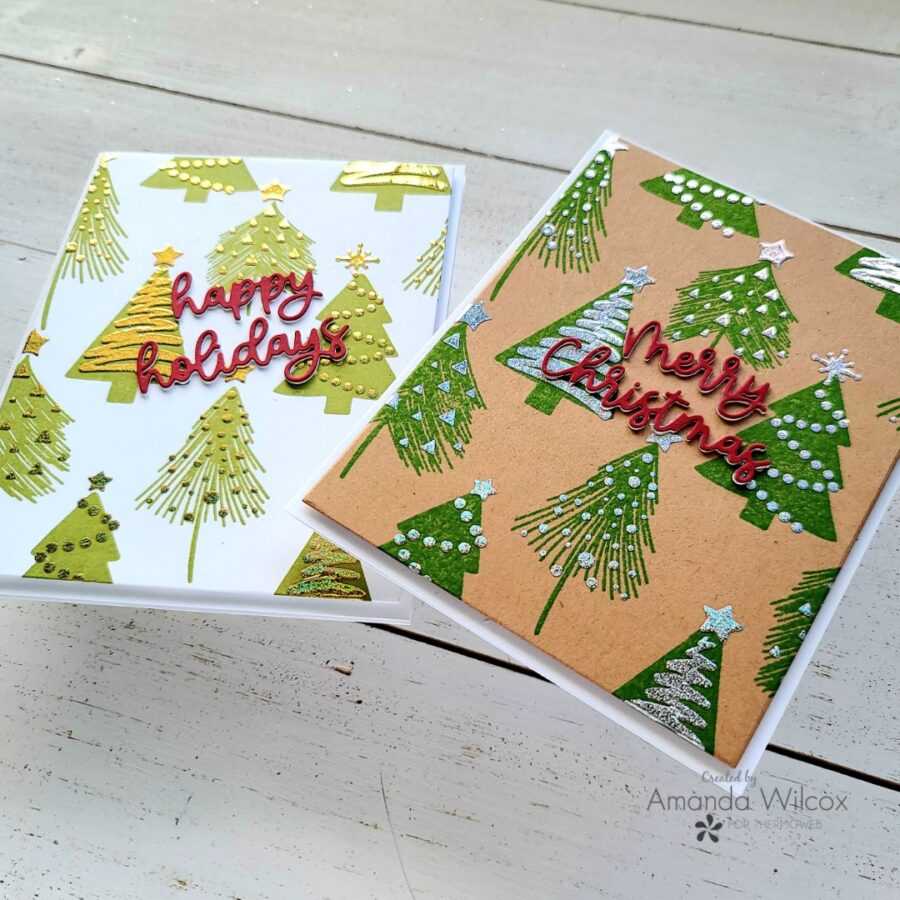
That new glitter foil is absolutely stunning and a perfect match for these fun trees too!
I hope you enjoyed today’s project and are inspired to create something wonderful to share with someone!
I appreciate you sharing your time with me. Have a fabulous day!
