4th of July is just around the corner and it’s time to bring out the red, white, and blue. Celebrate your patriotism with an Uncle Sam Hat Door Hanger made with Deco Foil™ and HeatnBond EZ Print Lite.
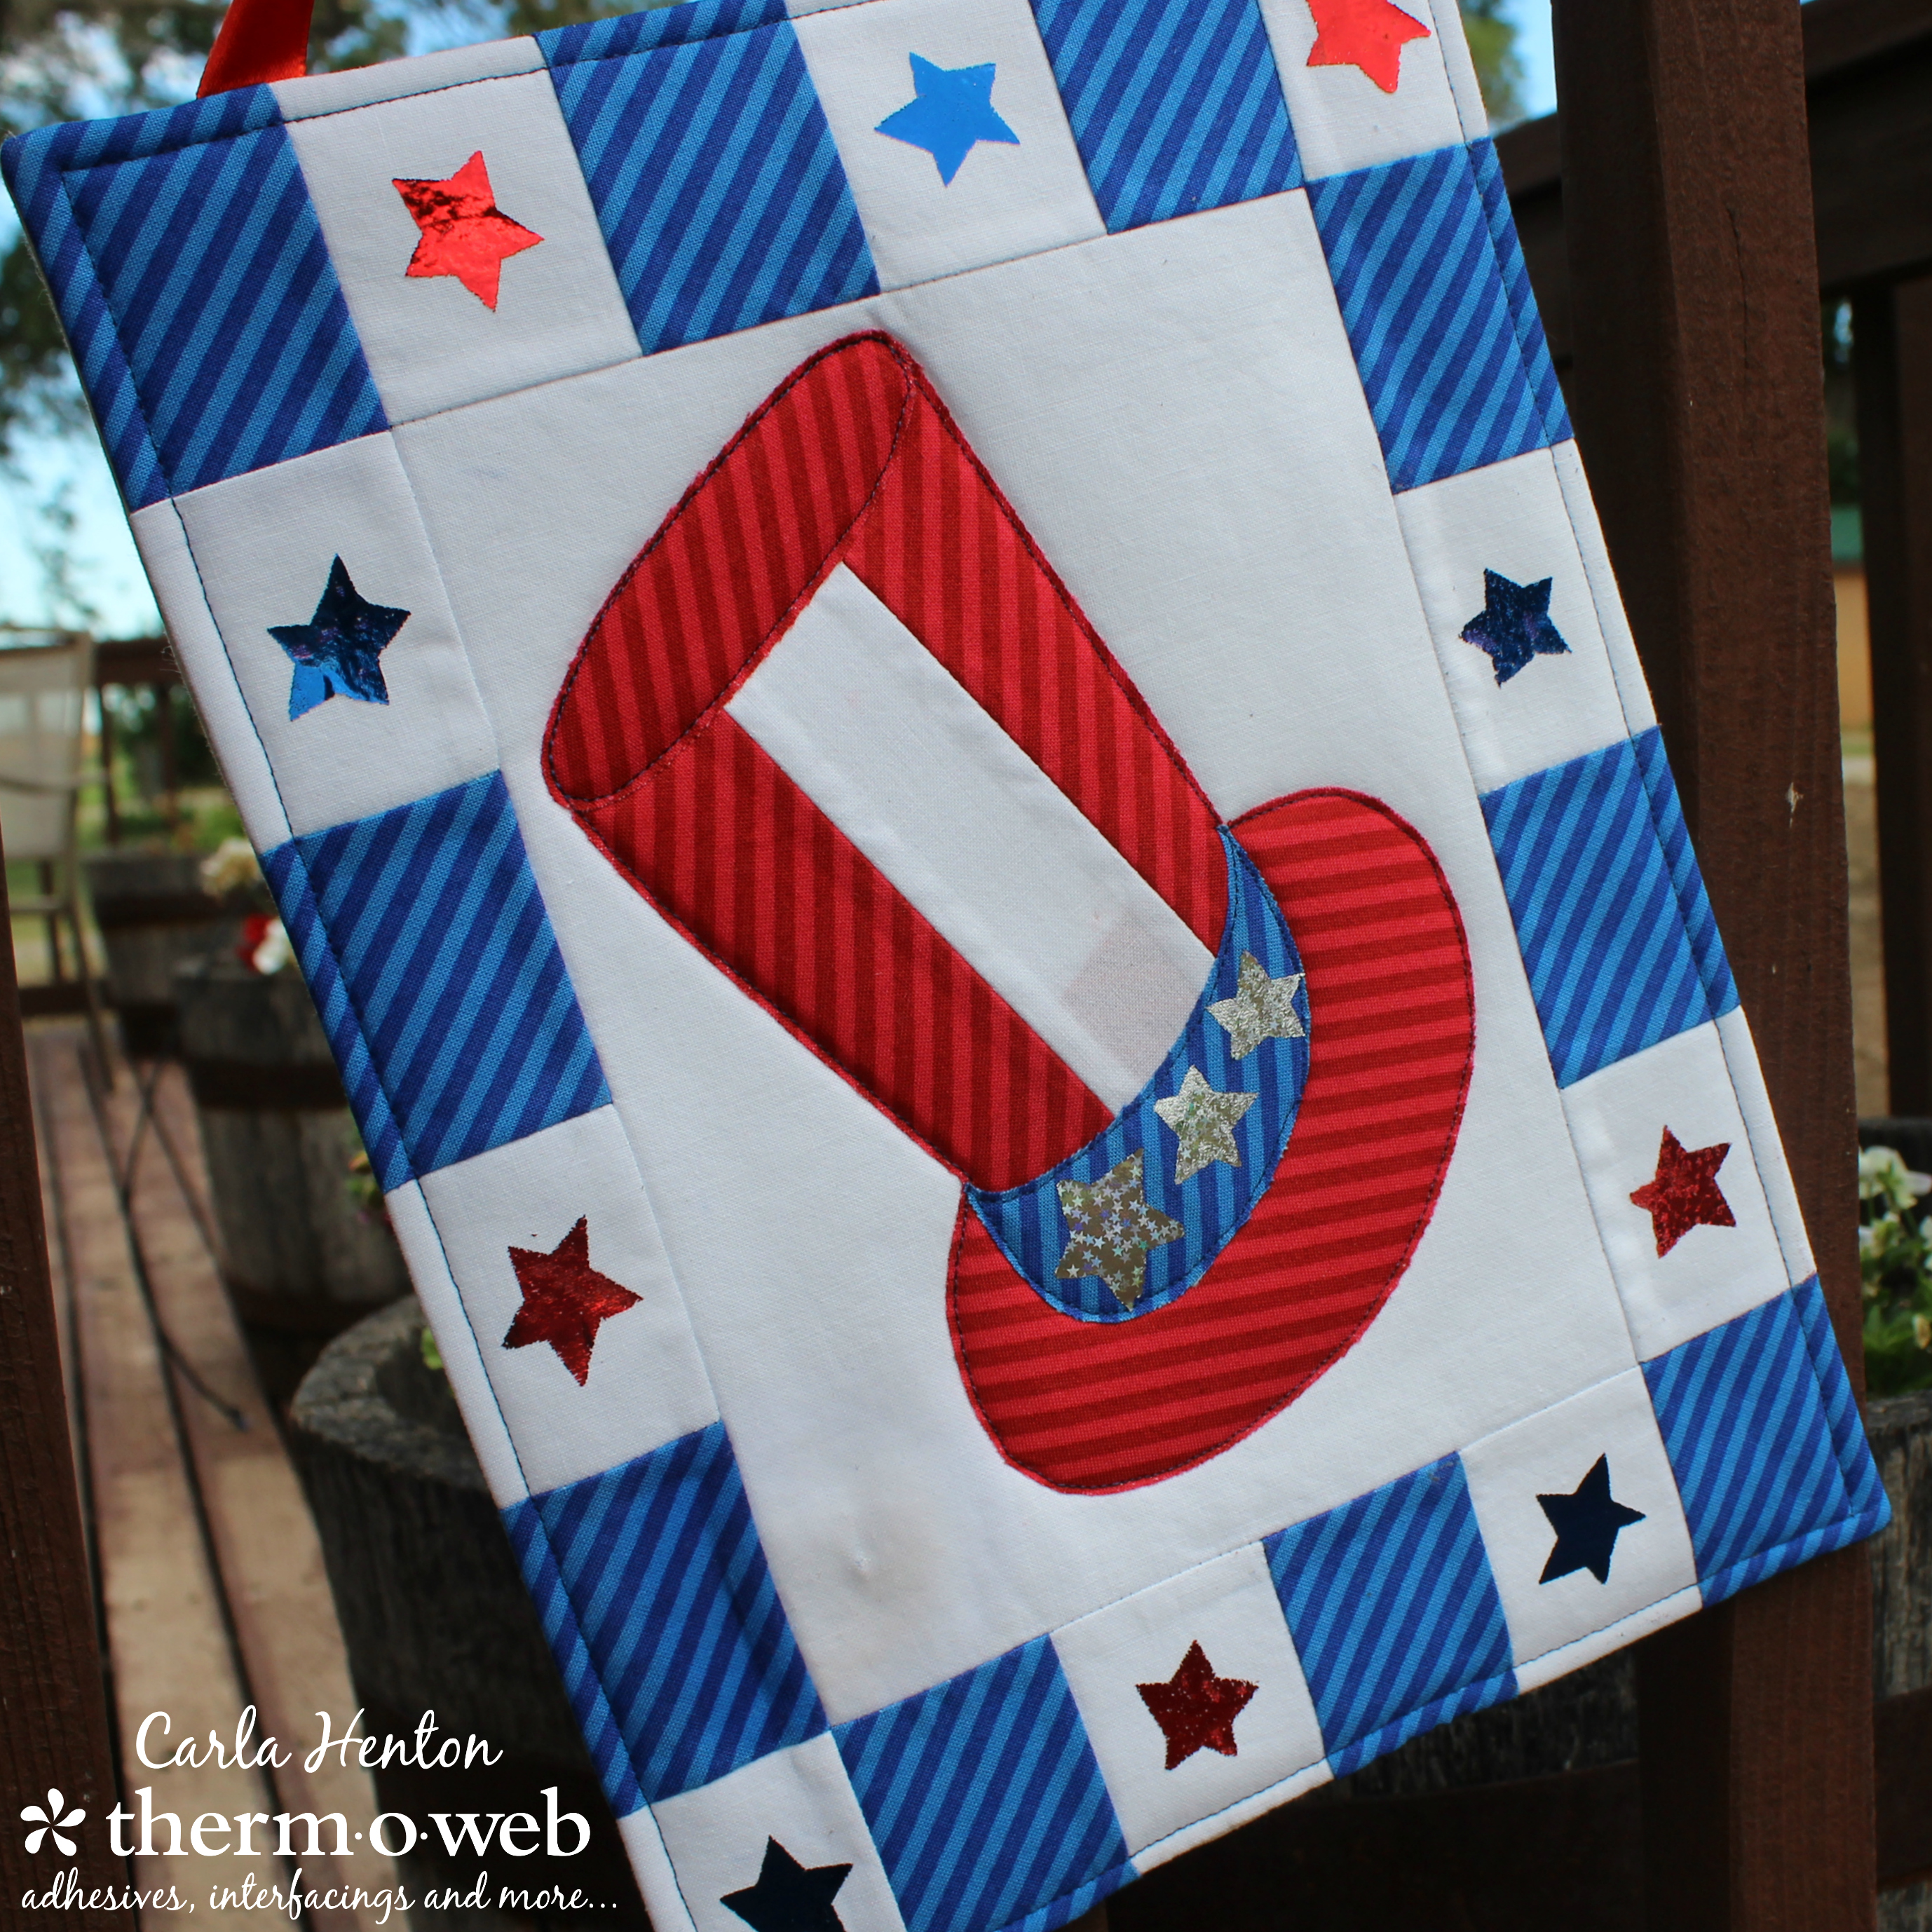
Uncle Sam Hat Door Hanger
by Carla at Creatin’ in the Sticks
Finished size: 9″ x 12″ without the ribbon hanger
Please read all the instructions before starting.
All seams are stitched at 1/4″ unless otherwise stated.
Supplies
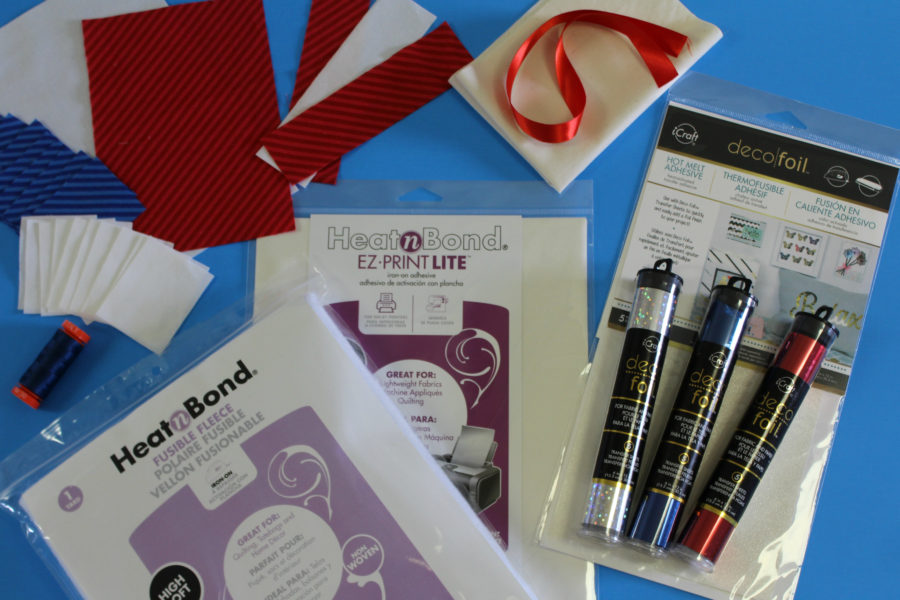
HeatnBond Fleece Fusible High Loft – cut two pieces 9 1/2″ x 12 1/2″
HeatnBond EZ Print Lite – 1 sheet
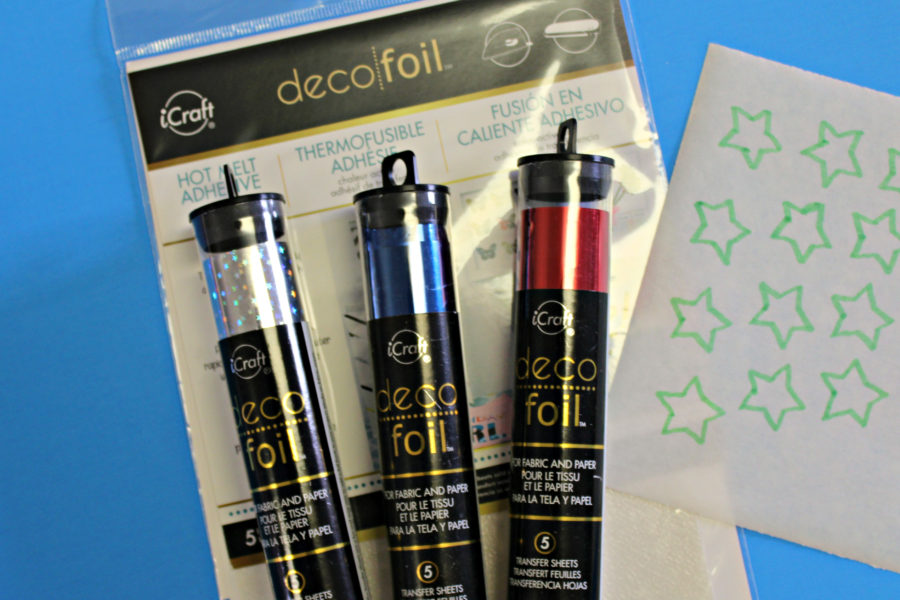
Deco Foil™ Hot Melt Adhesive- 1 sheet
iCraft® Deco Foil™ Transfer Sheets – Deep Blue, Red, and Silver Stars
Aurifil thread – 50 wt. #2783
Red Ribbon – 5/8″ x 16″
Inkjet printer, Iron, sewing machine, sharp scissors, permanent marker, and other basic sewing supplies
Fabric:
Red: Cut two strips for the hat, 1 5/8″ x 6″ and for the hat top and brim, cut one, 5″ x 7″.
Blue: For the hatband cut one, 3 1/2″ x 3 1/2″ and for the hanger border, cut ten rectangles 2 1/2″ x 2″.
White: Ten rectangles, 2 1/2″ x 2″ are needed for the hanger border, one rectangle, 6 1/2″ x 8 1/2″ is needed for the middle of the hanger, and one 1 5/8″ x 6″ strip is for the hat.
Backing fabric: (muslin) Cut one rectangle 9 1/2″ x 12 1/2″.
Uncle Sam Door Hanger Instructions:
Step 1: Prepare the background for the applique.
Lay out the rectangles as pictured below.
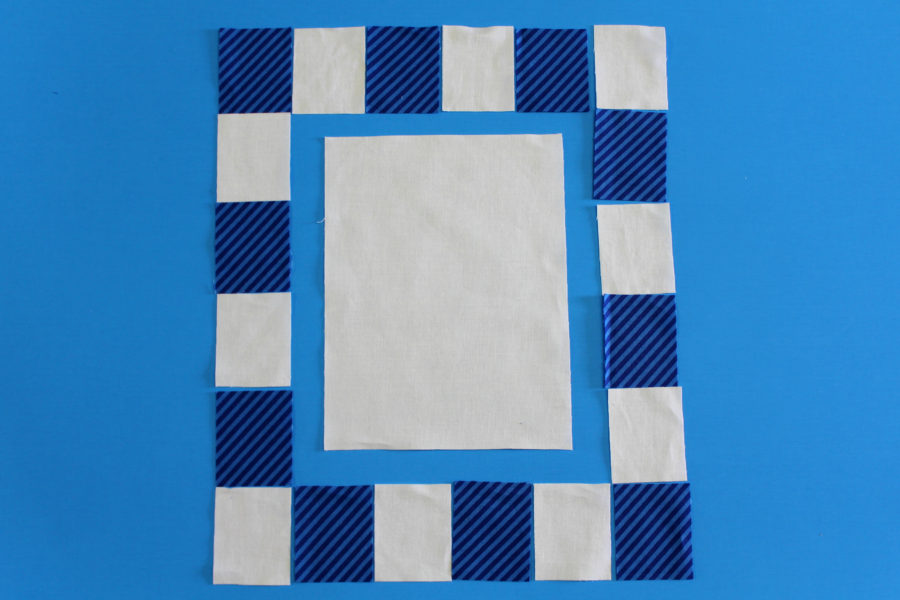
Stitch the top and bottom rectangles together with 1/4″ seams. Next, sew the side rectangles together as they are laid out and stitch the sides to the large middle rectangle. Finally, stitch the top and bottom borders to the middle rectangle.
Step 2: Prepare the Hanger
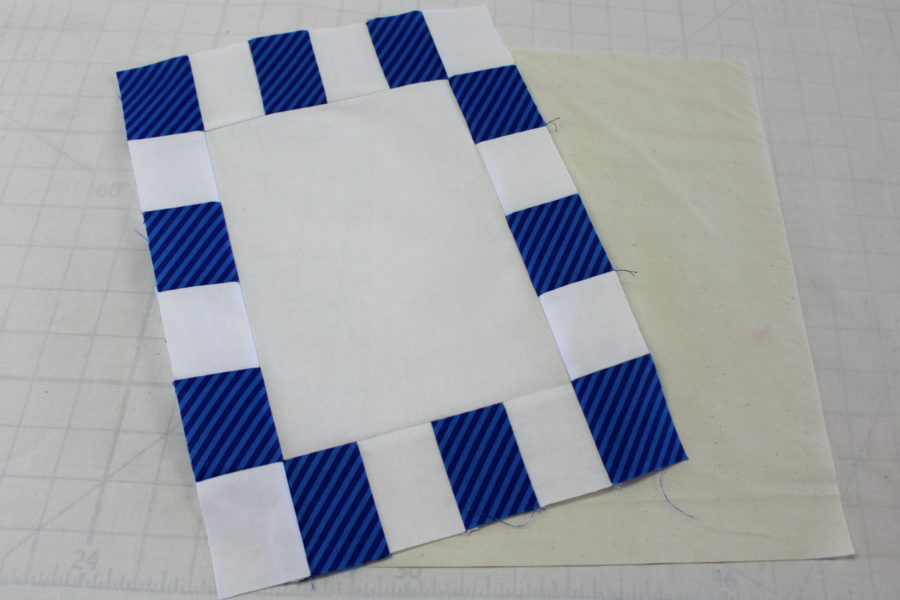
Bond the HeatnBond Fleece Fusible High Loft 9 1/2″ x 12 1/2″ to the wrong side of the pieced applique background following the package instructions. Fuse the other fleece piece to the wrong side of the hanger backing fabric (muslin). Next, pin the ribbon ends to the top of the hanger front as shown in the picture below by centering the ends on the seam of the first pieced rectangles.
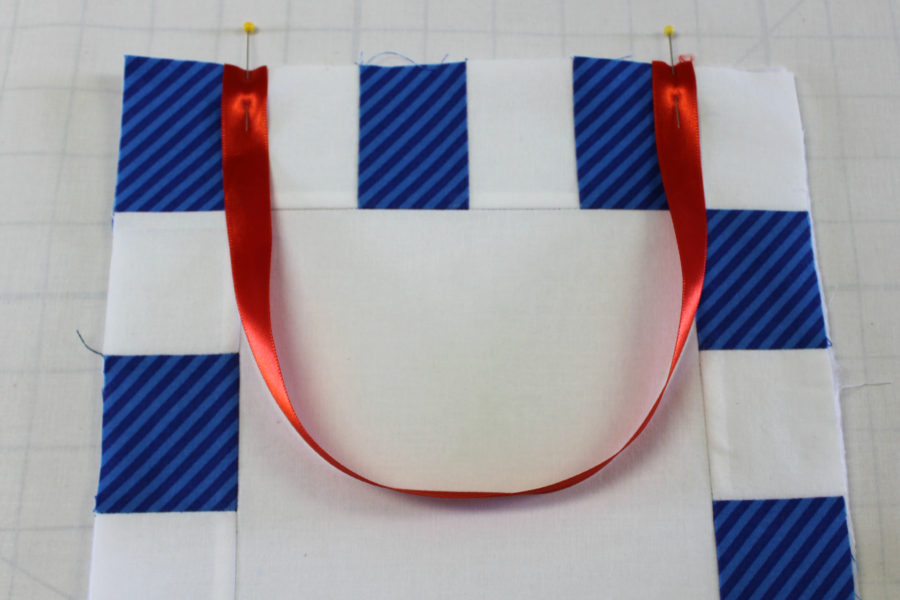
After the ribbon is pinned in place, stitch across the ends 1/8″ from the edge to hold the ribbon ends in place.
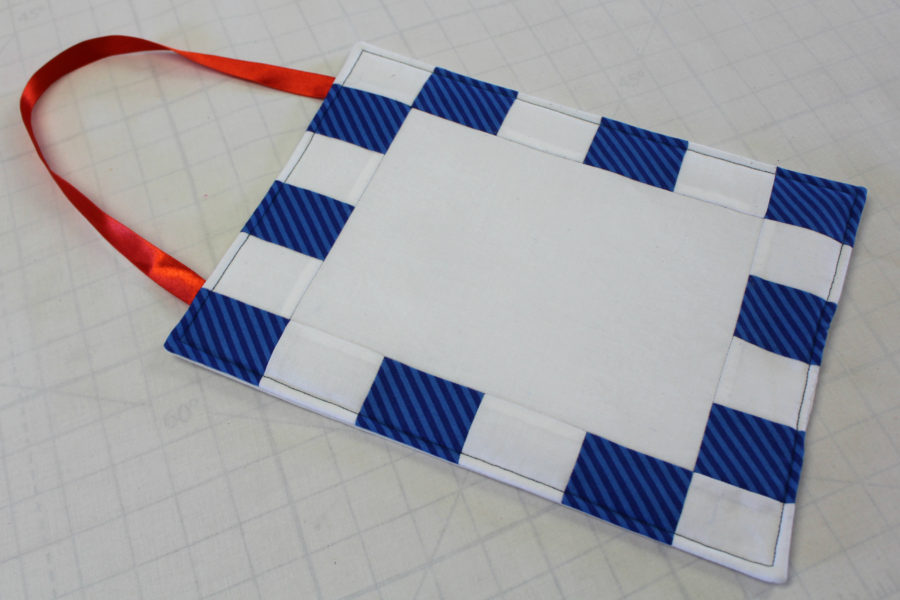
Now, sandwich the ribbon between the 2 fleece backed 9 1/2″ x 12 1/2″ pieces (pieced front and muslin), right sides together and pin. Leave a 3″ opening on the bottom for turning right side out.
Stitch 1/4″ from the edge all around the sandwiched rectangles, starting and stopping with a backstitch. After stitching, trim the corners off and turn the hanger right side out through the 3″ opening. Press the hanger, then pin and hand stitch the opening shut. Topstitch around the hanger with Aurifil thread: 50wt #2783
Step 3: Prepare the Uncle Sam Hat applique pieces
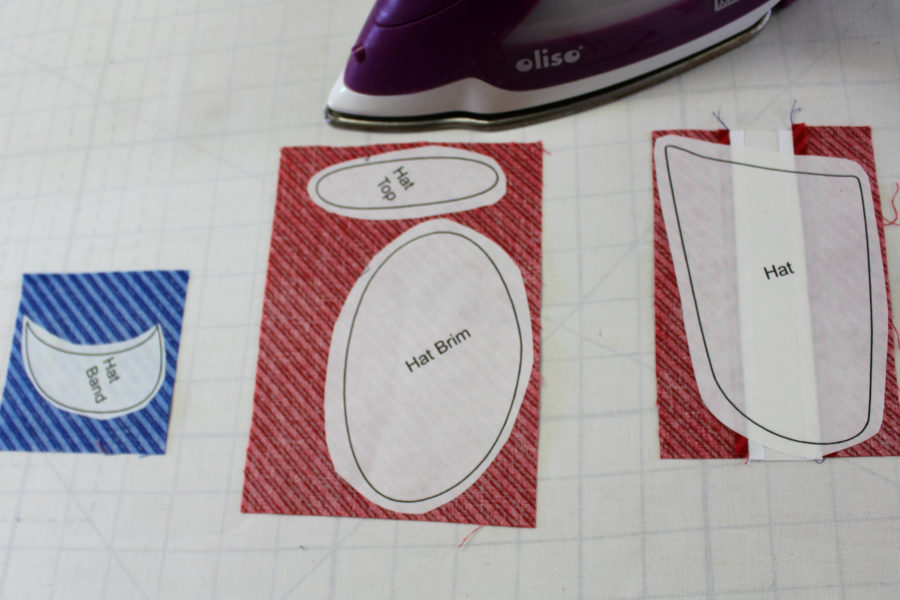
Print the Uncle Sam Hat pattern page on HeatnBond EZ Print Lite following the package instructions. Because the patterns are printed, there is no need for tracing!
Trim the HeatnBond EZ Print Lite patterns leaving 1/4″ around each pattern. Following the package instructions, fuse the HeatnBond Lite patterns to the fabrics – red 5″ x 7″, hat top and hat brim; and blue 3 1/2″ x 3 1/2″, hat band. For the main part of the hat, stitch the two red 1 5/8″ x 6″ strips and the one 1 5/8″ x 6″ white strip together with 1/4″ seams with the white strip in the middle. Press the seams open and fuse the HeatnBond EZ Print Lite hat pattern to the wrong side of the pieced strips. Next, cut out all of the fused patterns on the black lines with sharp scissors.
Step 4: Applique the Uncle Sam Hat to the hanger
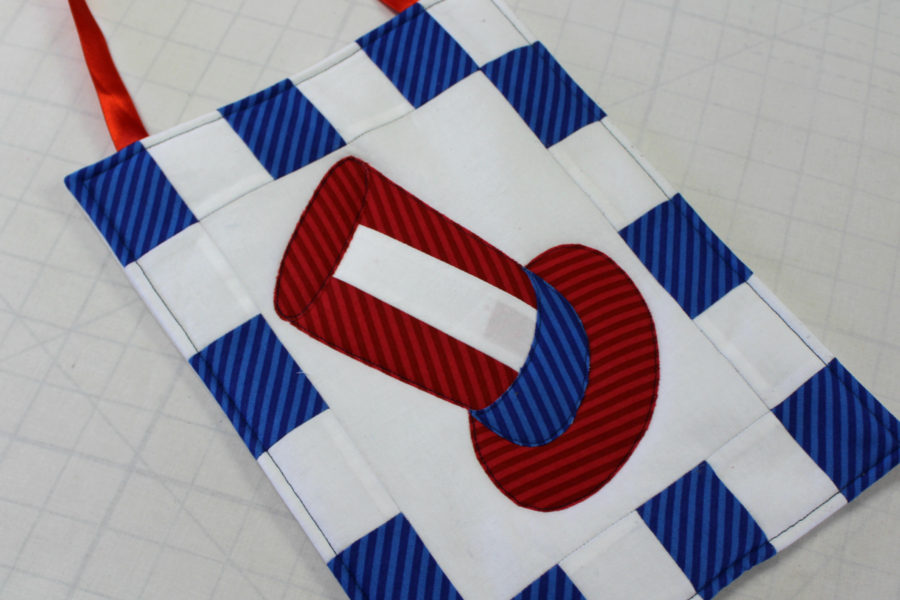
Remove the backing paper from the applique pieces and position the pieces, adhesive side down, on the prepared hanger. Use the finished picture as a guide. Follow the package instructions to bond the applique pieces all at once in sections to the hanger. After the pieces are bonded, stitch around the applique with a straight stitch using Aurifil thread: 50wt #2783.
Step 5: Add Deco Foil Stars to the door hanger
Trace 13 stars with a permanent marker using the pattern sheet onto the paper side of one sheet of Deco Foil™ Hot Melt Adhesive.
Cut out the stars and place 3 of the stars on the hatband of the hanger, paper side up and adhesive side down. Pre-heat an iron to medium (wool) setting with no steam. Meanwhile, cover the stars with the included parchment paper.
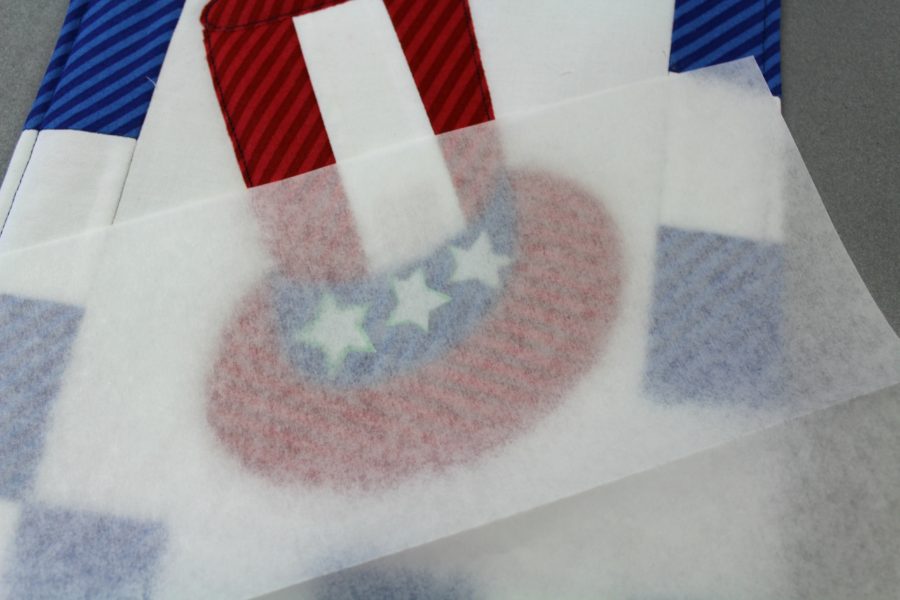
Place the iron on the parchment paper with the adhesive stars underneath for 30 seconds. Remove the parchment paper and allow the stars to cool completely. Once the stars are cool, peel the liner paper form the design. Next, cut a piece of silver star foil a little larger than the stars. Place the foil, color side up, on top of the stars and place the parchment paper over the foil. Iron the project slowly with firm pressure for 30 seconds. Remove the parchment paper and allow the starts to cool completely again. Finally, peel the foil transfer sheet away.
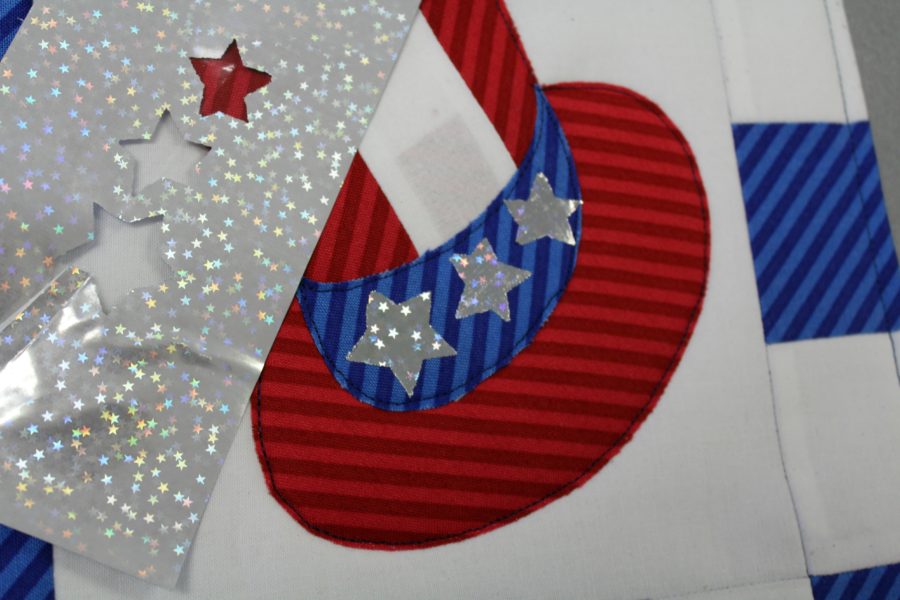
To finish the Uncle Sam Hat Door Hanger, add stars to the hanger border white squares following the previous steps used for the stars on the hatband. Pay careful attention not to touch the iron to the hatband stars. Apply the red and deep blue iCraft® Deco Foil™ Transfer Sheets to accent the door hanger border with shine.
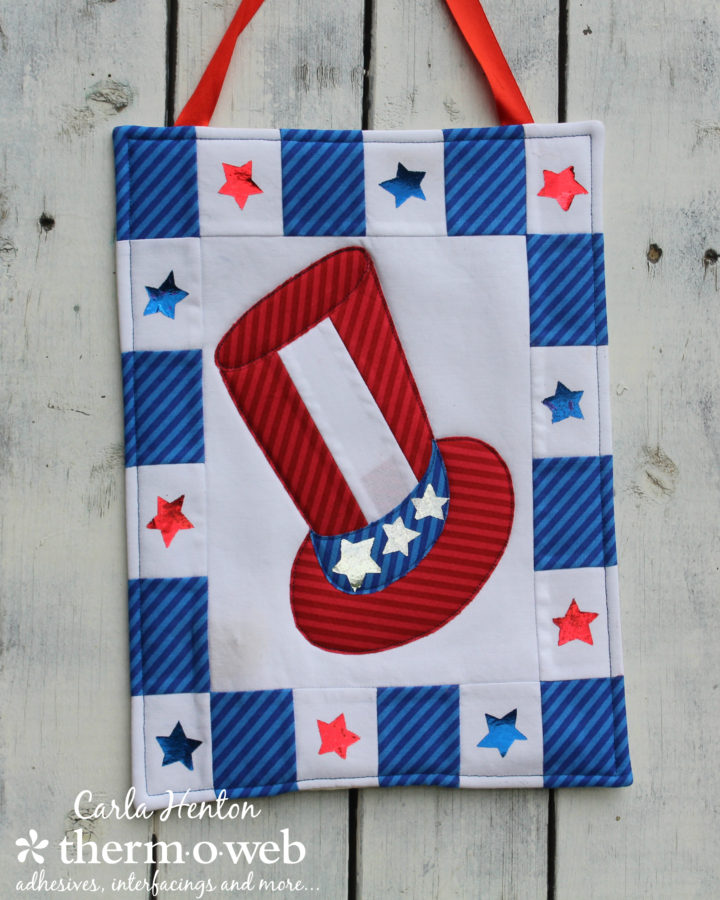
I want YOU to have a safe and happy 4th of July!
Carla
