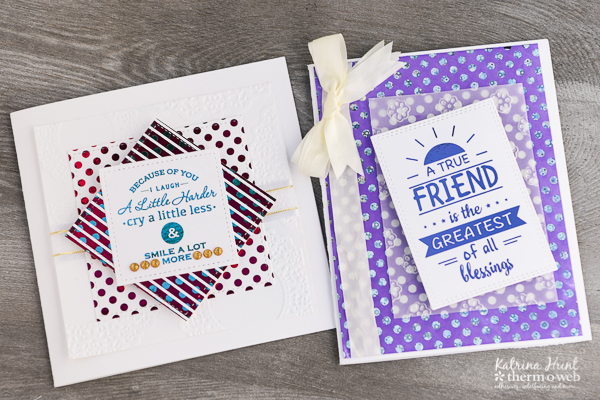
Hey it’s Katrina from Paper, Scissors and Glue here to share a couple of friendship cards. If you are familiar with my style, I usually like “all the things” on my projects! But with the Gina K Designs Foil-Mates I changed my mind and wanted a clean look to the cards I made.
Two Tone Friendship Cards with Gina K Designs
Therm O Web Supplies:
3D White Foam Strips
Therm O Web Zots Singles -Small
Therm O Web Mini Tape Runner
Therm O Web Gina K Designs Sheer Satin Fancy Ribbon-White/Gold
Therm O Web Gina K Designs Premium Cardstock 8.5″ x 11″-White
Therm O Web Gina K Designs (3) Nested Square Dies-Single Stitch Design-Large Set
Therm O Web Gina K Designs (3) Nested Rectangle Dies-Double Stitch Design-Small Set
Therm O Web Gina K Designs Premium Dye Inkpad Sets 1″ Cube-Island Dream
Therm O Web Gina K Designs Foil-Mates™ Backgrounds-Polka Party
Therm O Web Gina K Designs Foil-Mates™ Backgrounds-Stars & Stripes
Therm O Web Gina K Designs Foil-Mates™ Sentiments –True Friend
Therm O Web Gina K Designs Fancy Foils™ –Silver Sequins
Therm O Web Gina K Designs Fancy Foils™ Sentiments –Passionate Pink
Therm O Web Gina K Designs Fancy Foils™ Sentiments –Turquoise Sea
Therm O Web Gina K Designs Fancy Foils™ Sentiments –Wild Lilac
12″ inch Laminator
Other Supplies: Vellum, Embossing Folders, Enamel Dots (My Mind’s Eye), Ribbon (May Arts)
Two Tone Friendship Cards with Gina K Designs Instructions:
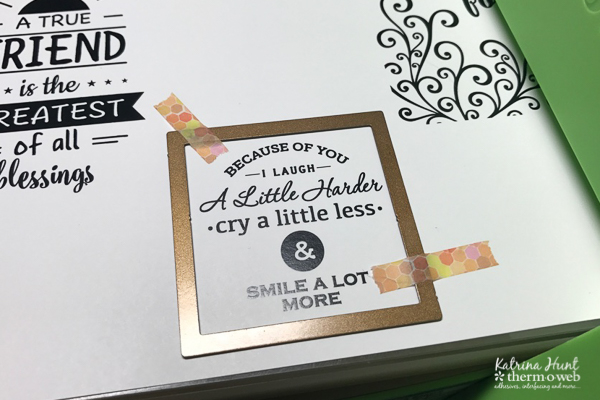
Use The Negative Part of A Foil Piece
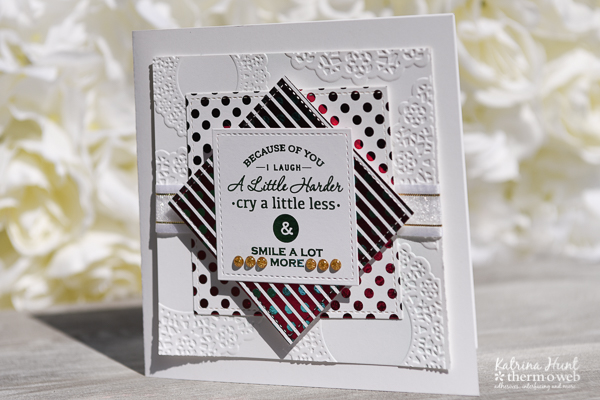
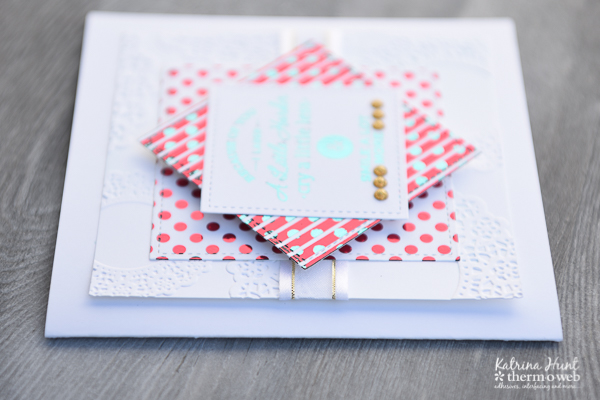
For this card, I used the white cardstock, two different colors of foil, three sets of Foil-Mates, an embossing folder, ribbon, tape runner and foam adhesive.
Use the nested square dies and cut Foil-Mates sentiment out of smallest die.
Cut one each of the 2 other dies from the other two Foil-Mate Background designs. Make a base for the card by cutting cardstock at 10″ x 5″ inches, fold in half. Then cut another piece of cardstock at 4.25″ x 4.25″ and emboss.
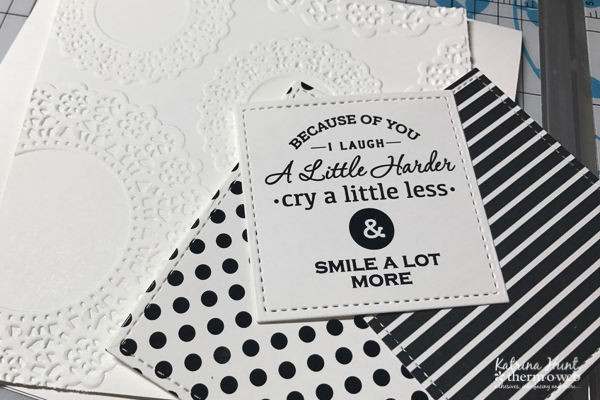
Cut a piece of Passionate Pink foil a little larger than the largest Foil-Mate square and foil die cut by running thru laminator Use the foil again and foil the next smaller die cut.
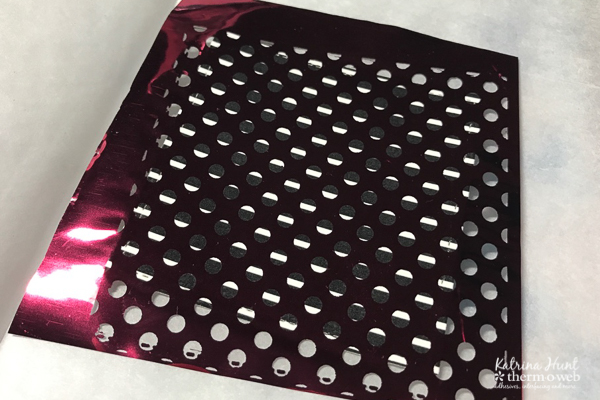
The step above will leave areas of the toner that are not foiled. Cut a piece of the Turquoise Sea foil and run the same die cut back thru the laminator with the foil on top again. This will give a two toned effect.
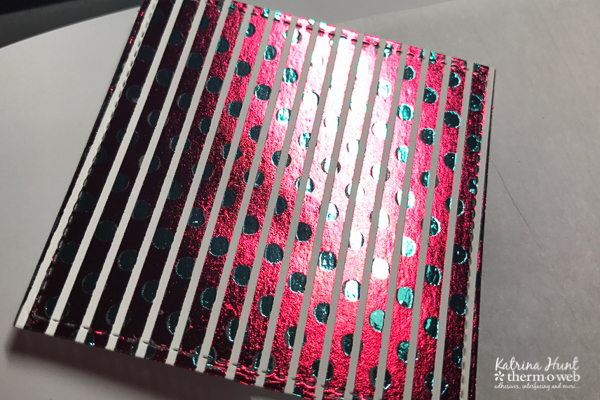
Foil sentiment with Turquoise Sea foils and assemble card front. Use 3D Foam Squares for the middle die cut. Use some enamel dots or sequins for some texture on the sentiment die cut.
Inked Background with Foil Mates
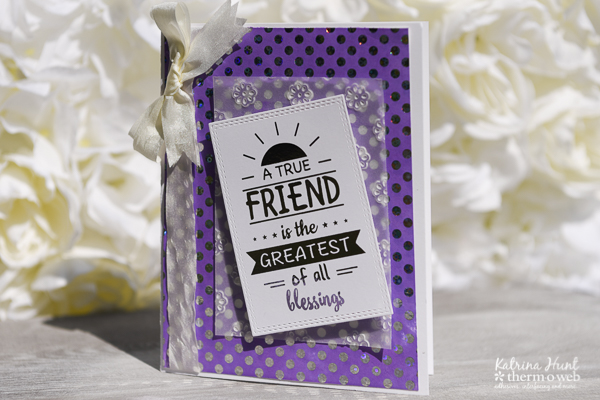
Cut cardstock 8.5″ x 5.5, fold in half. Cut Foil-Mates Background 5.25″ x 4.00 inches. Use Gina K Designs ink in Wild Orchid and ink background of Foil-Mate. Let dry for a minute or two.
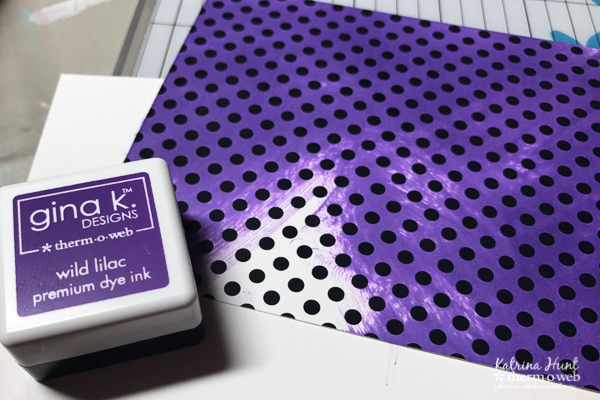
Cut a piece of Silver Sequins Fancy Foil to fit the background and run thru laminator to foil background piece. Adhere ribbon to one side of the card using mini tape runner and tuck ribbon ends back behind the background. Adhere background to card base.
Now, cut a sentiment from Foil-Mates using the Nested Rectangle middle sized die. Cut a piece of vellum slightly larger than die cut sentiment and emboss with an embossing folder. Adhere to the card in middle.
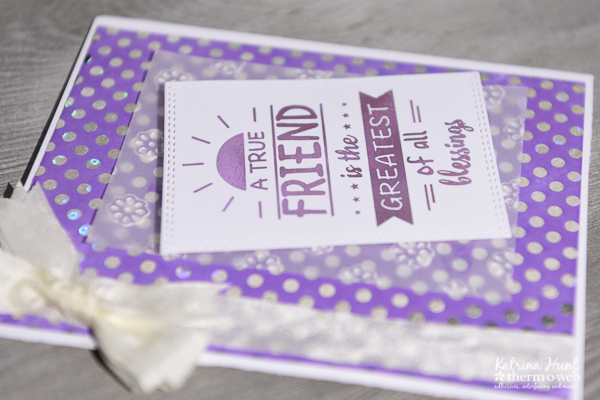
Foil your sentiment with Fancy Foils in Wild Lilac and adhere with 3D Foam Strips cut to size. Make a ribbon bow and adhere to card front if you like.
Next up, give the cards away!!! We would love to see your take on these cards, so make sure to tag us on Facebook or Instagram! Thanks for stopping by the blog today.
