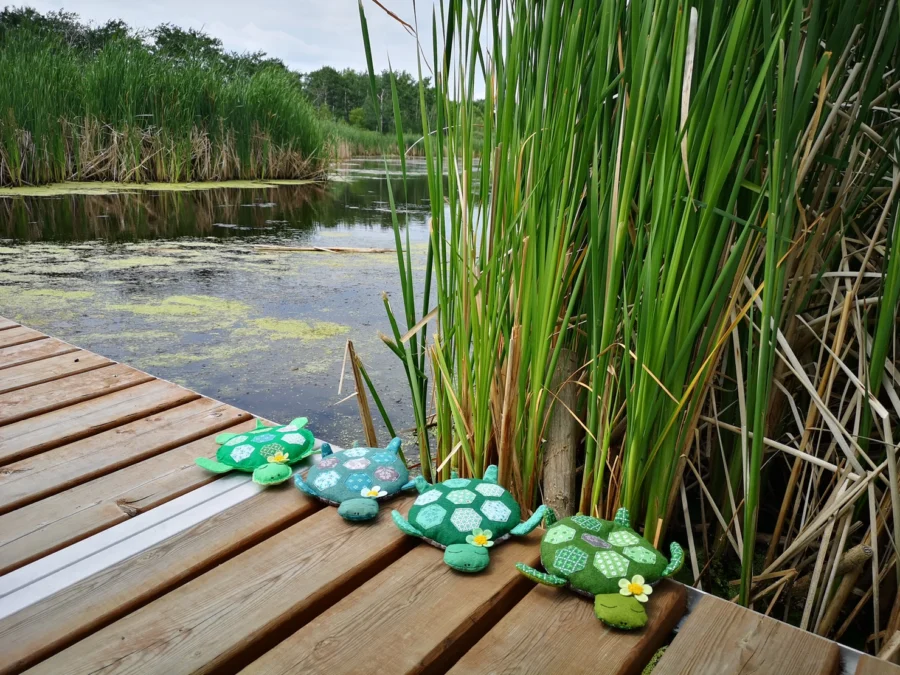
 Hello again! This is Jennifer Long from Bee Sew Inspired. I am so excited to share a FREE and easy tutorial today. This little Turtle is so easy, you can sew him with the children in your life, or create a stack of turtles to sit on your shelf!
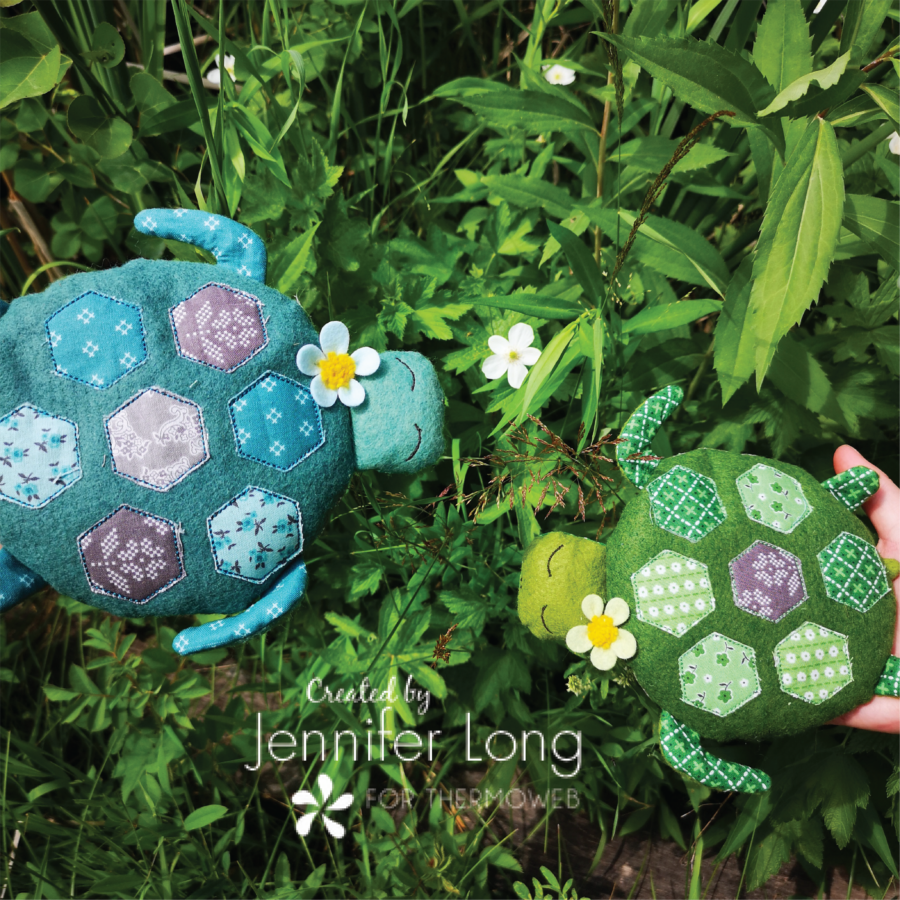
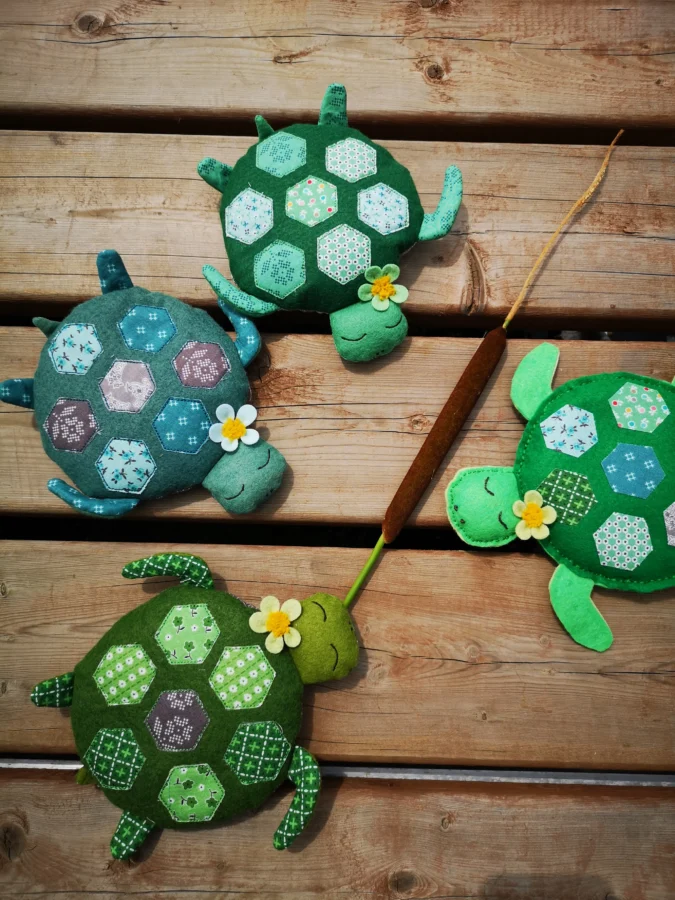
Turtle Shelf-sitter with Heat n Bond and Fabric Fuse
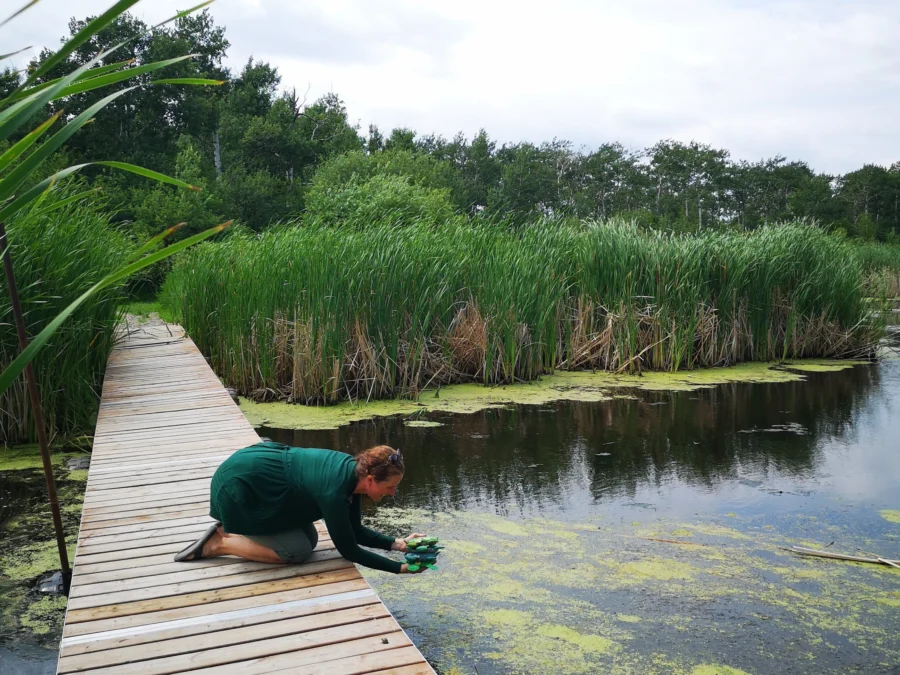
A few weeks back, we were on a family hike and noticed a number of turtles sunning themselves on the log. My youngest daughter was fascinated with them and throughout the hike, she gave each of them a name!!! That is when I decided that I would design a Turtle Softie Tutorial to help teach children to sew. I thought, if my daughter was so interested in turtles I am sure other children are as well.
You can sew this Turtle either by hand or sewing machine. I sewed them both ways. However, I will give the tutorial in the hand-sewing version so it is a quick and accessible project for beginner sewists. If you make the Turtle Stuffie with your children or grandchildren, or even on your own, please tag me at @beesewinspired so I can reshare and tag you back! Let’s get started.
Turtle Shelf Sitter Supplies:
HeatnBond Lite Fusible Adhesive
Fabric Fuse Quick Bond Liquid Adhesive
Assorted Fabrics
Benzie Design Felt
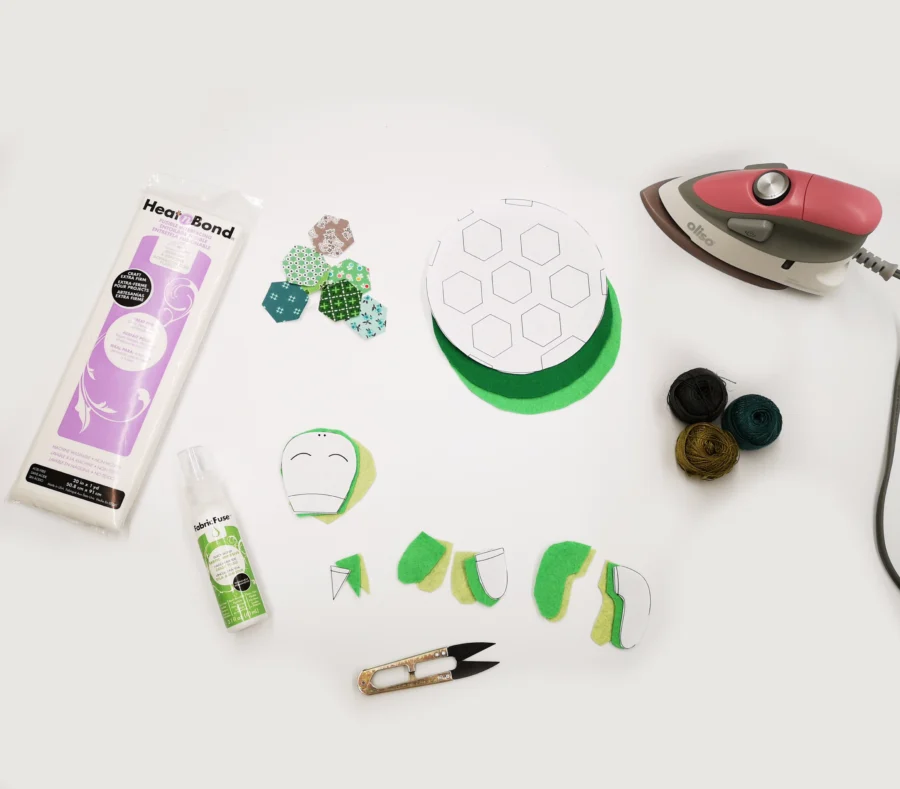
Download the FREE Citrus Pattern designed by Bee Sew Inspired. You can choose either the PDF Pattern to hand-cut your shapes or the SVG Cut File and follow the directions to have your Cricut Maker cut the felt shapes. Make sure to use your rotary blade and set the fabric to felt.
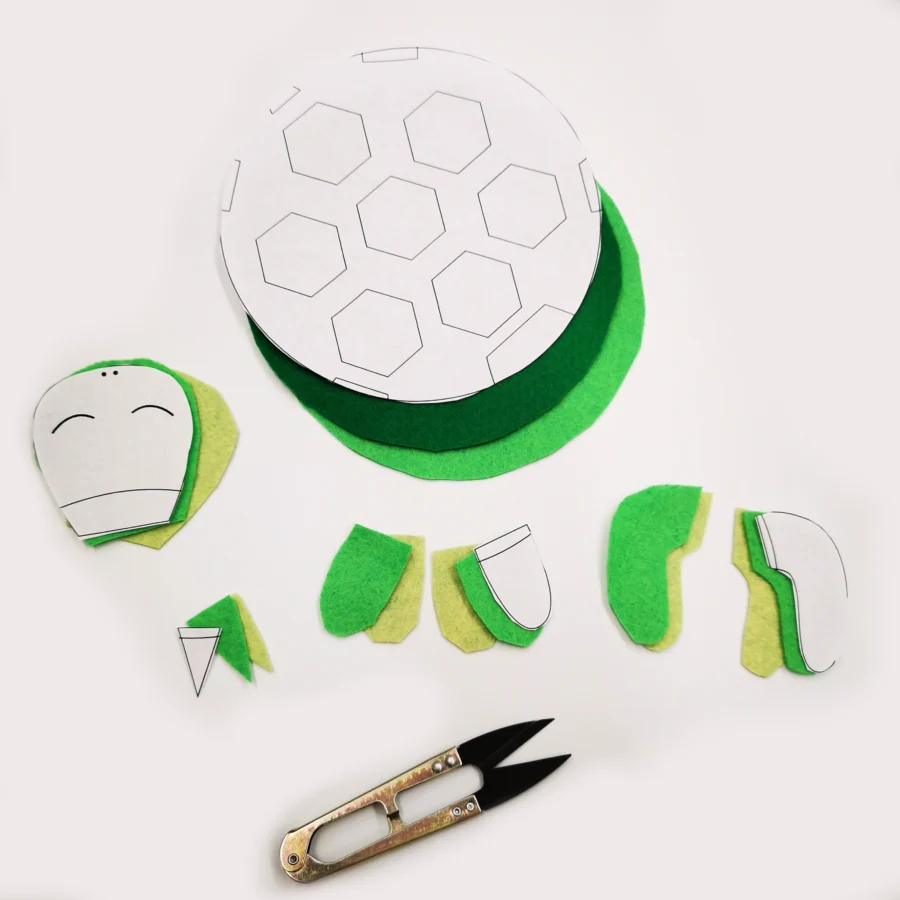
2. Cut the following:
Turtle Head: Cut 2 from Felt
Tail: Cut 2 of each limb from Felt
Shell Circle Body: Cut 2 from Felt
3. Following the directions on the package, press the adhesive back of the Heat N Bond to the wrong side of the cotton fabric scraps. Ask an adult for help with use of an iron, press and hold the iron on the paper liner for 2 seconds. Repeat until the entire surface is bonded.

4. Using the pattern template or SVG cut files, cut 7 hexagons from the fused cotton fabric. Raw-edge applique is a fun and simple way for children to embellish their projects, add personality, and enjoy choosing their favorite fabrics!
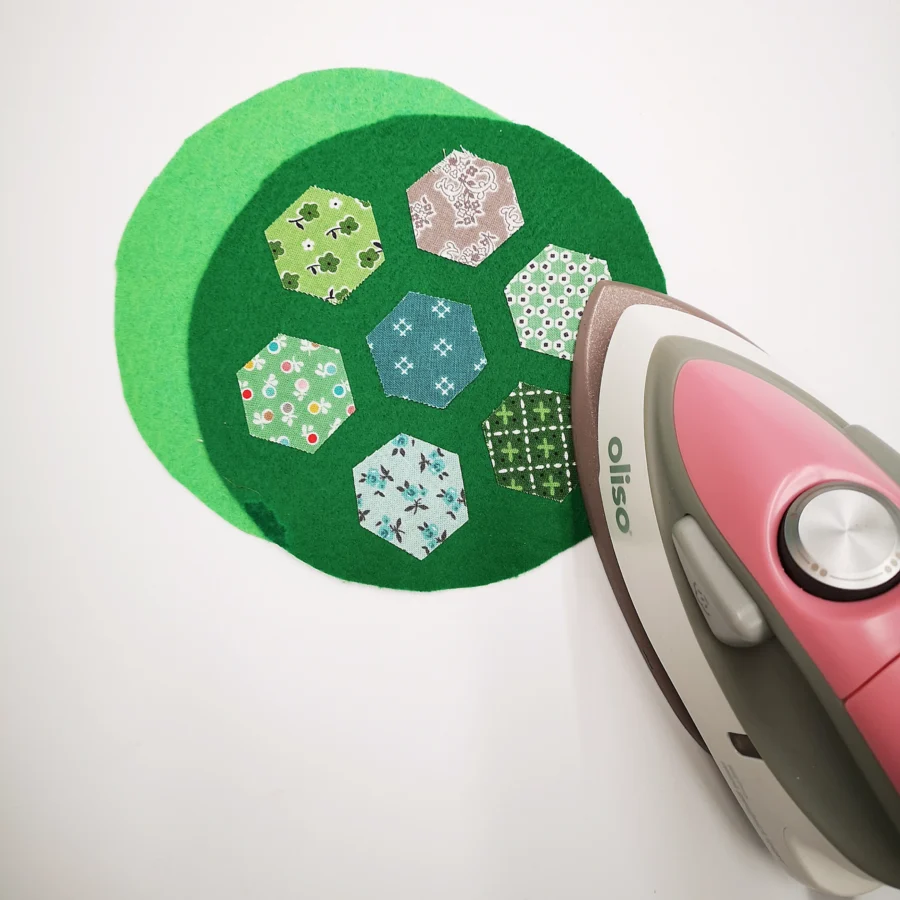
5. Remove the paperback from each hexagon and position it into place on one Turtle circle shell as shown. Using pressing paper, or parchment paper, press the hexagons to fuse them to the turtle shell. Be careful if you are using a synthetic felt and not a wool-blend felt. Wool-blend felt can withstand the heat of iron much better.
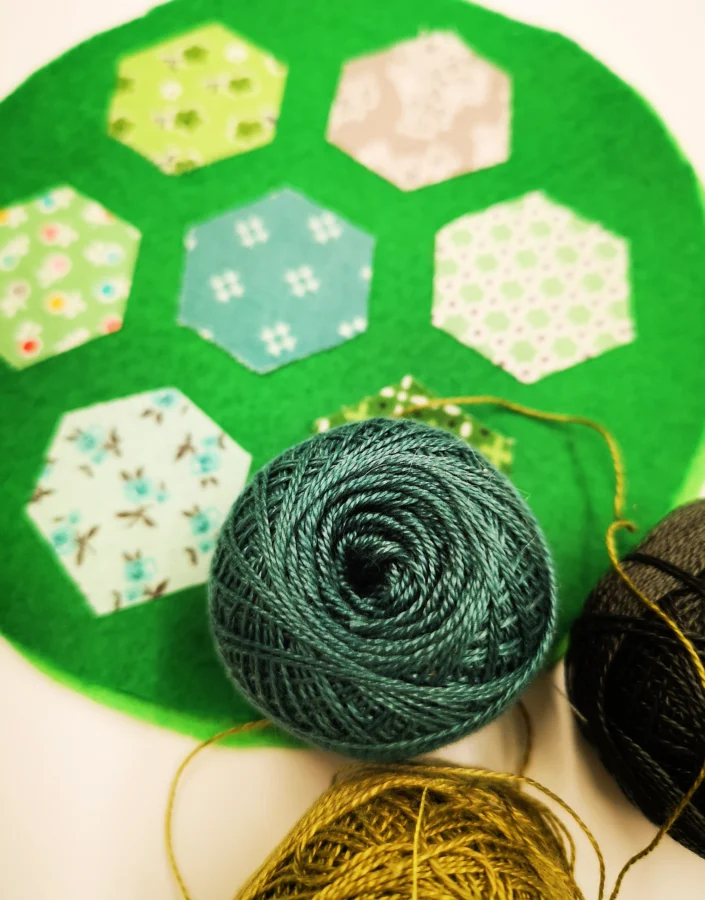
6. Stitch the hexagons down by hand with your sewing machine, with just a stitch, or leave as is.
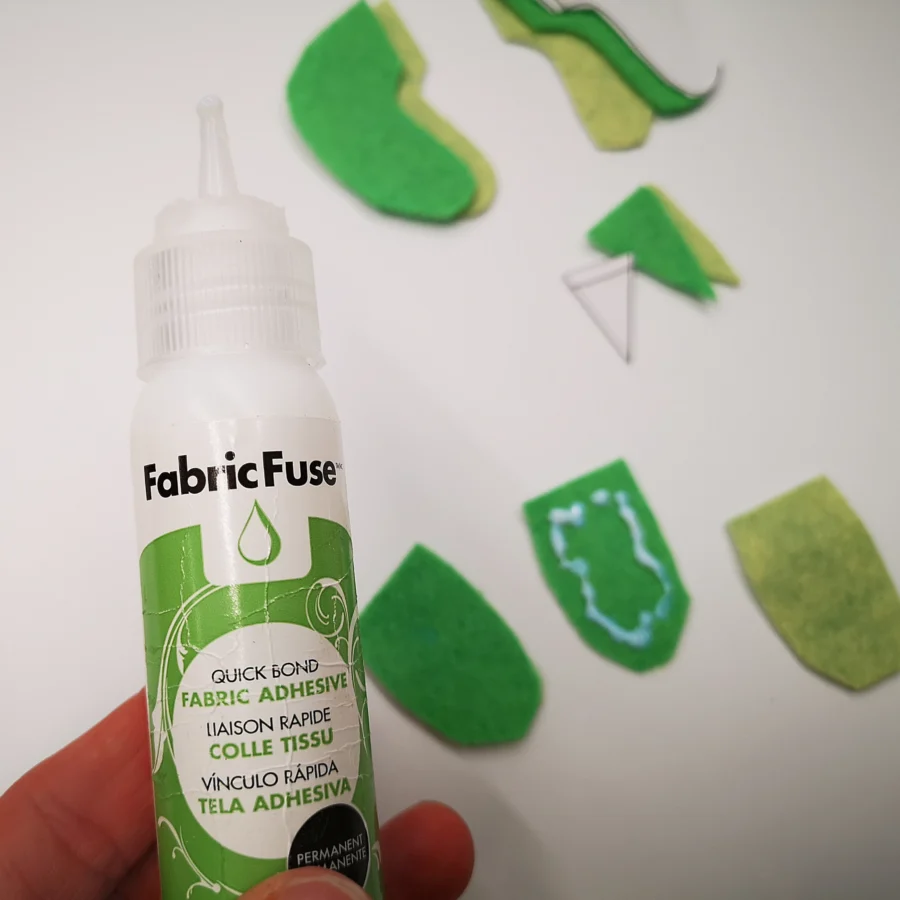
7. Place a few dabs of Fabric Fuse Quick Bond Fabric Adhesive or regular white glue on the inside of each limb and tailpiece. Fusing 2 pieces together will give the project some strength while also speeding up the process for young children. (Alternately you can sew the limbs together to their matching pieces).
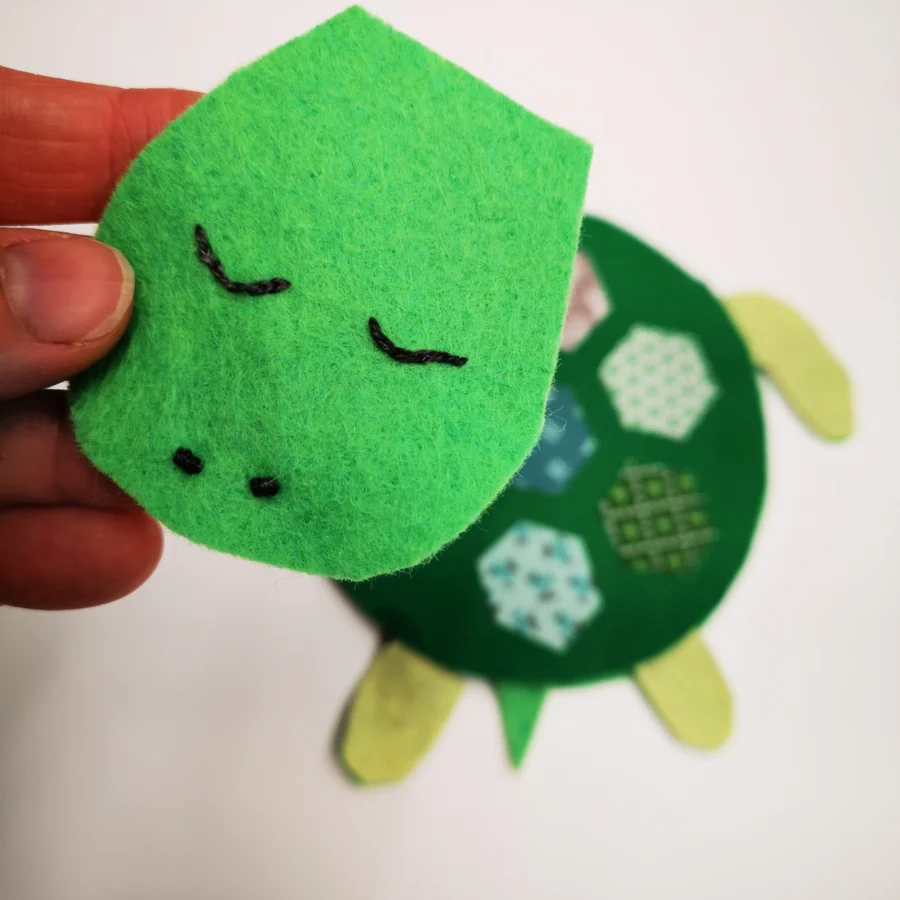
8. Using a backstitch for the eyes and a French knot for the nose, stitch on the face of your turtle using the PDF template as a guide.
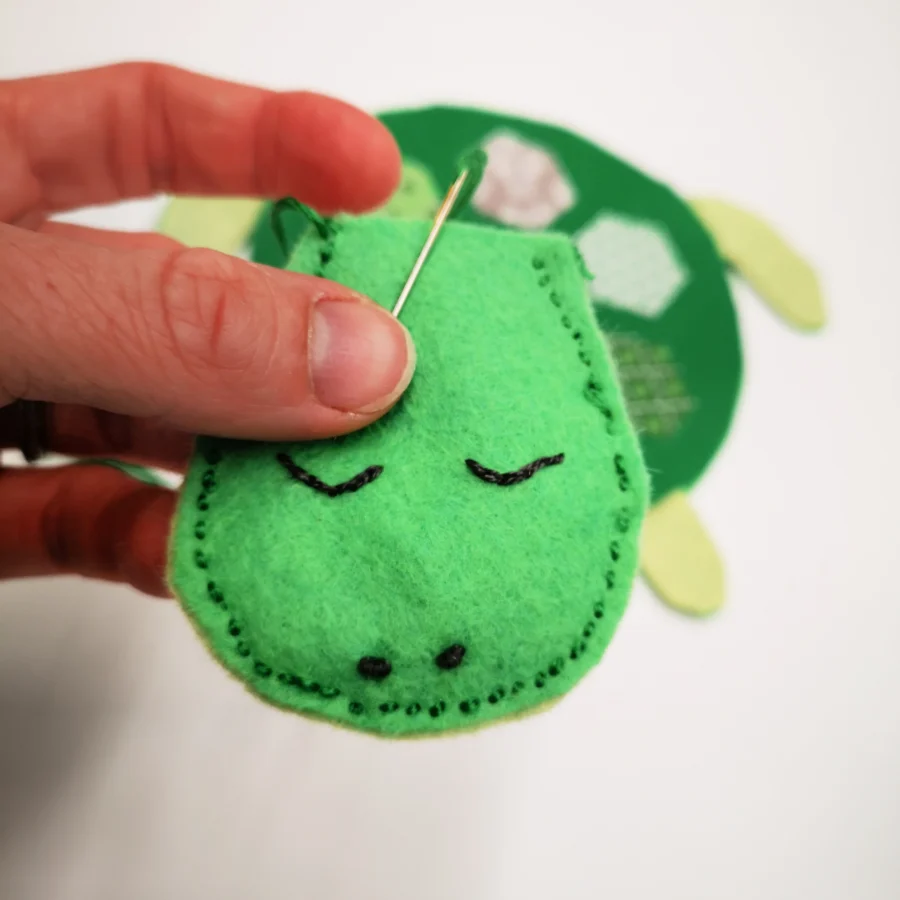
9. Using a short running stitch, (or backstitch) stitch along the perimeter of the Turtlehead leaving an opening at the neck. Fill the head with a little bit of stuffing leaving an unfilled space at the neck to easily attach to the shell/body piece.
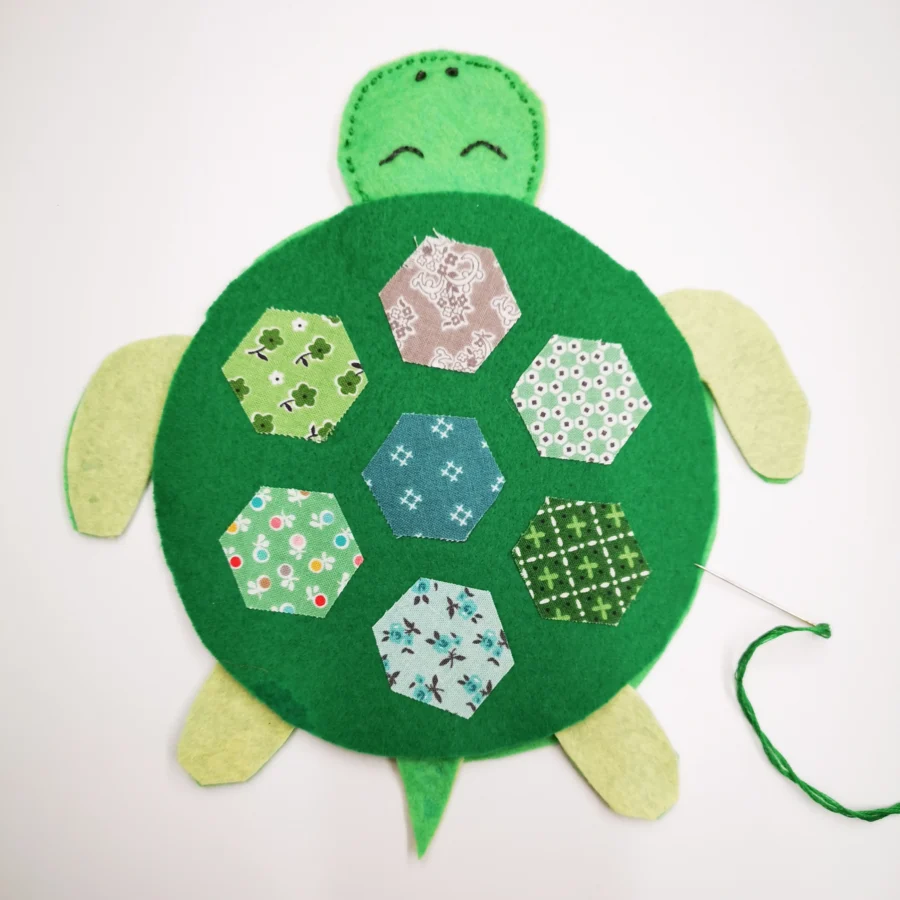
10. Assembling the turtle. Layer the turtle bottom shell, then pin and place all the turtle parts on the shell using the PDF template as a placement guide. (If pins become cumbersome to hold, you can tack down the limbs now in place with a few slip stitches). Place the top, hexagon shell on top and pin or tack in place. Sew around the entire perimeter leaving an opening between two of the limbs.
11. Using a stuffing tool such the eraser side of a pencil, a knitting needle or hemostats, stuff the turtle’s shell body.
12. Close the opening with the remaining stitches and knot and tie off.
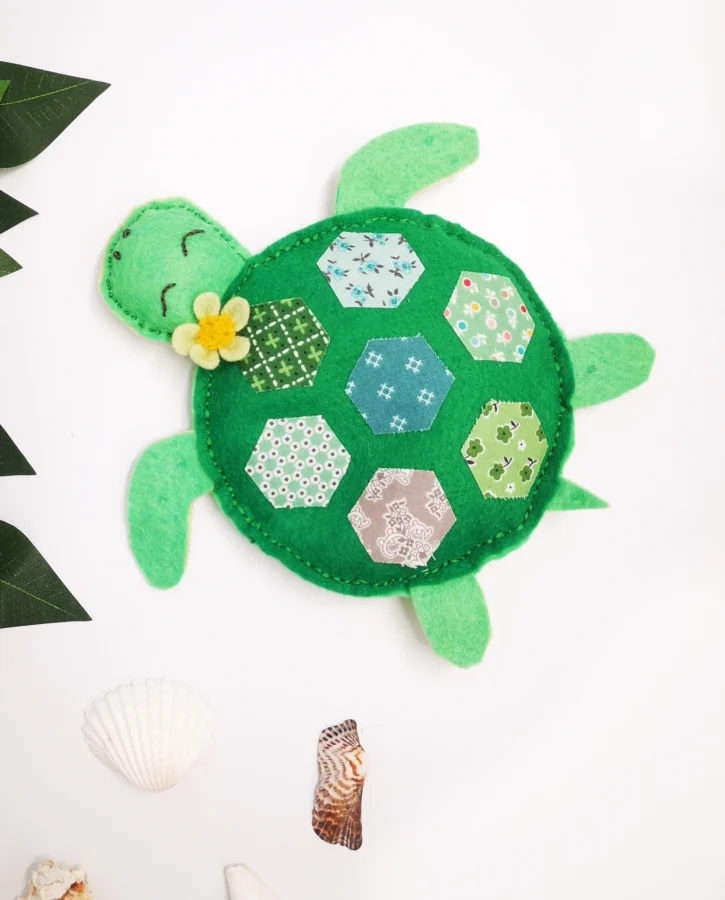
13. Embellish as desired. I sewed a little wildflower felt flower to my turtles.
Your turtle is now complete!!!
Use your turtle as a softie friend, car pillow or shelf sitter. Thank you for sewing along with me today!
I am so happy you are here! Please take a moment to look around my site. You can sign up for either FREE newsletter (Doll Making or Quilting). Make sure you check out my other Tutorials HERE and come and be inspired!
head over to the Bee Sew Inspired SHOP to see more of my Doll & Quilt Patterns.
Thank you for stopping by! I am going to go set my turtles free again in the wild! lol