Hello everyone! Have we been anxious to share with your our newest Deco Foil Toner Card Fronts! With warmer weather beckoning us outside and vacays planned…it seems only fitting that we celebrate the season! So let’s Get Tropical You Wild Thing and have some fun with these new designs!
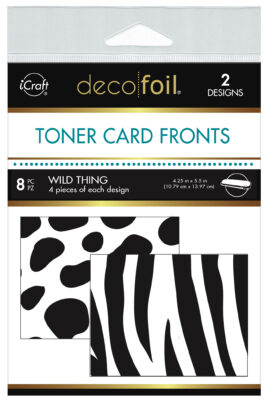
Our Wild Thing set offers a zebra print and a leopard print…they not only make striking backgrounds for your cards but would go perfectly with those photos from trips to the zoo too!
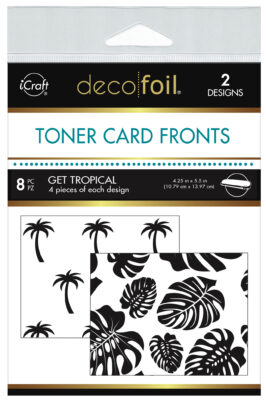
Our Get Tropical pack offers a palm tree print plus a fun monstera leaf. Both are perfect for card making AND also for paper crafting and yes scrapbooking.
And one thing we really adore about these new designs is that they are perfectly perfect just as they are. If you don’t have a laminator or haven’t dipped your toes into foils…it’s all good. Because they look fab as they are… ink up the background, watercolor on them, spritz them with some glitter sprays or another technique we like…stencil over them with some Glitz Glitter Gel!
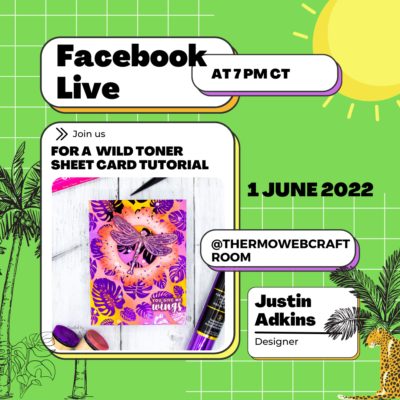
 And be sure to mark your calendar to join us TOMORROW night for a Facebook Live with Justin!
We heard there’s going to be a giveaway you’ll not want to miss!
This is Amanda from Twiddler’s Nook.
 We are so excited for another toner card front release week! They are so fun and this release is SO WILD!!! Pun intended! I have two cards to share with you using eclipse lettering for a sentiment to let your foiling stay the star of the show!
Products used:
Toner Card Fronts
Deco Foil Transfers – Summer Rainbow and Emerald Watercolor
Craft & Carrier Sheets
UltraBond liquid glue pen
Foam squares
Lawn Fawn Henry’s ABCs dies
Lawn Fawn Year Twelve stamps and dies
Lawn Fawn Scripty Hello die
Trinity Stamps Wish You Were Here stamps
Distress Ink – worn lipstick and squeezed lemonade
Stickles – unicorn
Glossy accents
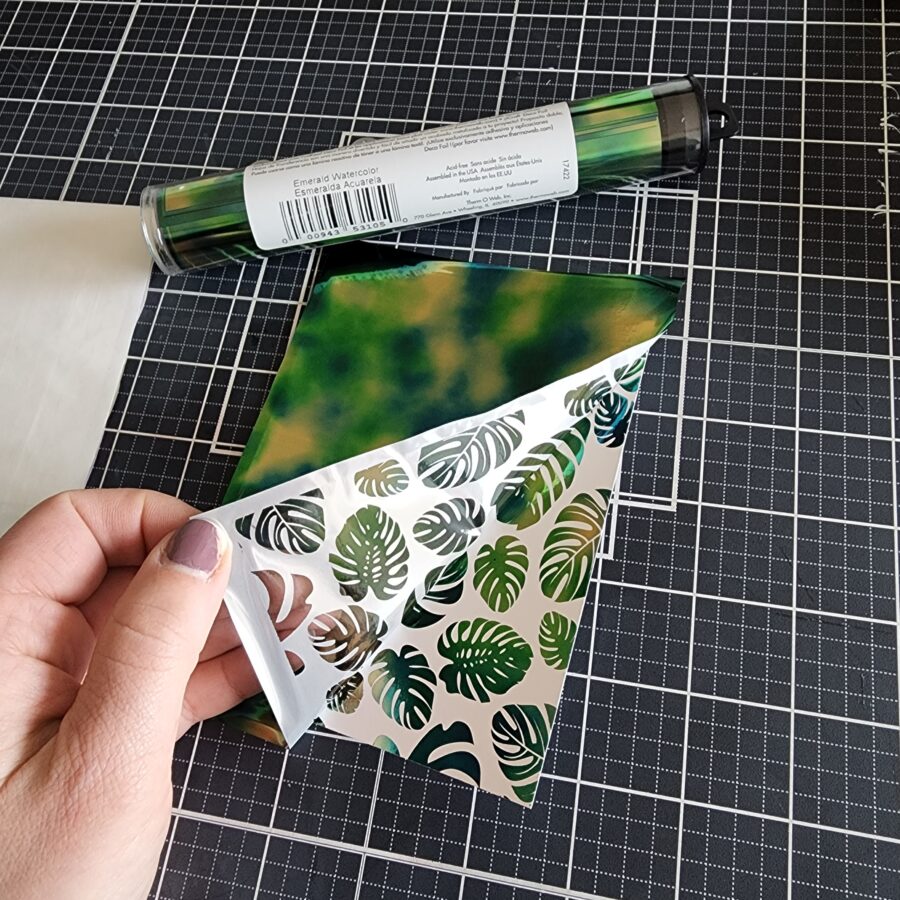
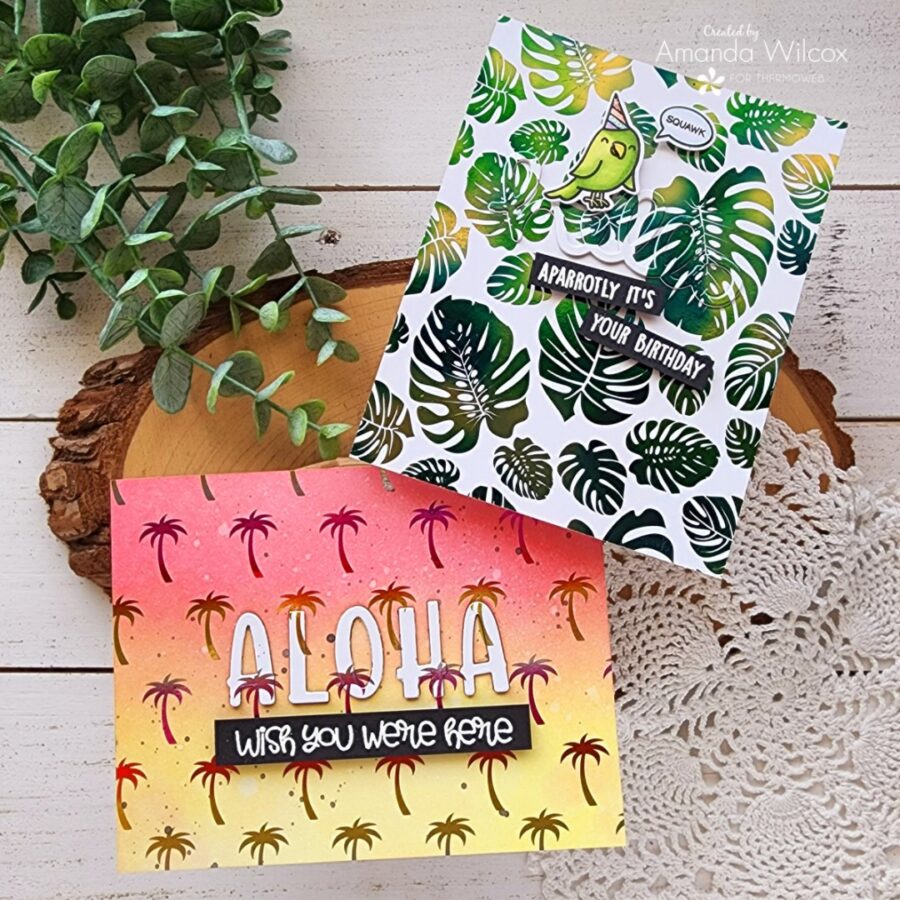
I heated up my laminator and ran the emerald watercolor deco foil through with that gorgeous jungle leaf toner card front in a craft & carrier sheet. I am absolutely in love with these new carrier sheets! They are amazing! Look at that beautiful foiling! The peel-away is always my favorite part.
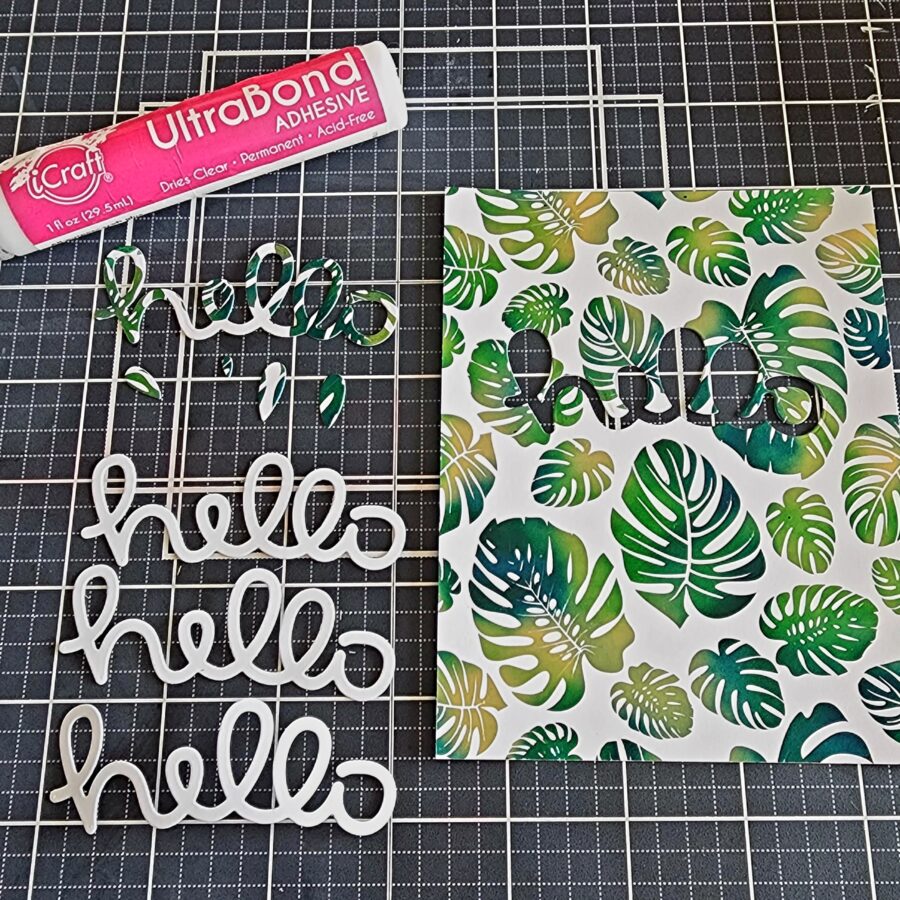
Next, I took the scripty hello die and cut the words from the foiled panel. I was careful to keep all of the little pieces from this panel. I cut the word from white cardstock 3 more times and started assembling.
A small tip: I adhered the foiled panel to a white card base with liquid glue. Then I added one of the white cardstock words. At this point, I filled in all of the little pieces that go inside the letters from the foiled layer. Then I added the other white die cuts on the top and finished with the foiled layer.
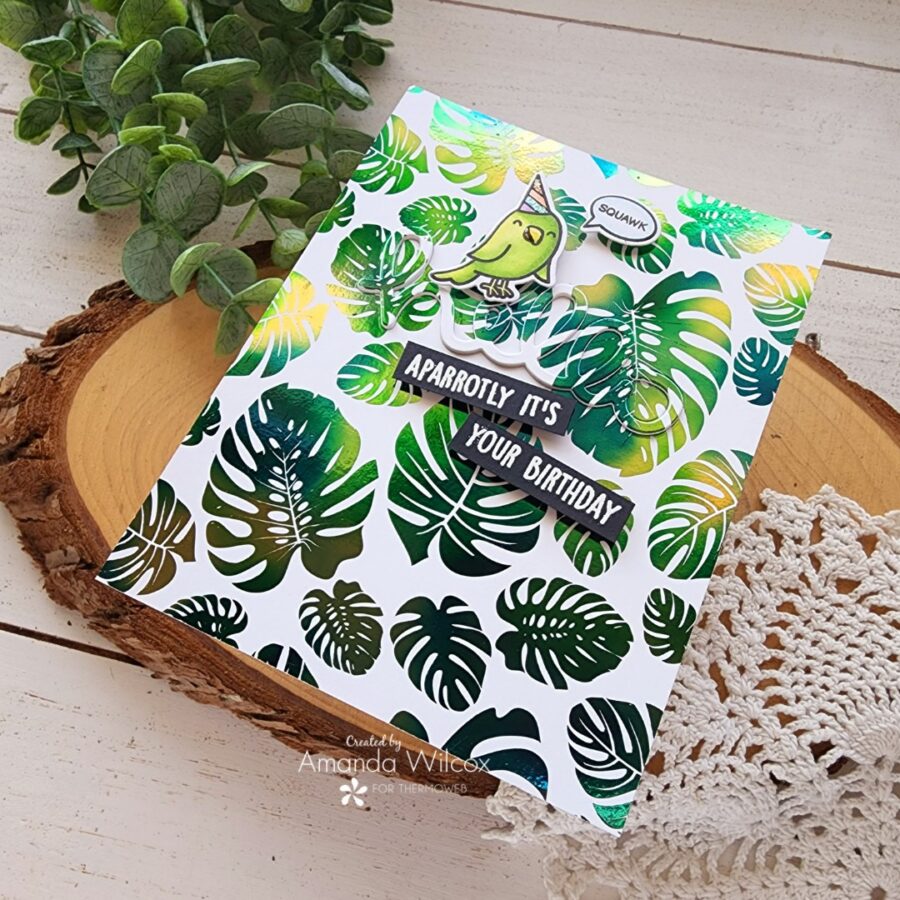
I think it’s super cool how you barely see the word hello but adding the parrot on top and the second sentiment below brings your eye to it and suddenly, woah there’s more to see! It’s so cool in person.
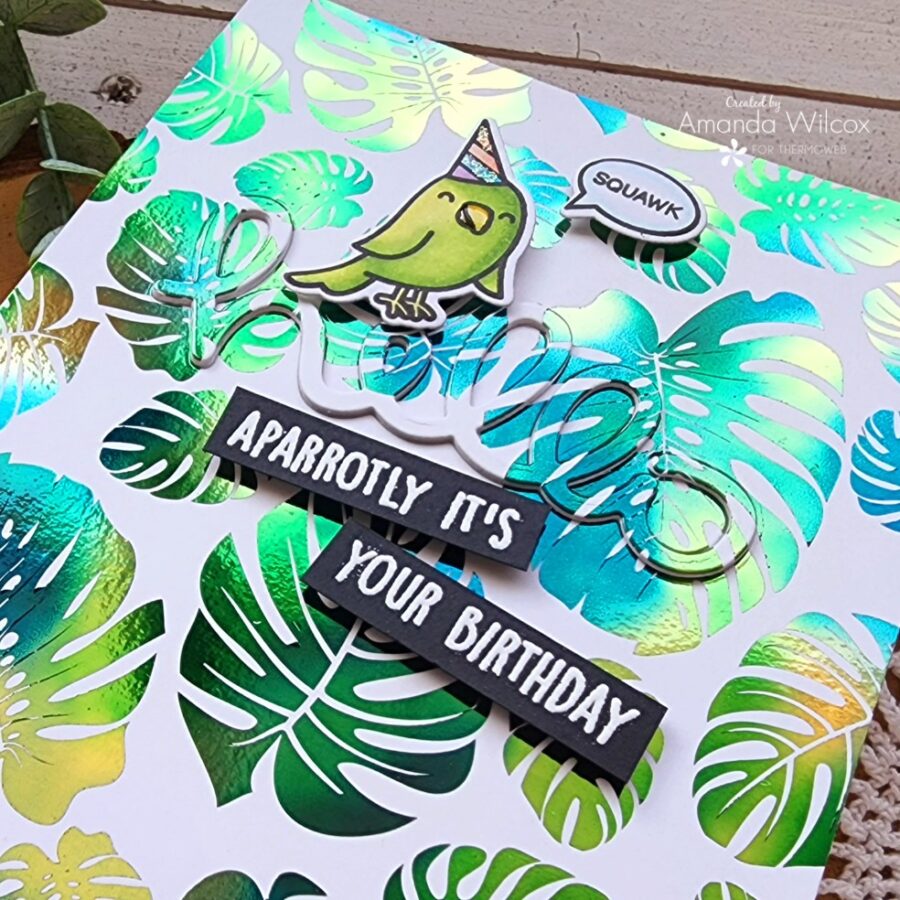
For finishing touches, I added glossy accents to the parrot’s beak and two stripes of unicorn Stickles to his party hat.
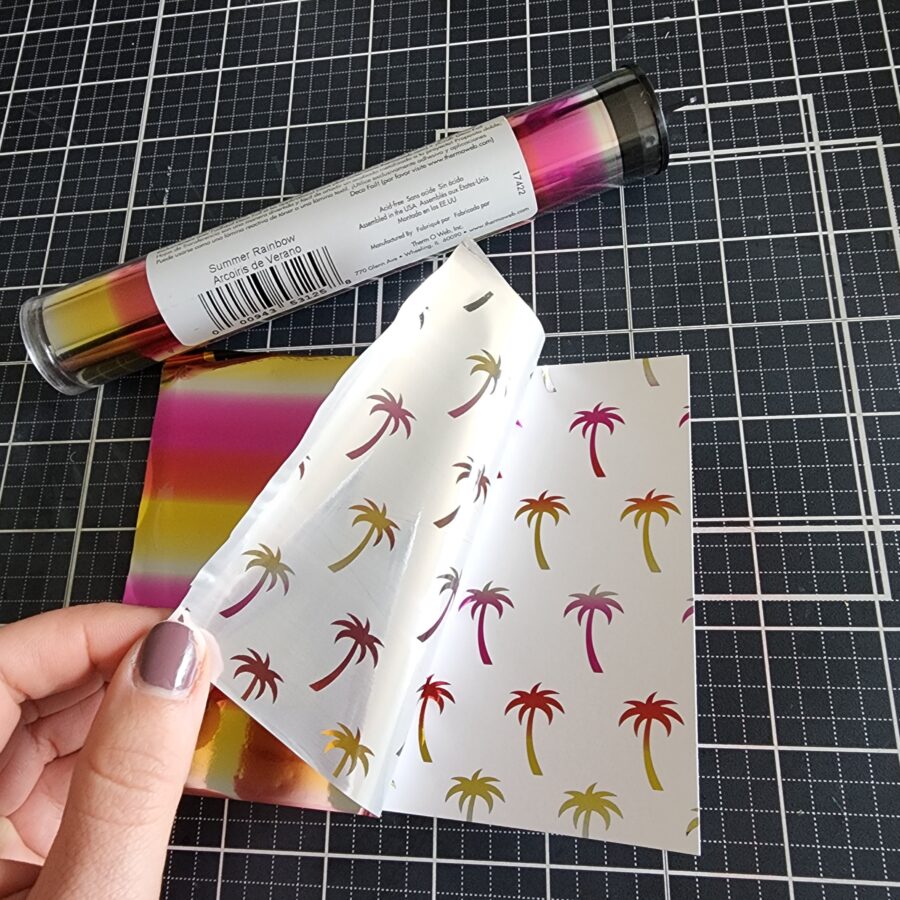
Next, I did the same steps only this time I used the fun palm tree card front and summer rainbow deco foil transfer sheet. Isn’t this so pretty!?! I love it!
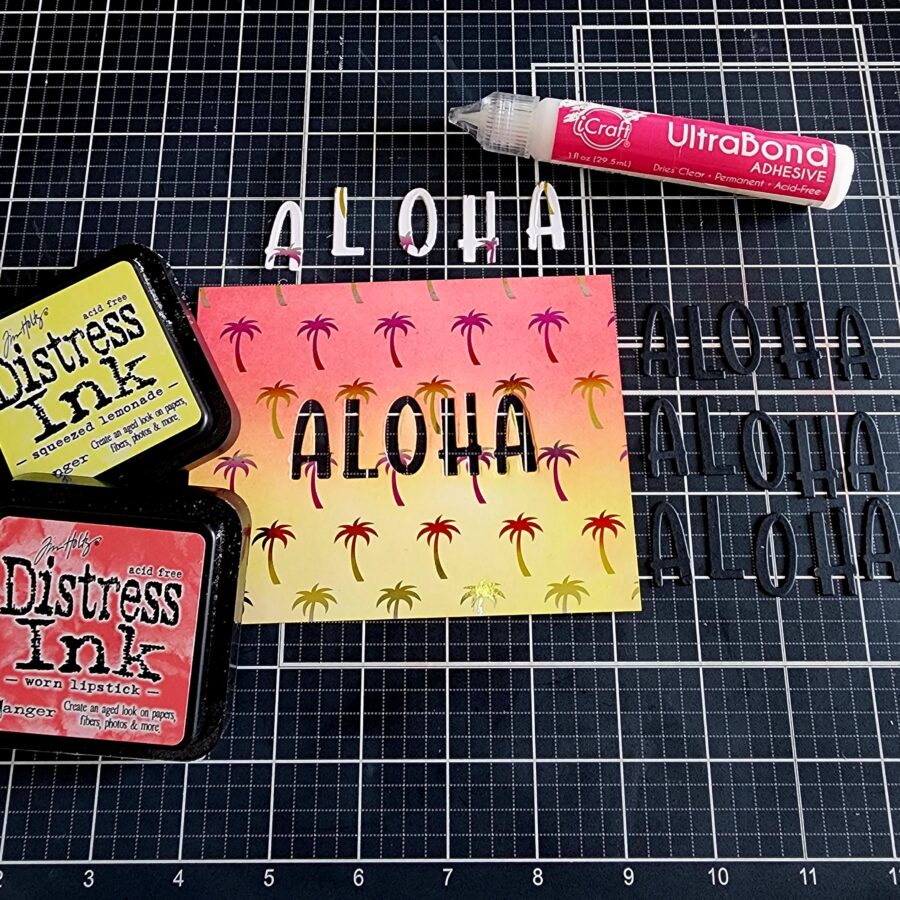
Here is a different way to do eclipse lettering. I took the Lawn Fawn Henry’s ABCs dies and cut the word “aloha” from the center of my foiled panel. I set the letters aside, adding the centers of them back with the main panel and inked it up with distress inks in worn lipstick and squeezed lemonade. I love how these colors reflect the foiling.
I cut the word “aloha” from black cardstock this time, still 3 extra layers, and started gluing everything down in the same order. Remember – foiled panel on a card base, insert one of the black letters in each spot but also glue the letter centers from the foiled panel in and then add all of your other letter layers.
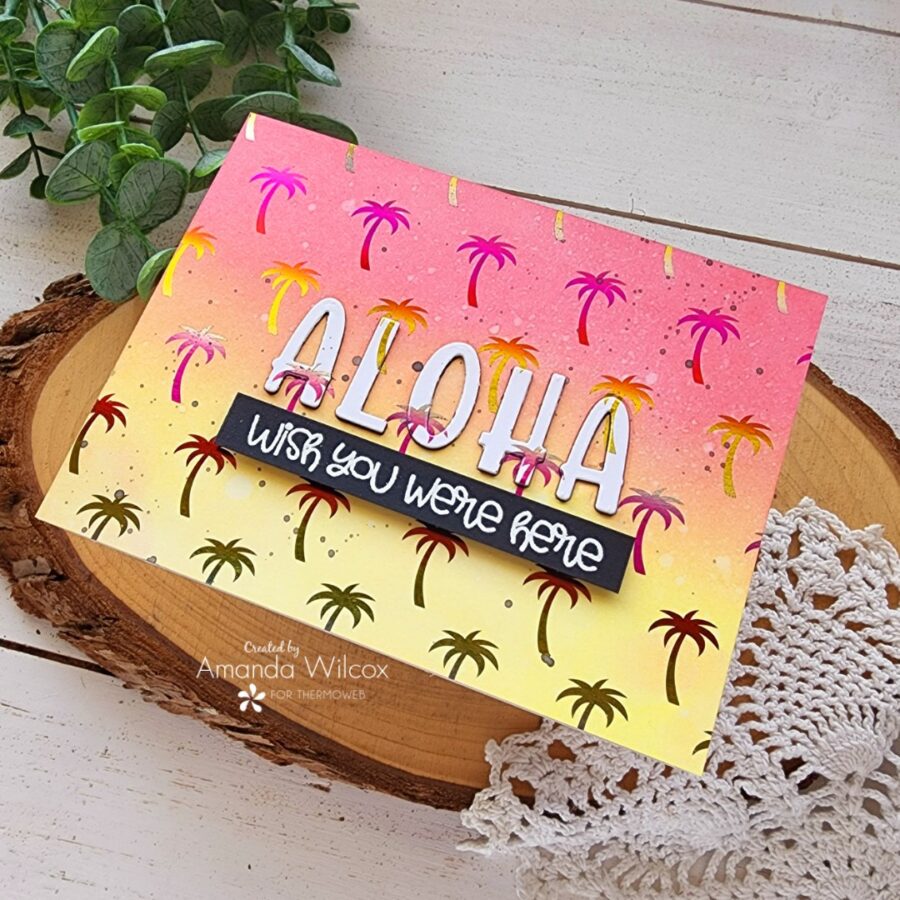
This time our sentiment is much more visible because it’s white while the background is inked but all of the foiling matches up perfectly! Isn’t that so cool!?! I also spritzed the panel with water for that distress ink reaction.
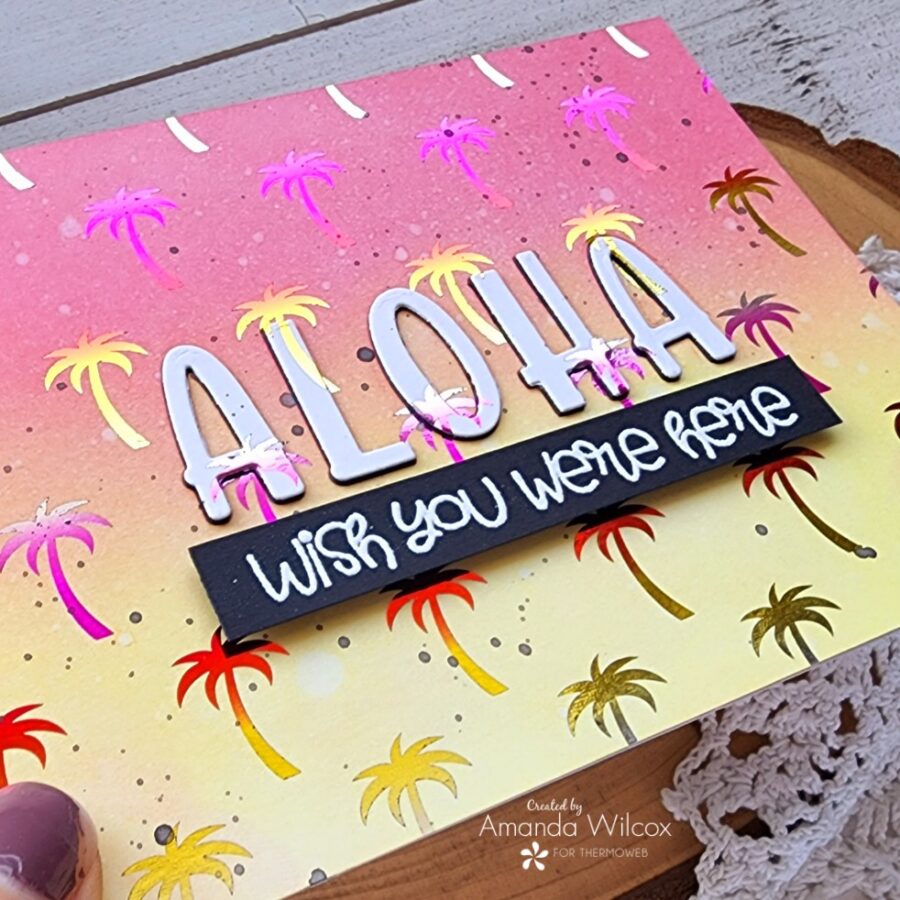
I kept this card simple by stamping and heat embossing a sentiment from Trinity Stamps Wish You Were Here and cut it into a strip. I added it with foam squares and splattered watered-down black paint on the whole card front.
I hope you enjoyed today’s projects and will give eclipse lettering a try!
I appreciate you sharing your time with me. Have a fabulous day!