


Trick or Treat Costume with HeatnBond and Frozen’s Olaf

Halloween doesn’t have to be a scary thing. You can turn any of your child’s favorite characters into a fun costume using HeatNBond products, with ease.
You will need these supplies for the applique shirt
1 – t-shirt or sweatshirt
1 – fat quarter of black and white batik fabrics or larger scraps
Scraps of orange and blue-gray batik for nose and mouth
1 yard or 2 sheets of HeatNBond®EZ Print Featherlite fusible
HeatNBond®Light-Weight Fusible Interfacing
Matching thread
Applique pressing sheet
Applique foot for machine
Heat erasable marker or marking pencil
Oliso Iron
Lightbox
Download the Olaf coloring page at https://iheartcraftythings.com/olaf-coloring-pages.html
Print out the page. You may need to increase or decrease the size, depending on the size of the shirt you are putting it on. I decreased mine for a 4 T-shirts. Turn the page over and trace the design onto the back of the page. This is the side you will be tracing your pattern pieces from. You may find a lightbox or window handy for this.
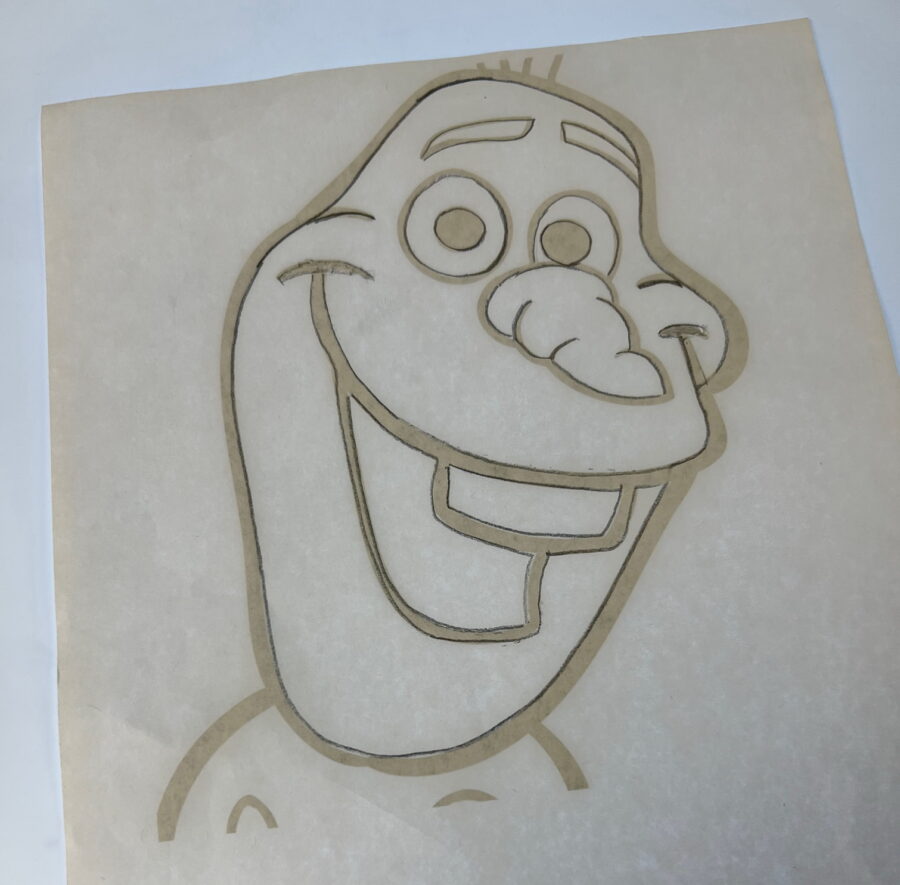
Trace pattern pieces for Olaf onto Featherlite fusible. On the white eye pieces and face, trace inside of the black lines. Adding all the placement lines on the fusible backing paper will assist you when combining the appliques. NOTE: Trace the black background mouthpiece, as 1 piece and add the teeth and mouth on top of it.
Once fused to the fabric, you can easily see them through the fabric using a lightbox.

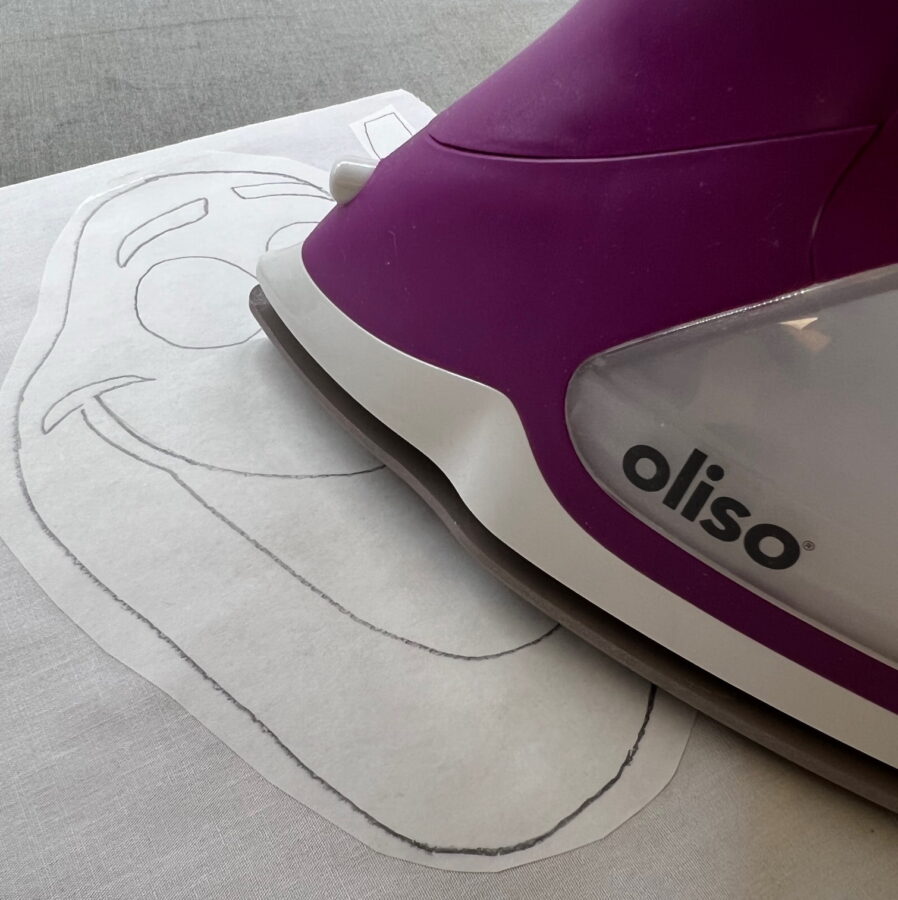
Fuse the eyes and nose to the reverse side of fabrics and cut out when cool. Once pieces are fused on the back of the corresponding fabrics, cut out and place on a larger piece of black fabric with a Featherlite fusible, fused on the back. This is a great way to use up scraps you may have collected. Cut the individual pieces out, leaving approximately 1/8 -1/4” black background fabric showing all around each piece. Build applique on an applique pressing sheet, using a lightbox if necessary to see placement lines.
When satisfied, fuse pieces together. Allow to cool and remove from the applique pressing sheet. Place the entire head of a piece of black fabric with Featherlite Fusible on the back side and cut out leaving 1/8″-1/4″ of the background showing around it.
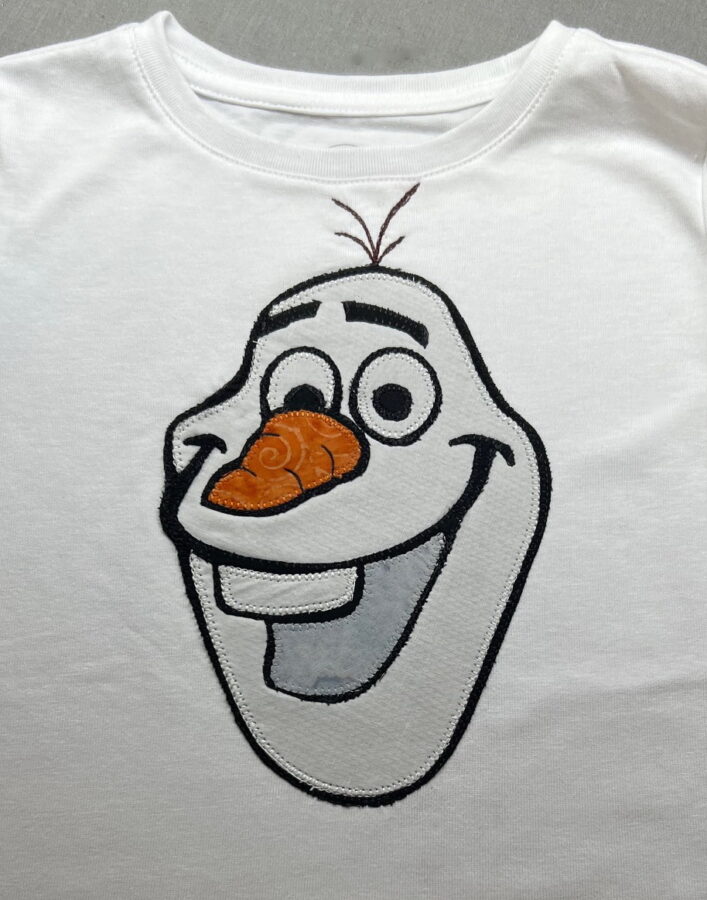
When cool remove the paper from the back side of the fusible and place it on the shirt. Stitch as desired, making sure you do not catch the back of the shirt into your stitching. I do suggest a zigzag or applique stitch. It will help the applique hold up better with repeated washings.
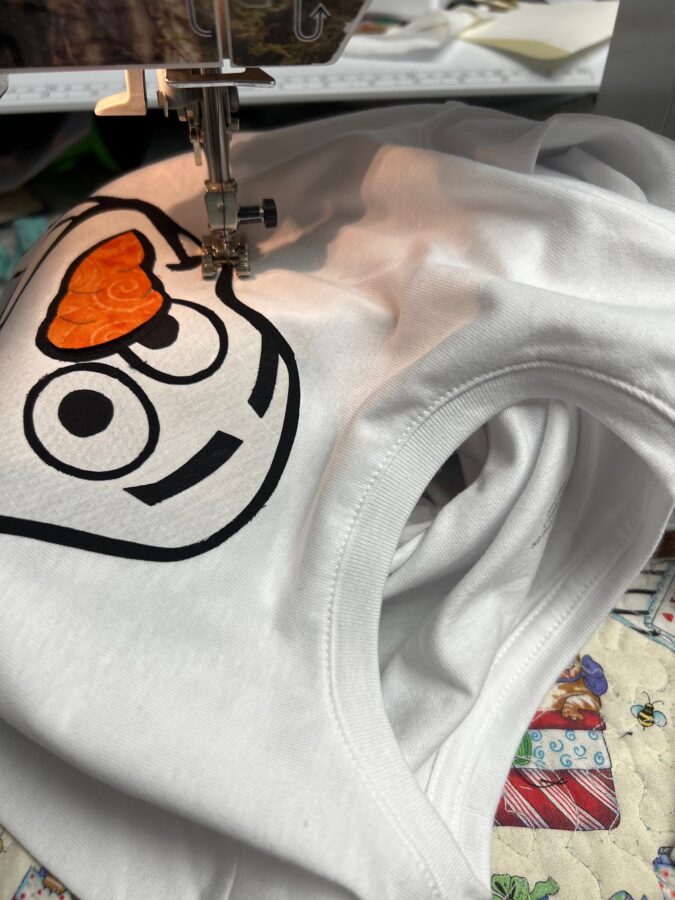
Free motion stitch or hand embroider the detail lines on the nose and face. Fuse a small piece of HeatNBond®Light-Weight Fusible Interfacing to the back side of the shirt, just above Olaf’s head. Using a heat-erasable pen or marking pencil, draw some twigs. Stitch, using your favorite method to complete.
If you have a little girl, tutus are the perfect addition with a pair of tights or sweatpants underneath. The directions to make a tutu are included in the tutorial you can download
Trick or Treat with Olaf
You can turn any coloring page into a fun applique and there are many free ones online.
What is your child’s favorite?
Don’t leave out the little guys! Sweatpants are a great way to finish off any costume. You can add additional appliques easily, using HeatNBond Ultra Hold fusible
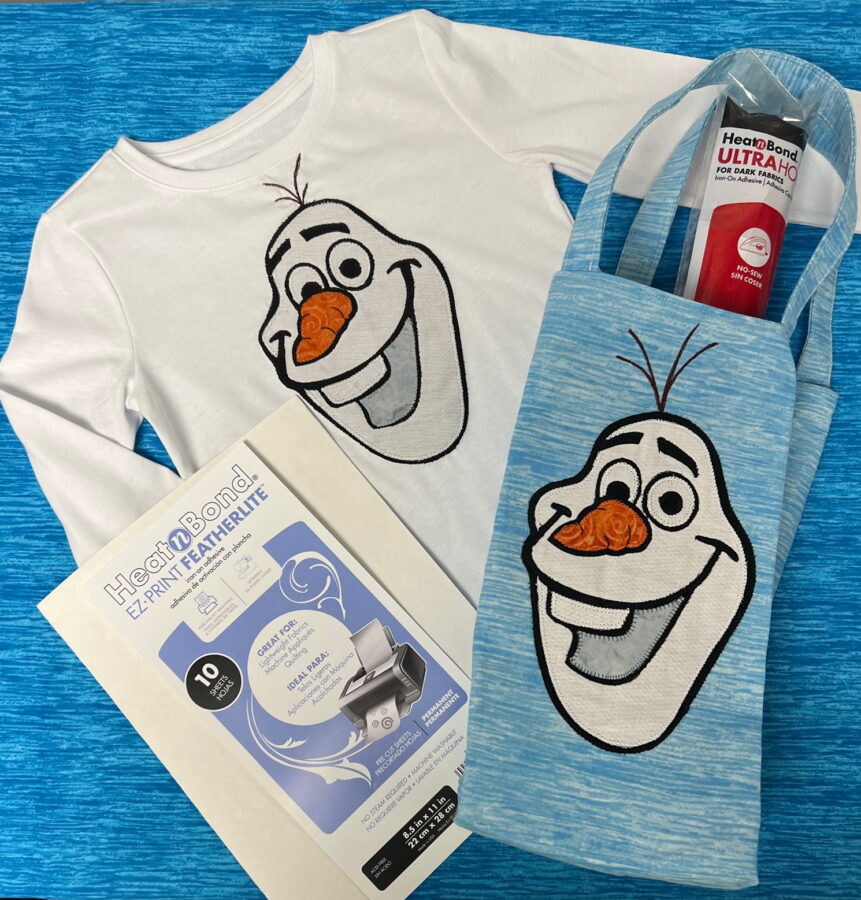
Consider making a second applique and adding it to a treat bag.
You can add it to a premade bag without taking it apart using
HeatNBond Ultra Hold for Dark Fabrics
It’s a great way to add an applique to something that may be difficult to stitch.
Have a very Happy Hauntless Halloween!
Joan