Every year, I make my son’s costumes, and about 45 minutes before they head out to knock on doors (about the time I’m trying to get them to eat something healthy before hitting the sugar trail), I remember that they don’t have a trick or treat bag! Not this year!
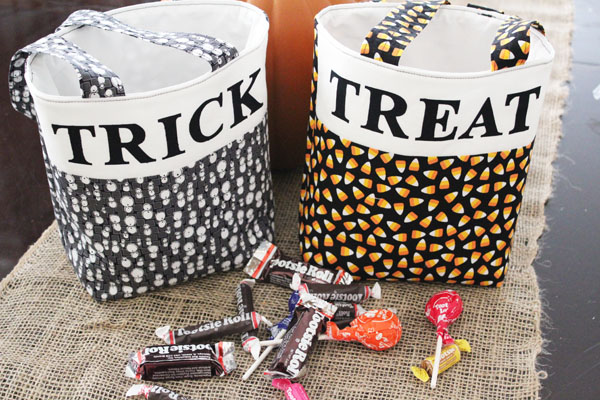
This year, I’ve made these super adorable Trick and Treat bags for them. They were super simple to make, and I only needed a Fat Quarter of each of my Halloween prints to make them! The trick or treat bags are made with fusible fleece, so they have great body – and the fun applique letters help them to stand out.
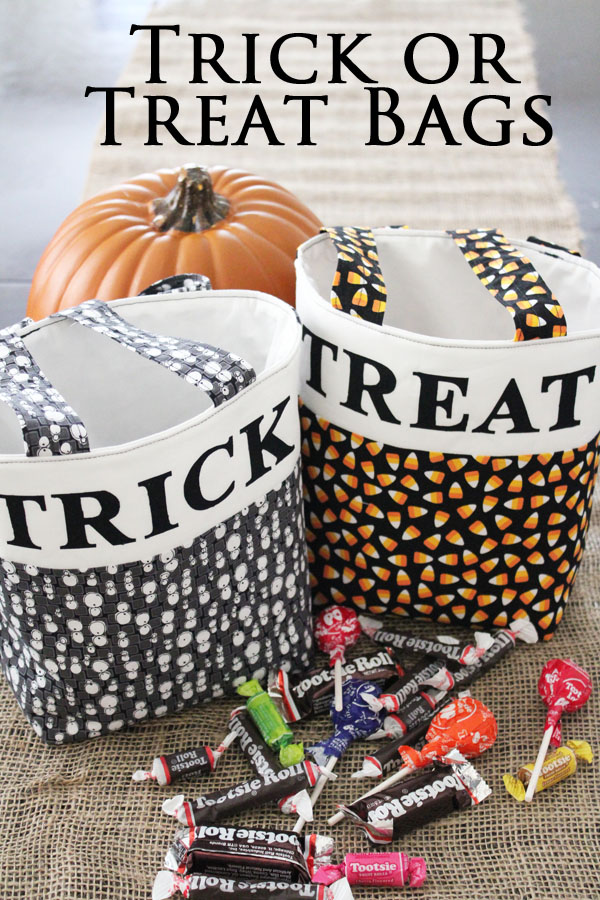
To make your own trick or treat bags, you need:
2 Fat Quarters of Halloween Fabric (pick one “trick” and one “treat”)
1/2 yard white fabric
scrap of black fabric
HeatnBond® Ultra
Thermoweb HeatnBond® Fusible Fleece
Start by cutting your fabrics. From each Fat Quarter cut:
1 – 11×11″
1 – 8×11″
2 – 3″x20″
From the white fabric cut:
4 – 11×11″
2 – 3.5×11″
From HeatnBond® Fusible Fleece:
4 – 11×11″
Make your letters. Pick a font, and print out onto printer paper. Then trace in REVERSE on the HeatnBond®.
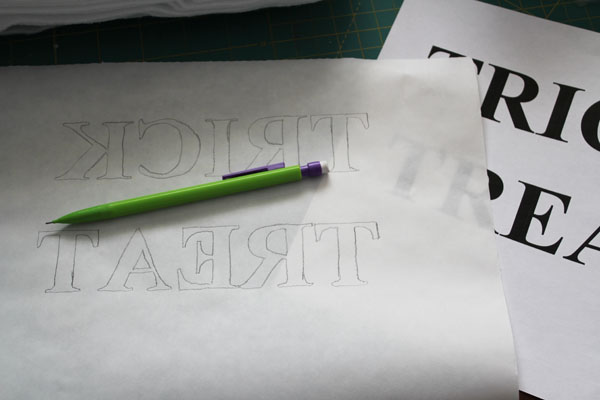
Fuse onto the black fabric, then cut out.
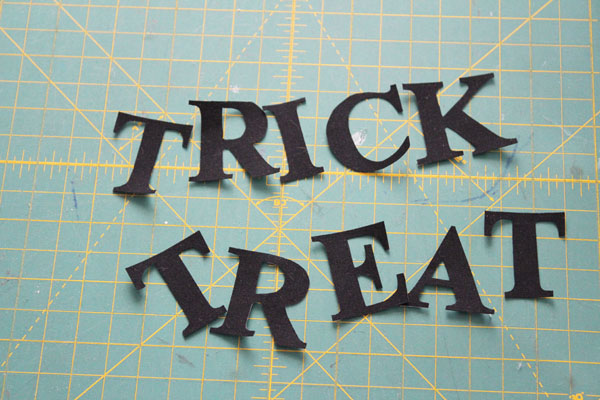
Stitch the 3.5×11″ white to the 8×11″ piece. Fuse on the letters.
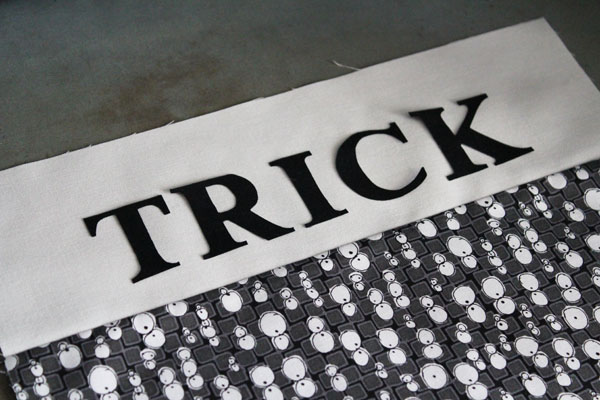
Fuse the HeatnBond® Fusible Fleece to the back of this piece, and the back of the 11×11 pieces of Halloween fabric.
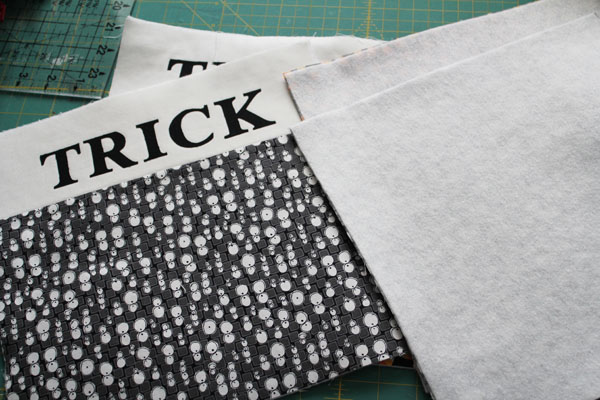
Put the right sides of each pair of these pieces together, and stitch on 3 sides, leaving the top open.
Pair 2 pieces of the white 11×11, stitch on 3 sides, leaving the top open, and leaving a hole on the bottom (for turning later – you’ll want it in the center, and about 4″ long).
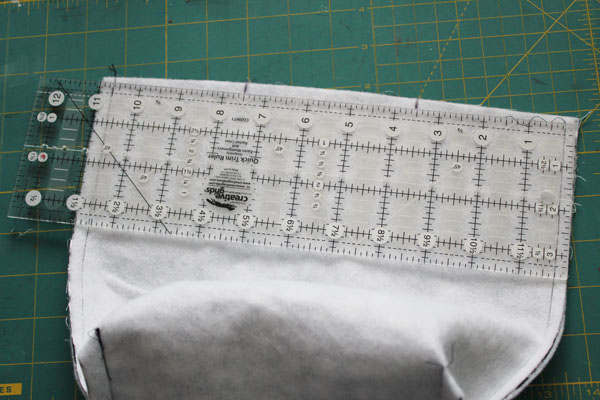
Box the bottom corners of all the bag pieces. Match up the seam from the side and the bottom, then use a ruler to measure in 2″. Mark a line across.
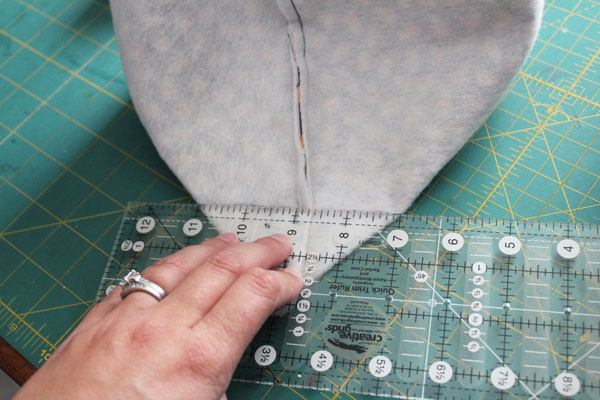
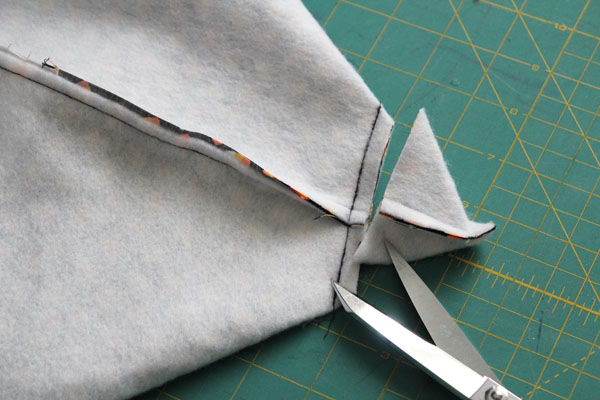
Stitch on the line, going back and forth at the beginning and end of your stitch to secure. Cut off the corner. Repeat for both bottom corners on both the outside and the lining of each bag.
Make the handles by folding the 3×20″ pieces in half, right sides together, and stitching along the length. Turn right side out.
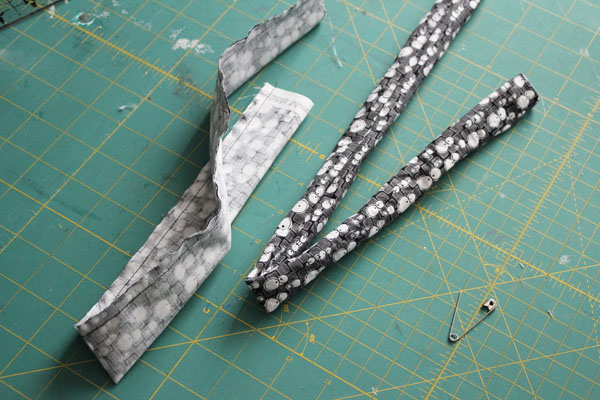
Press flat, and stitch to secure. I stitched 1/8″ in from each side, and down the center.
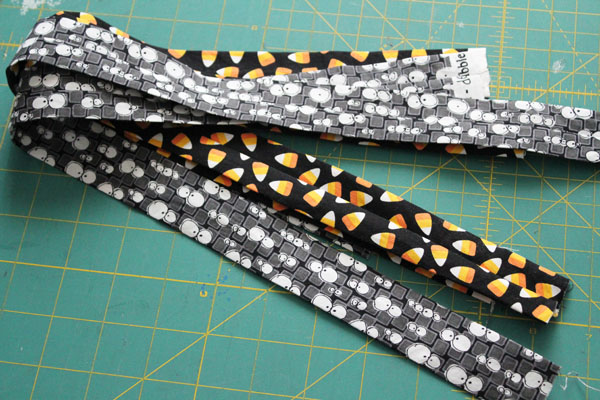
Mark 3.5″ in from each side of the bag for the handle.
Pin the handles in place, on the right side of the bag.
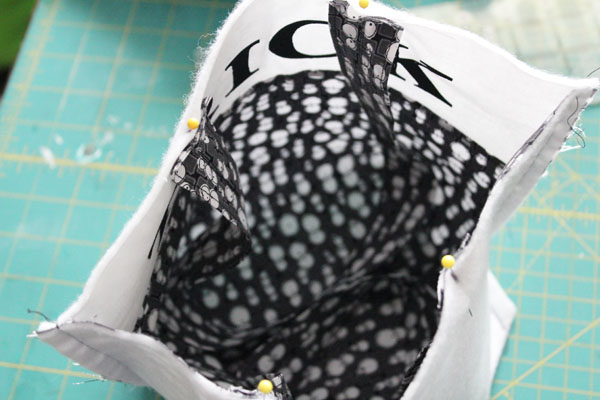
Turn the lining right side out, and insert into the bag. Pin into place, making sure to keep the handles pinned in place.
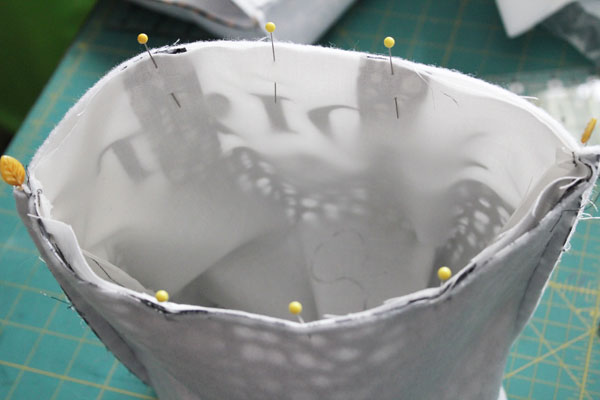
Stitch all the way around the top. Turn right side out through the hole in the lining. Then pin the top to secure the layers in place.
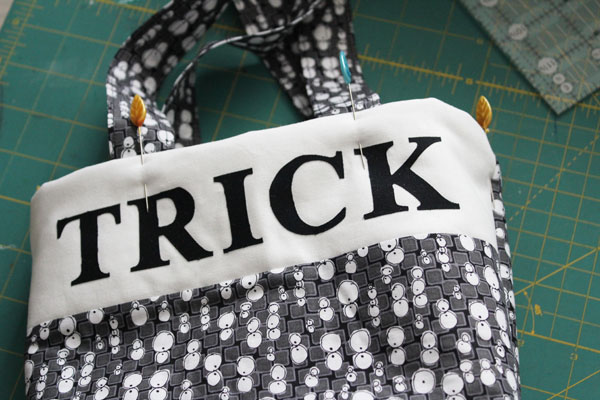
Stitch all the way around the top to secure the layers.
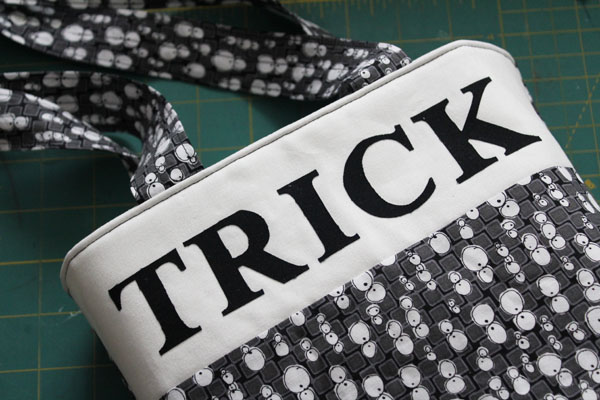
Hand-stitch the hole in the bottom of the lining closed, and your bags are complete!
2 Comments on Trick or Treat Bags with HeatnBond
1Pingbacks & Trackbacks on Trick or Treat Bags with HeatnBond
-
[…] Trick or Treat Bags with HeatnBond […]

susan
October 13, 2014 at 9:31 pm (11 years ago)So adorable bag!
Can i ask you something? what is the font?
i like the font!
Please, let me know!