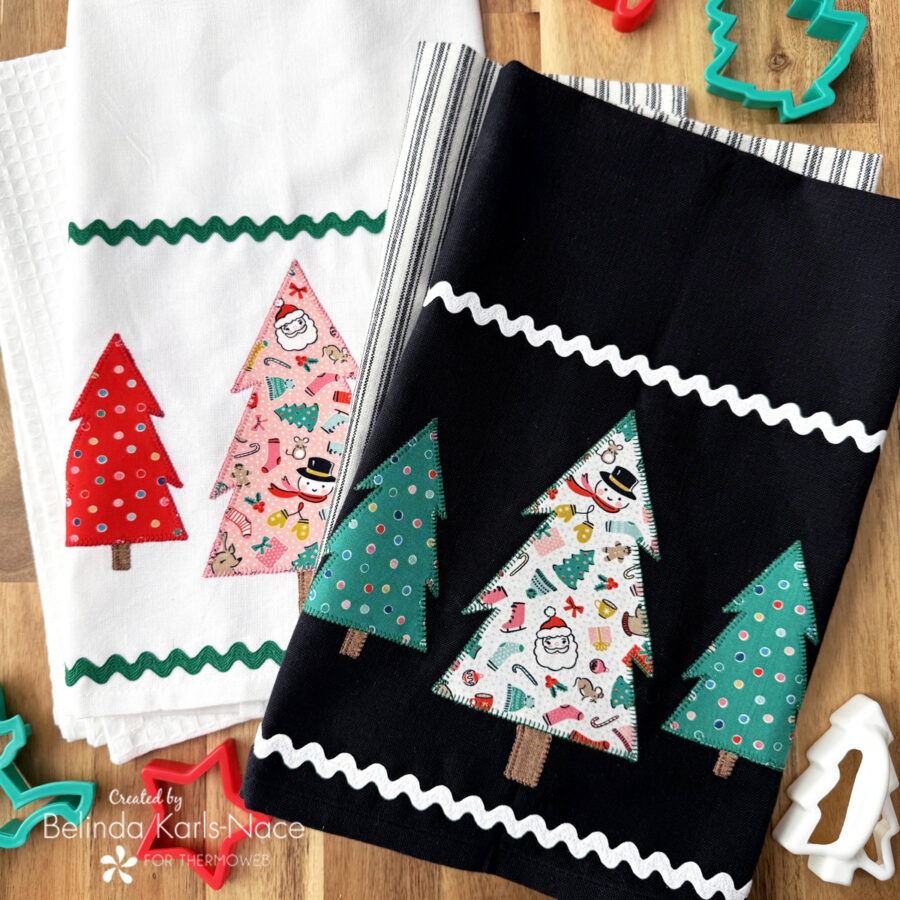
Tree Trimming Kitchen Towel
Greetings! It’s Belinda Karls-Nace from Blue Ribbon Designs, here with a brand new project tutorial featuring HeatnBond Lite. Today, I am excited to share my “Tree Trimming Kitchen Towel” with you.
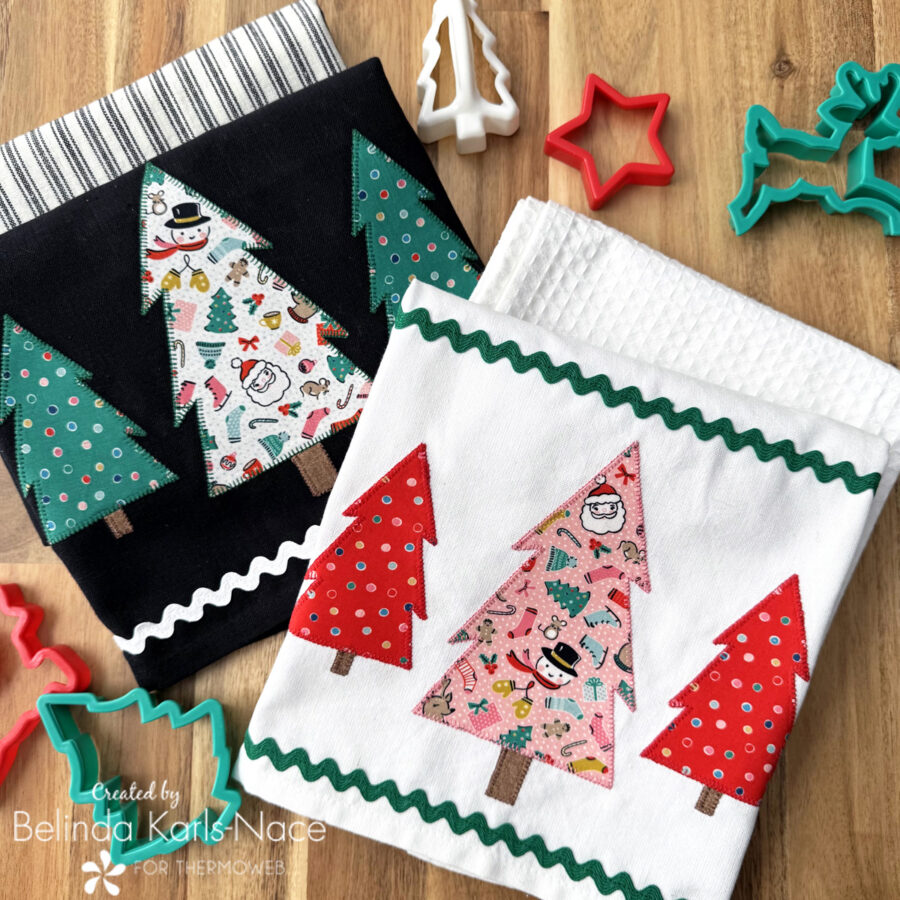
Are you looking for a quick holiday gift idea? This fast and easy project uses a standard kitchen towel available in any home or discount department store. Brighten it up with some simple machine applique, then pair it with a kitchen gadget, cookbook, cookie cutter(s), or pot holder(s) for a heartwarming gift. This project requires minimal supplies and is great for using up fabric scraps. One towel can easily be completed in an afternoon sewing session, using your favorite colors and fabric prints. Sew up a few to make quick work of your holiday gift list!
Let’s get started! Simply gather the materials/supplies listed below, then download the PDF templates.
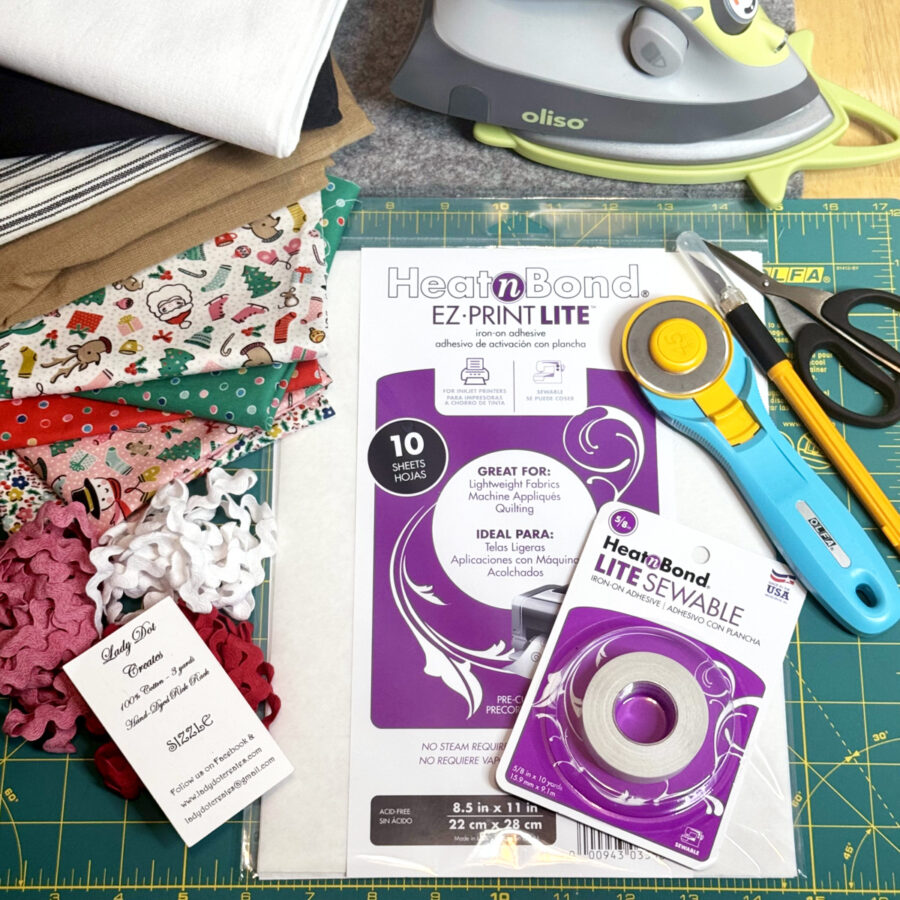
What you need for one kitchen towel:
- HeatnBond Lite EZ-Print Iron-On Adhesive Sheets, 8.5″ x 11″
- 1 sheet
- HeatnBond Lite Iron-On Adhesive Tape, 5/8″
- approximately 20” (depending on width of kitchen towel)
- Standard Kitchen Dish/Tea Towel (model measures 20” x 30”, but choose your favorite)
- Cotton Fabrics: I used prints from the Oh What Fun collection by Elea Lutz for Poppie Cotton but choose your favorites – scraps work great.
- Pink (large tree)
- 1 – 4½” x 6½”
- Red (small trees)
- 1 – 6½” x 4½”
- Brown (tree trunks)
- 1 – 2” x 2”
- Pink (large tree)
- Coordinating ½” Rick Rack (green – Emerald from Wrights, white – Snow from Lady Dot Creates)
- Approximately 1½ yards (2 x the width of your towel + 2”)
- Oliso Iron
- Olfa Cutting Tools (cutting mat, rotary cutter)
- Sewing Machine
- Basic Sewing Supplies/Tools (small sharp scissors, rulers, sewing thread, pencil, etc.)
How to Make a Tree Trimming Kitchen Towel (20” x 30”)
1. Download and Print the Tree Trimming Kitchen Towel Templates.
Tree Trimming Kitchen Towels – A Project for the Therm O Web Blog
Print actual size – do NOT “fit to page” or “shrink to fit.”
- Print page one on regular printer paper.
- Print page two on HeatnBond Lite EZ-Print Iron-On Adhesive (Inkjet printer friendly – no tracing required).
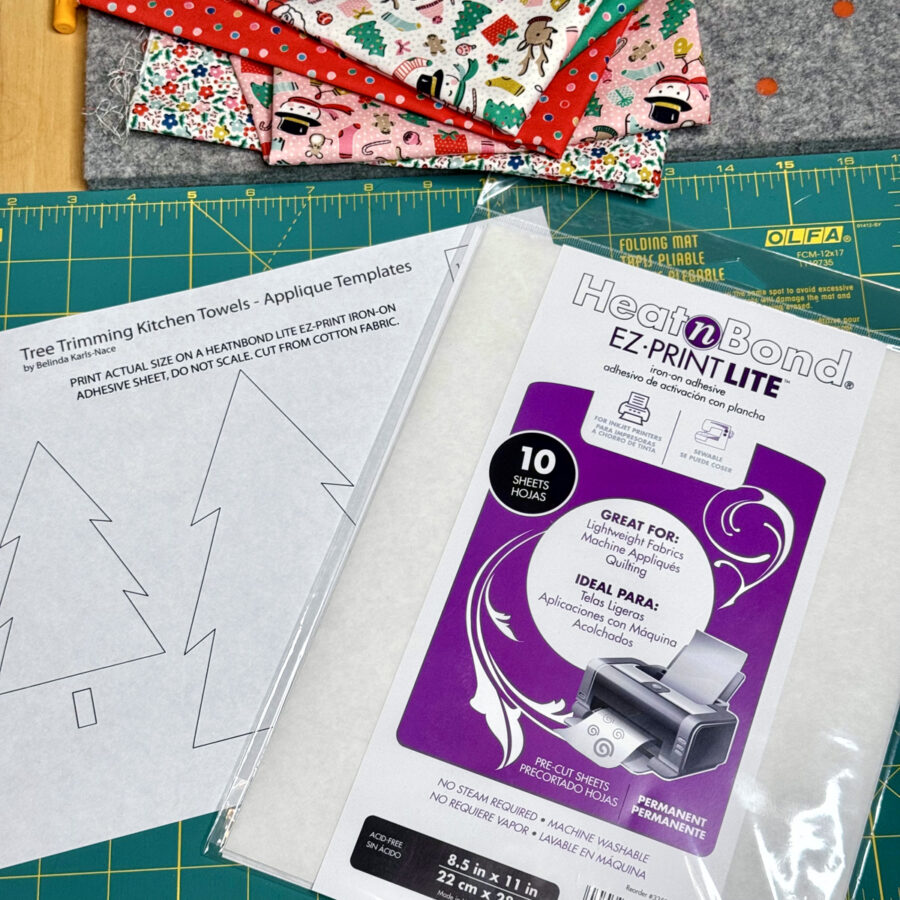
2. Prepare the appliqué pieces.
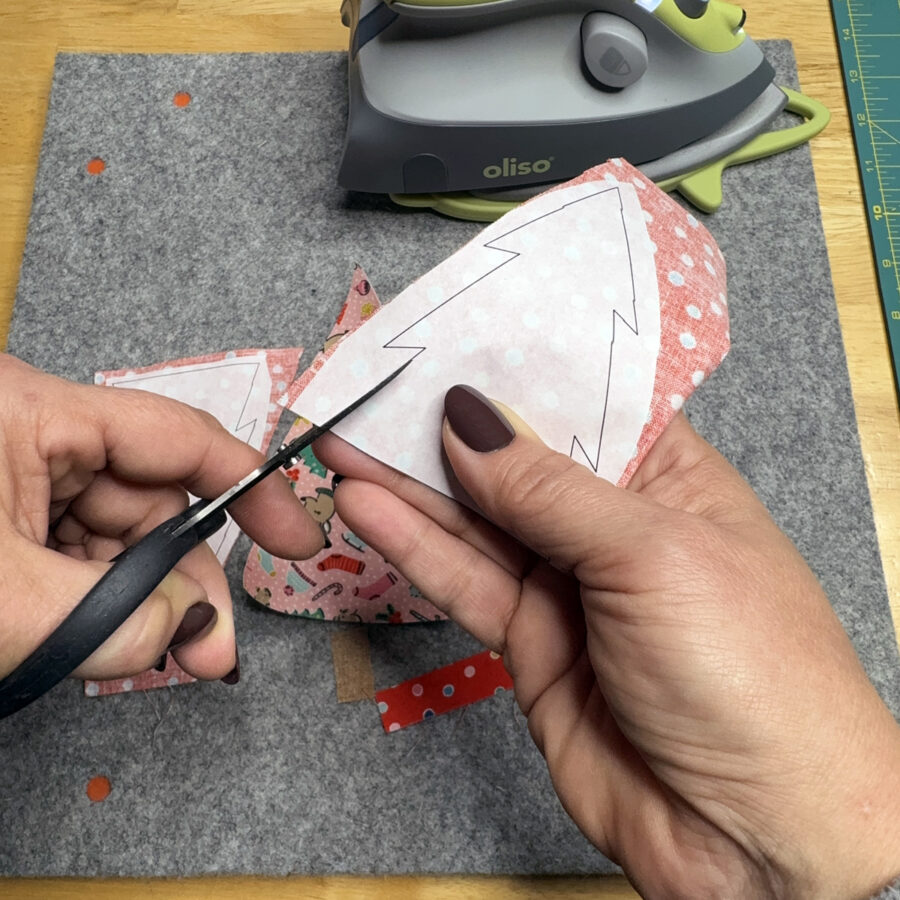
- Loosely cut apart the applique templates printed on HeatnBond Lite EZ-Print Iron-On Adhesive and apply to the back of selected fabrics following the package instructions.
- Loosely cut out all shapes, leaving the paper in place.
- Pre-heat iron to medium heat, no steam.
- Place loosely cut apart template(s) on the wrong side of selected cotton fabrics (printed paper, smooth side, should be face up).
- Place and hold the iron on the paper for 2 seconds. Repeat, overlapping slightly, until the entire surface is bonded.
- Allow it to cool.
- Cut or trim the pieces on the solid lines printed on the paper to create the desired shape. Leave paper in place until it is ready to fuse.
3. Apply the trees.
- Finger press the towel in half lengthwise to find the center.
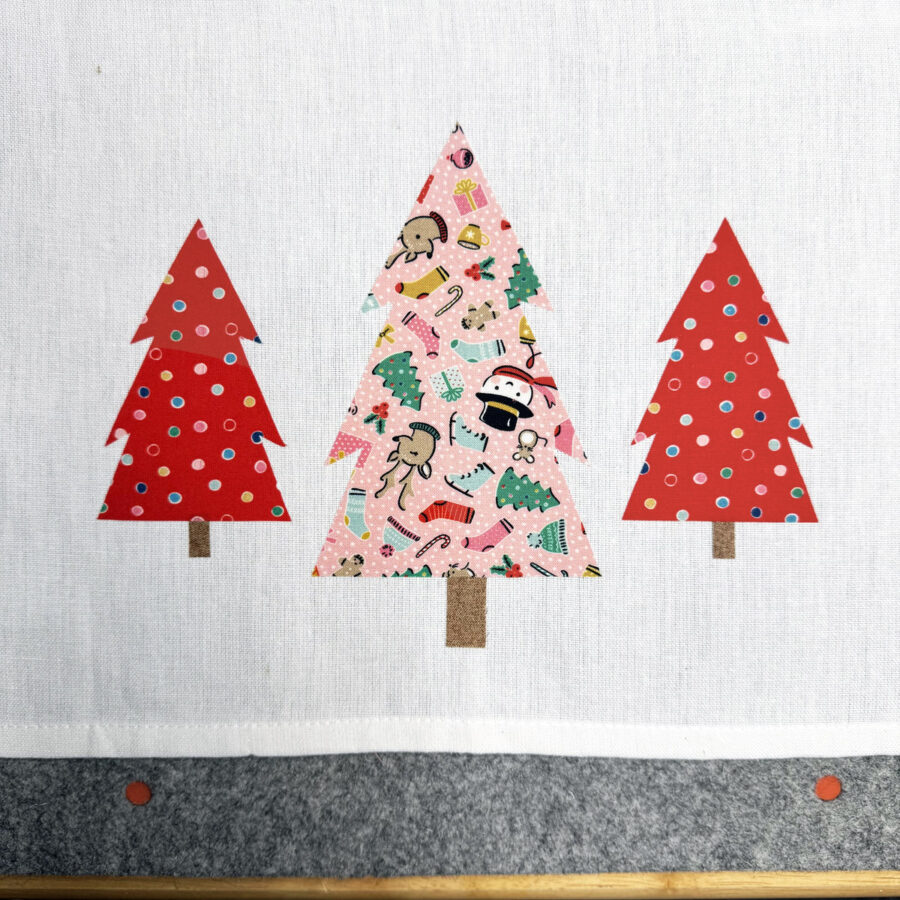
- Center the large trunk approximately 1¼” up from the bottom of the towel. Center the large tree above, slightly overlapping the trunk.
- Place one small tree on either side of the large tree. See the pattern cover for the layout.
- Peel off paper liners.
- Pre-heat iron to medium heat, no steam.
- Place fabric shapes adhesive side down, on top of kitchen towel.
- Cover with pressing paper or cloth, if desired.
- Press and hold iron for 6 seconds on each section, overlapping slightly, until the entire piece is bonded.
4. Apply the rick rack.
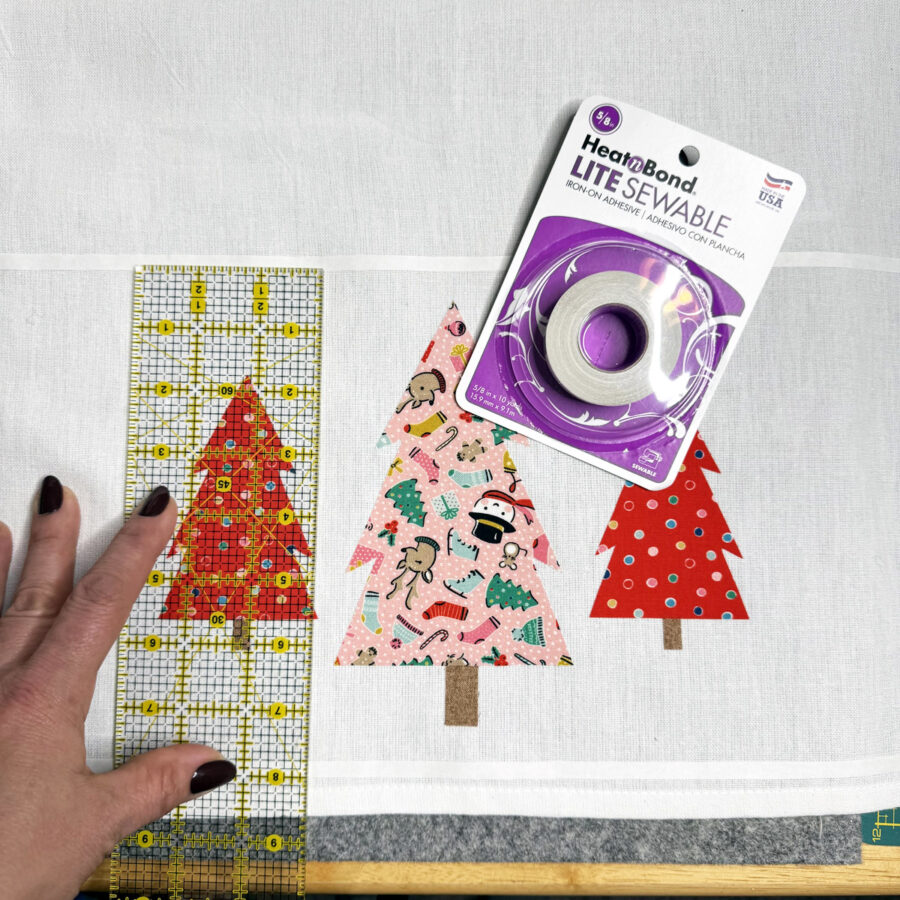
- Cut a length of HeatnBond Lite Iron-On Adhesive Tape, 5/8” to the width of your towel. I cut the model length 20”.
- Cut your length of HeatnBond Lite Tape into two ¼” widths. I used ¼” width for ½” rick rack. If you use a different size of rick rack, you will want to adjust the width. The two model strips measured ¼” x 20”.
- Fuse one strip approximately ½” up from the bottom of the towel.
- Fuse one strip approximately 8½” up from the bottom of the towel.
- Preheat iron to medium heat, no steam.
- Place the adhesive side on the towel.
- Place and hold the iron on the paper liner for 2 seconds.
- Repeat until the entire surface is bonded. Allow the tape to cool. Leave paper liner in place.
- Cut a piece of rick rack approximately an inch longer than the width of the towel. Fold raw edges under on either side to make the width the same as the towel.
- Remove paper liner from HeatnBond Lite Tape and place rick rack on top. Fuse in place.
- Preheat iron to medium heat, no steam.
- Remove paper liner.
- Place the rick rack on top of the adhesive.
- Press and hold iron for 6 seconds on each section, slightly overlapping, until the entire surface is bonded.
5. Sew down the rick rack and appliqué the trees.
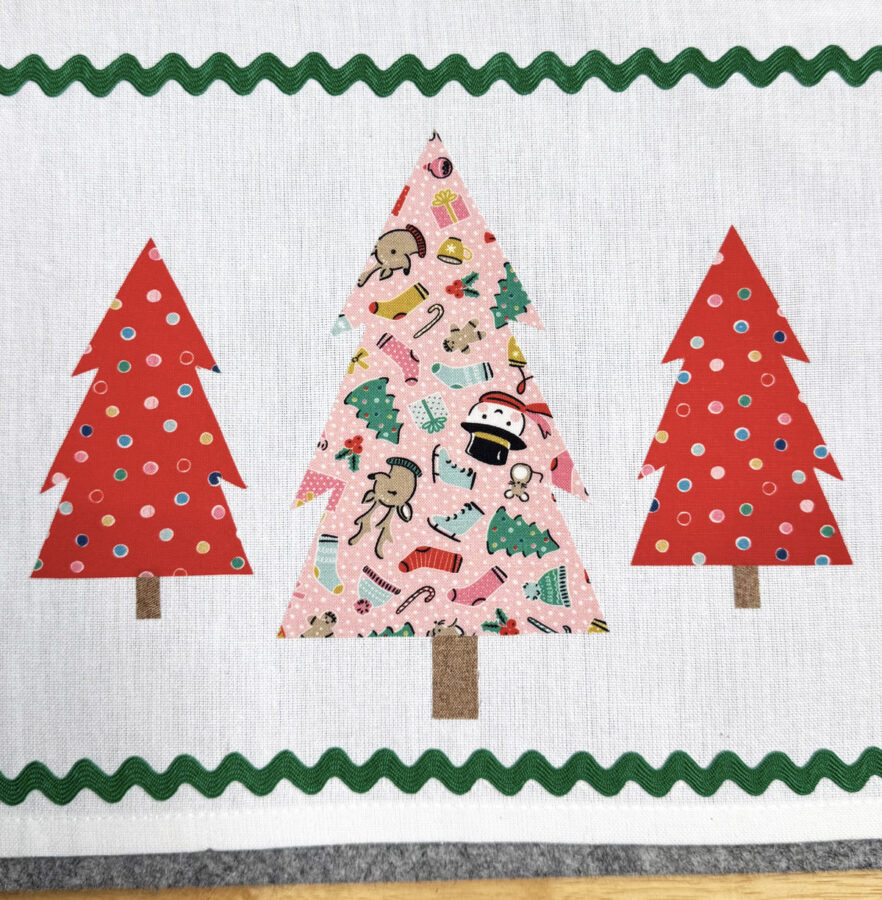
- Use a machine straight stitch to sew down the rick rack. Reinforce your stitches on either end.
- Use the machine appliqué stitch of your choice to sew down the trees. Models used a machine blanket stitch.
- Press
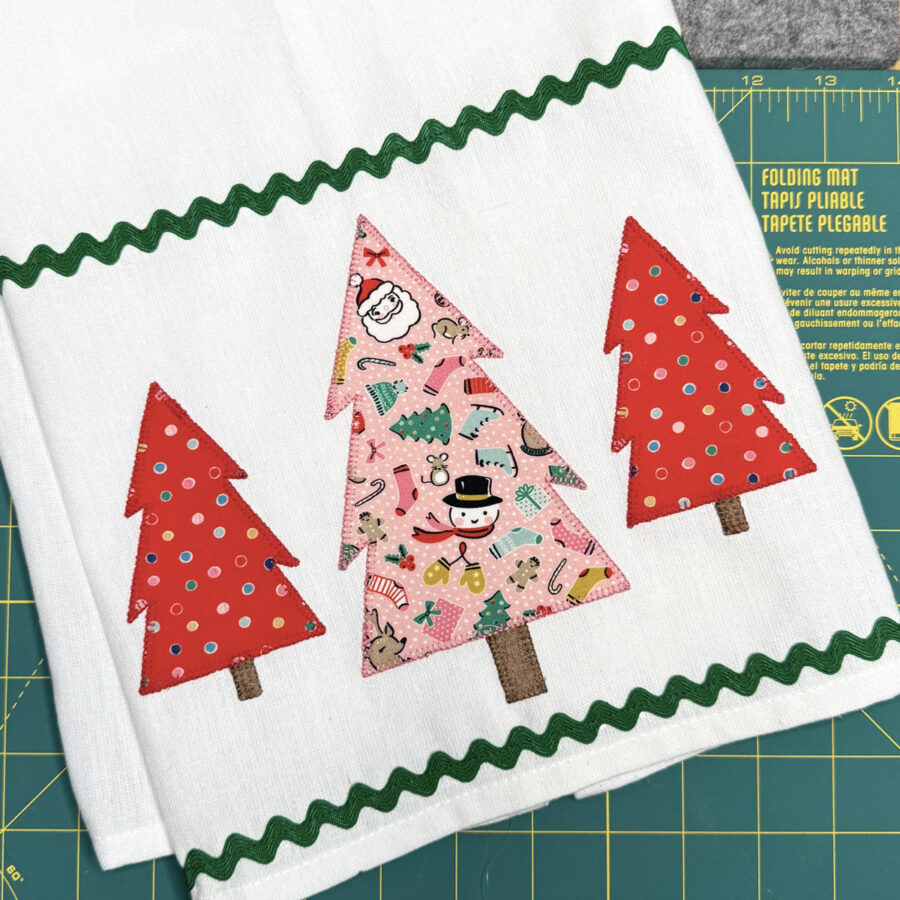
6. Your Tree Trimming Kitchen Towel is now complete. Enjoy!
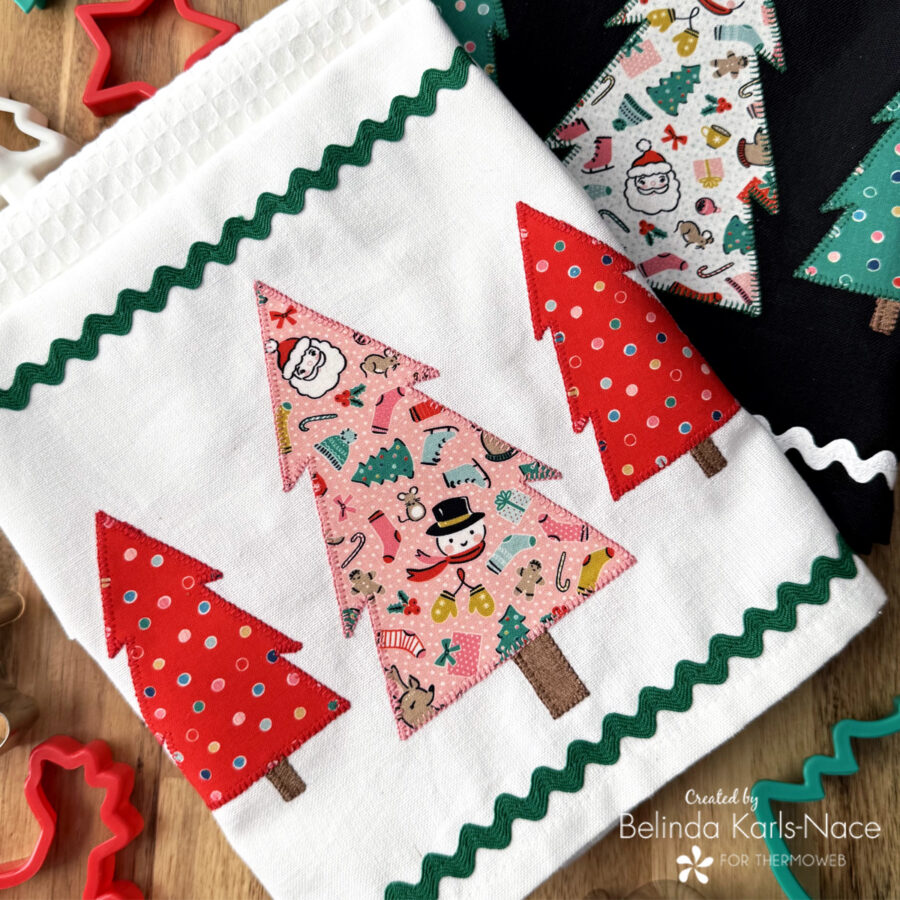
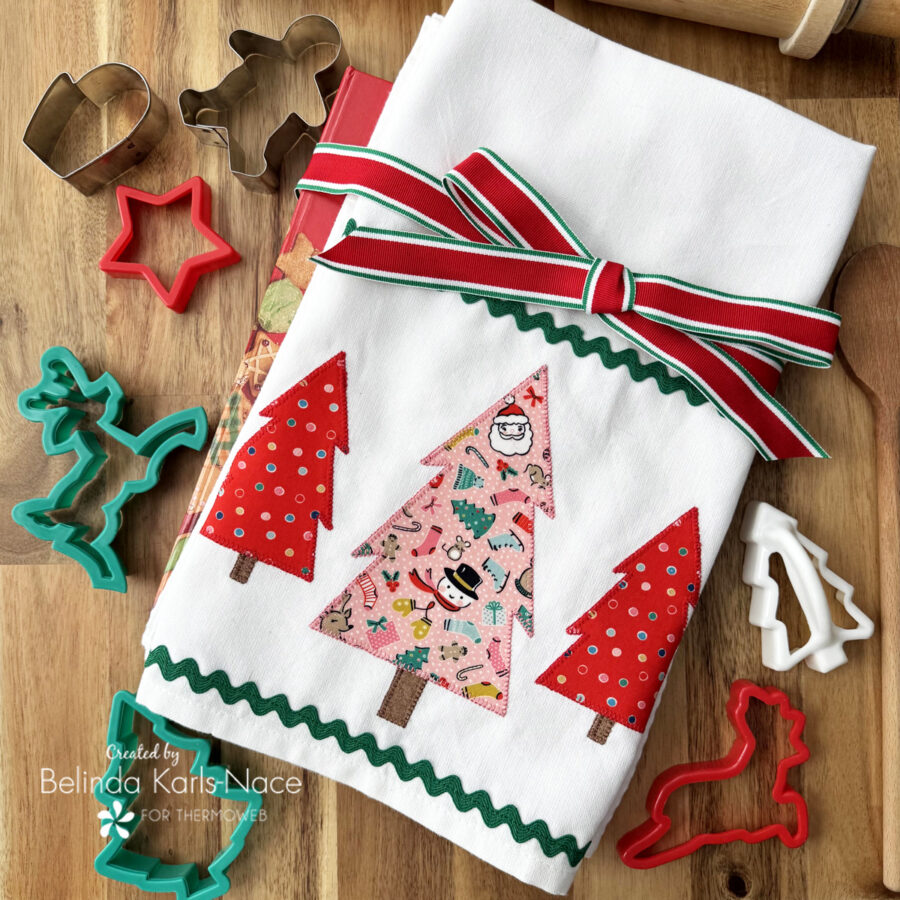
Thank you for joining me today for my Therm O Web blog tutorial. I hope this post inspires you to create a couple holiday kitchen towels to gift or decorate your kitchen. Pair a Tree Trimming Kitchen Towel with a wooden spoon, cookbook, potholder and/or cookie cutter for a perfect gift from the heart! To see more of my projects, stop by my blog, website, and/or Instagram – I would love to visit with you and see what you create!
