


 Hi again! This is Amanda from Twiddler’s Nook adding to the fun Treats Not Tricks this week! This is so my jam and I had a blast creating today’s projects. I hope you love them and find some inspiration to create wonderful goodies to share with people!
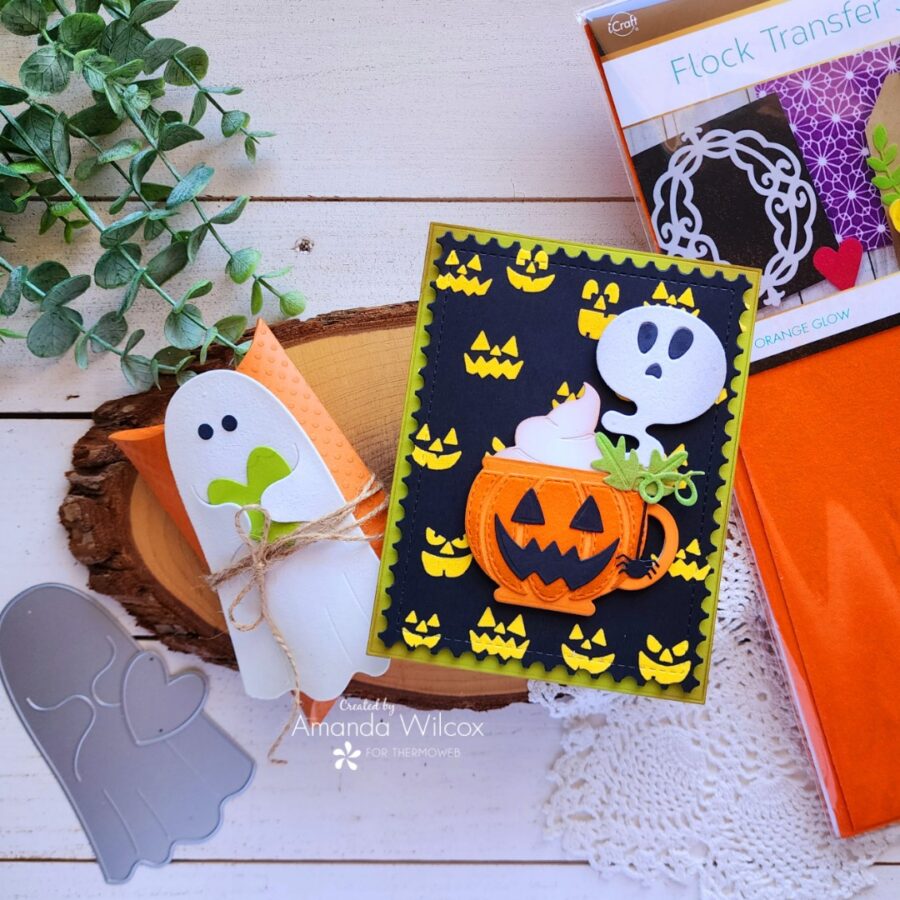
Jackolantern Card with Deco Foil Flock
Products used:
Deco Foil Flock – Orange Glow, Green Envy, White Latte, Sunshine Yellow
Deco Foil Transfer Gel Blanco
Stencil Pal
Foam tape and squares
Pixie Tape
UltraBond liquid glue
Craft & Carrier sheets
Easy Tear Tape – 1/4 inch
Trinity Stamps Boo Brew dies
Trinity Stamps Trick or Drink stamps
Trinity Stamps Coffee Mug Card dies
Trinity Stamps Pillow Box dies
Newton’s Nook Jack o’ Lantern stencils
Newton’s Nook Framework dies
Ellen Hutson Ghost Treat Hugger dies
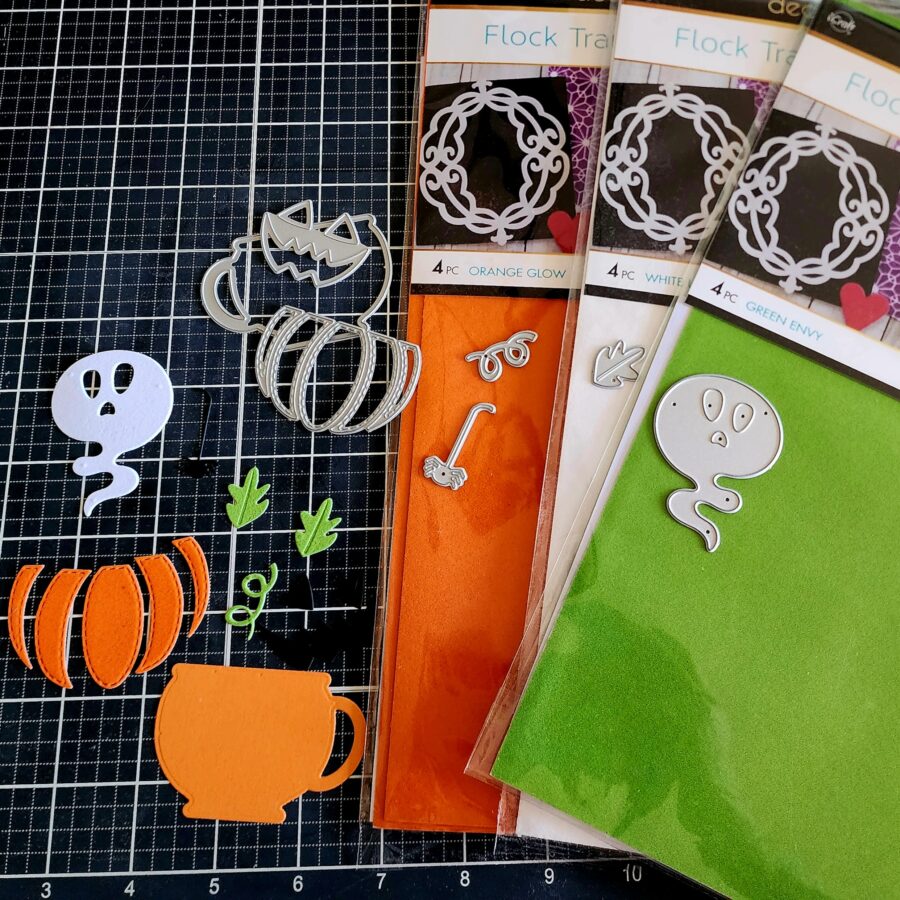
I started today by using the Trinity Stamps Boo Brew die set to create a super fun spooky-themed coffee cup! I die cut the detail for the mug, leaves, stem, and ghost steam from the flock and everything else from cardstock. I ink blended with brown dye ink on the edges of everything to tone it down and make it less bright and cheery. Then I used my UltraBond liquid glue to adhere all the layers together.
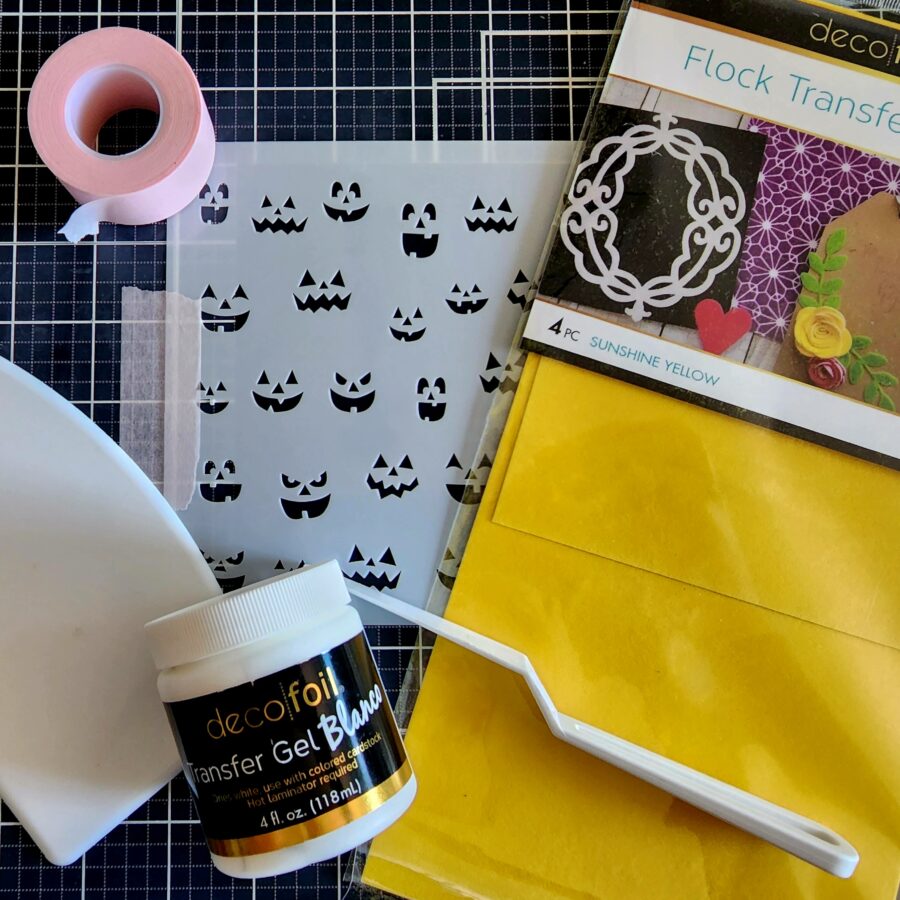
Next, I had the genius idea to use just the face layer from Newton’s Nook Jack o’ Lantern stencil set on black cardstock for my background. I used Pixie Tape to adhere the stencil in place and spread Deco foil Transfer Gel Blanco through it. After cleaning up, I set the panel aside to dry so I could run it through my laminator with the Sunshine Yellow flock!
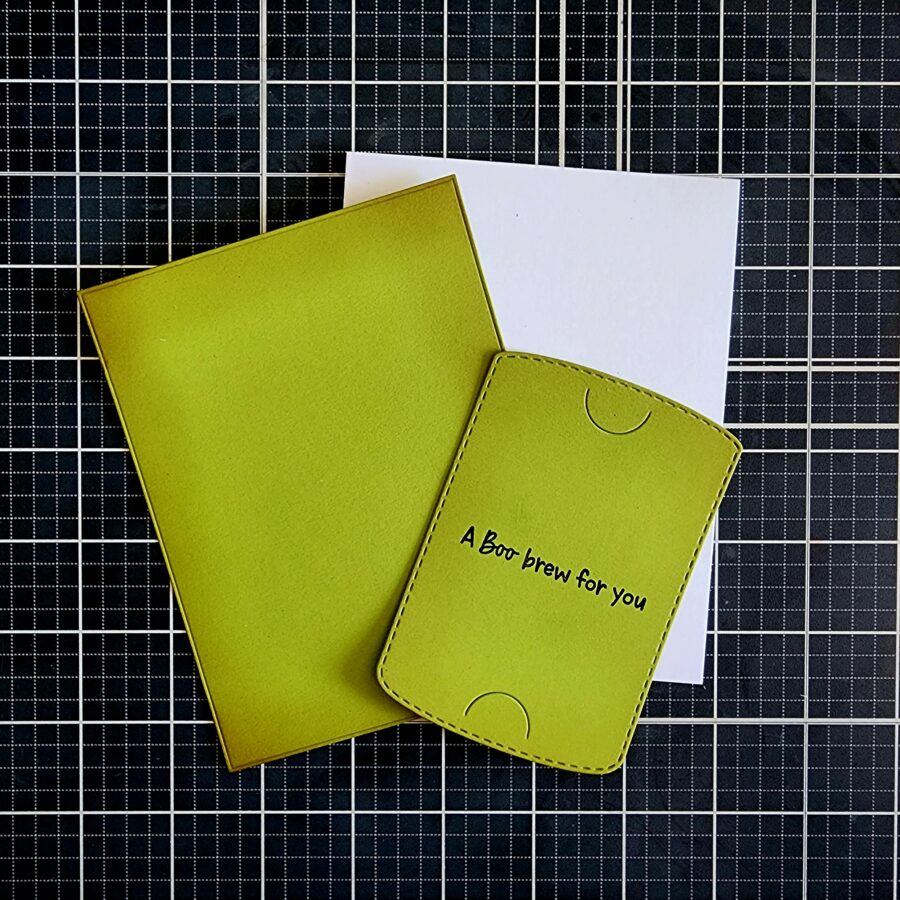
While I was waiting, I die-cut a rectangle and gift card holder from green cardstock inked the edges with brown and stamped a sentiment on the gift card holder. I created a card base and glued everything together – with the gift card holder on the inside of the card.
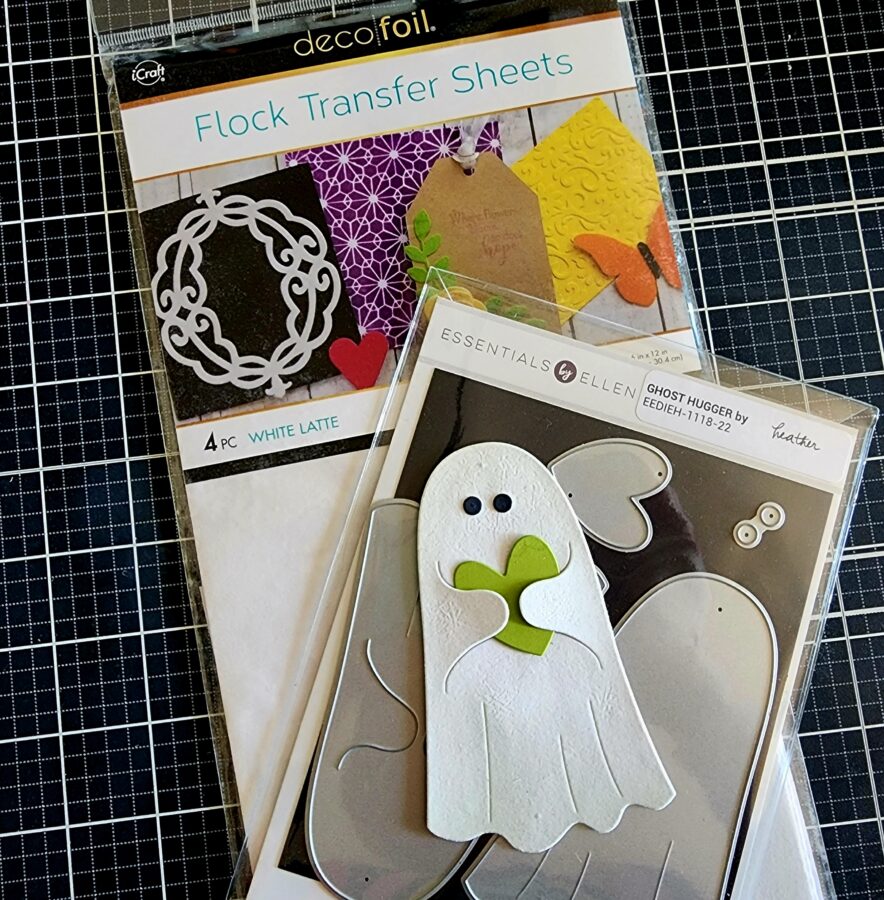
My panel still wasn’t dry and I was bored so I pulled out the new Ellen Hutson ghost treat holder and cut the top layer from white latte flock, the bottom layer from white cardstock, and the heart from the same green cardstock as my card front. I used liquid glue to adhere all the layers together and set him aside.
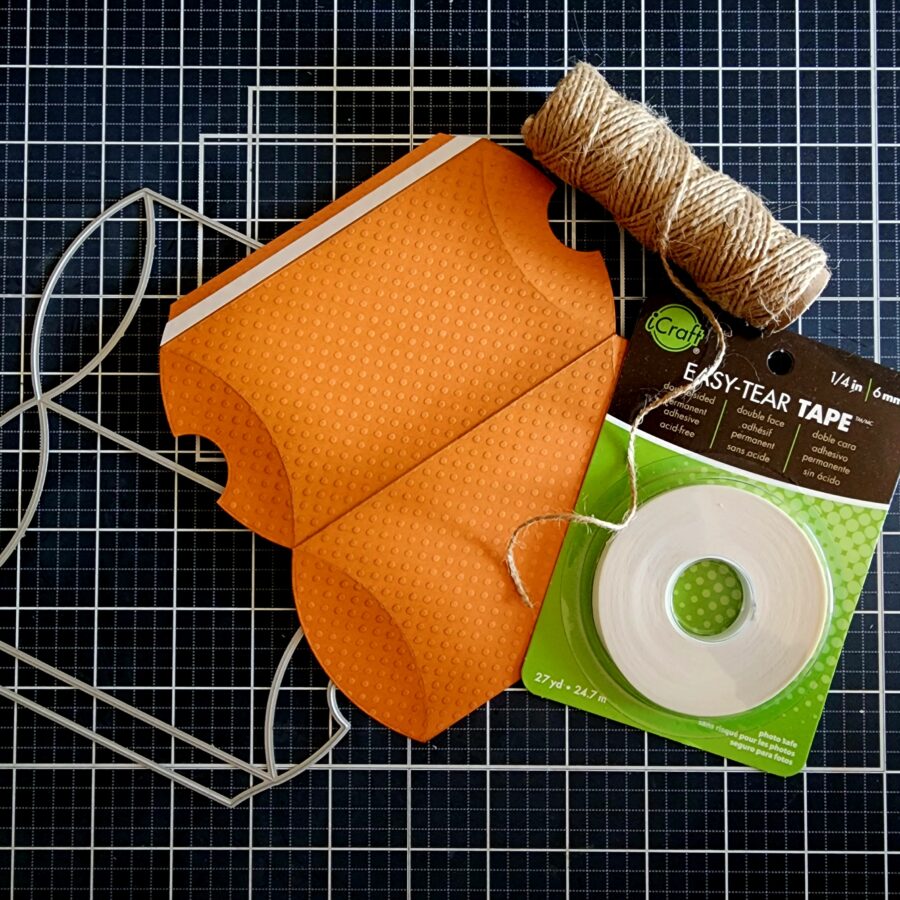
Next, I die-cut the Trinity Stamps pillow box from orange polka dot cardstock from my stash and inked up all the edges the same as everything else. I used easy tear tape to adhere the box together and twine to tie my ghost on top.
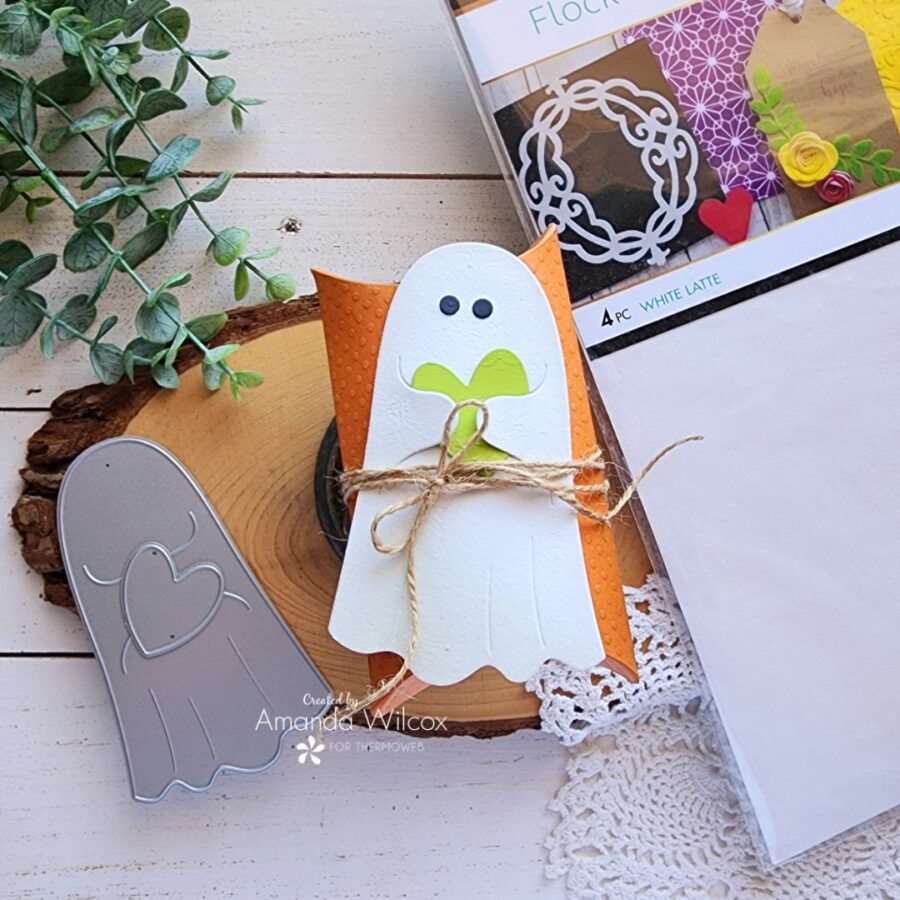
Isn’t this just super cute! The pillow box is big enough for a gift card or a handful of goodies too! But wait!!! My stenciled panel was finally dry and my laminator was heated up…so we flip back to regularly scheduled projects…
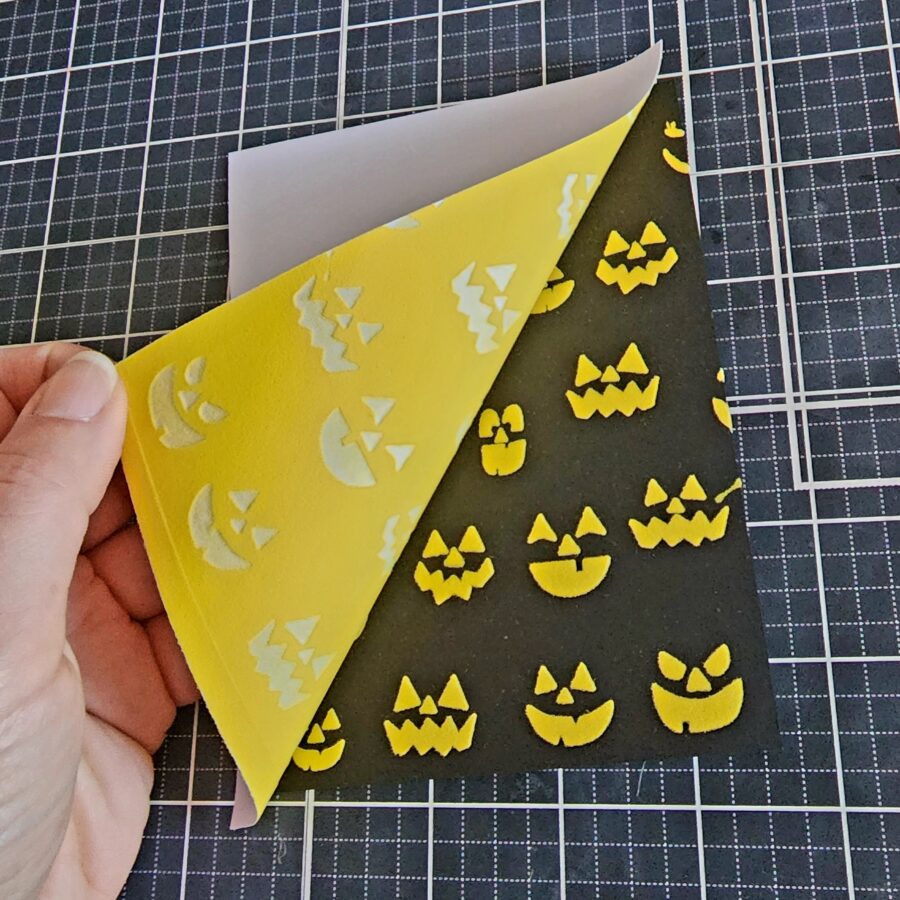
Boom! Look at how cool those spooky faces are on the black cardstock! But, you guessed it! We’re going to tone these down with brown ink and a blending brush too. I was just in a spooky mood, what can I say!?!
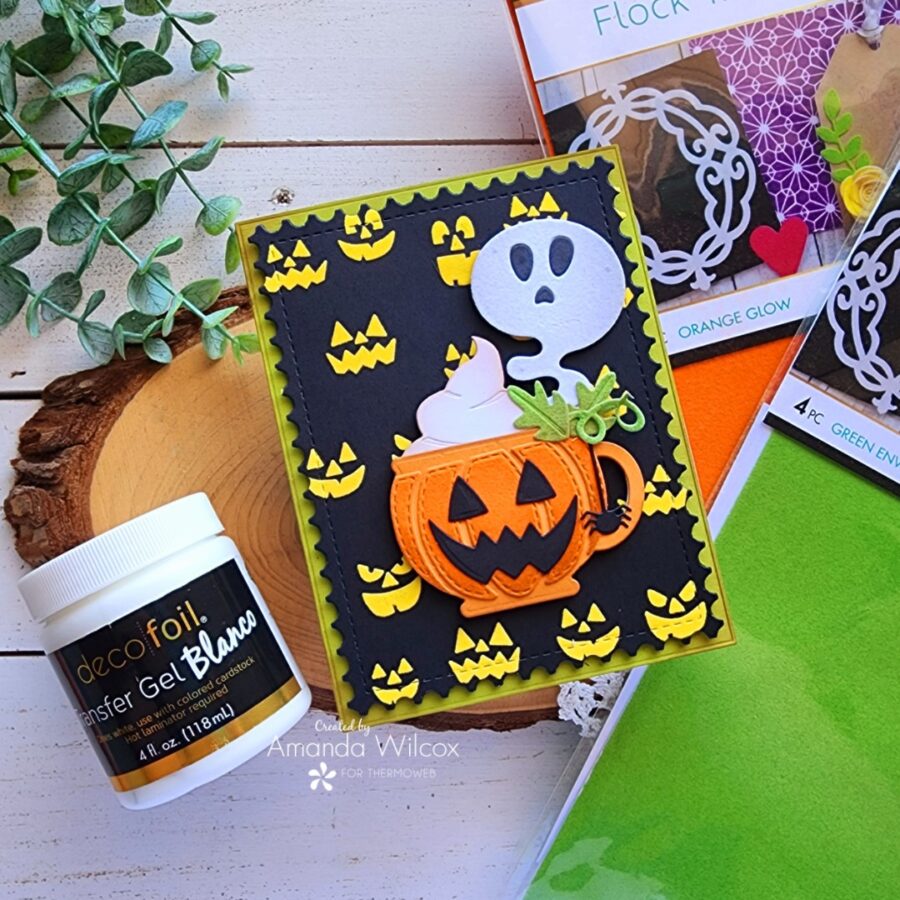
I die cut the background panel with the largest Framework die and popped it up on my card front with foam tape. Then I added foam squares to my coffee mug and added it next. I almost dug around for another sentiment but I really didn’t want to cover up and more of the background faces so I left it alone.
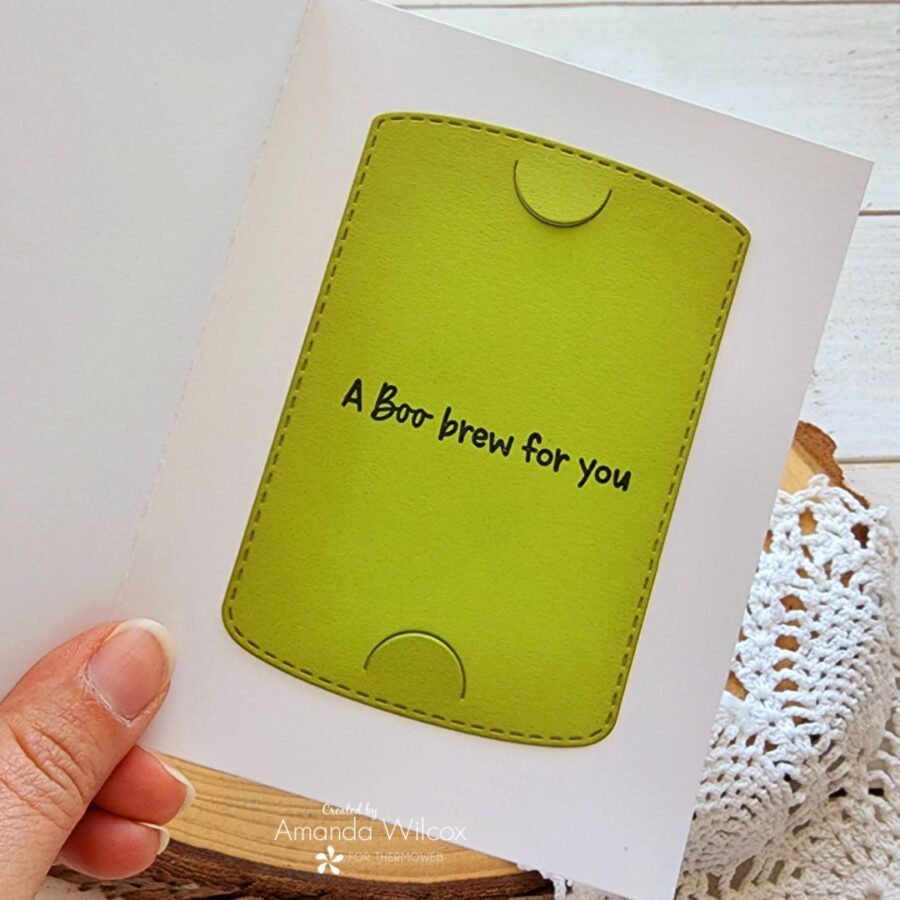
Here’s a look at the inside where I plan to add a Starbucks gift card. Then when they slide the gift card out, they’ll find that fun sentiment hiding behind it. I love it!
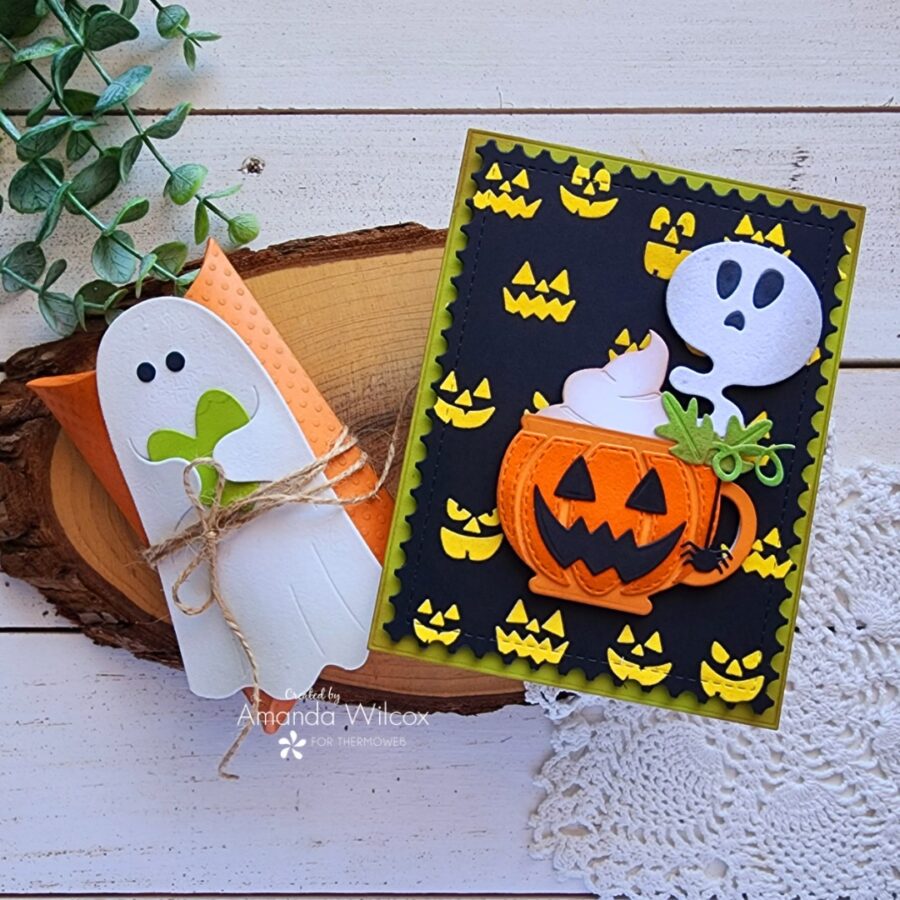
Here’s one more look at both projects together. They are totally awesome to give together as a gift or separately to different people!
I can’t really explain how much fun I had creating these projects today. I hope you love them and had fun learning how to create them too.
I appreciate you sharing your time with me. Have a fabulous day!