


Hello crafty friends! Today I am here to share my Traveler’s Notebook Junk Journal, highlighting the Deco Foil Transfer Sheets and Fabric Fuse, which I absolutely love! I use HeatNbond a lot on my journal covers that have fabric, but this is the first time I have used the Fabric Fuse and I can’t believe how well it worked for a fabric to paper adhesion. Scroll down to see exactly how I used it!

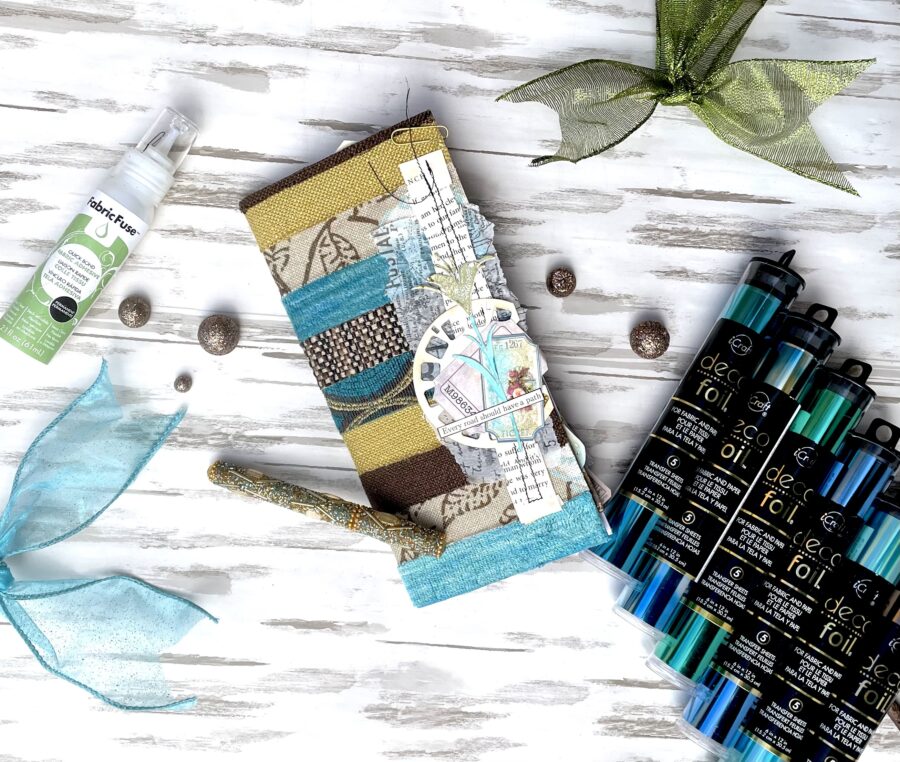
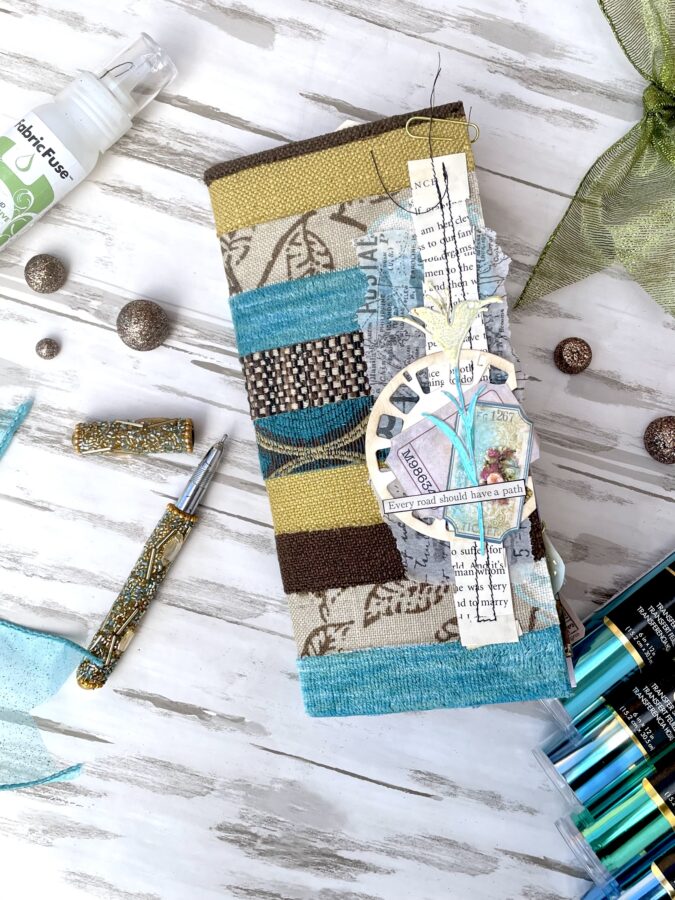
Traveler’s Notebook Junk Journal with Deco Foil Transfer Sheets and Fabric Fuse
Junk Journal Supplies:
iCraft Ultra Bond Liquid Adhesive
iCraft Fabric Fuse Liquid Adhesive
iCraft Double-Sided Adhesive Foam Tape
Other Supplies: fabric, watercolor, or sketch paper for notebook pages, cardstock and patterned paper for embellishing, foiling machine or laminator, discarded book(s), dies and die-cutting machine, scissors, clips, mini stapler, embossing powder and heat gun.
Traveler’s Notebook Junk Journal Step One:
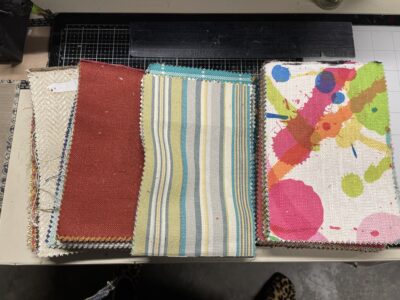
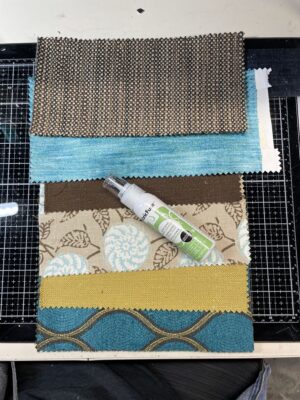
Start by pulling some fabric scraps together. I was lucky enough to score some out-of-date decorator samples so I pulled some out and grabbed some colors I thought would work.
Hint: If you don’t have a stash of scrap fabrics, thrift shops often have very inexpensive fabrics.)
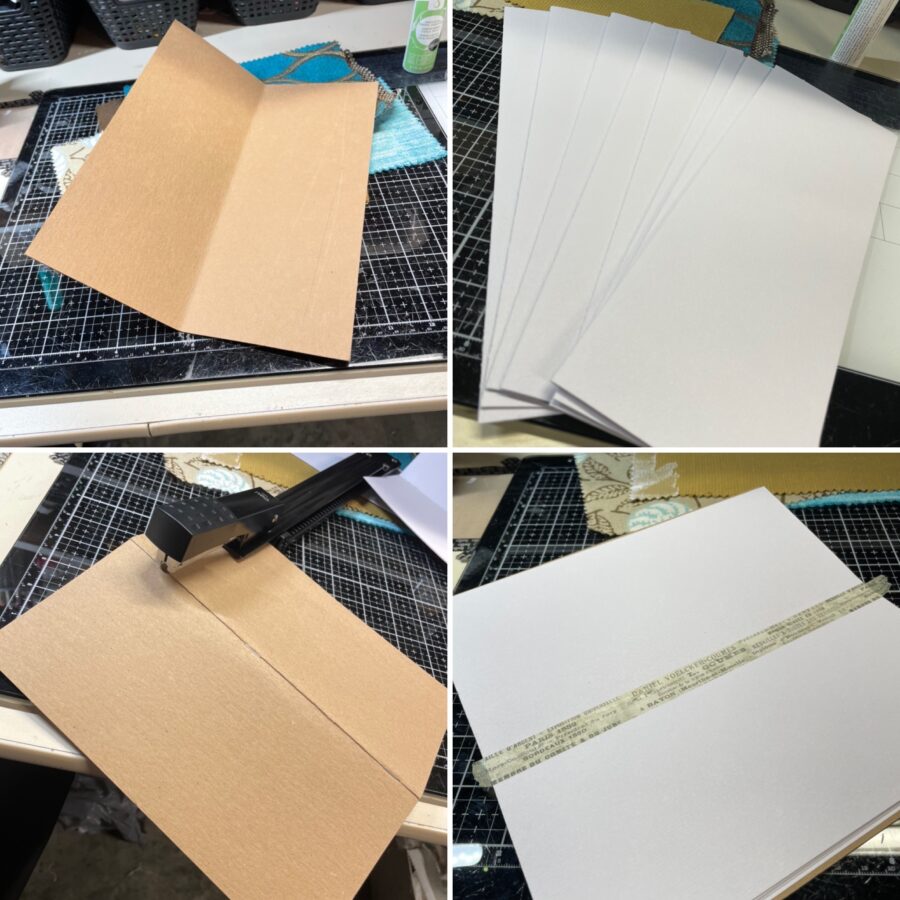
Traveler’s Notebook Junk Journal Step Two:
Next, put together a traveler’s notebook using lightweight chipboard and watercolor or sketch paper. I cut mine so that the book measures 4 3/4″ x 8 3/4″ and used a long reach stapler to bind it. I added some washi tape in the center to hide the staples inside.
Hint: If you don’t want to make your own traveler’s notebook, order one online before you start this project.
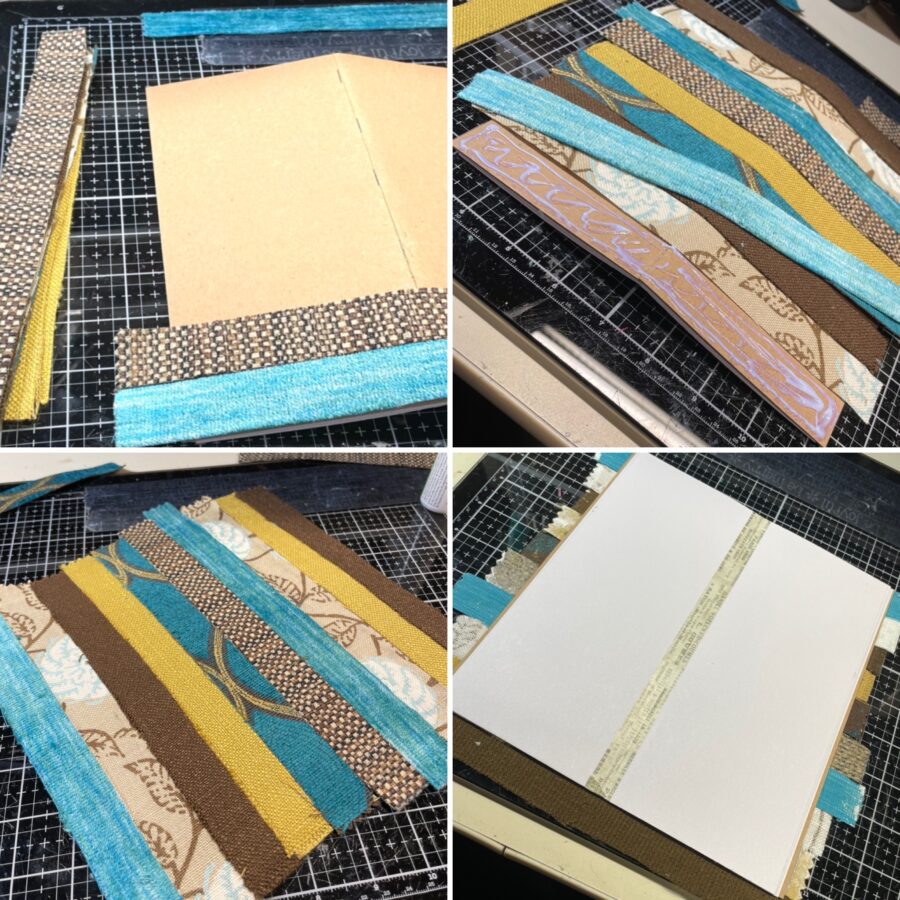
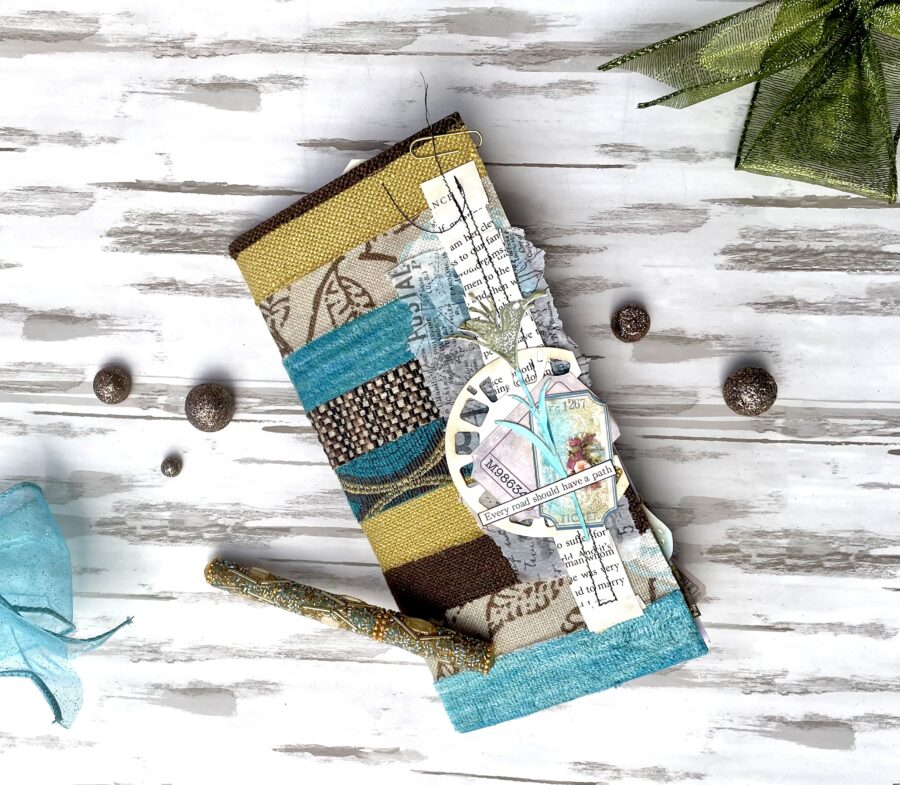
Traveler’s Notebook Junk Journal Step Three:
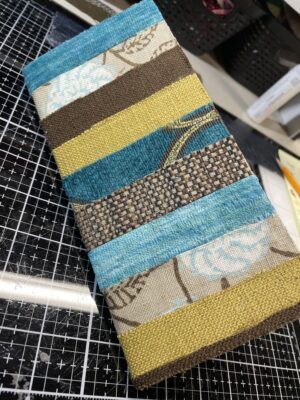
Next, cut your fabric into one-inch strips. I found that if I cut them any larger, I couldn’t get as much color variation. With the one-inch strips, I was able to get two of each fabric on the cover. This is where that Fabric Fuse adhesive is going to shine. I cannot tell you how impressed I am with the adhesion. Even the edges are not lifting!
Lay your strips of fabric on the cover the way you want them and then, starting at the bottom, lift them one by one and adhere with the Fabric Fuse Adhesive. I pressed them down firmly using a brayer and then let them dry completely before moving to the next step.
The last part of this step is to flip the book over and trim off the excess fabric.
Hint: If you like a stitched look, you could zig-zag stitch all of the strips together and then adhere them as one piece.
Traveler’s Notebook Junk Journal Step Four:
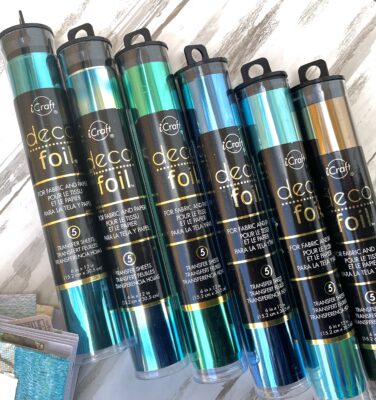
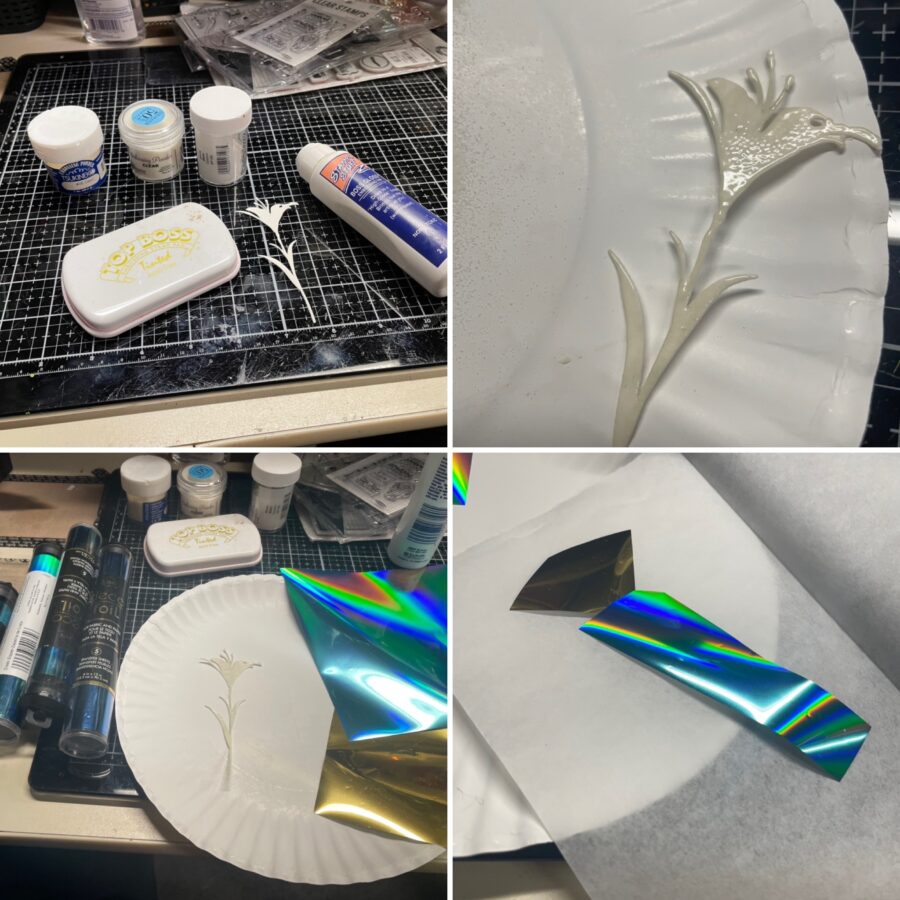
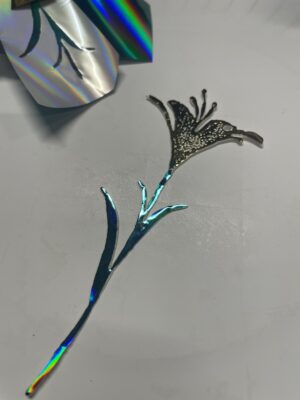
This next step has endless possibilities. I chose a wildflower die-cut, but you could choose whatever speaks to you. You can foil it all one color or you can use more than one like I did. Whatever you choose, here’s how you do it: Apply embossing ink over the surface of the die-cut and cover with embossing powder (I used clear).
Use a heat gun to melt the embossing powder and allow it to cool completely. Cover the melted embossing powder with Foil Transfer Sheets (dull side against the die-cut) and run it through your laminating machine according to package directions. DO NOT peel away the Foil Transfer Sheets until the embossing powder is completely cooled again or you will not get a complete foil. If you wait, however, it will be beautiful!
Hint: I tried white embossing powder as well but found that it doesn’t melt as easily in the laminator.
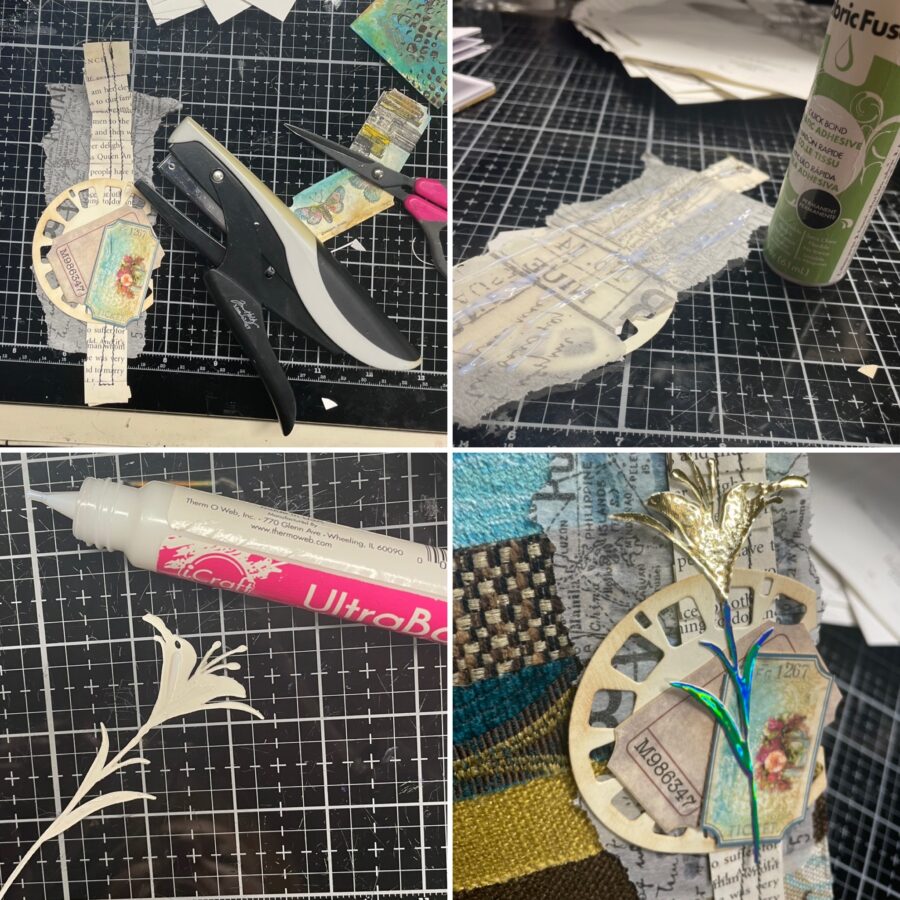
Traveler’s Notebook Junk Journal Step Five:
Pull together the elements you want for your cover and assemble them in the center using a stapler. Use Ultra Bond Liquid Adhesive in between the layers to secure them in place once you have them stapled in the center.
Now that you have your cover embellishment, use Fabric Fuse Liquid Adhesive to adhere it to the fabric cover. Add your die-cut to the embellishment using Ultra Bond Liquid Adhesive and your cover is complete.
 Hint: Before you begin your project, pull together the embellishments you will use for both the cover and inside of your journal. If you limit yourself to what you have ready, it makes it so much easier to complete your journal.

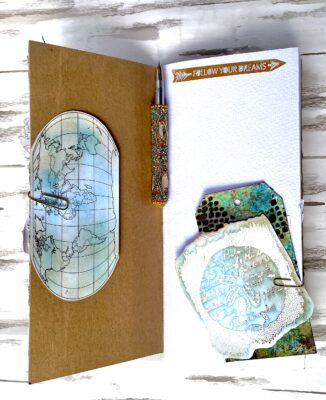
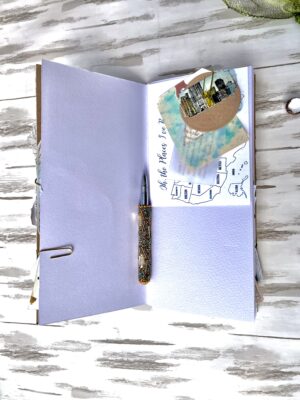
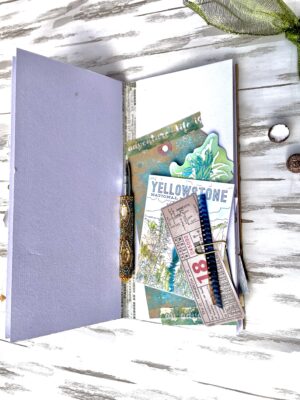
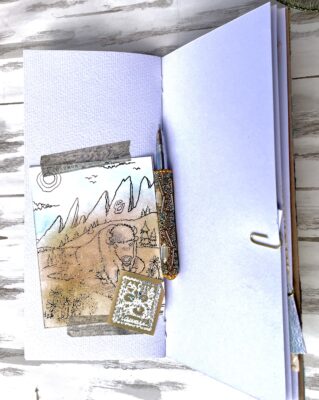
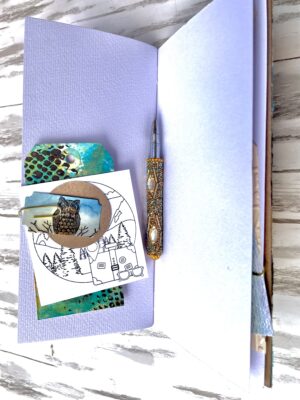
Traveler’s Notebook Junk Journal Step Six:
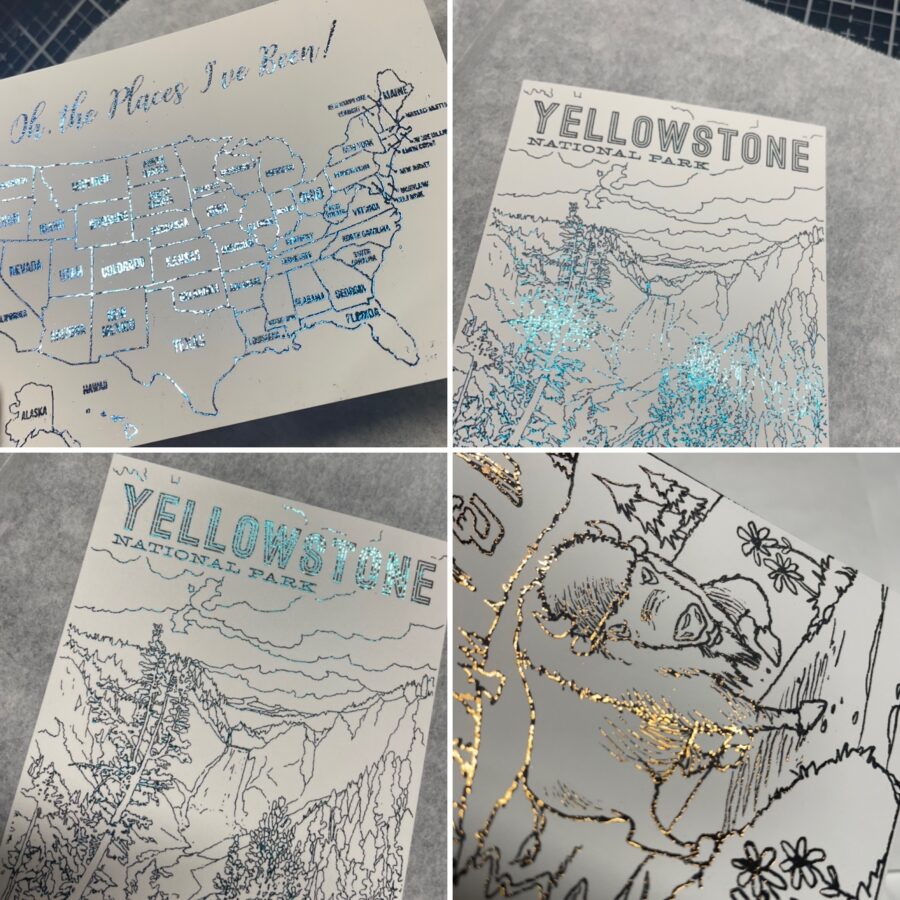
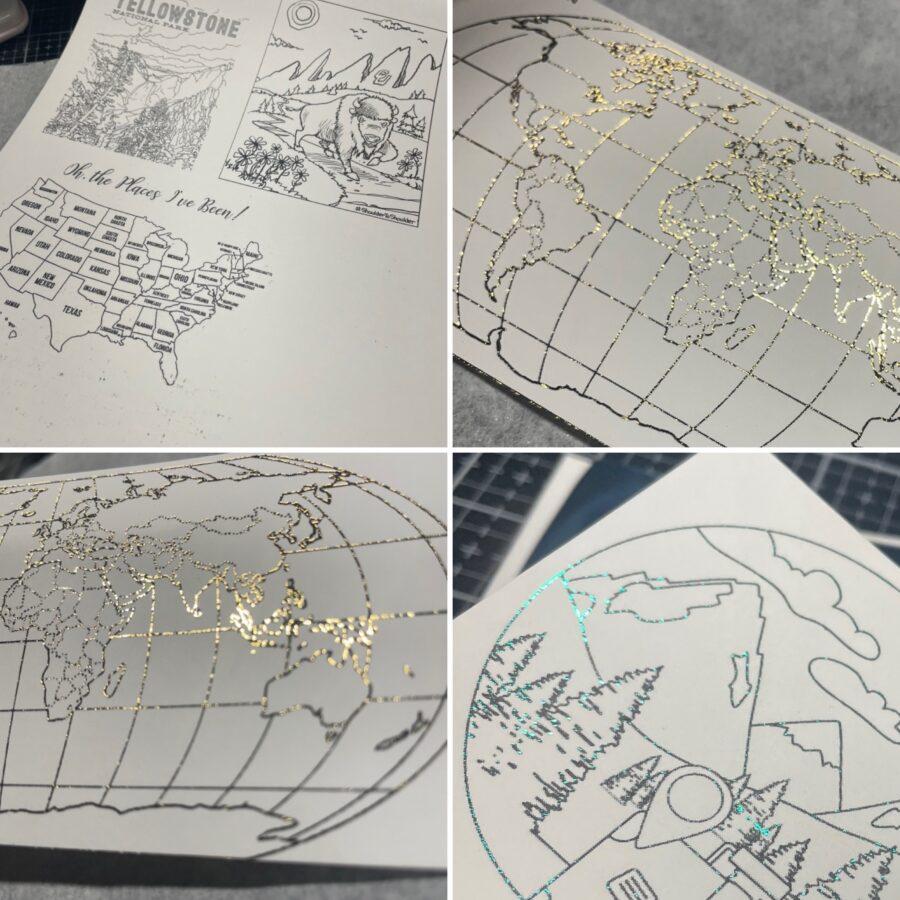
Use toner printed and foiled images along with your gathered elements to complete the inside of your journal. I googled “free national park pintables and found what you see below.
To foil the images, simply lay Foil Transfer Sheets (dull side down) over a toner printed image and run through your foiling machine per the package instructions. Peel away the foil sheet and you are left with a beautifully foiled image. These were hard to photograph but they game out so pretty! The delicate printed lines foiled very cleanly.
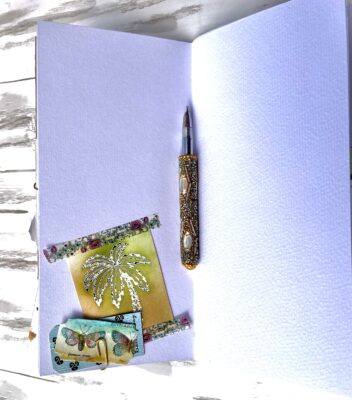
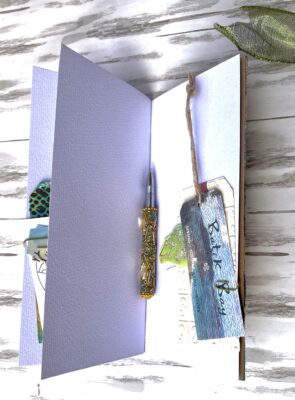
Hint: I don’t adhere most of my elements into my journal. I tend to clip little stacks of embellishments throughout the journal so that I can place them where I want to as I journal.
This project came out so much better than I even expected. The fabric strips, once dried, are adhered better than I thought possible. They are not coming off for anything. I hope this project encourages you to mix some fabric and paper and see where it takes you.