


 Hey hi!!!
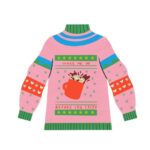 I cannot believe it’s DECEMBER?! It’s Katrina from Paper, Scissors, Glue and Hybrid Too sharing another holiday layout on the blog today. It’s a good thing we do photo sessions with the dogs so that I have all these fun holiday pictures to scrap for our Ugly Sweater theme! I am using PhotoPlay Paper’s Christmas Party collection, along with some Deco Foil “foil” and flock!

Therm O Web Supplies Used
Memory Runner XL
Memory Runner XL Refill
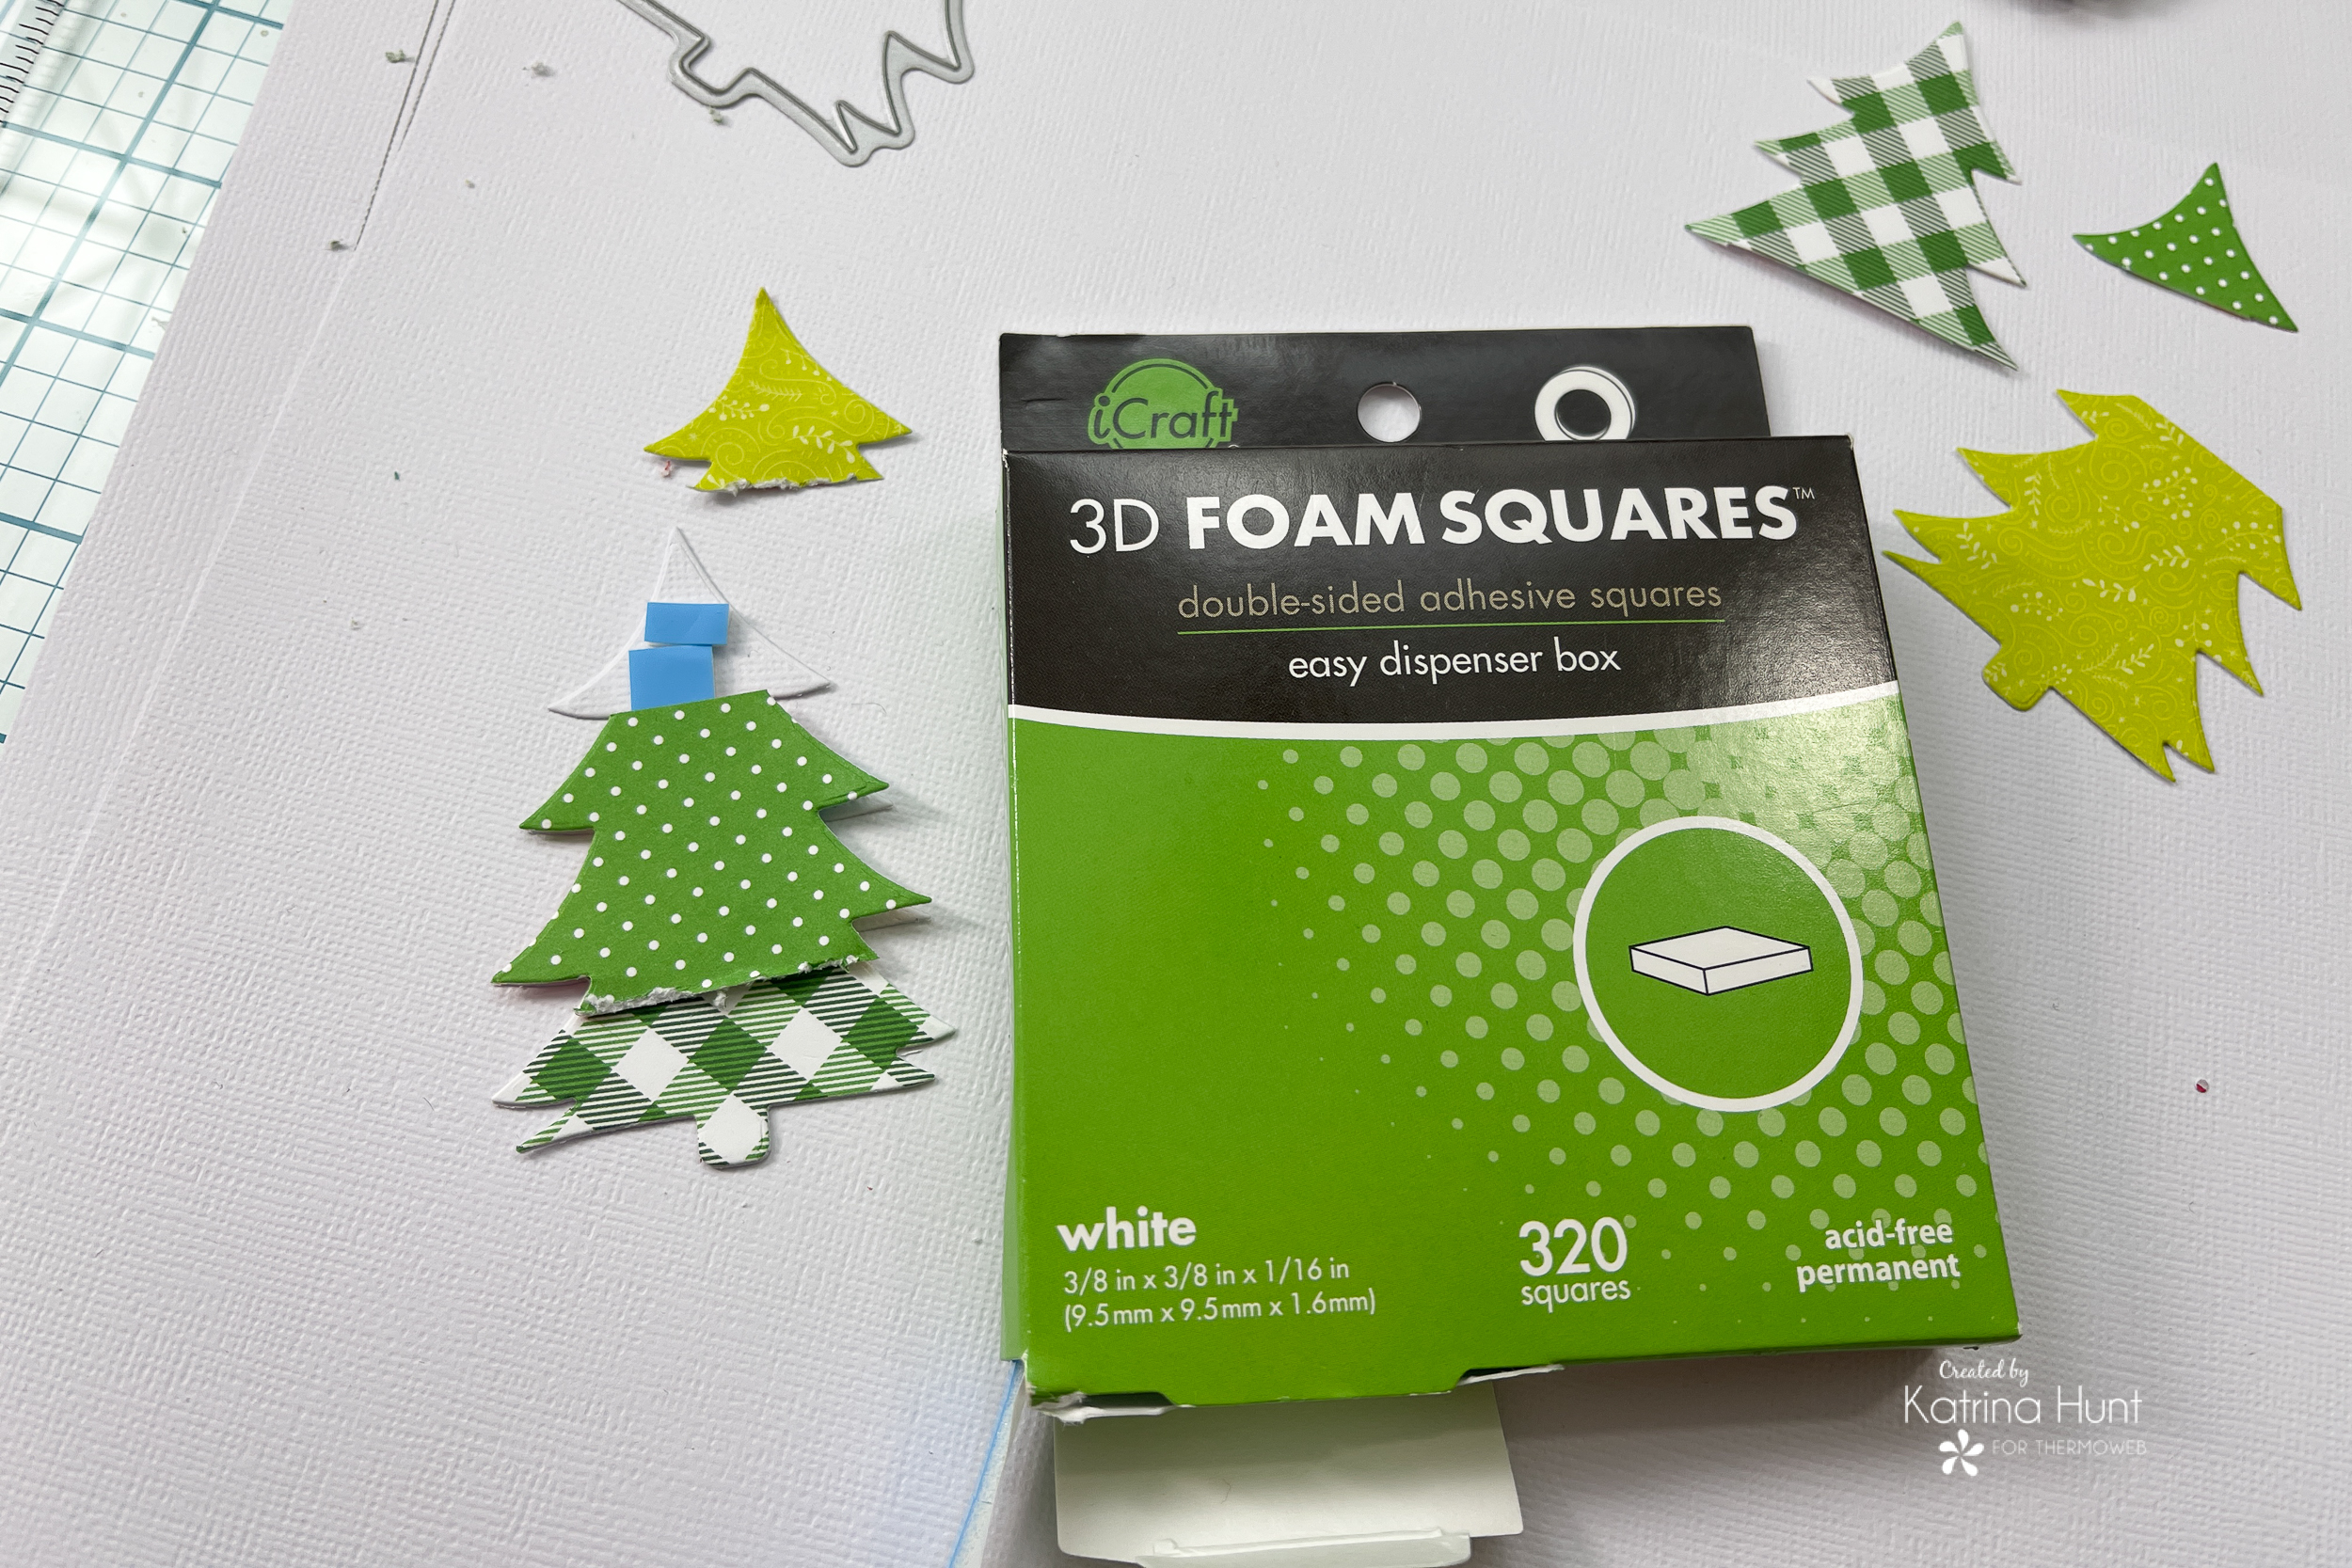
3D Foam Squares – Combo Pack
NEW 3D FOAM SQUARES BOX
NEW 3D FOAM TAPE ROLL 1/16
Deco Foil Adhesive Pen
Deco Foil DUO Transfer Gel
Deco Foil Transfer Sheets – Wild Cherry
Deco Foil Transfer Sheets – Gold
Deco Foil Transfer Sheets – Lime
Deco Foil Flock Transfer Sheets – Pink Carnation
Deco Foil Flock Transfer Sheets – Blue Sky
iCraft Pixie Spray
iCraft Purple Tape
iCraft Adhesive Eraser
Ultra Bond Liquid Adhesive
NEW ULTRA BOND LIQUID ADHESIVE PEN
Other Supplies Used
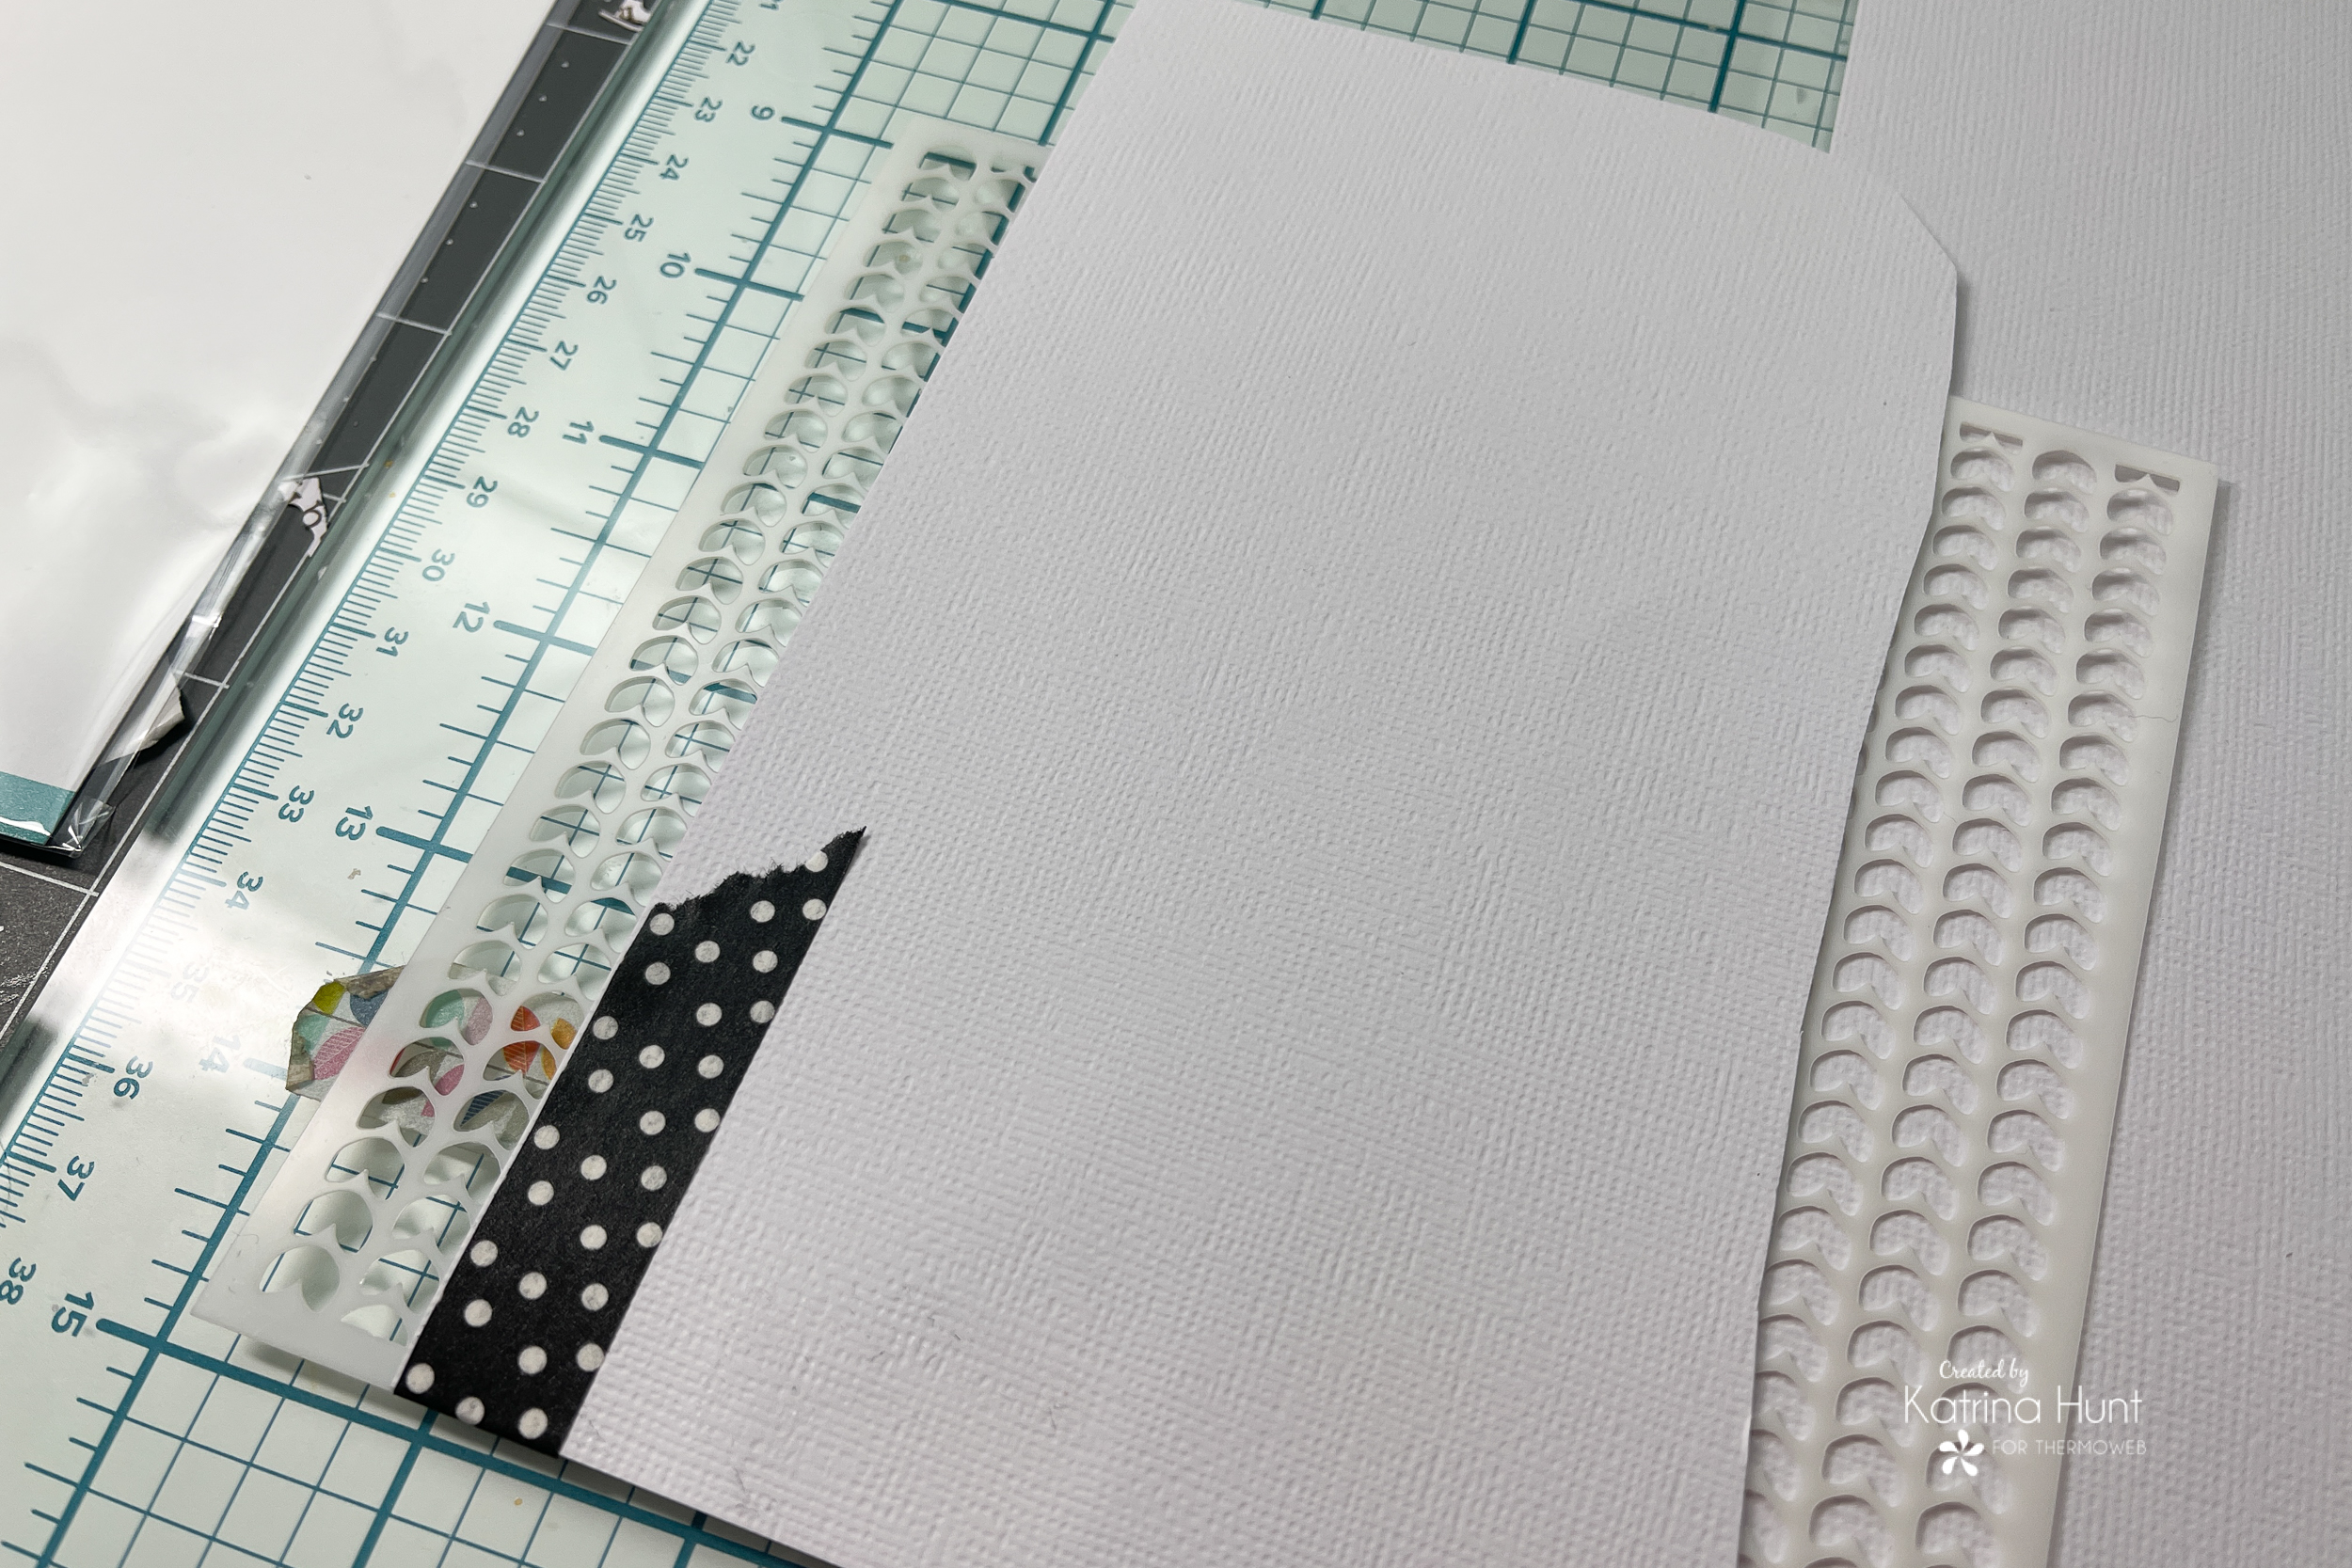
American Crafts White Cardstock
PhotoPlay Paper – Christmas Party
Catherine Pooler Inks
*It’s A Girl
Catherine Pooler Blender Brushes
*Small
No Ugly Sweater Layout Details
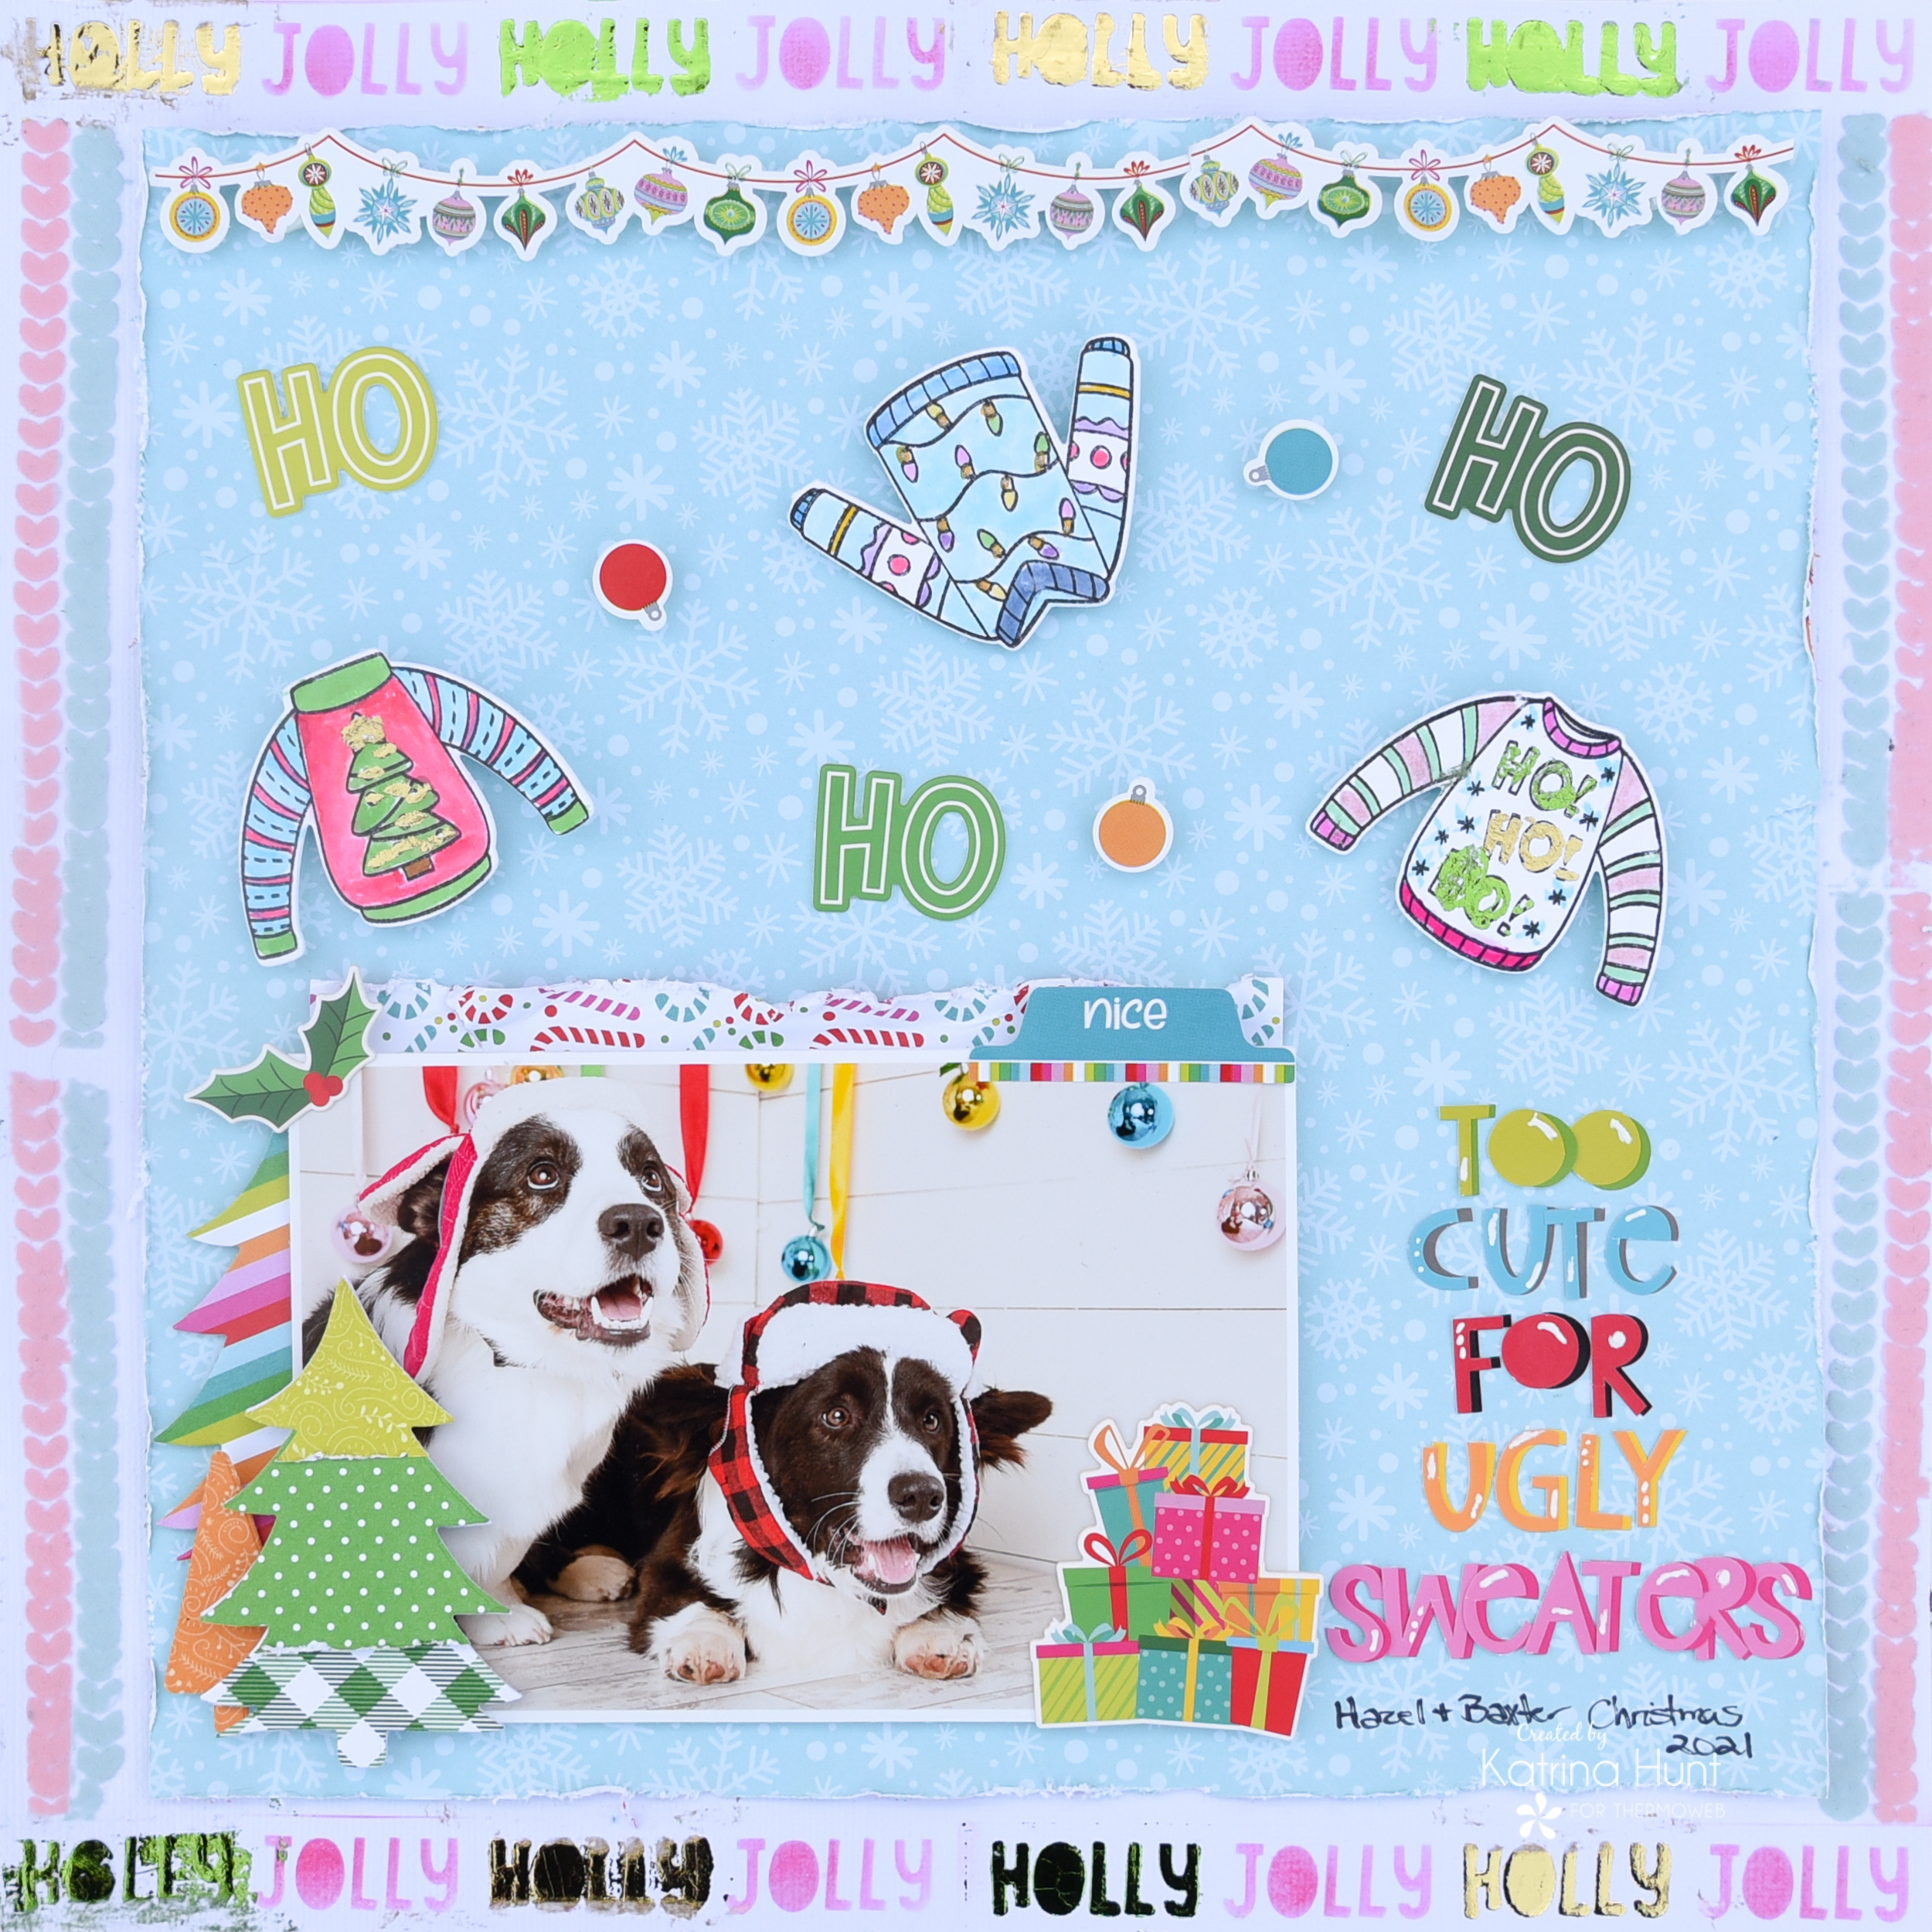
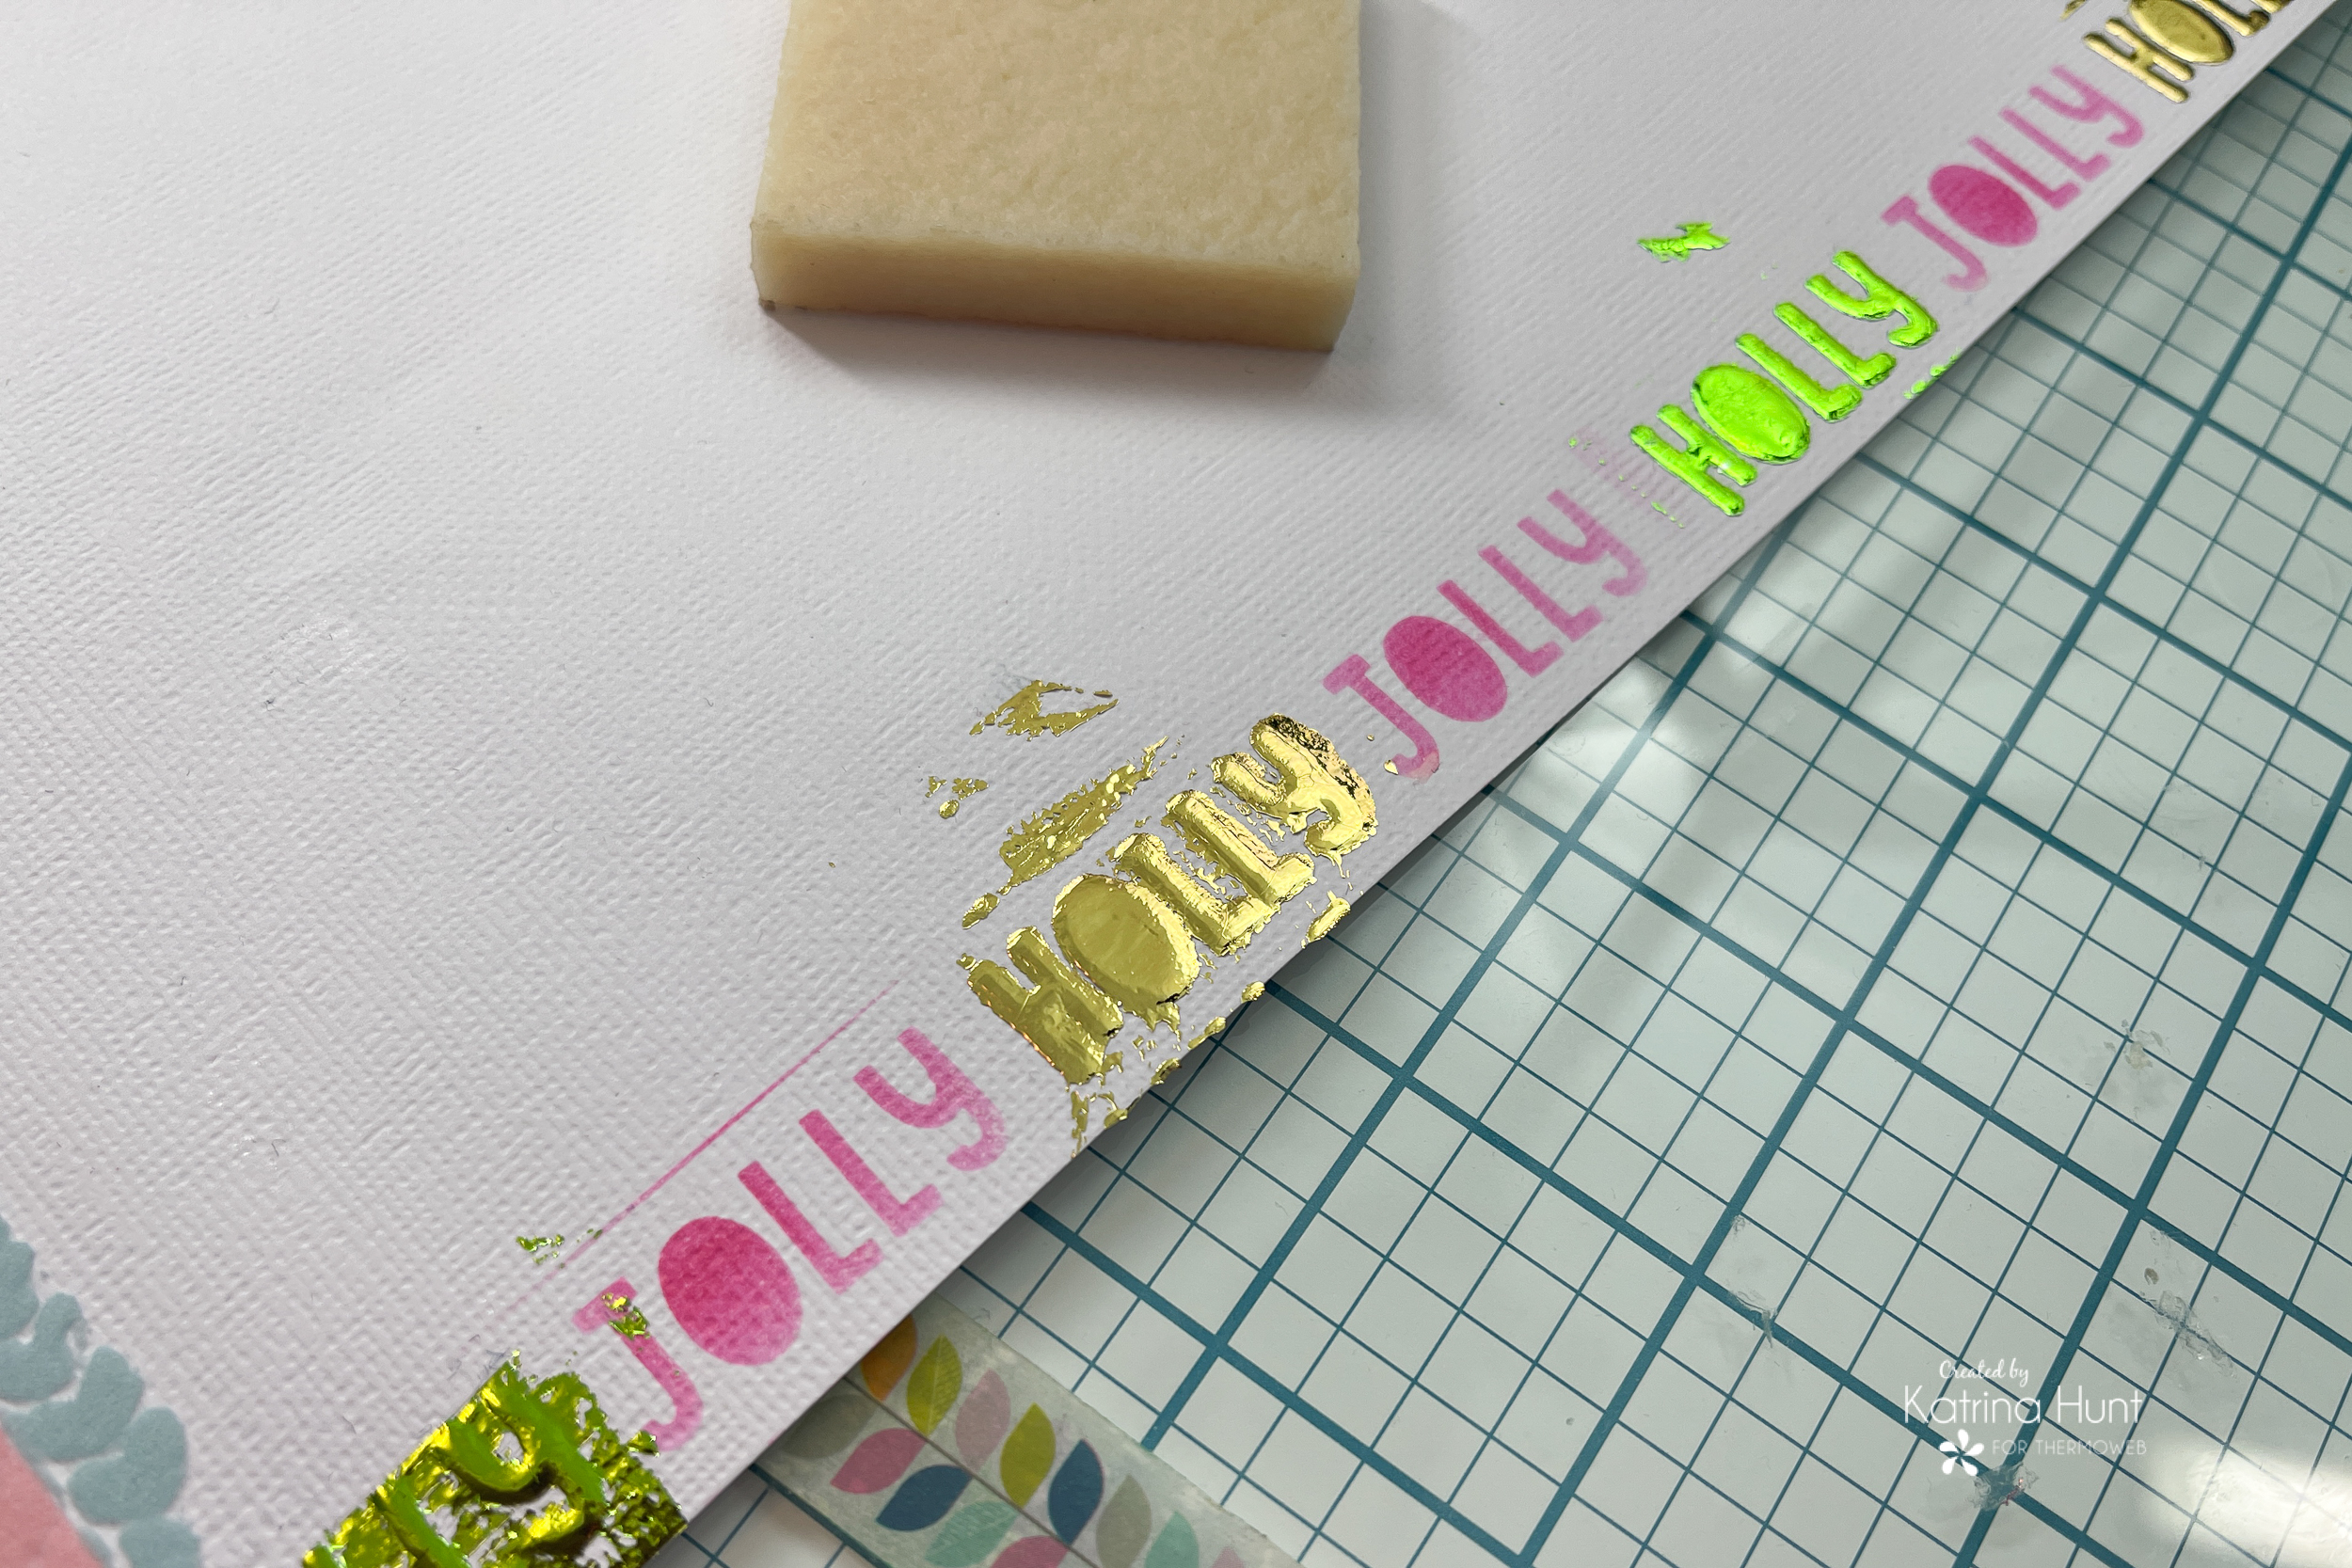
Now, first up, I am going to say that the foiling and flocking on this project are not precise. I wasn’t really trying for it to be! Since it was an ugly sweater theme, I got a little messy and I was ok with that! Now, on to the details!
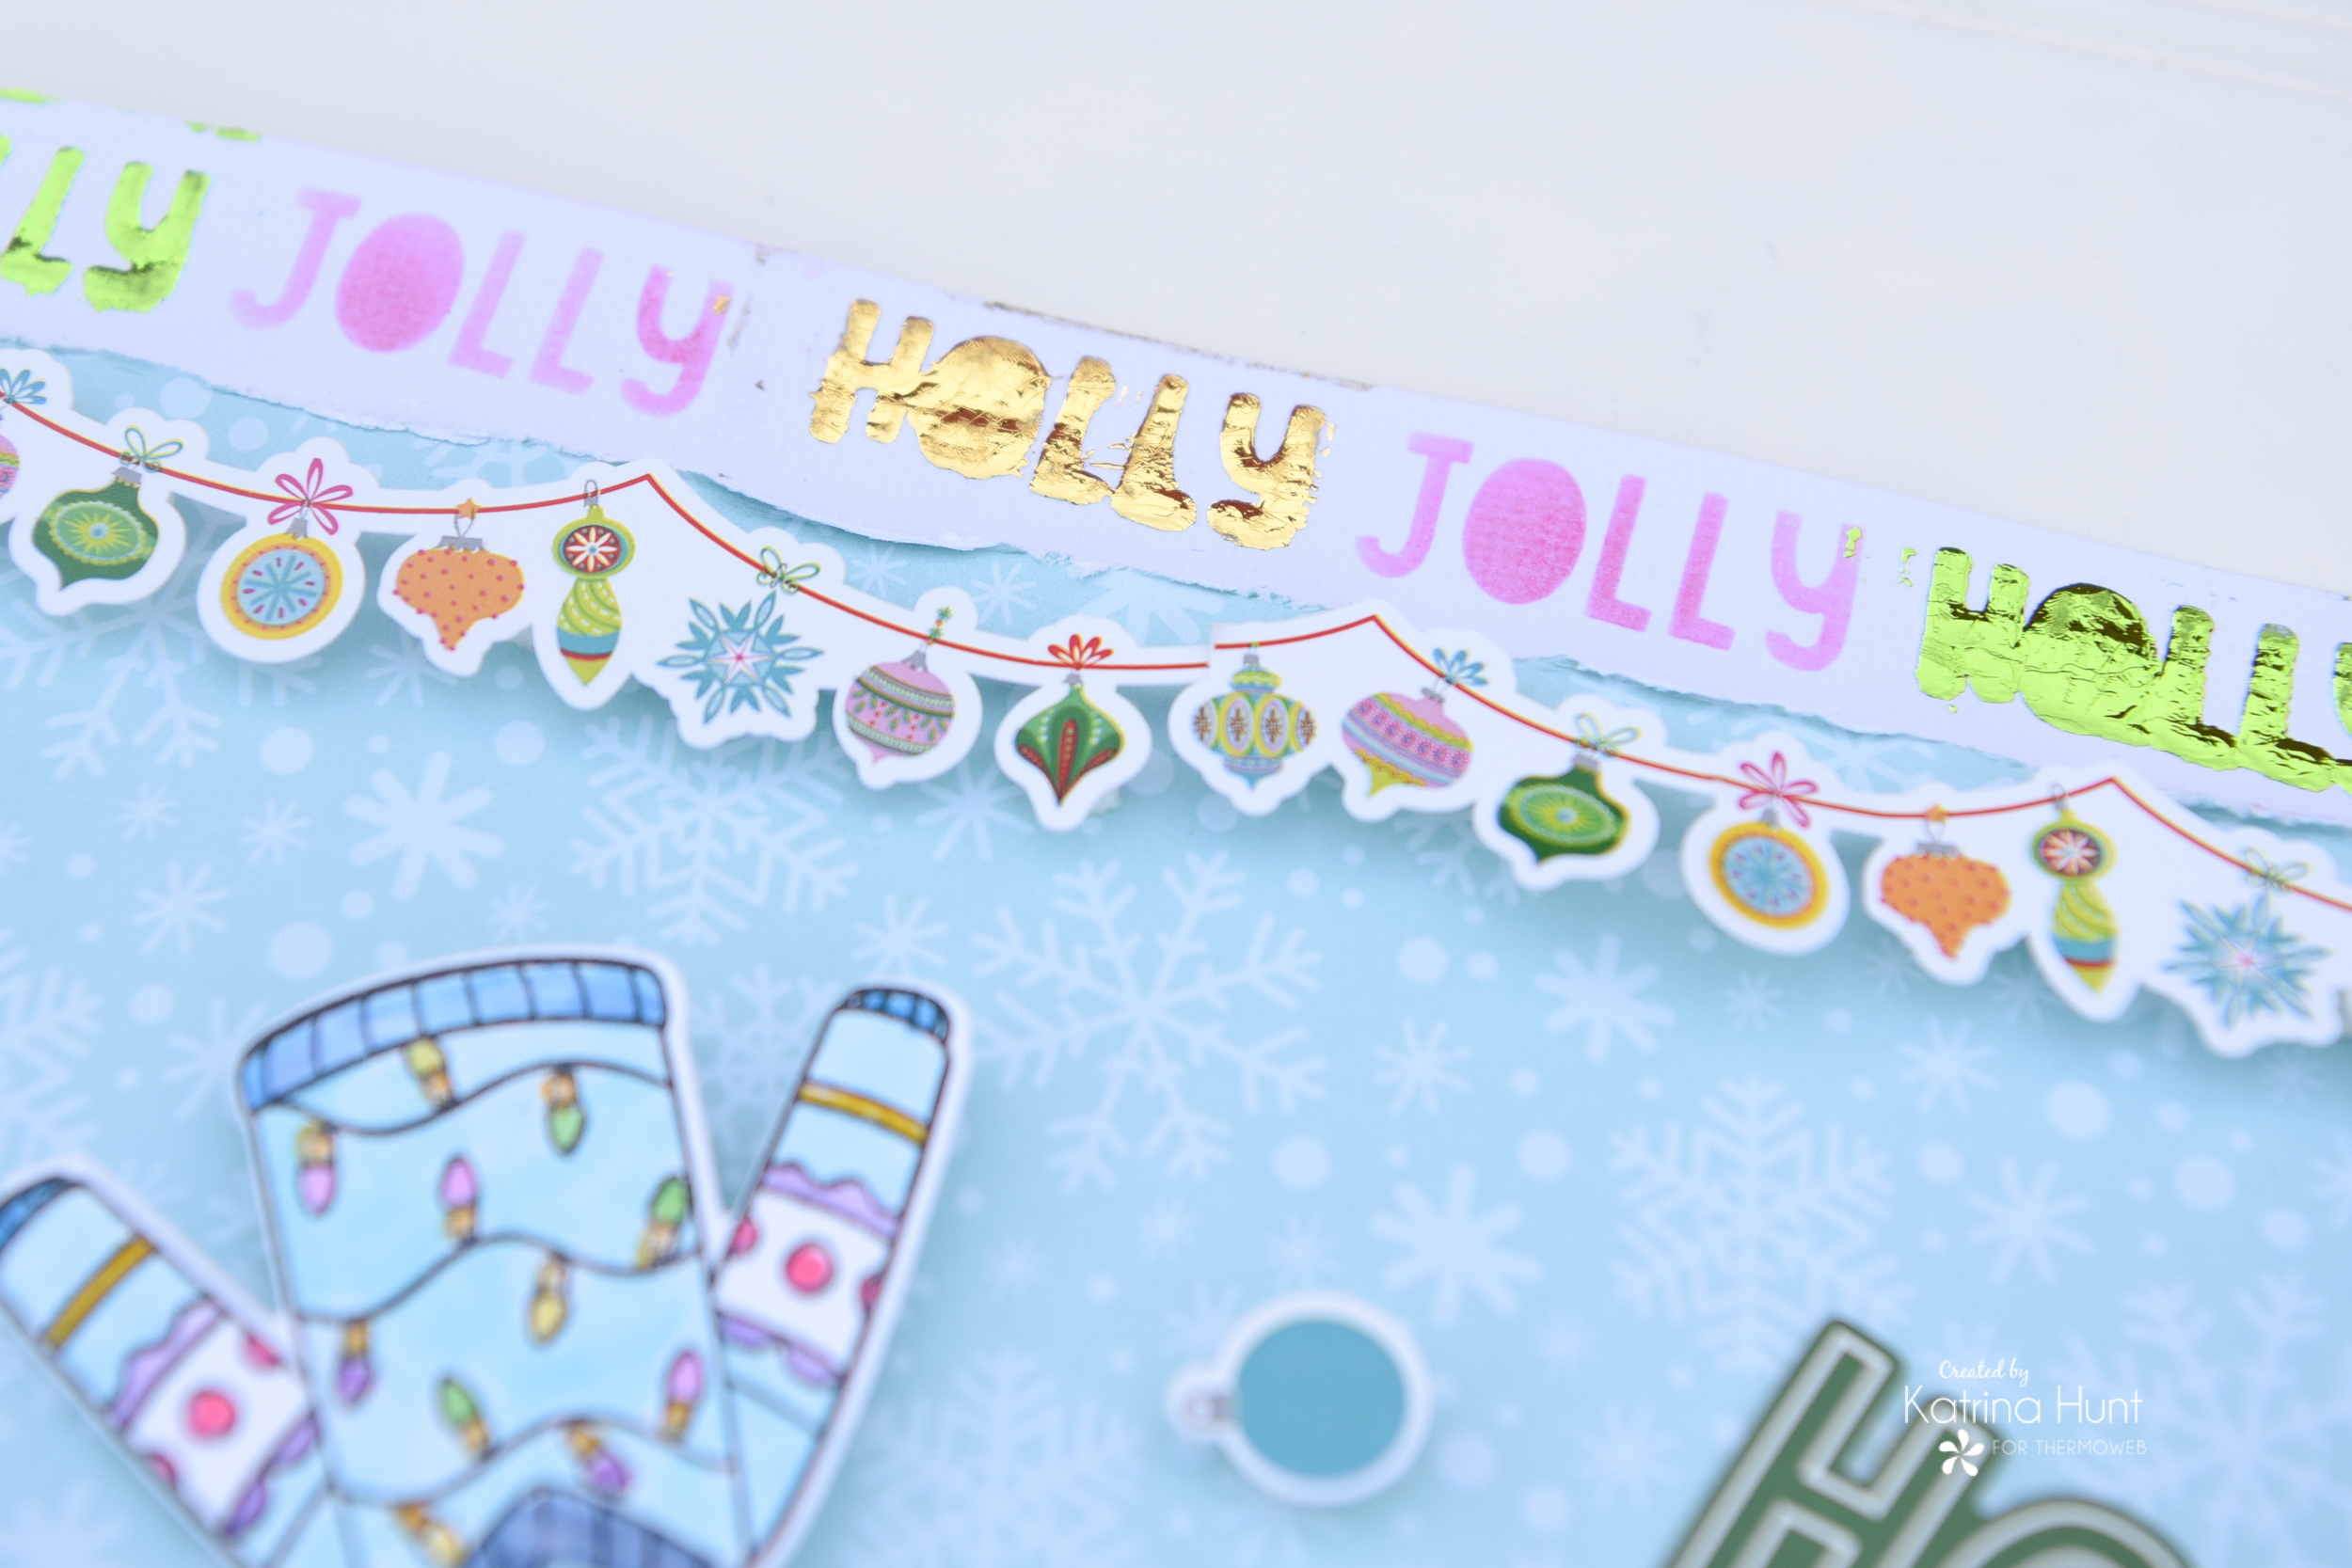
I started by using the Holly Jolly stencil from the collection at the top and bottom of the page. I adhered the stencil with Pixie Spray, just on the area I was going to use.
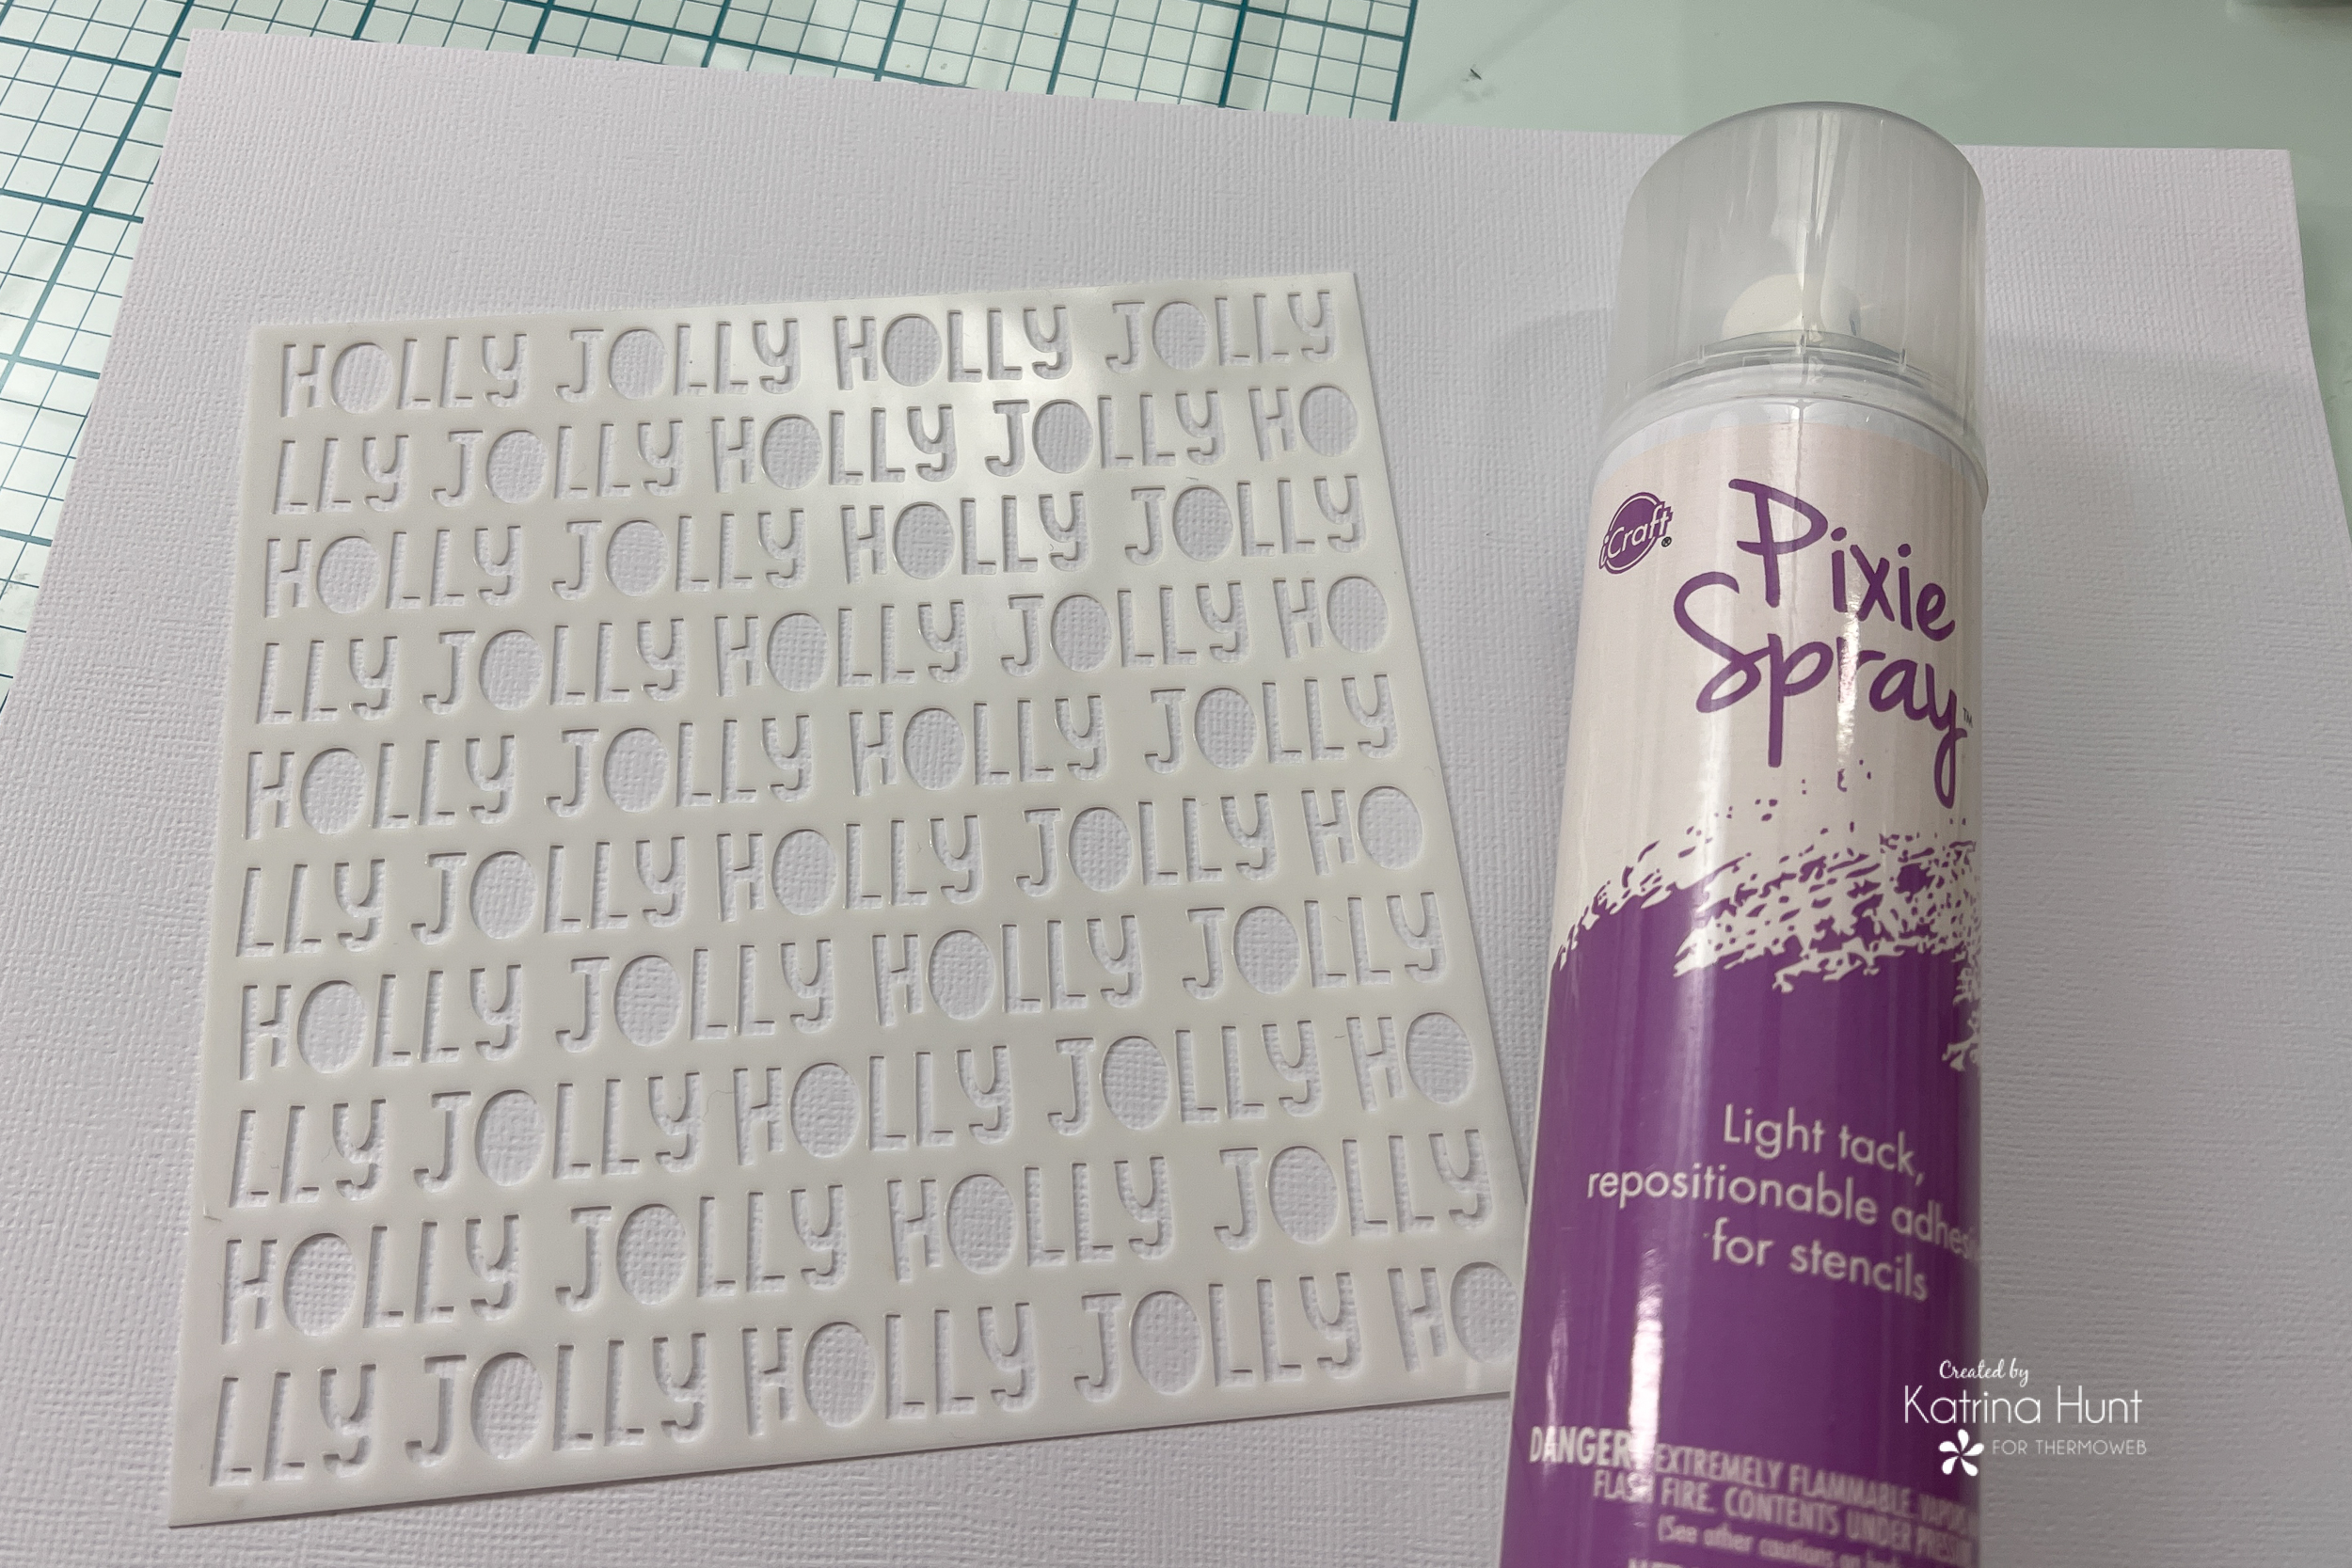
I first stenciled in pink ink the word Jolly and masked the word Holly with Purple Tape. By covering the word Holly, I didn’t get the pink ink in that area. I also placed paper underneath my stencil to protect my cardstock, since I was only stenciling the one line.
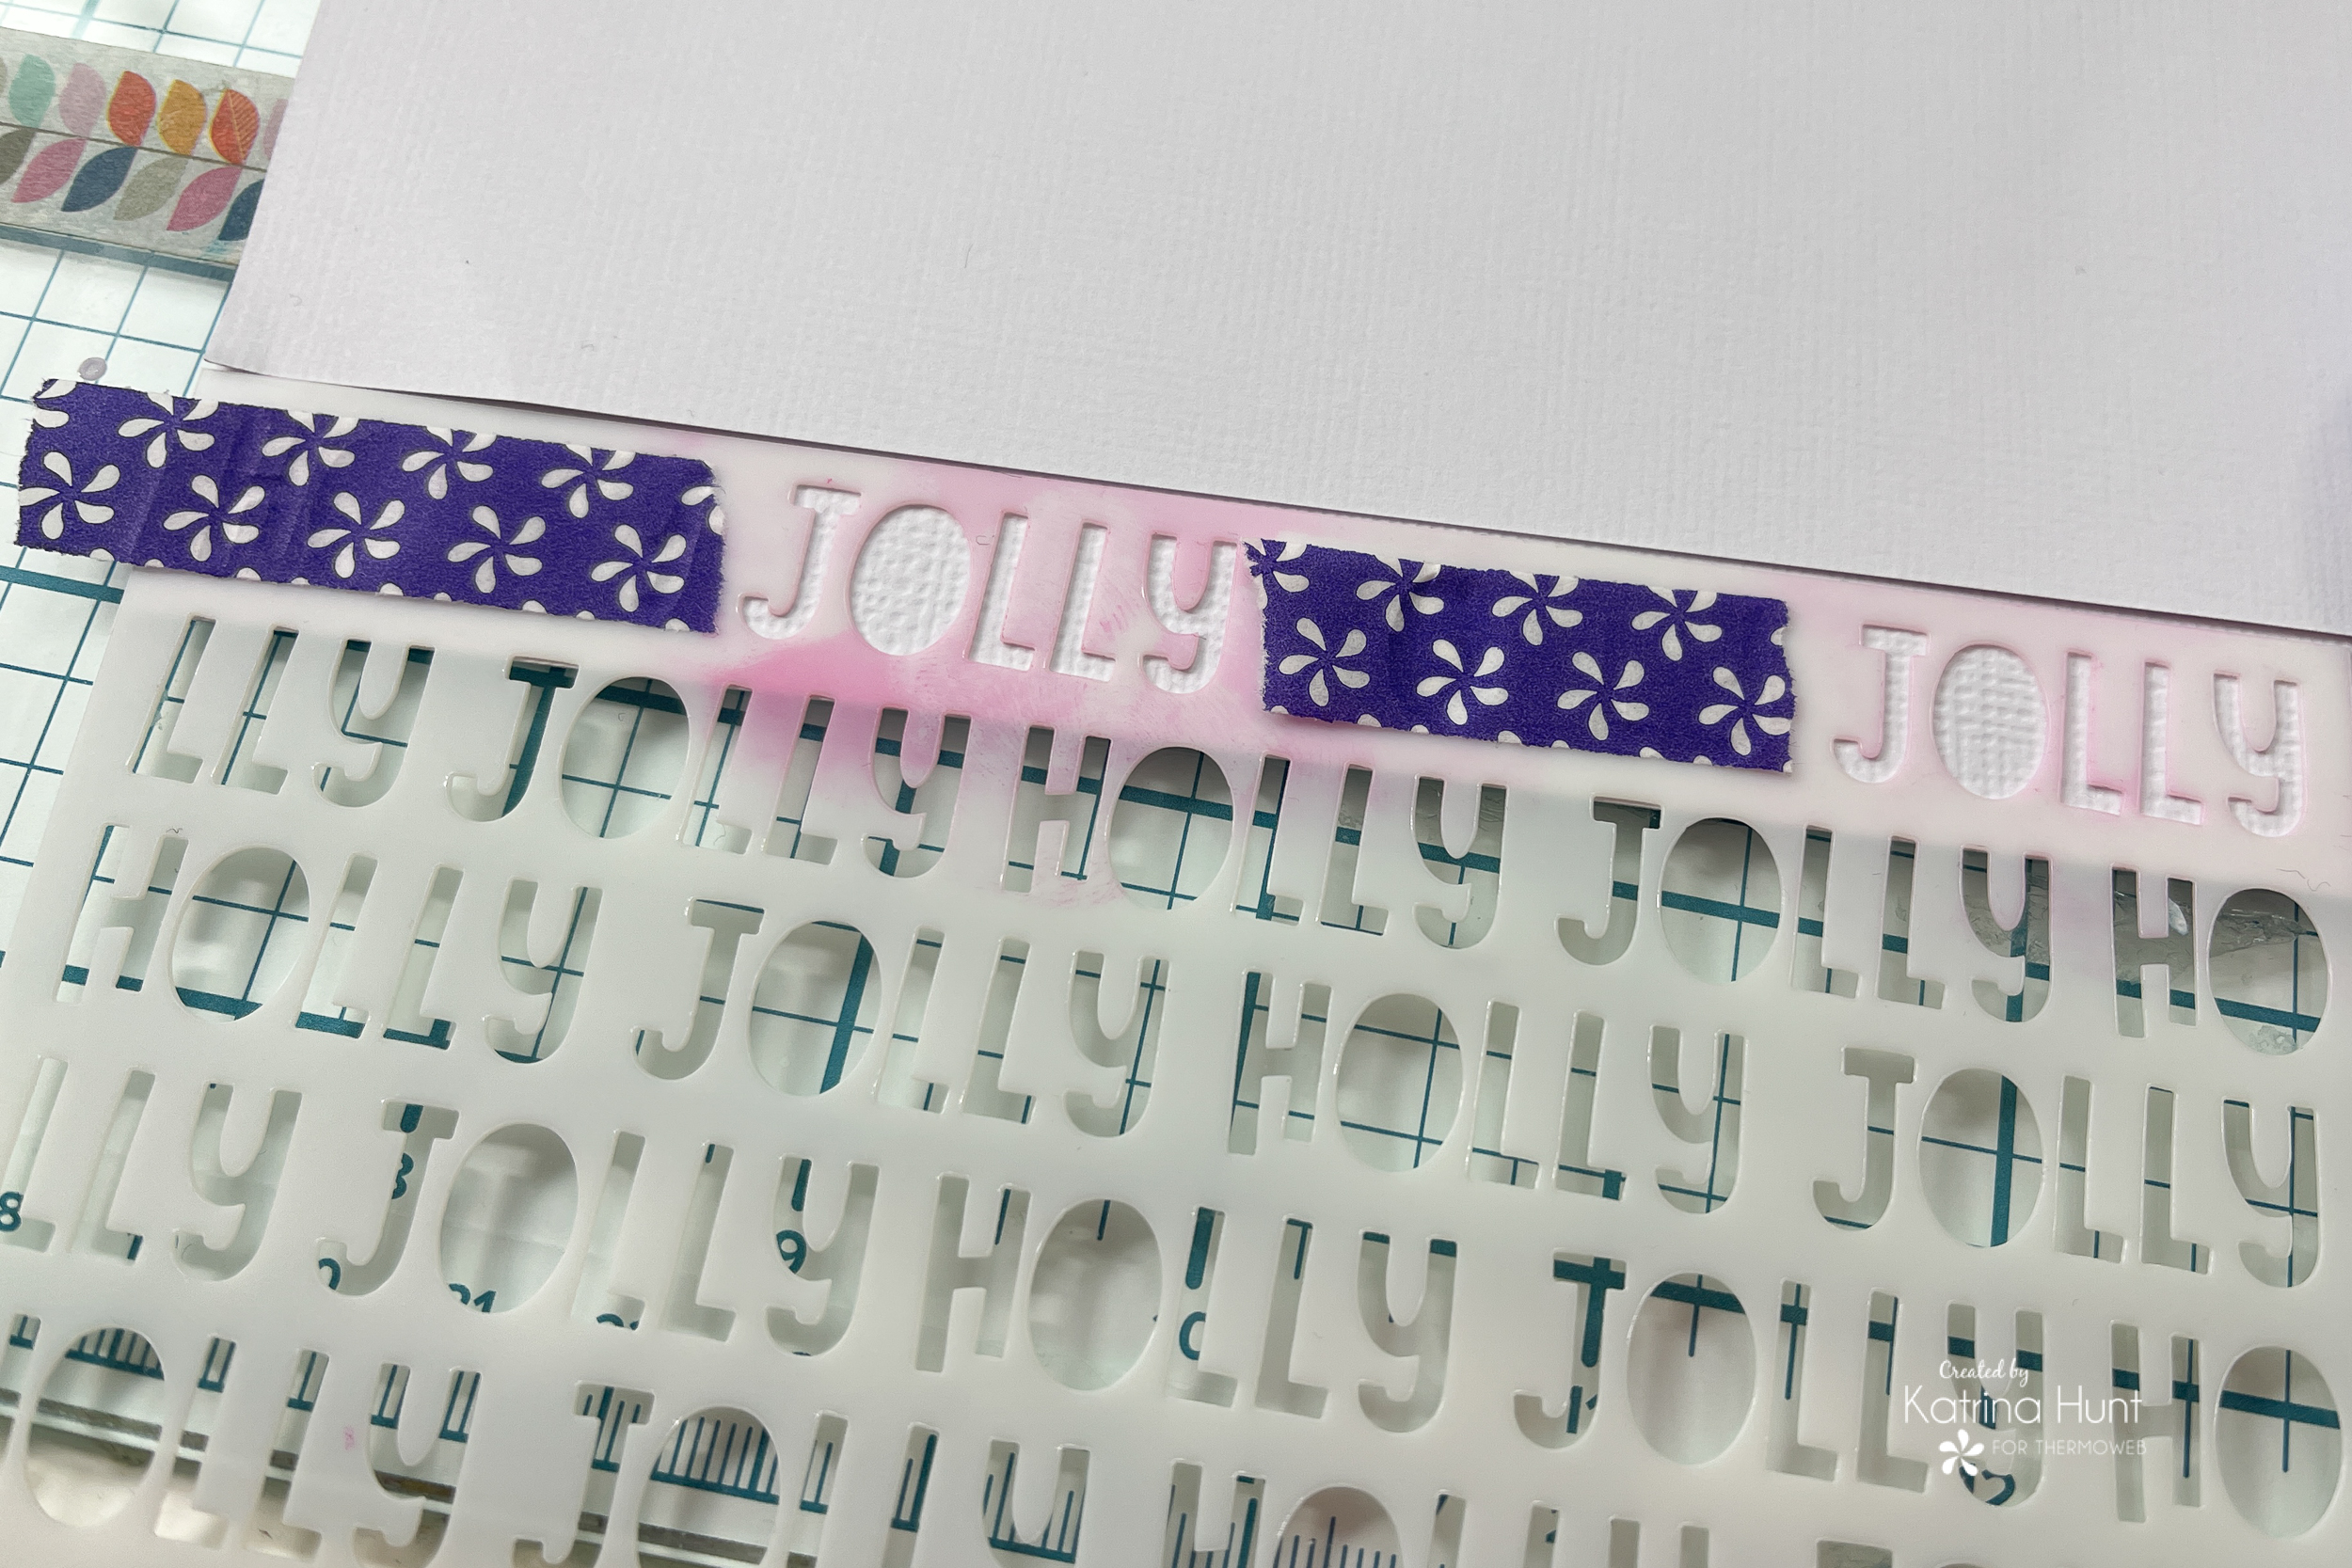
Once I had the Jolly’s done, I moved on to the Holly’s. I carefully repositioned my stencil back over the areas and used Deco Foil Transfer Gel Duo on the Holly section. This would allow me to foil part of the stencil and ink part of it.
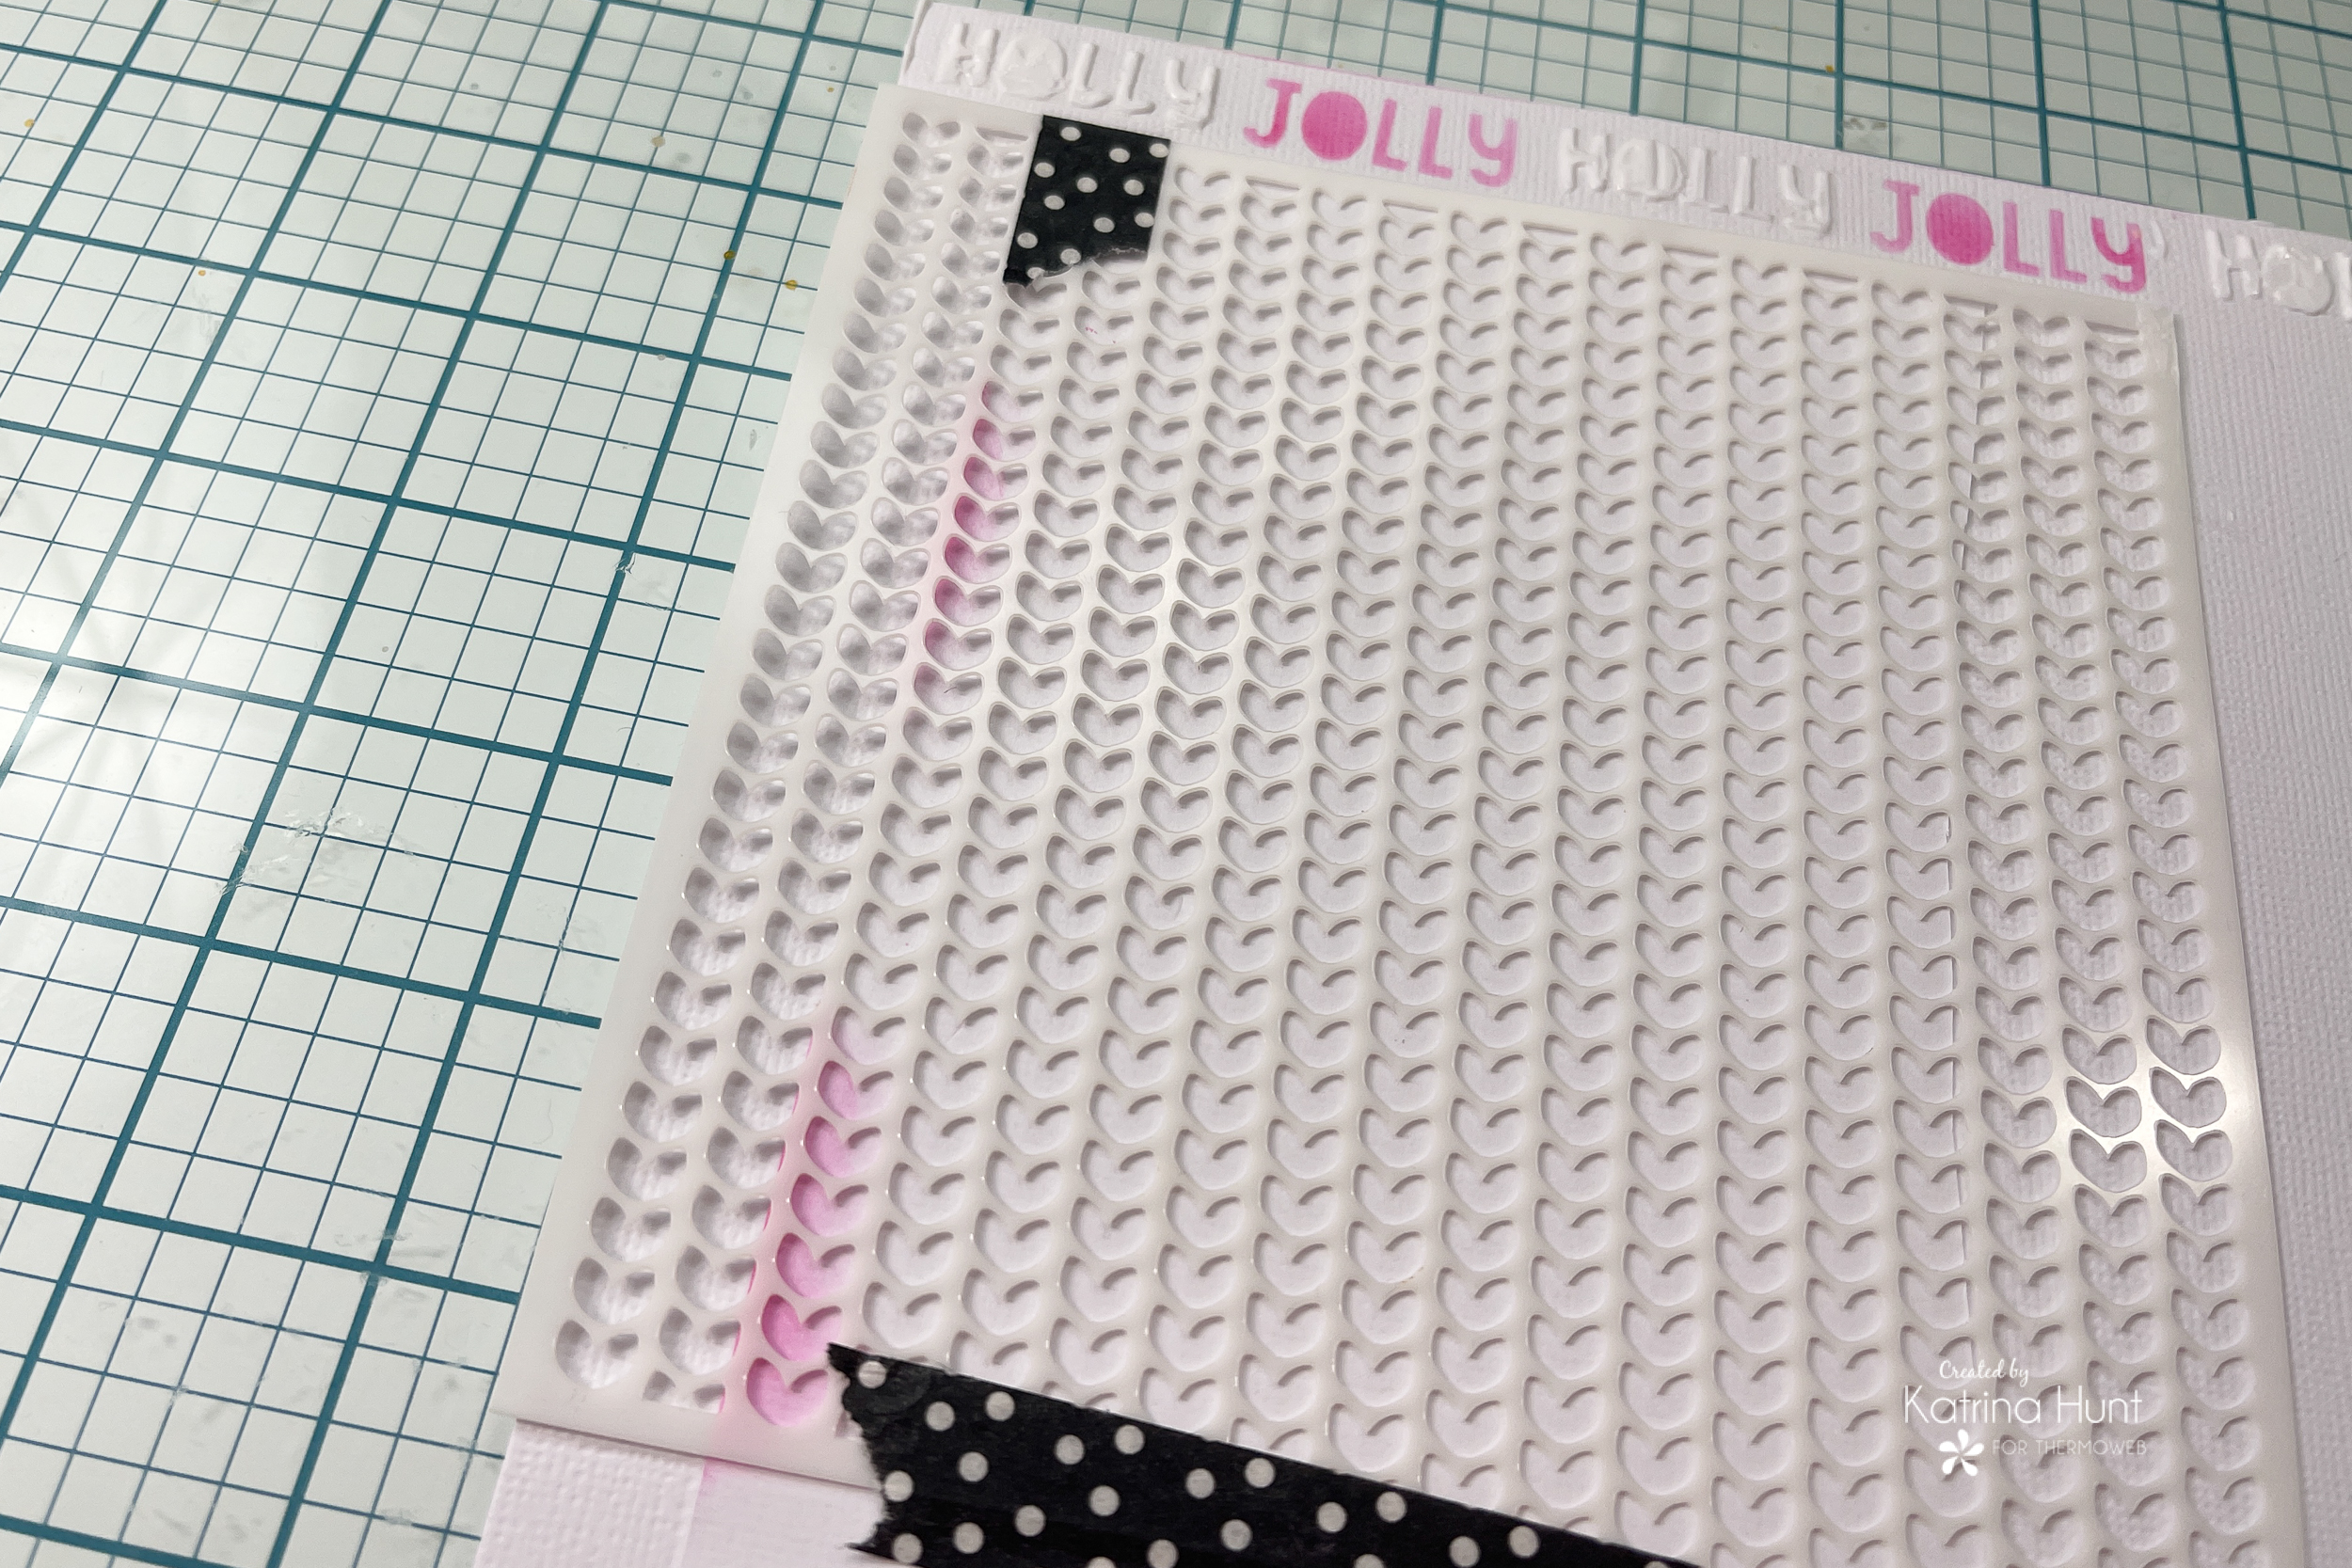
Next, I used the Ugly Sweater stencil down the sides along with the Duo Gel. This was a little tricky, as I was too impatient to wait for the other part to dry before doing this stencil! So I created a barrier of sorts on my stencil with cardstock and washi tape. I just backed the parts of the stencil I didn’t want to use. This left the two lines of knit sweater that I could use with the Duo Gel.
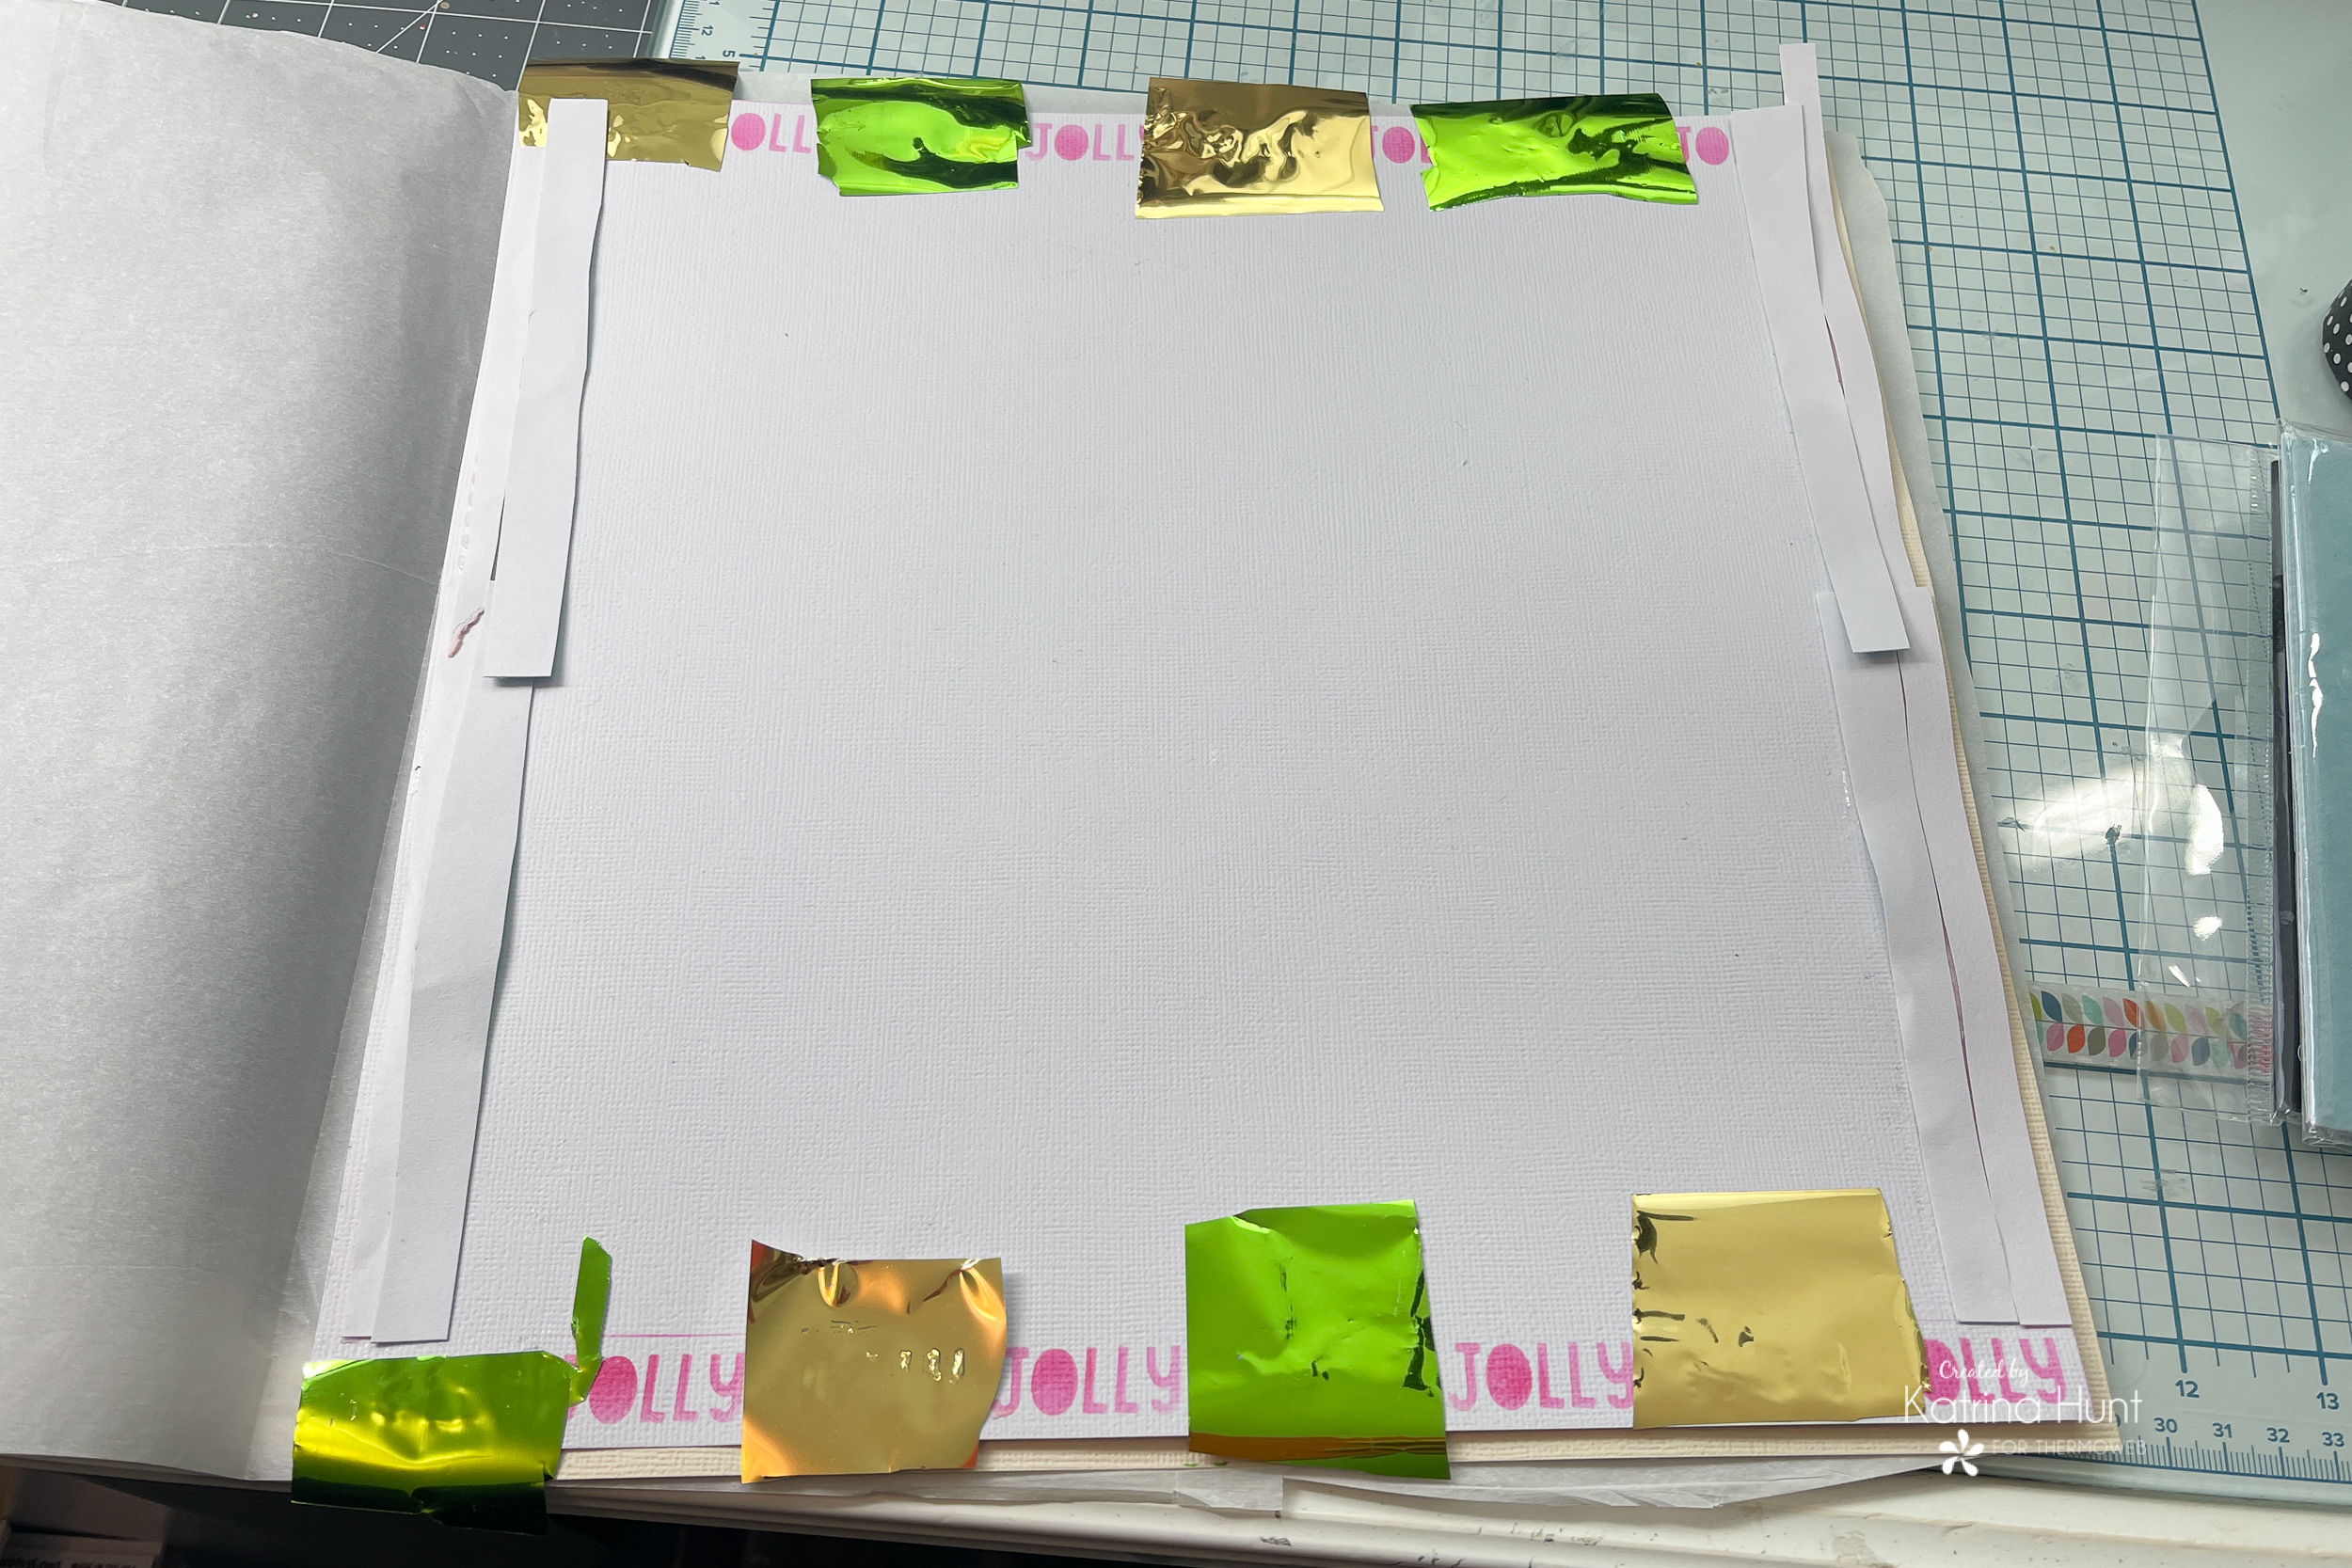
Once everything I had stenciled dried, I cut pieces of foil and flock and placed them over the stenciled areas. Then I ran thru my laminator to transfer the foil and flock.
Once I removed the transfer sheets, I had some foiling in areas that I didn’t want (even though I was going for a messy look!) so I took the Adhesive Eraser and just removed the foil with it!
Building The Focal Point Of The Layout
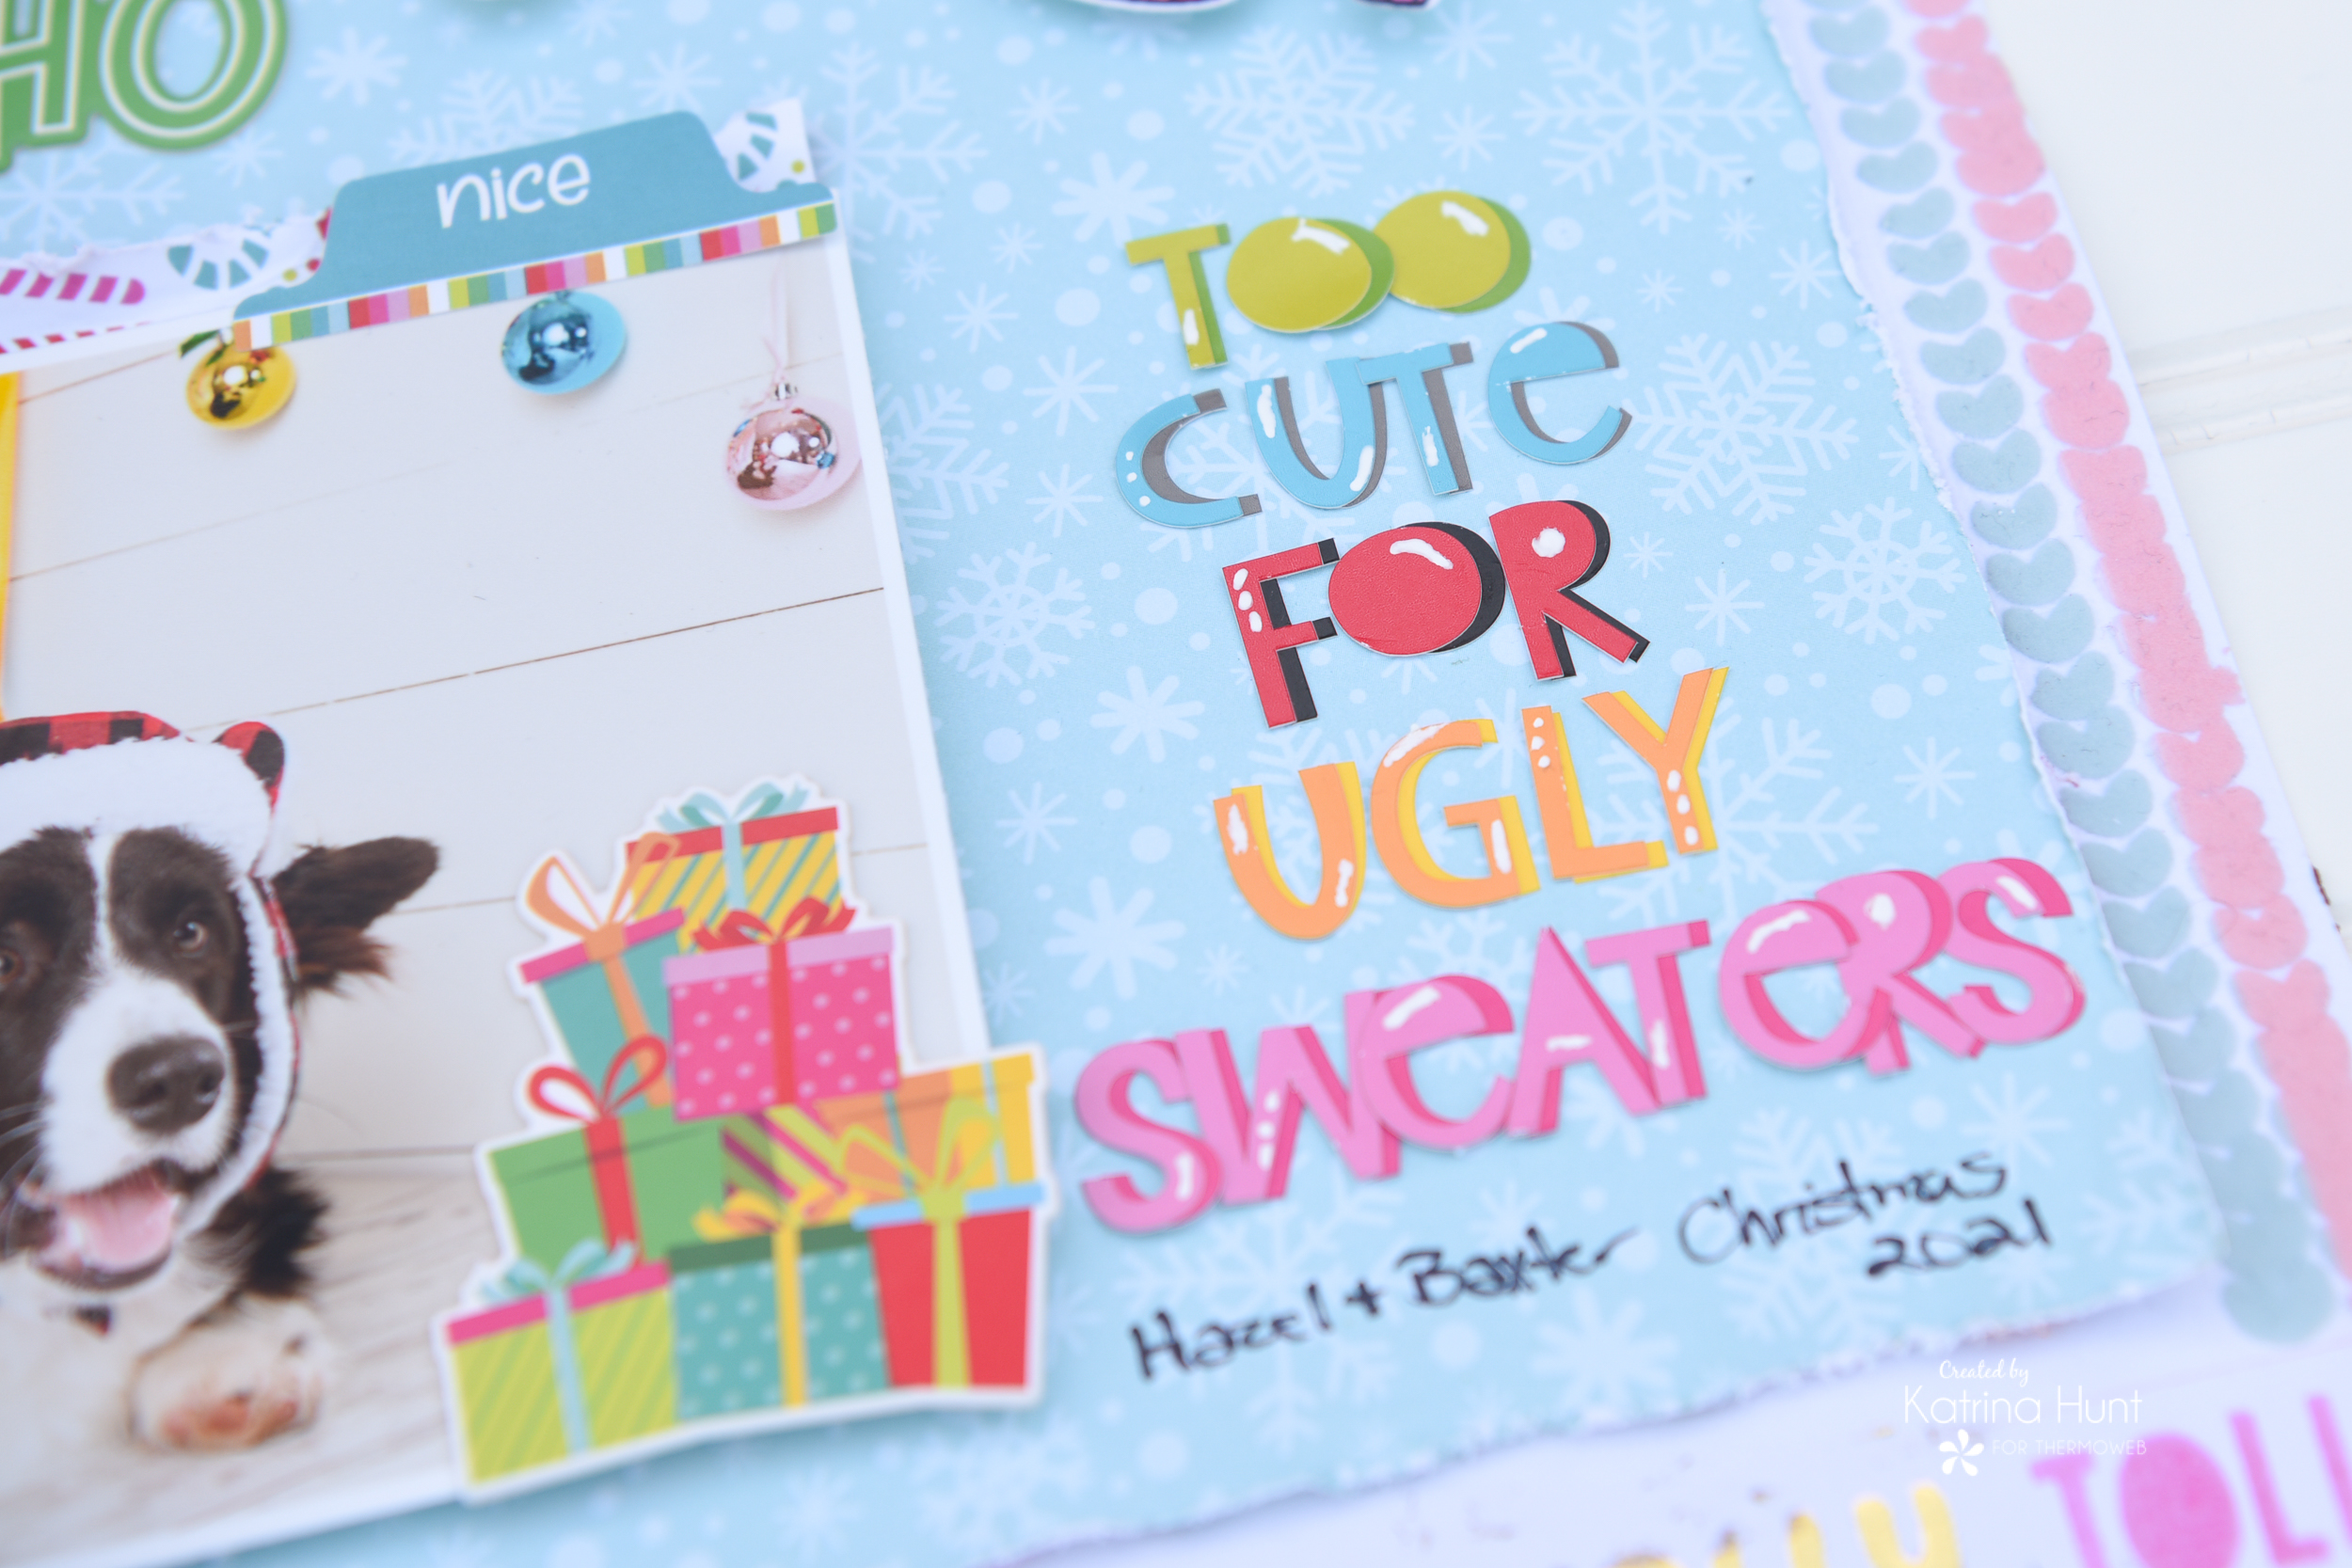
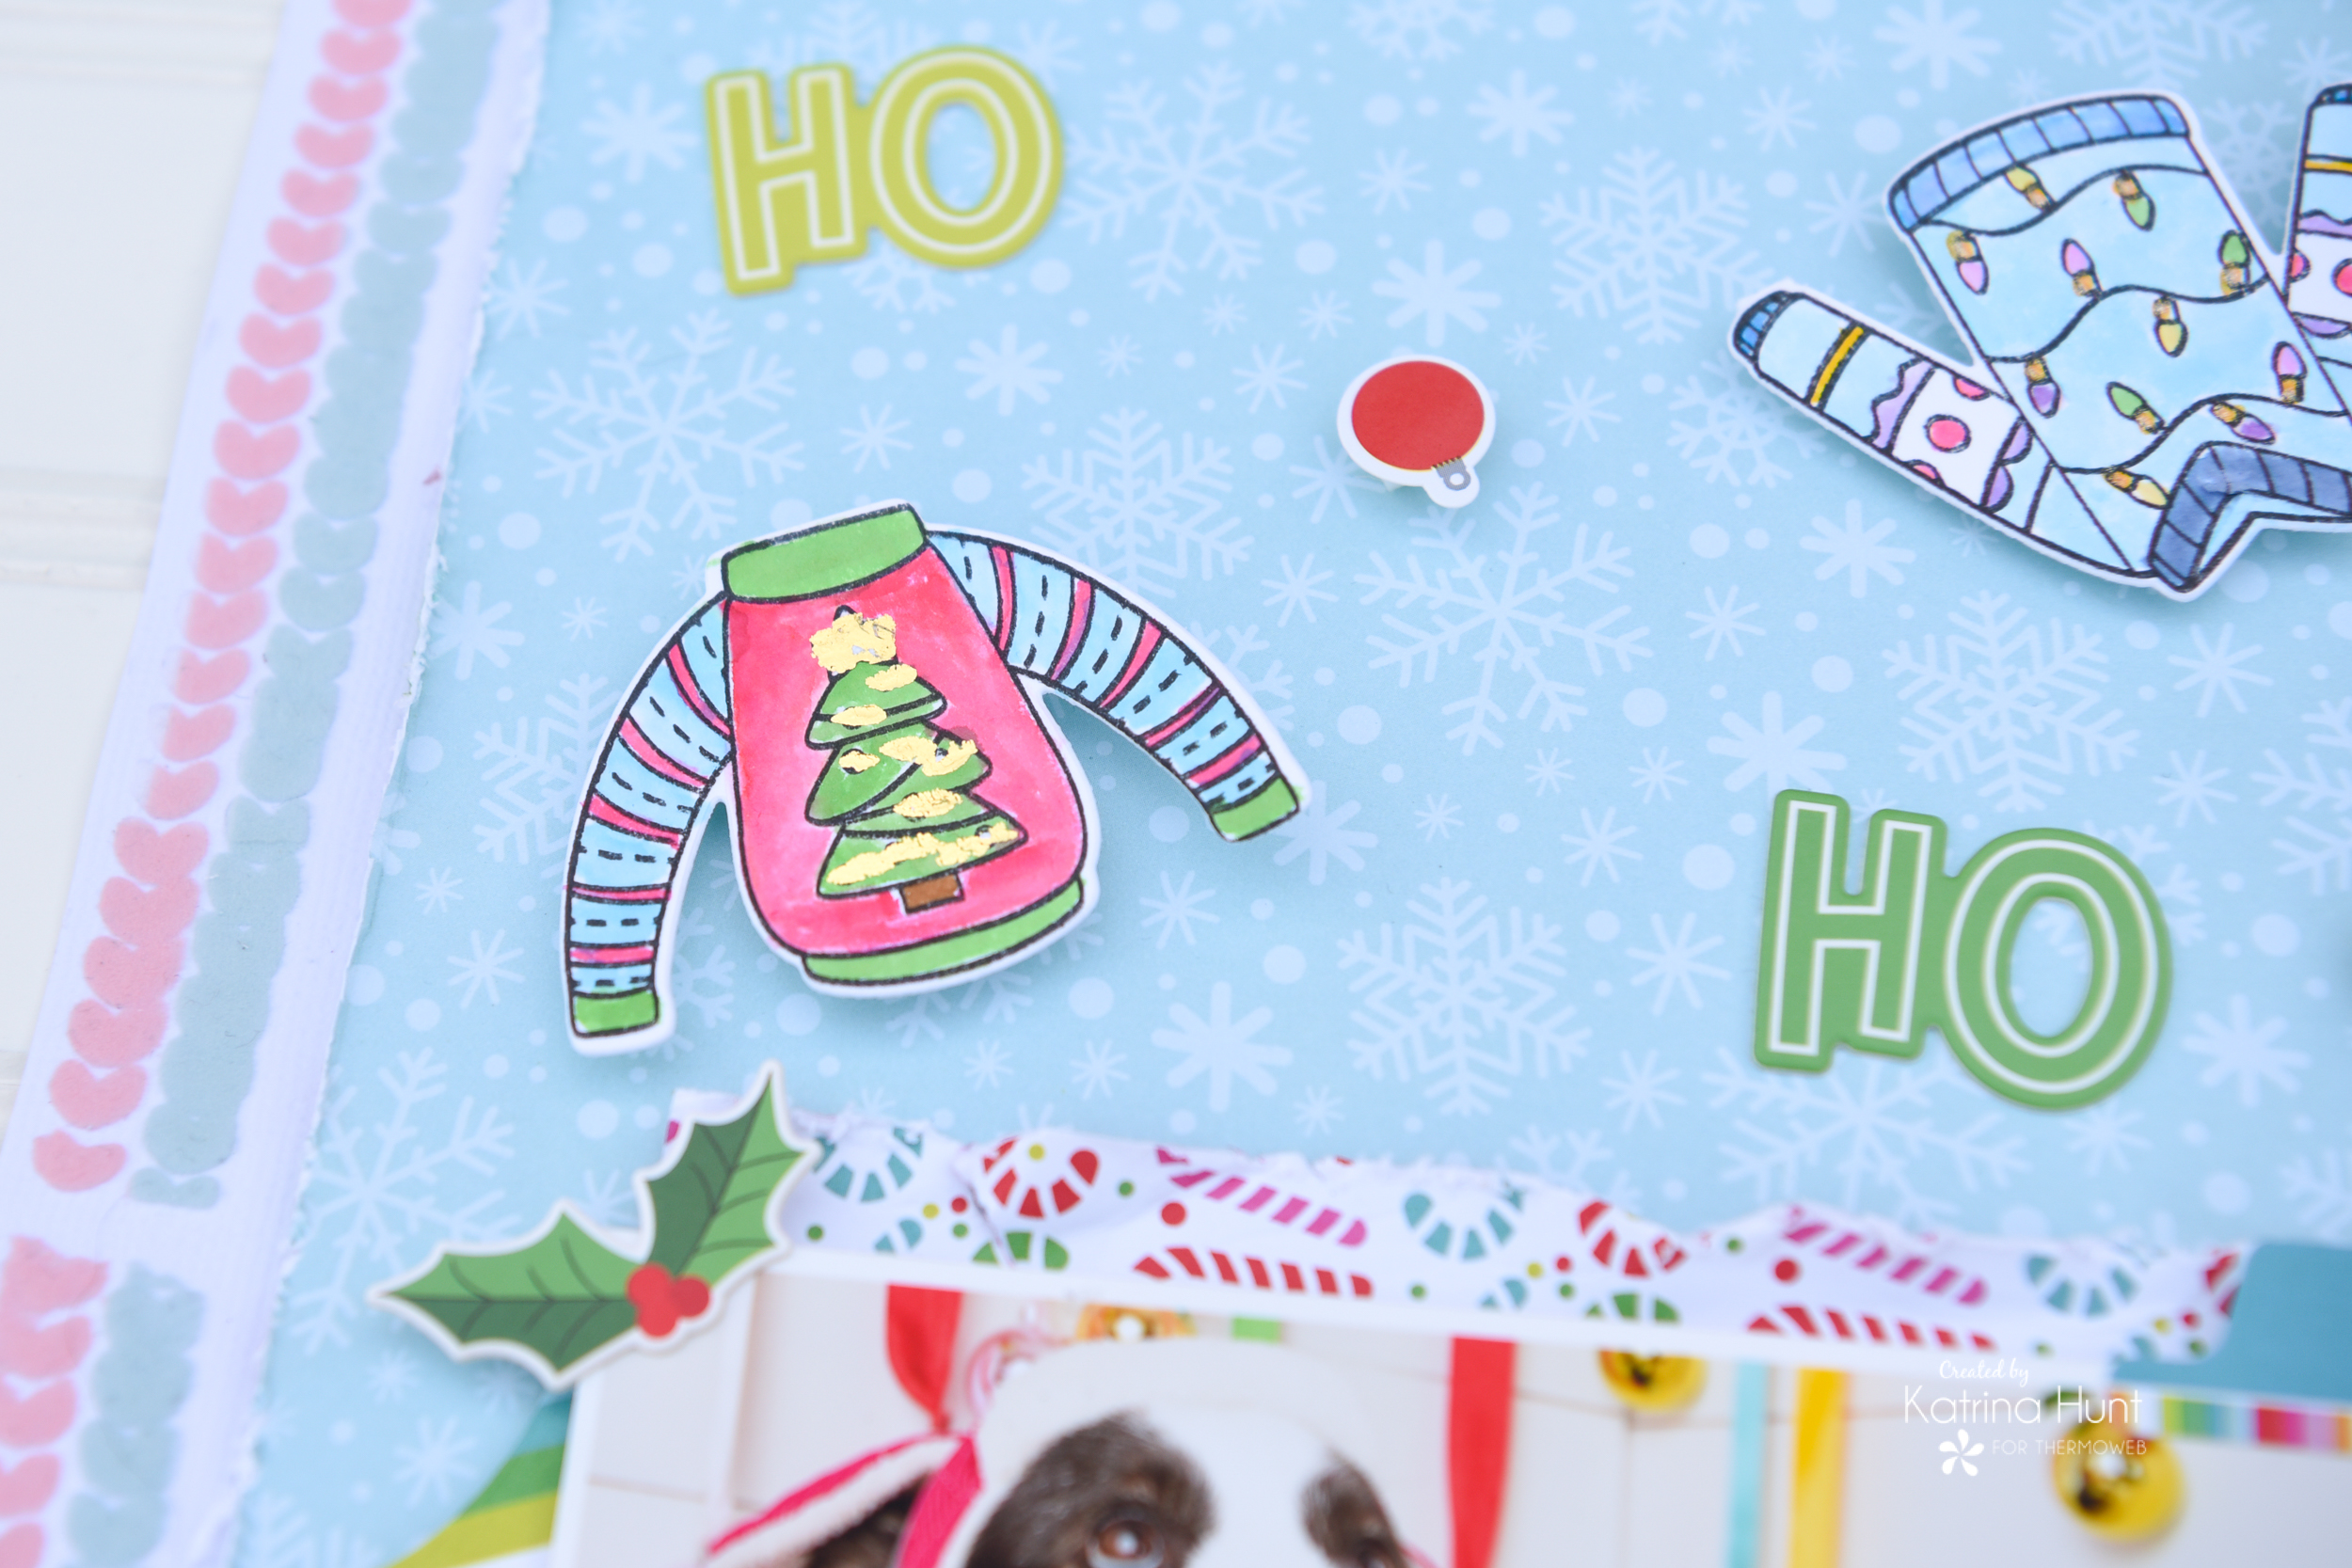
When I started the layout, I knew what my title was going to be, so I built the center section of my layout around that. I used two different colors of letter sticks and slightly offset them to create some dimension. I added some white gel pen accents also, just for fun! Now we needed some ugly sweaters!
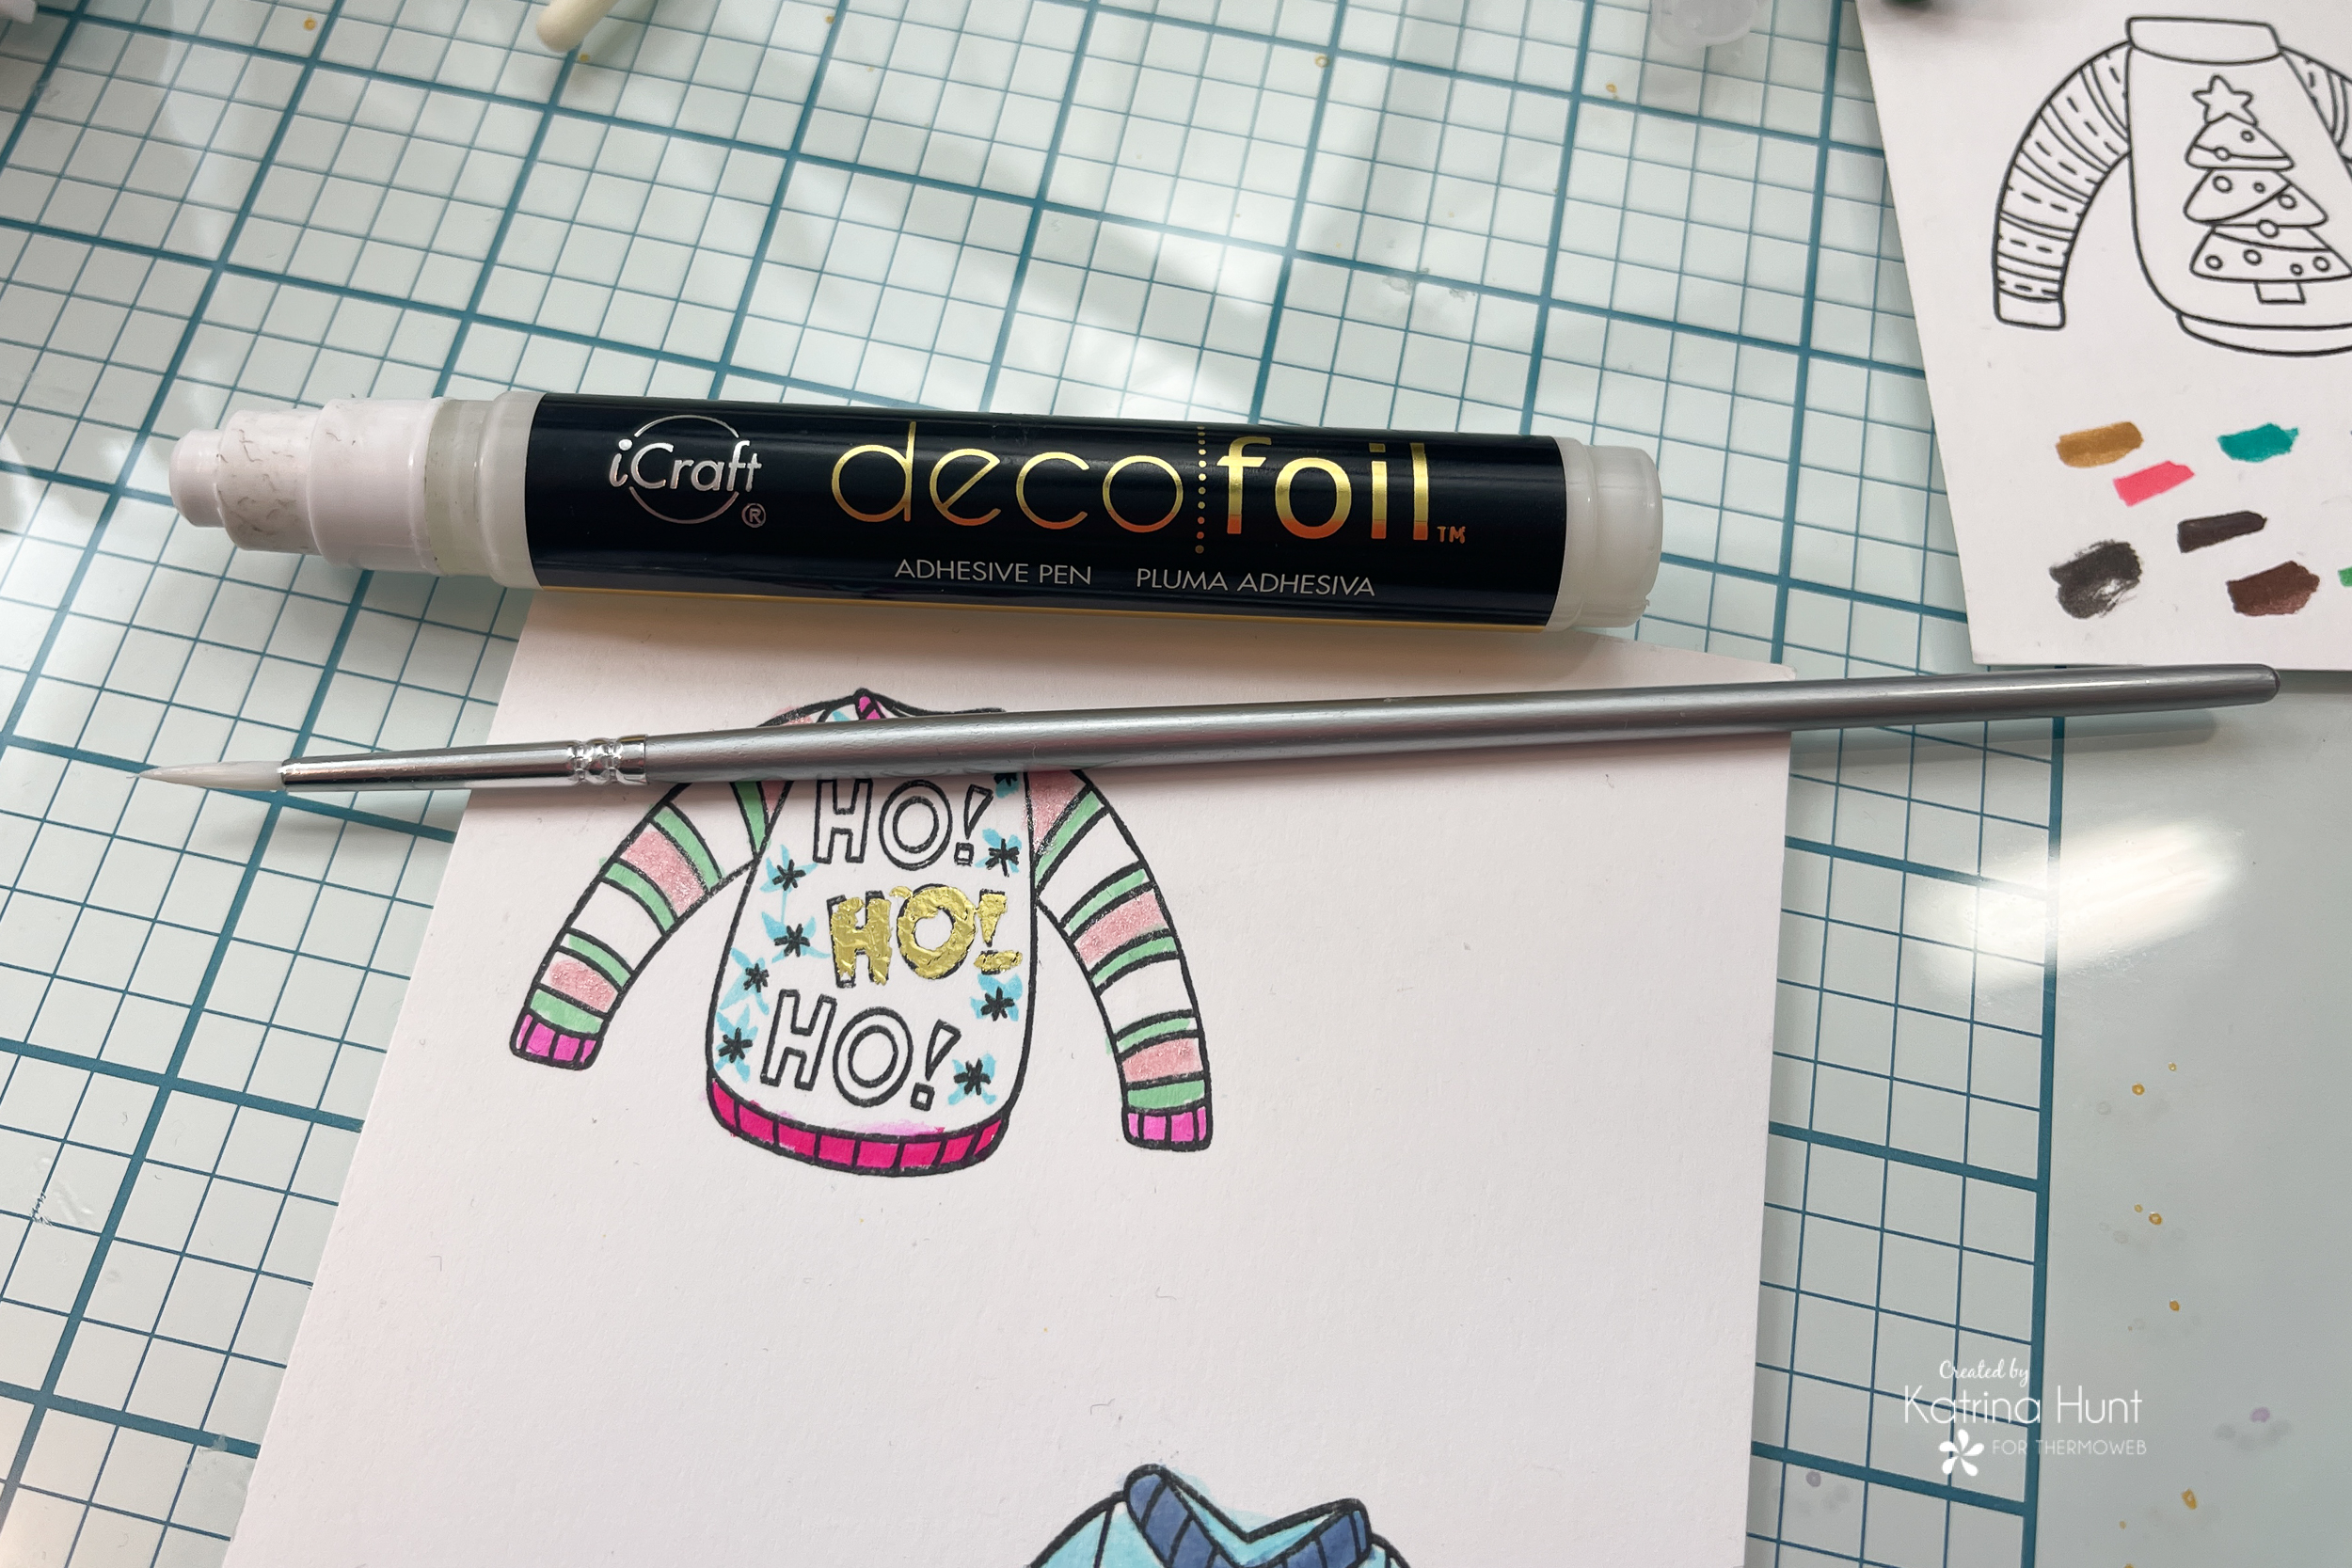
I stamped the sweaters from the collection out and then colored them in with Zig Clean Color Real Brush Markers. I made sure everything was completely dry, by hitting with a heat gun. The next step was to add some shine to a couple of the sweaters with some DecoFoil. I used the liquid adhesive in the Adhesive pen with my paintbrush and brushed it on in the areas I wanted to foil. Again I did not do this too carefully!
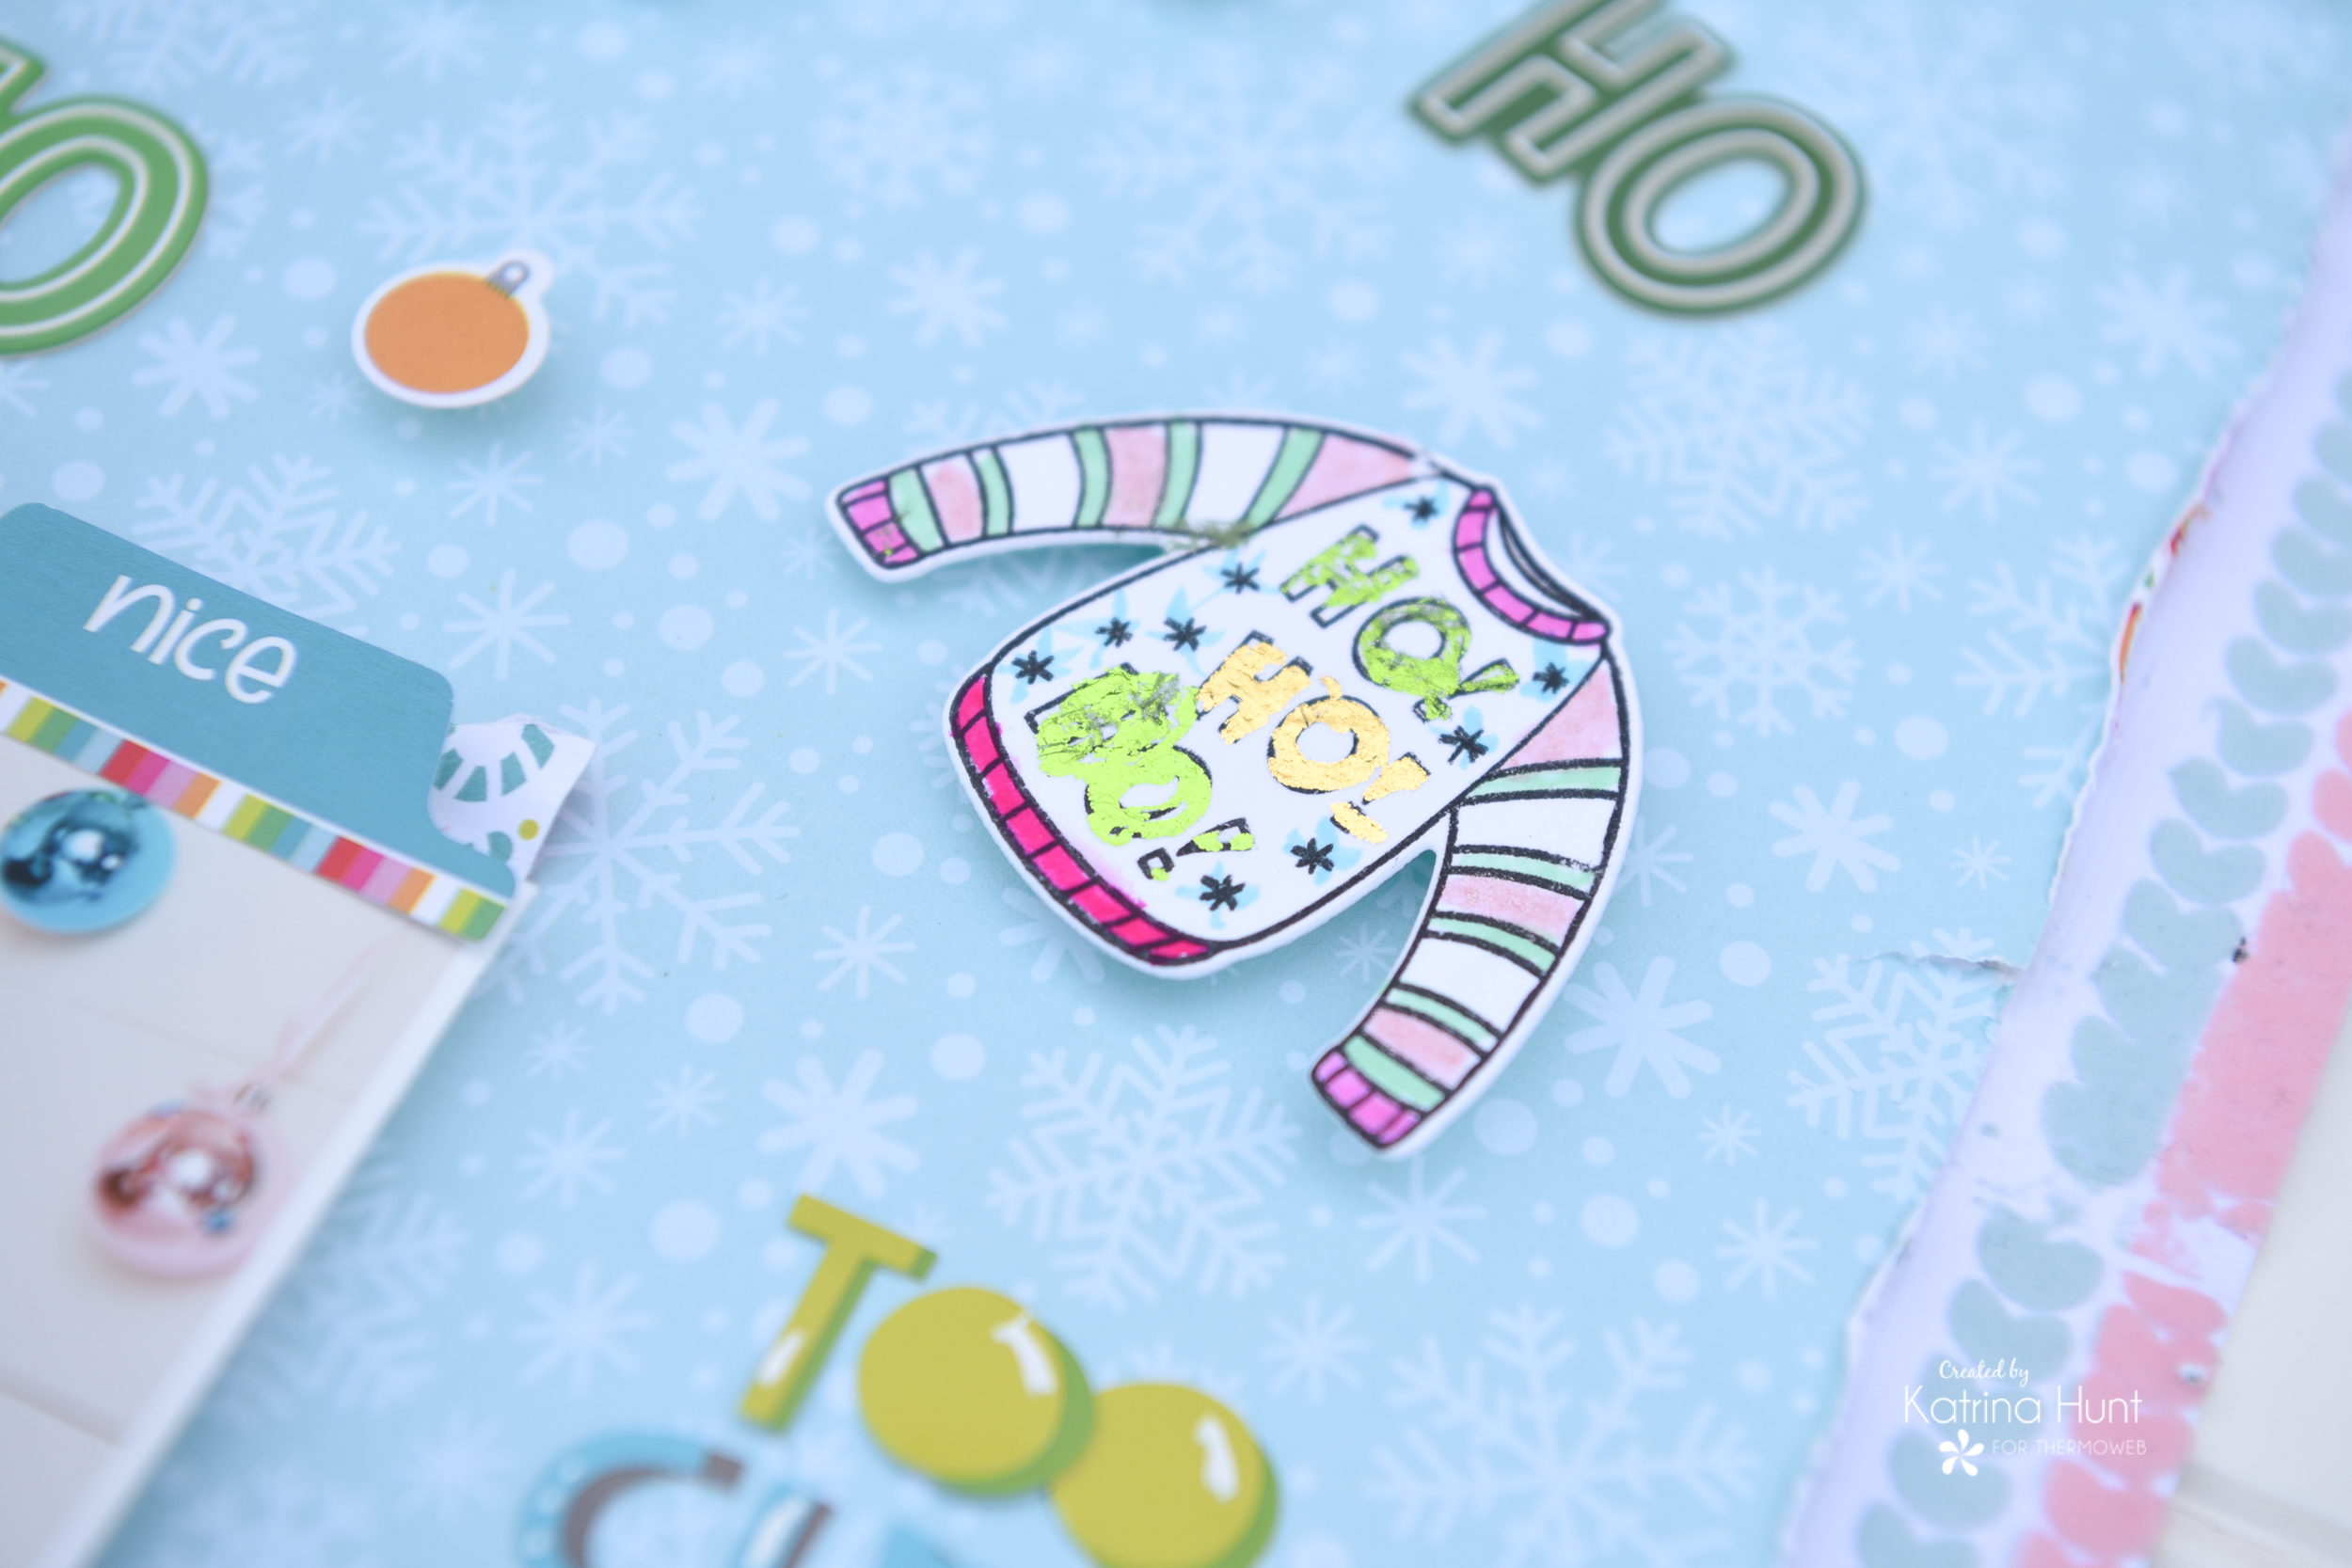
I gave the adhesive about 10 seconds to dry and then just rubbed the foil over the areas. It’s messy and tacky looking, perfect for ugly sweaters!
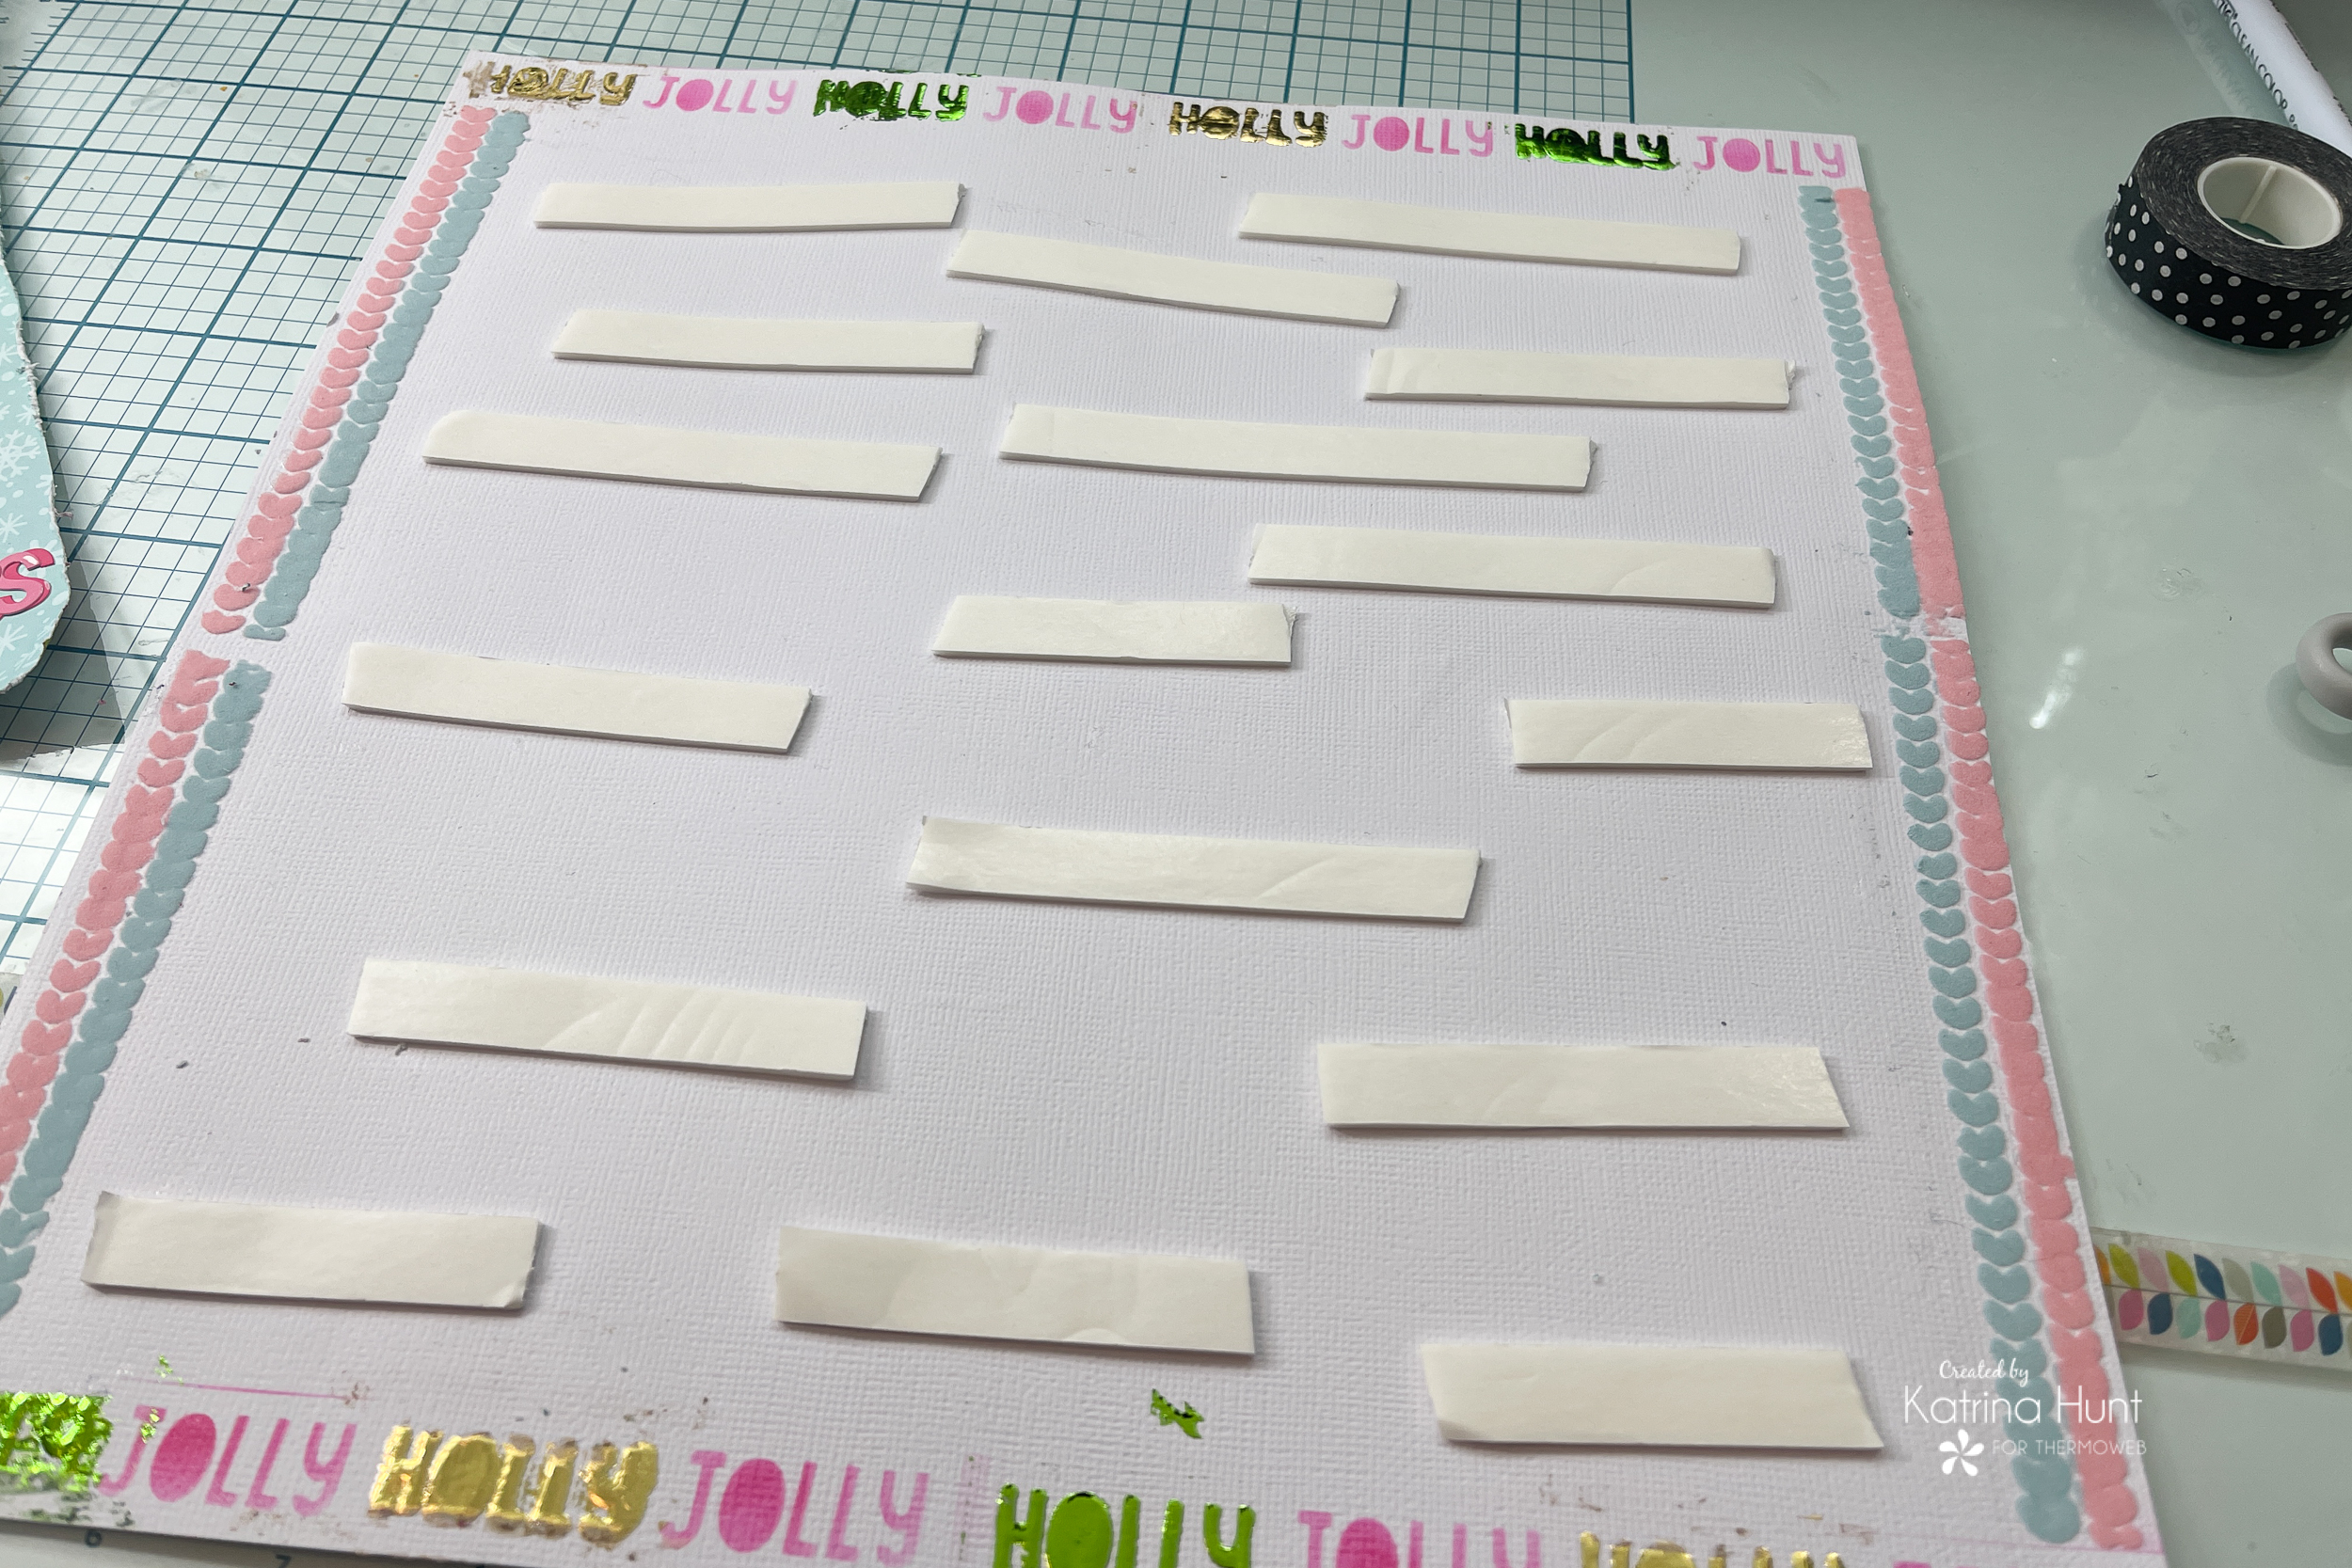
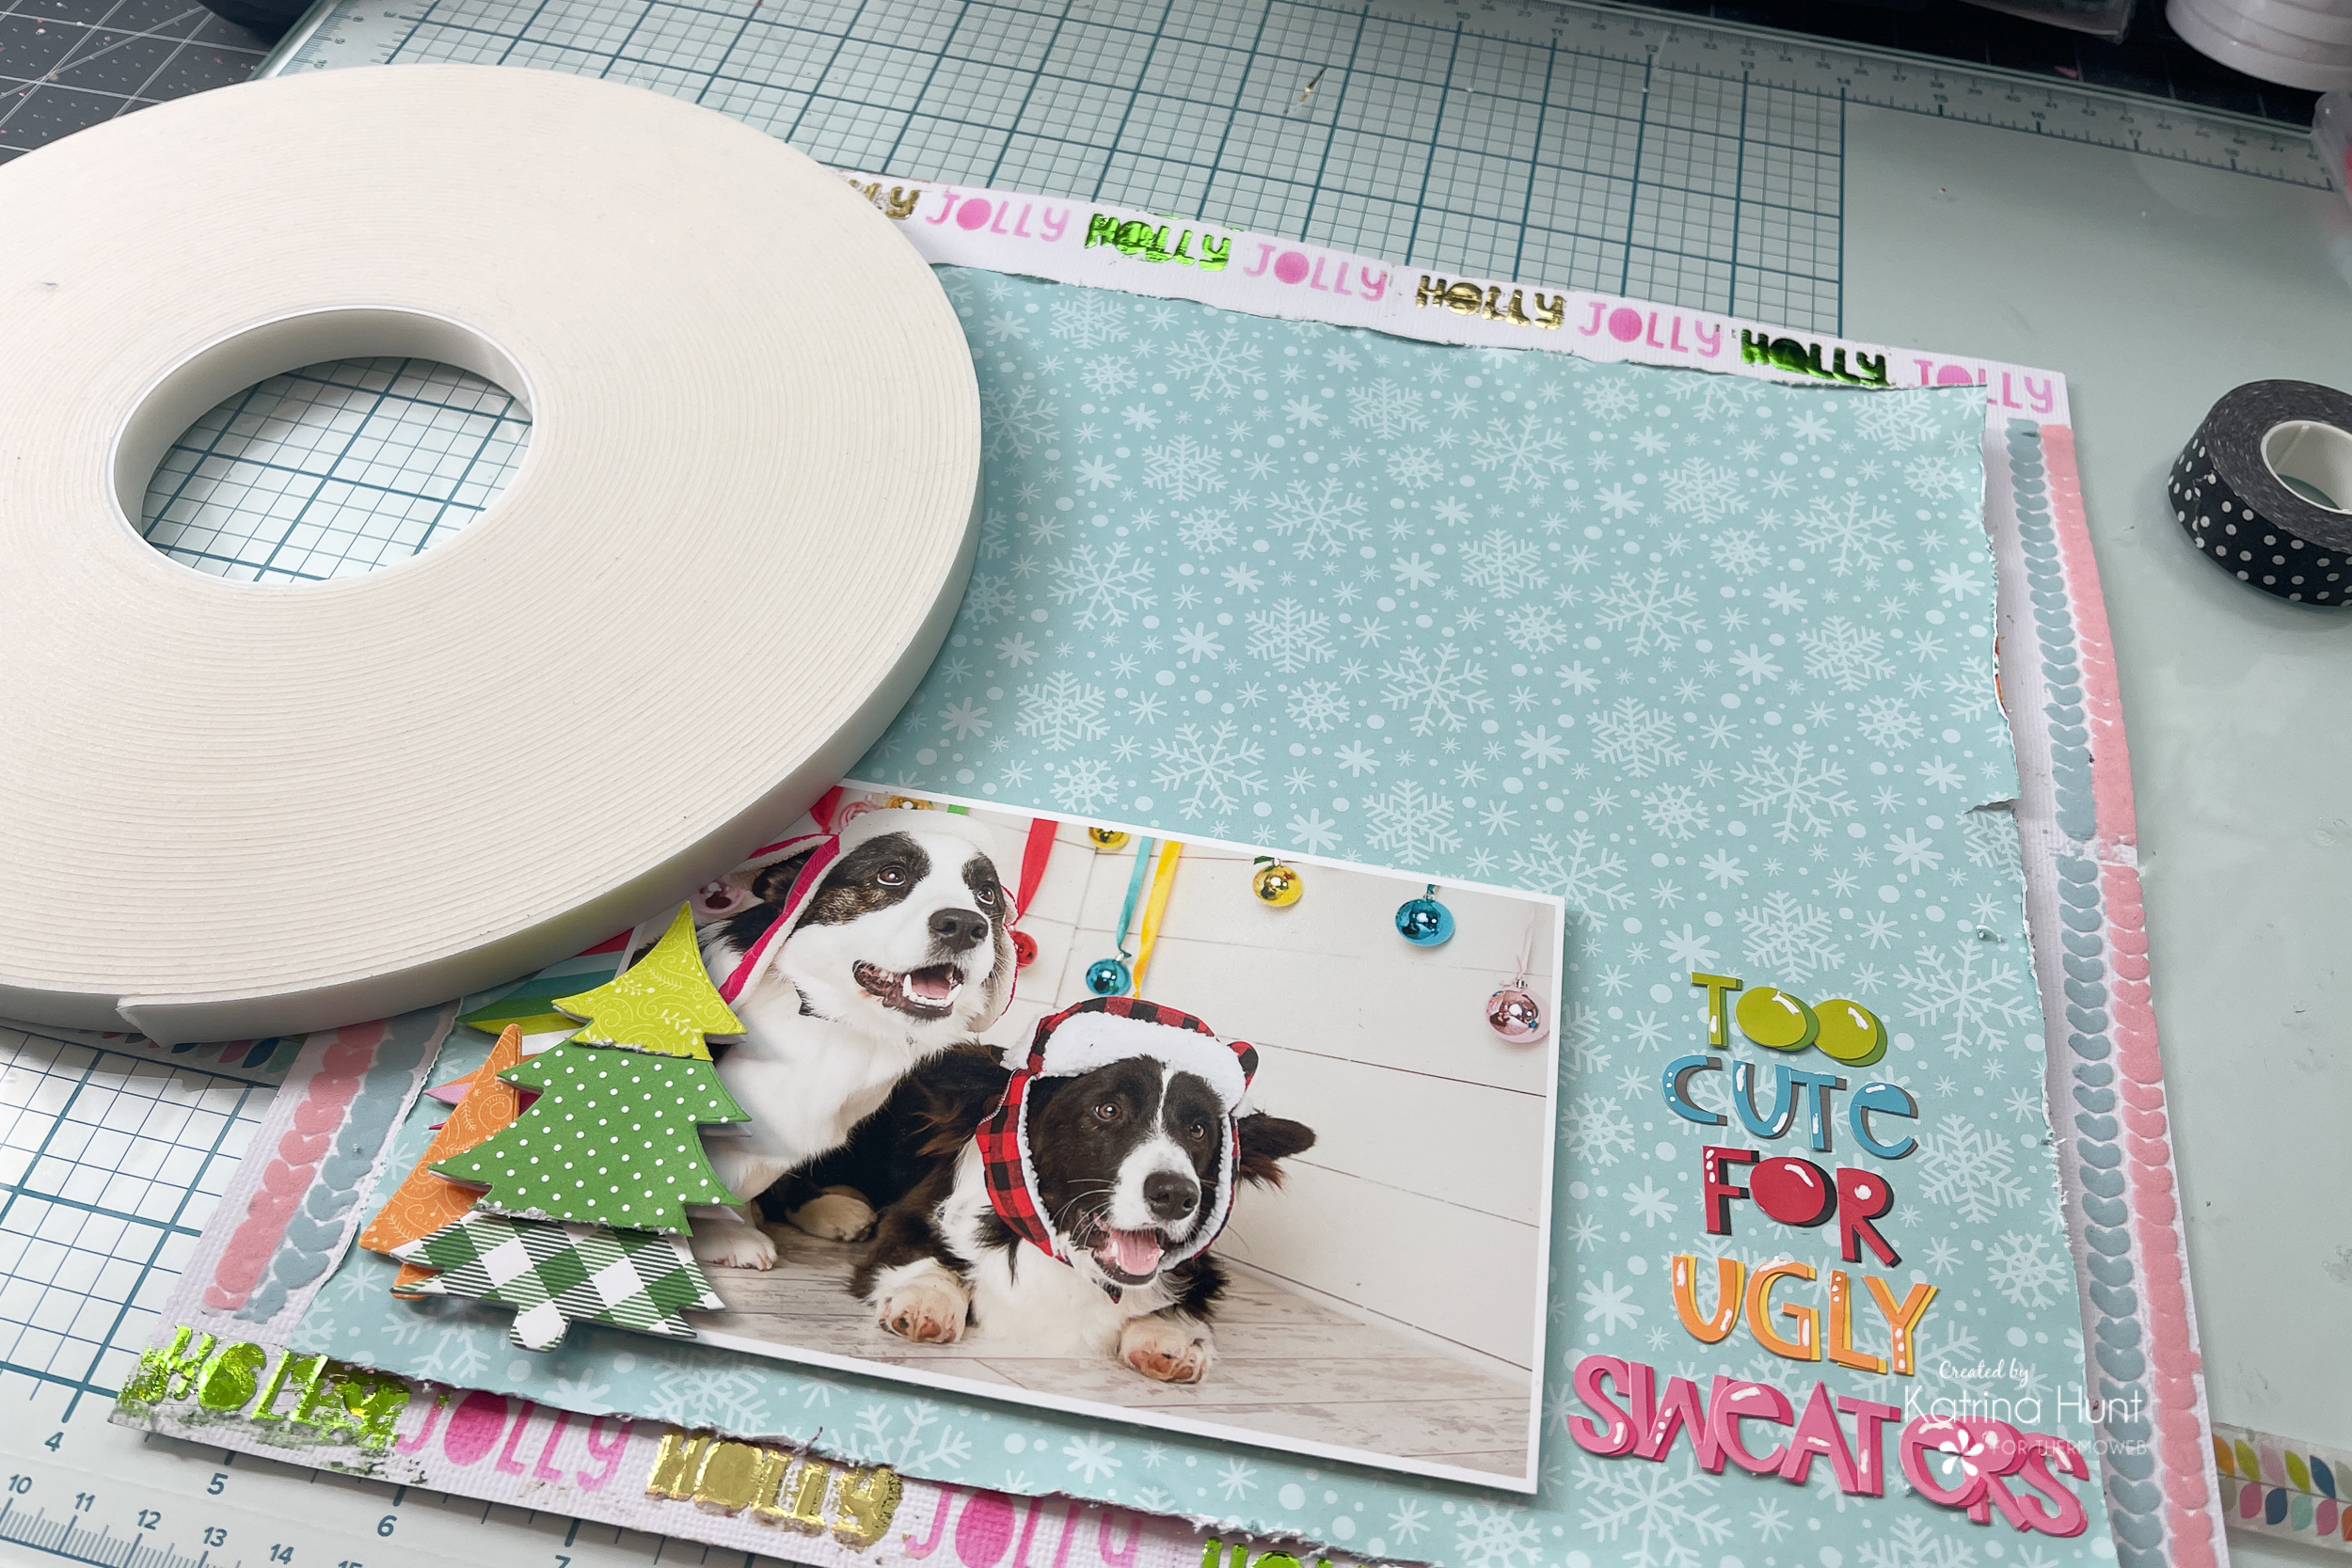
To adhere to the middle main pattern paper, I used the foam tape roll and cut strips out and adhered them to the white cardstock, and then laid my pattern paper down on top of them. This kept me from getting wrinkles on my paper.
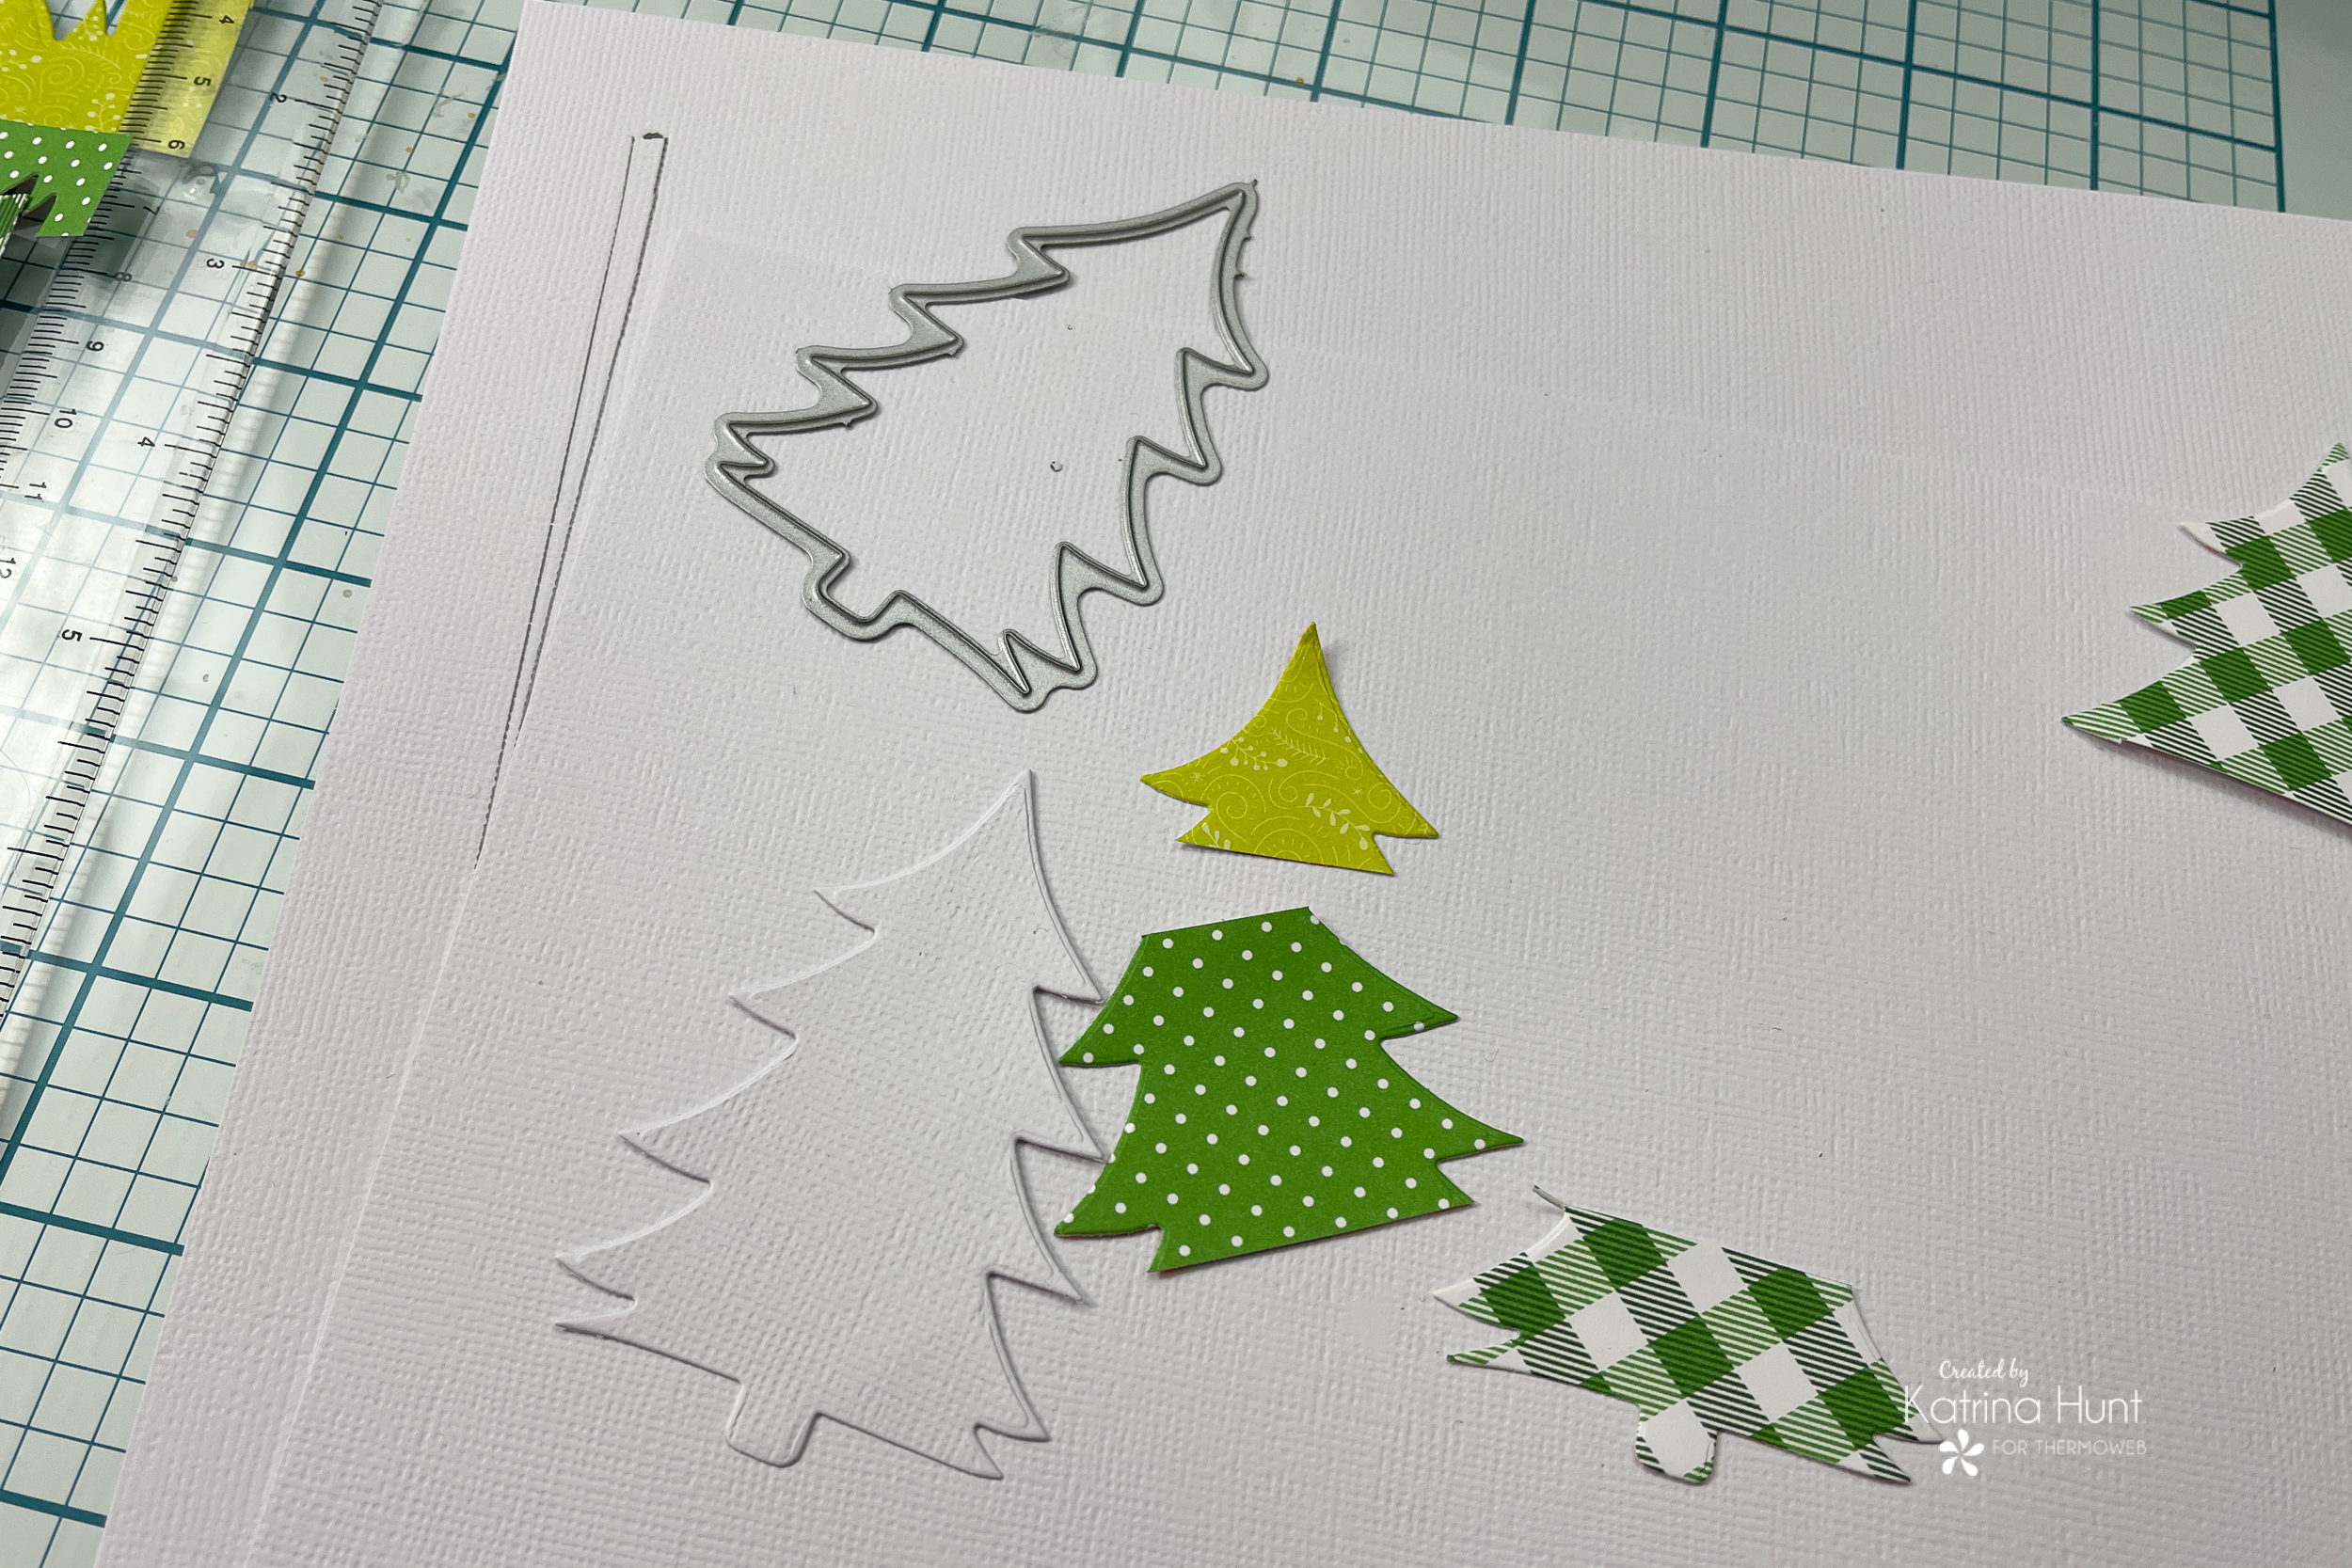
We need some trees right?! I die cut three different colors of green pattern paper in a tree shape. Once I had those cut, I then cut each tree up in sections to create one tree. I layered the sections on a white die cut using foam squares for the top two layers. Then I cut a couple more to add to the other one!

Cute right?!!! And that just finished my layout up! I added a little strip of paper behind my picture, a sticker, and called it done!!!
Well, that’s all from me today!!! I hope you enjoyed a messy, tacky ugly sweater layout! Well and cute puppies too!! Thanks for stopping by the blog today!!!
This post contains affiliate links. For more information, see our disclosure HERE.
[…] Click here to check it out. […]
[…] Click on right here to test it out. […]