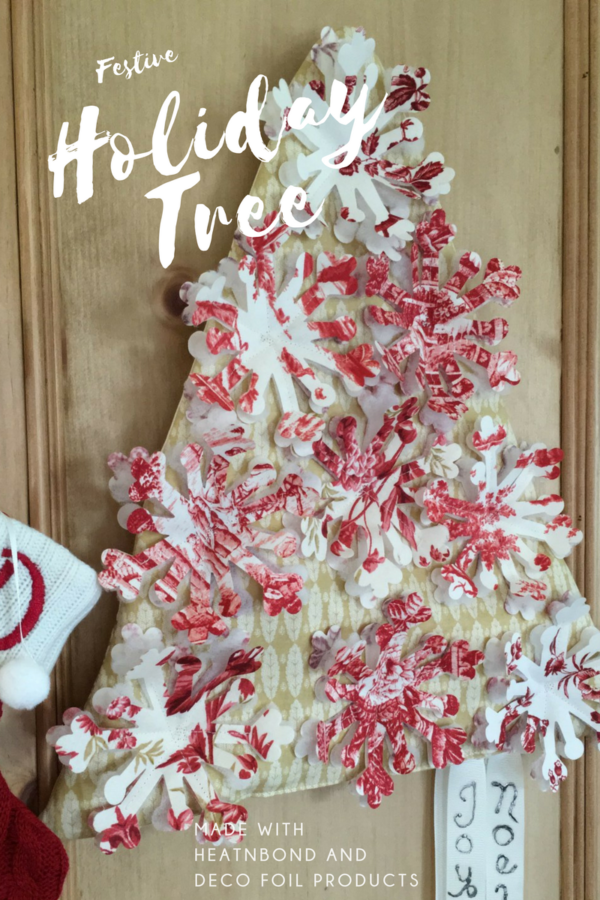
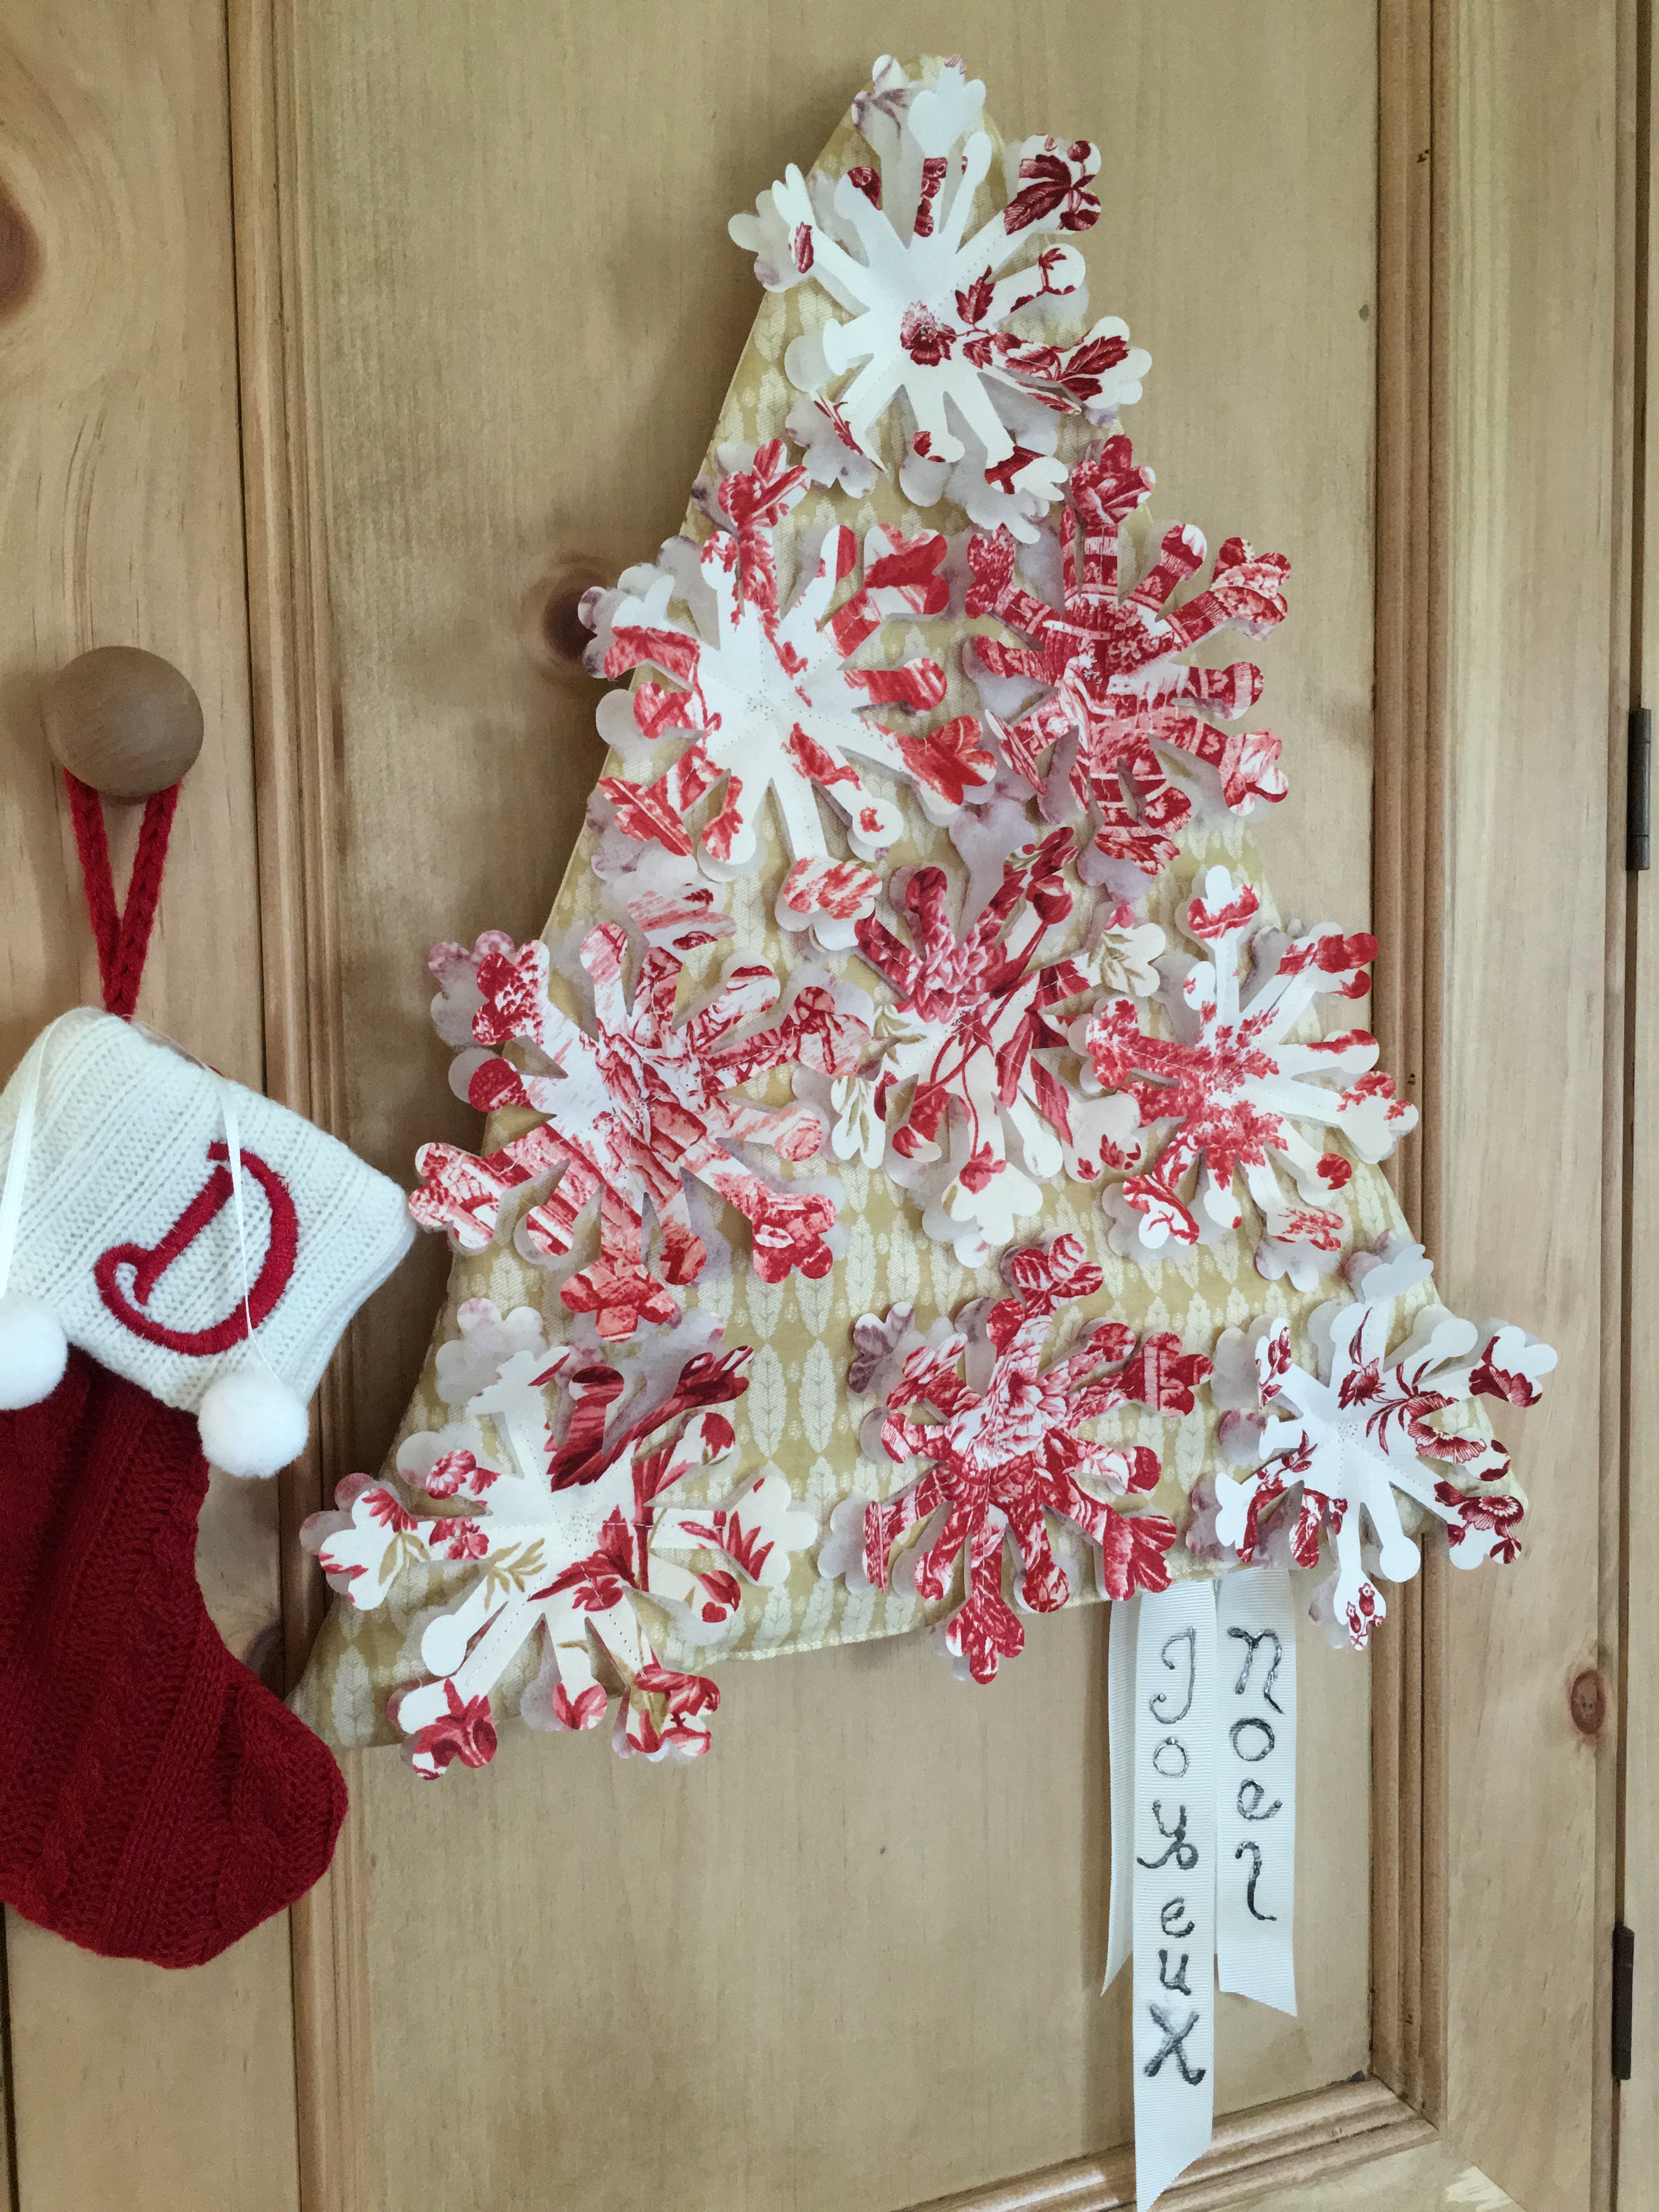
Sometimes it’s fun to sew Christmas items without Christmas fabric, this French-inspired project using Anna Griffin’s Jolie Toile Fabric Collection is a charming way!
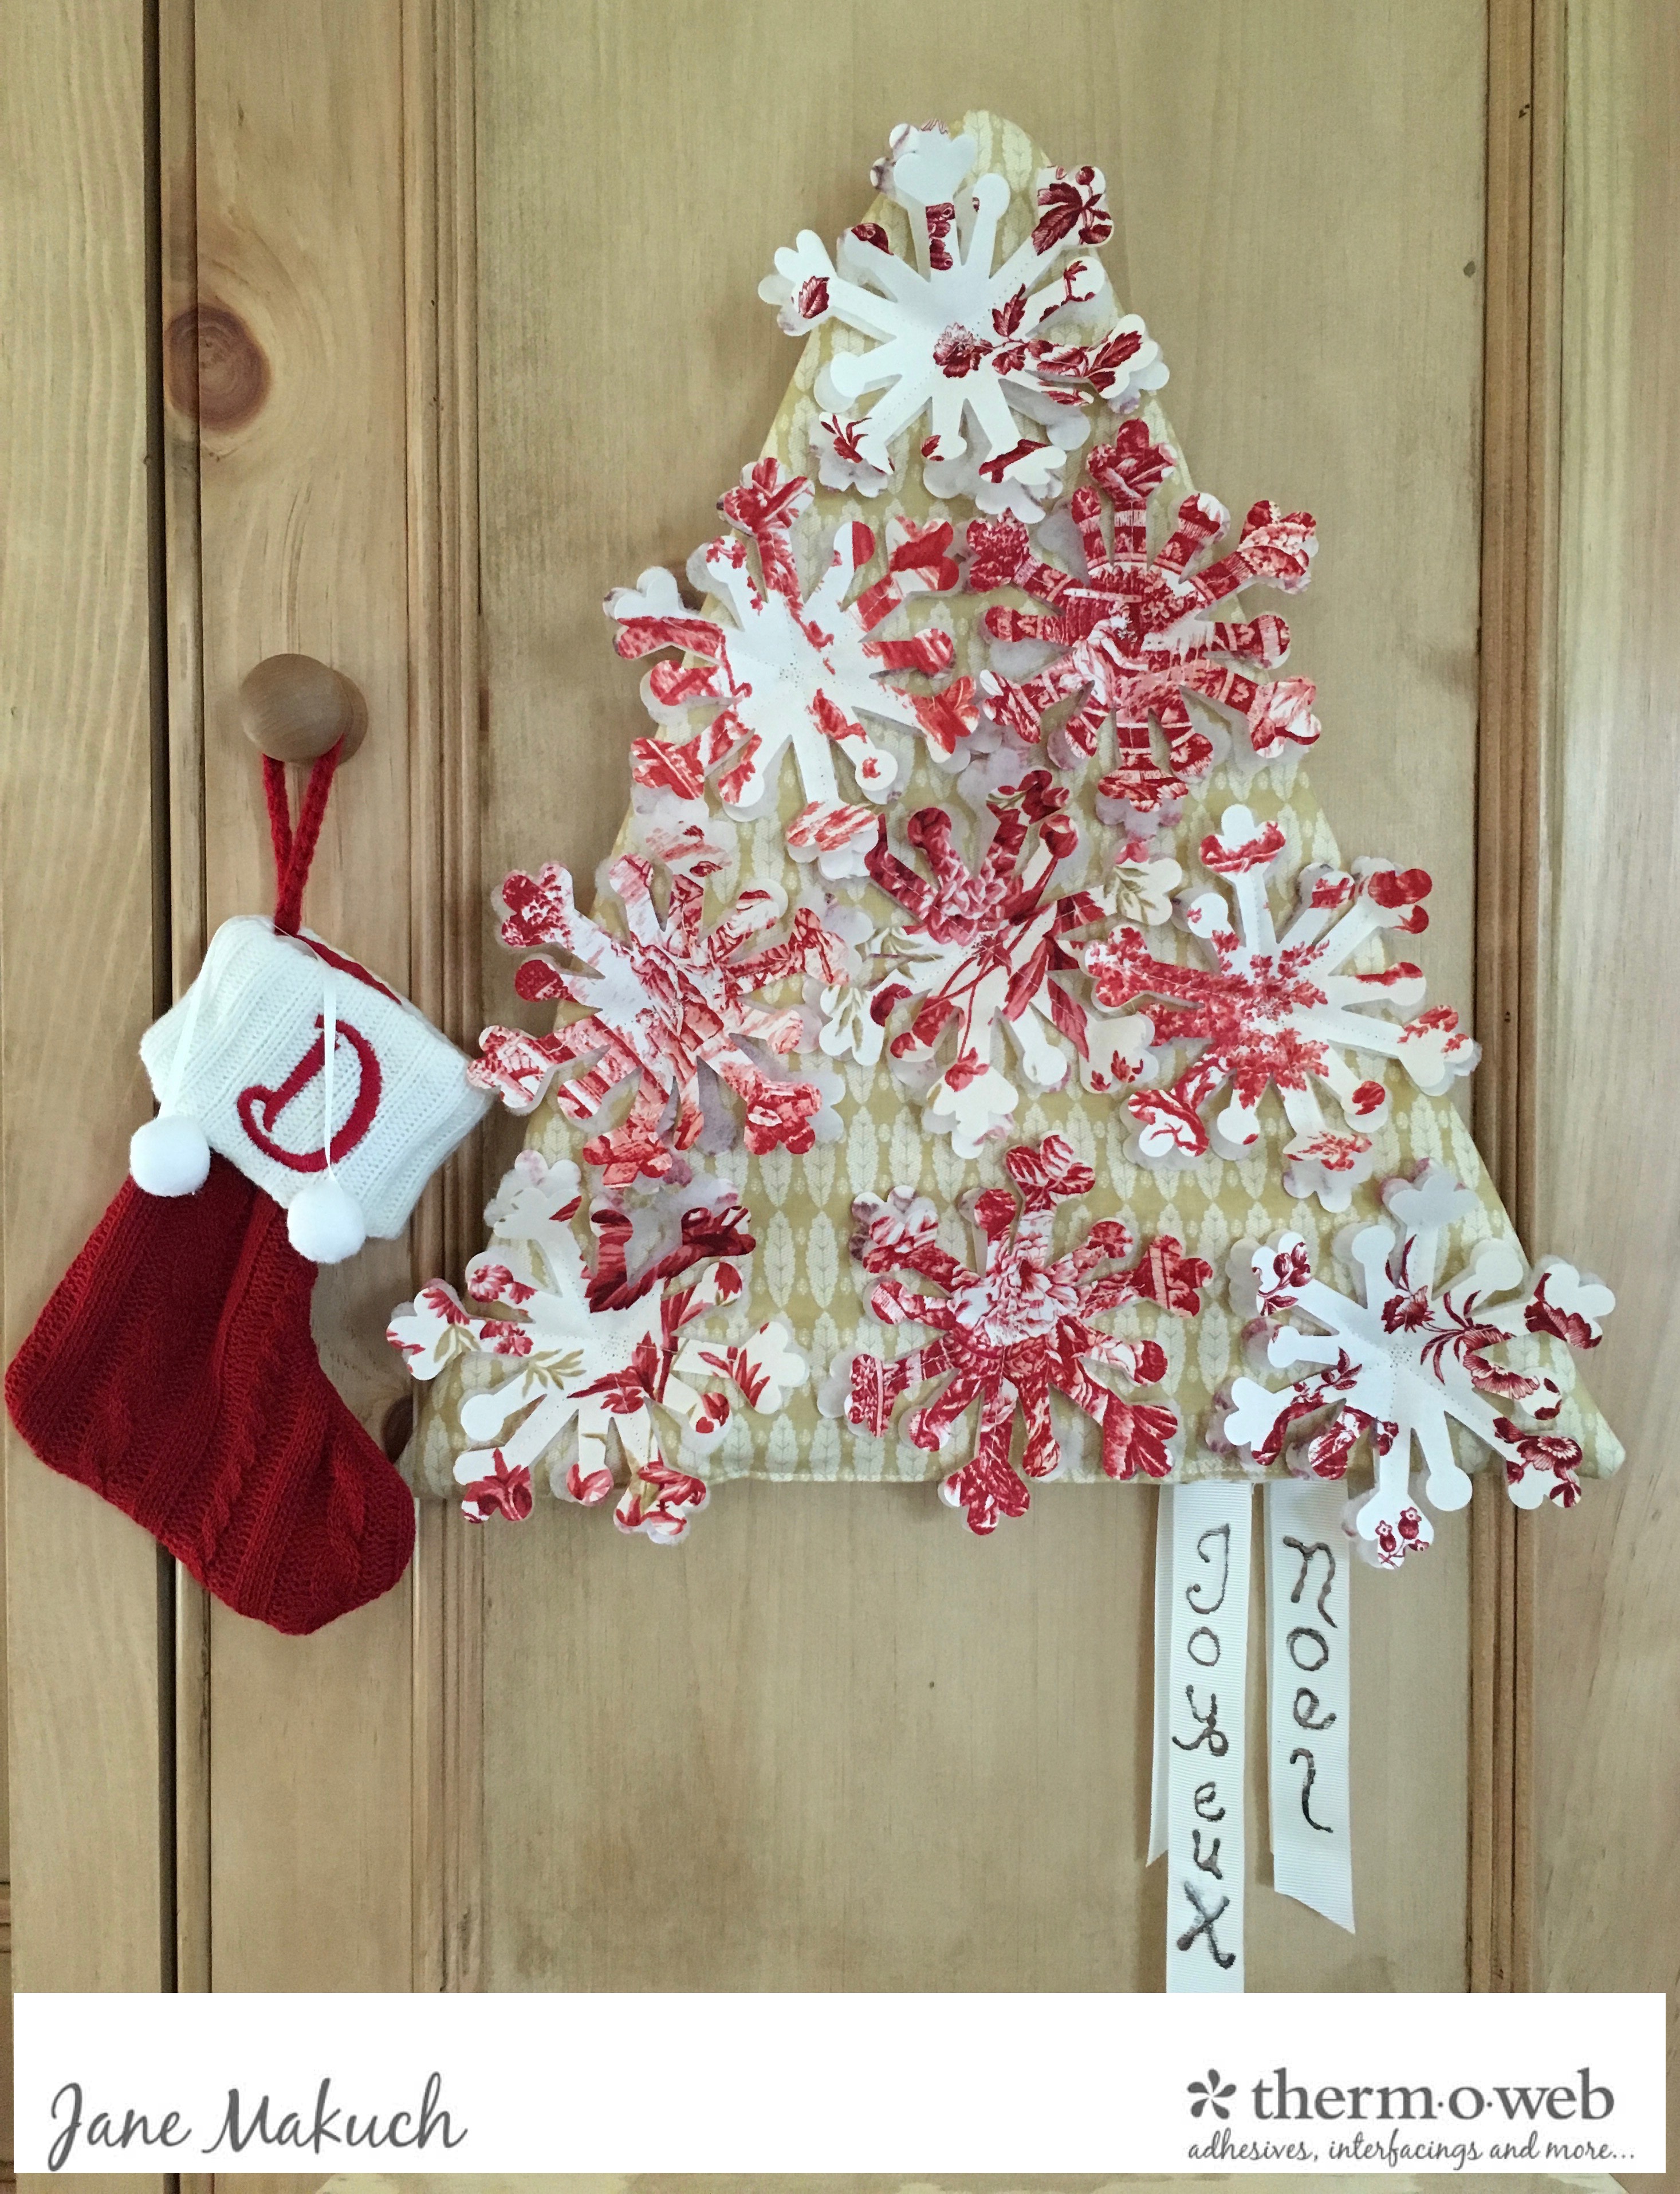
“Toile” the Night Before Christmas” Snowflake Tree Wreath with HeatnBond
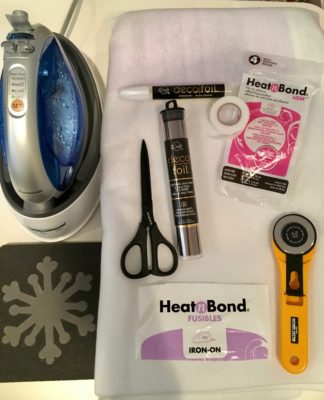
- Supplies Needed:
- HeatnBond Hem Iron-on Adhesive
- HeatnBond Fusible Fleece Interfacing
- Deco foil Adhesive Pen
- Deco foil “Pewter” Transfer Sheet
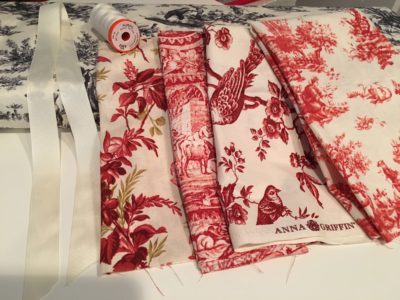
- Cream color ribbon 1” wide 18” long
- 5 fat quarters (4 red fabrics and 2 Cornflower fabric were used from Anna Griffin’s Jolie Collection)
- Aurifil #2309 Thread
- Accuquilt’s “Holiday Medley” die # 55043
- Accuquilt Die Cutting machine and mat
- Iron
- Scissors / Rotary Cutter
- Cutting safe surface and Iron safe surface
Please read through all instructions before beginning. If you have questions, as always, we’re here to help! Just send a note at the bottom of this page and we’ll get back to you as soon as we can.
“Toile” the Night Before Christmas” Snowflake Tree Wreath Instructions:
Take the 2 Cornflower (yellow) fat quarters, place together, fold in half and cut from the folded edge top point on an angle down to 8” at the bottom.
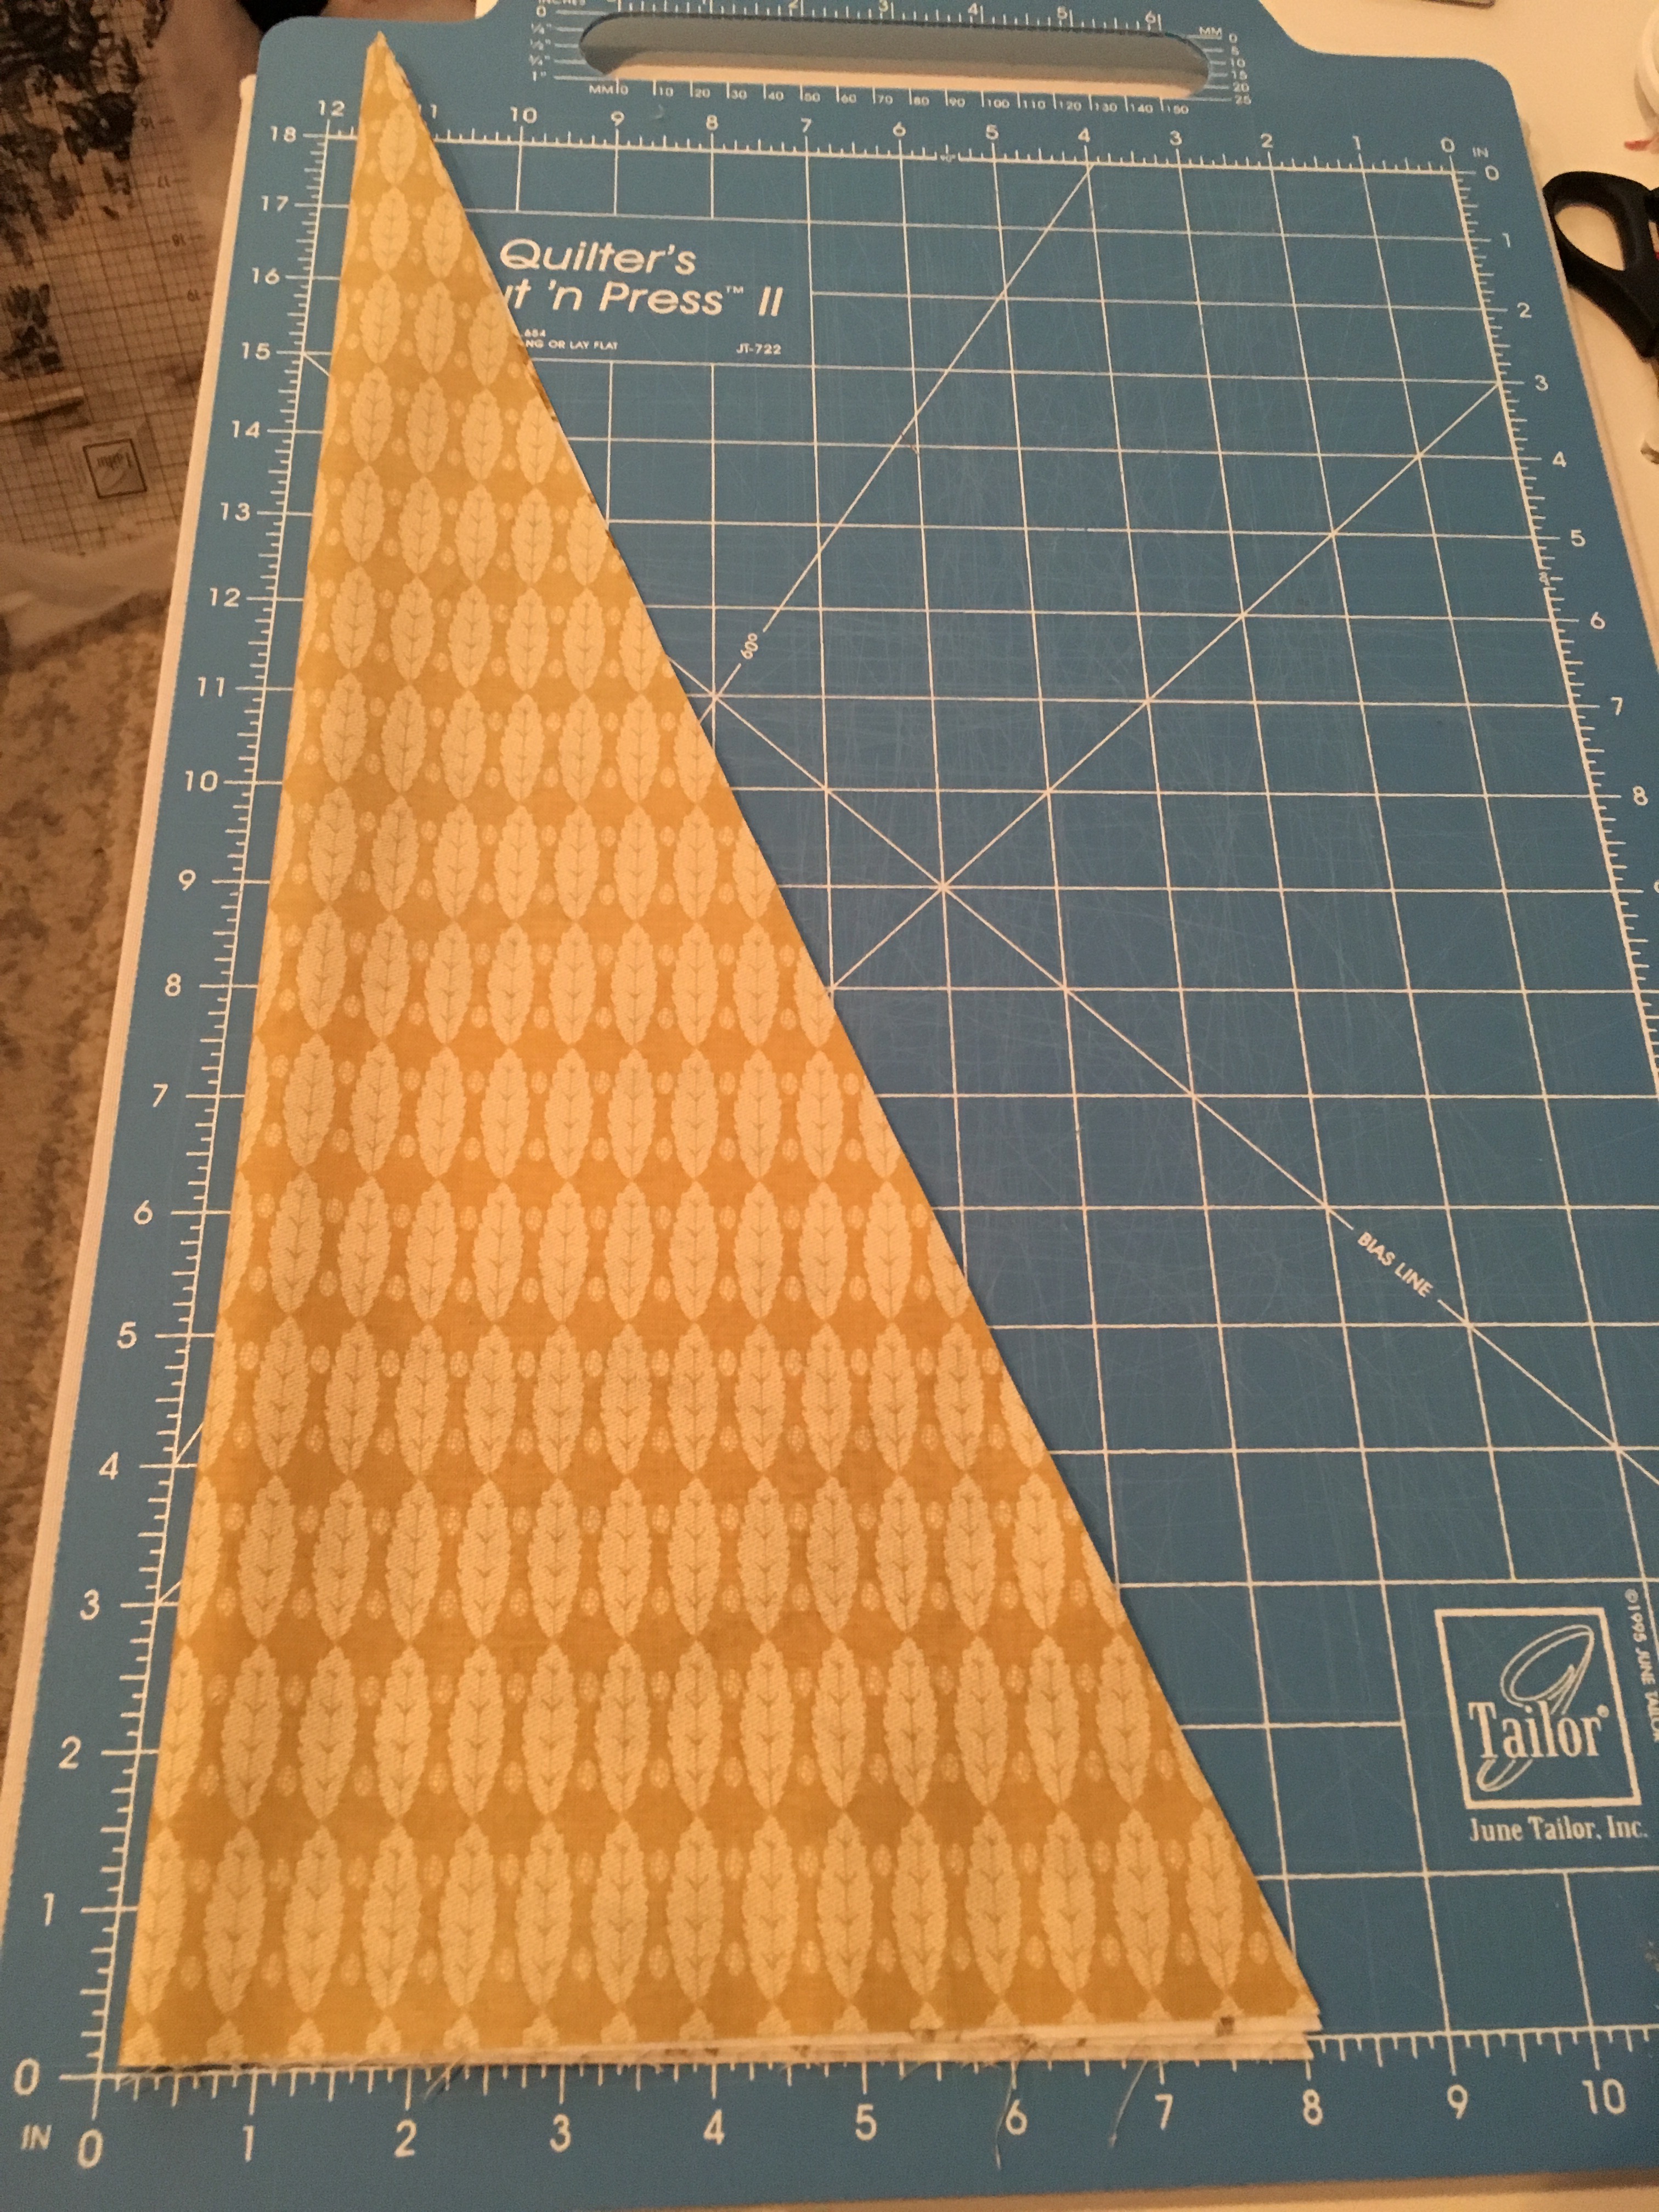
Unfold and you should have 2 big triangles.
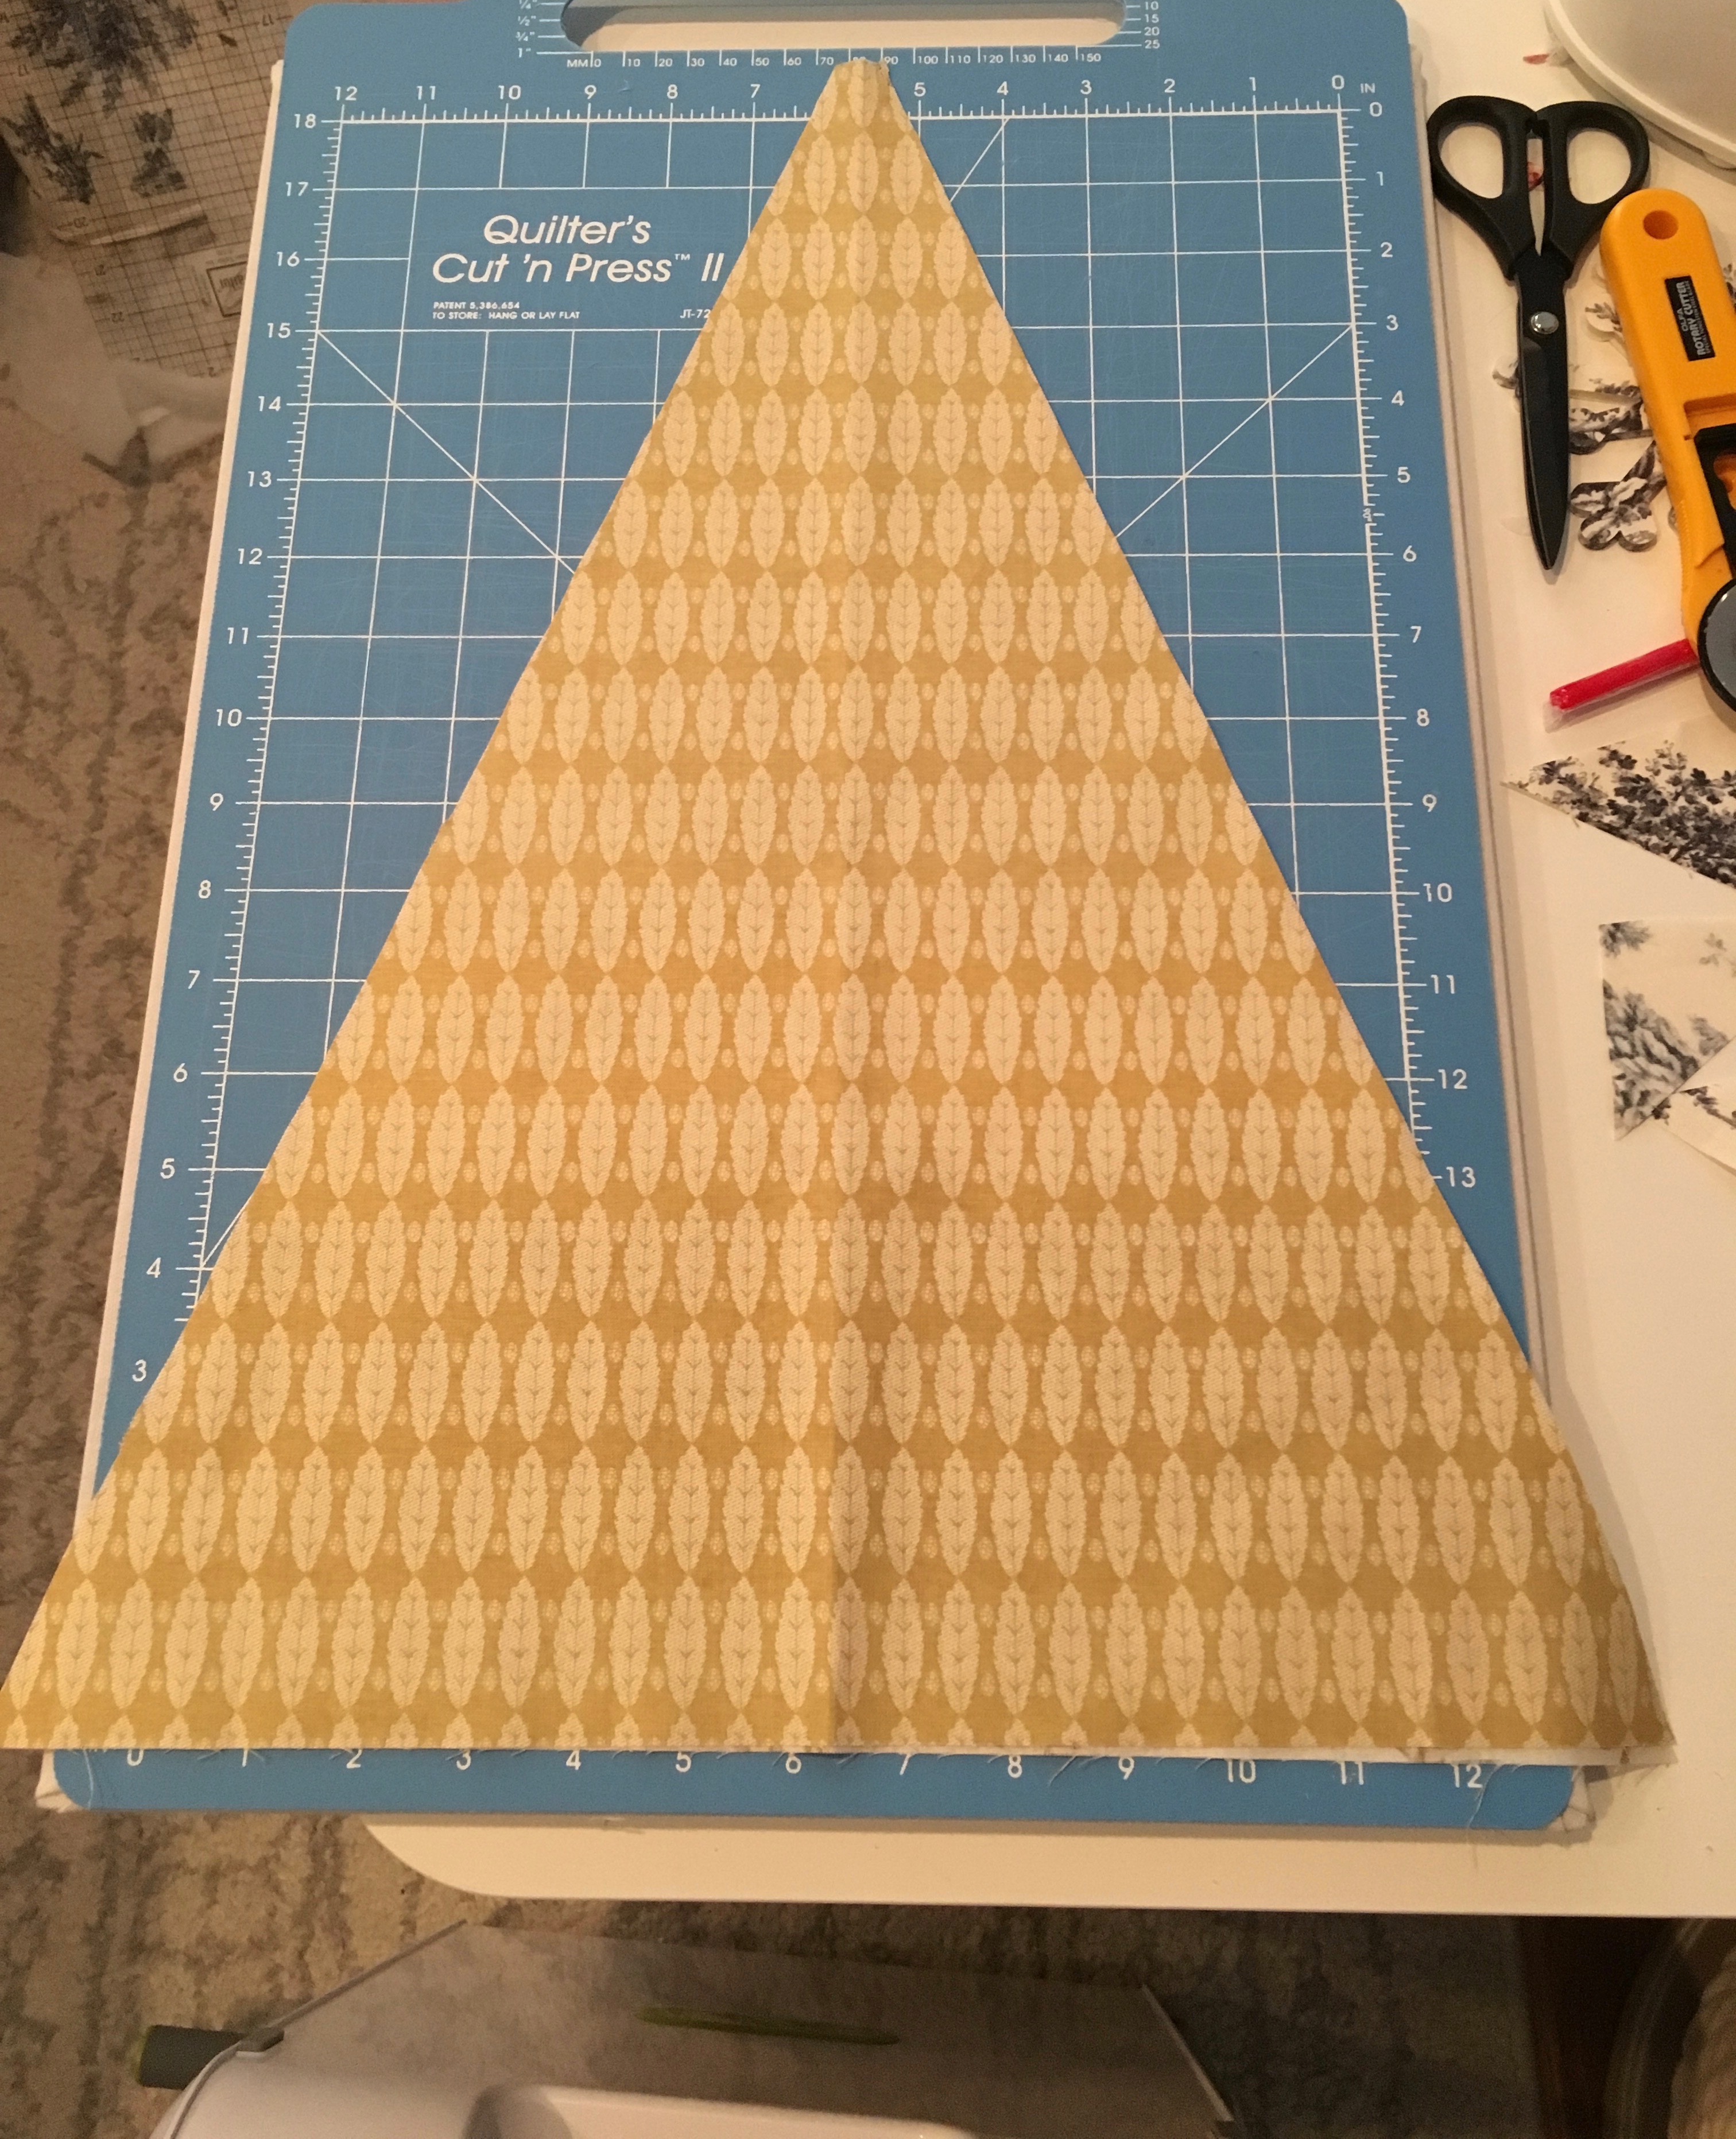
Step Two:
Cut a piece of “Fusibles” Iron-on Fleece the same size as triangles and following directions on the packaging, iron the fleece to the wrong side of one of the fabric triangles. Next, place the other piece of fabric on top of the one just fused “right side to right side”. The fleece side should be on the bottom. Now sew all the way around the triangle “tree” leaving a few inches open at the bottom for turning. Turn right side out then finish the edge with HeatnBond Hem Iron-on adhesive.
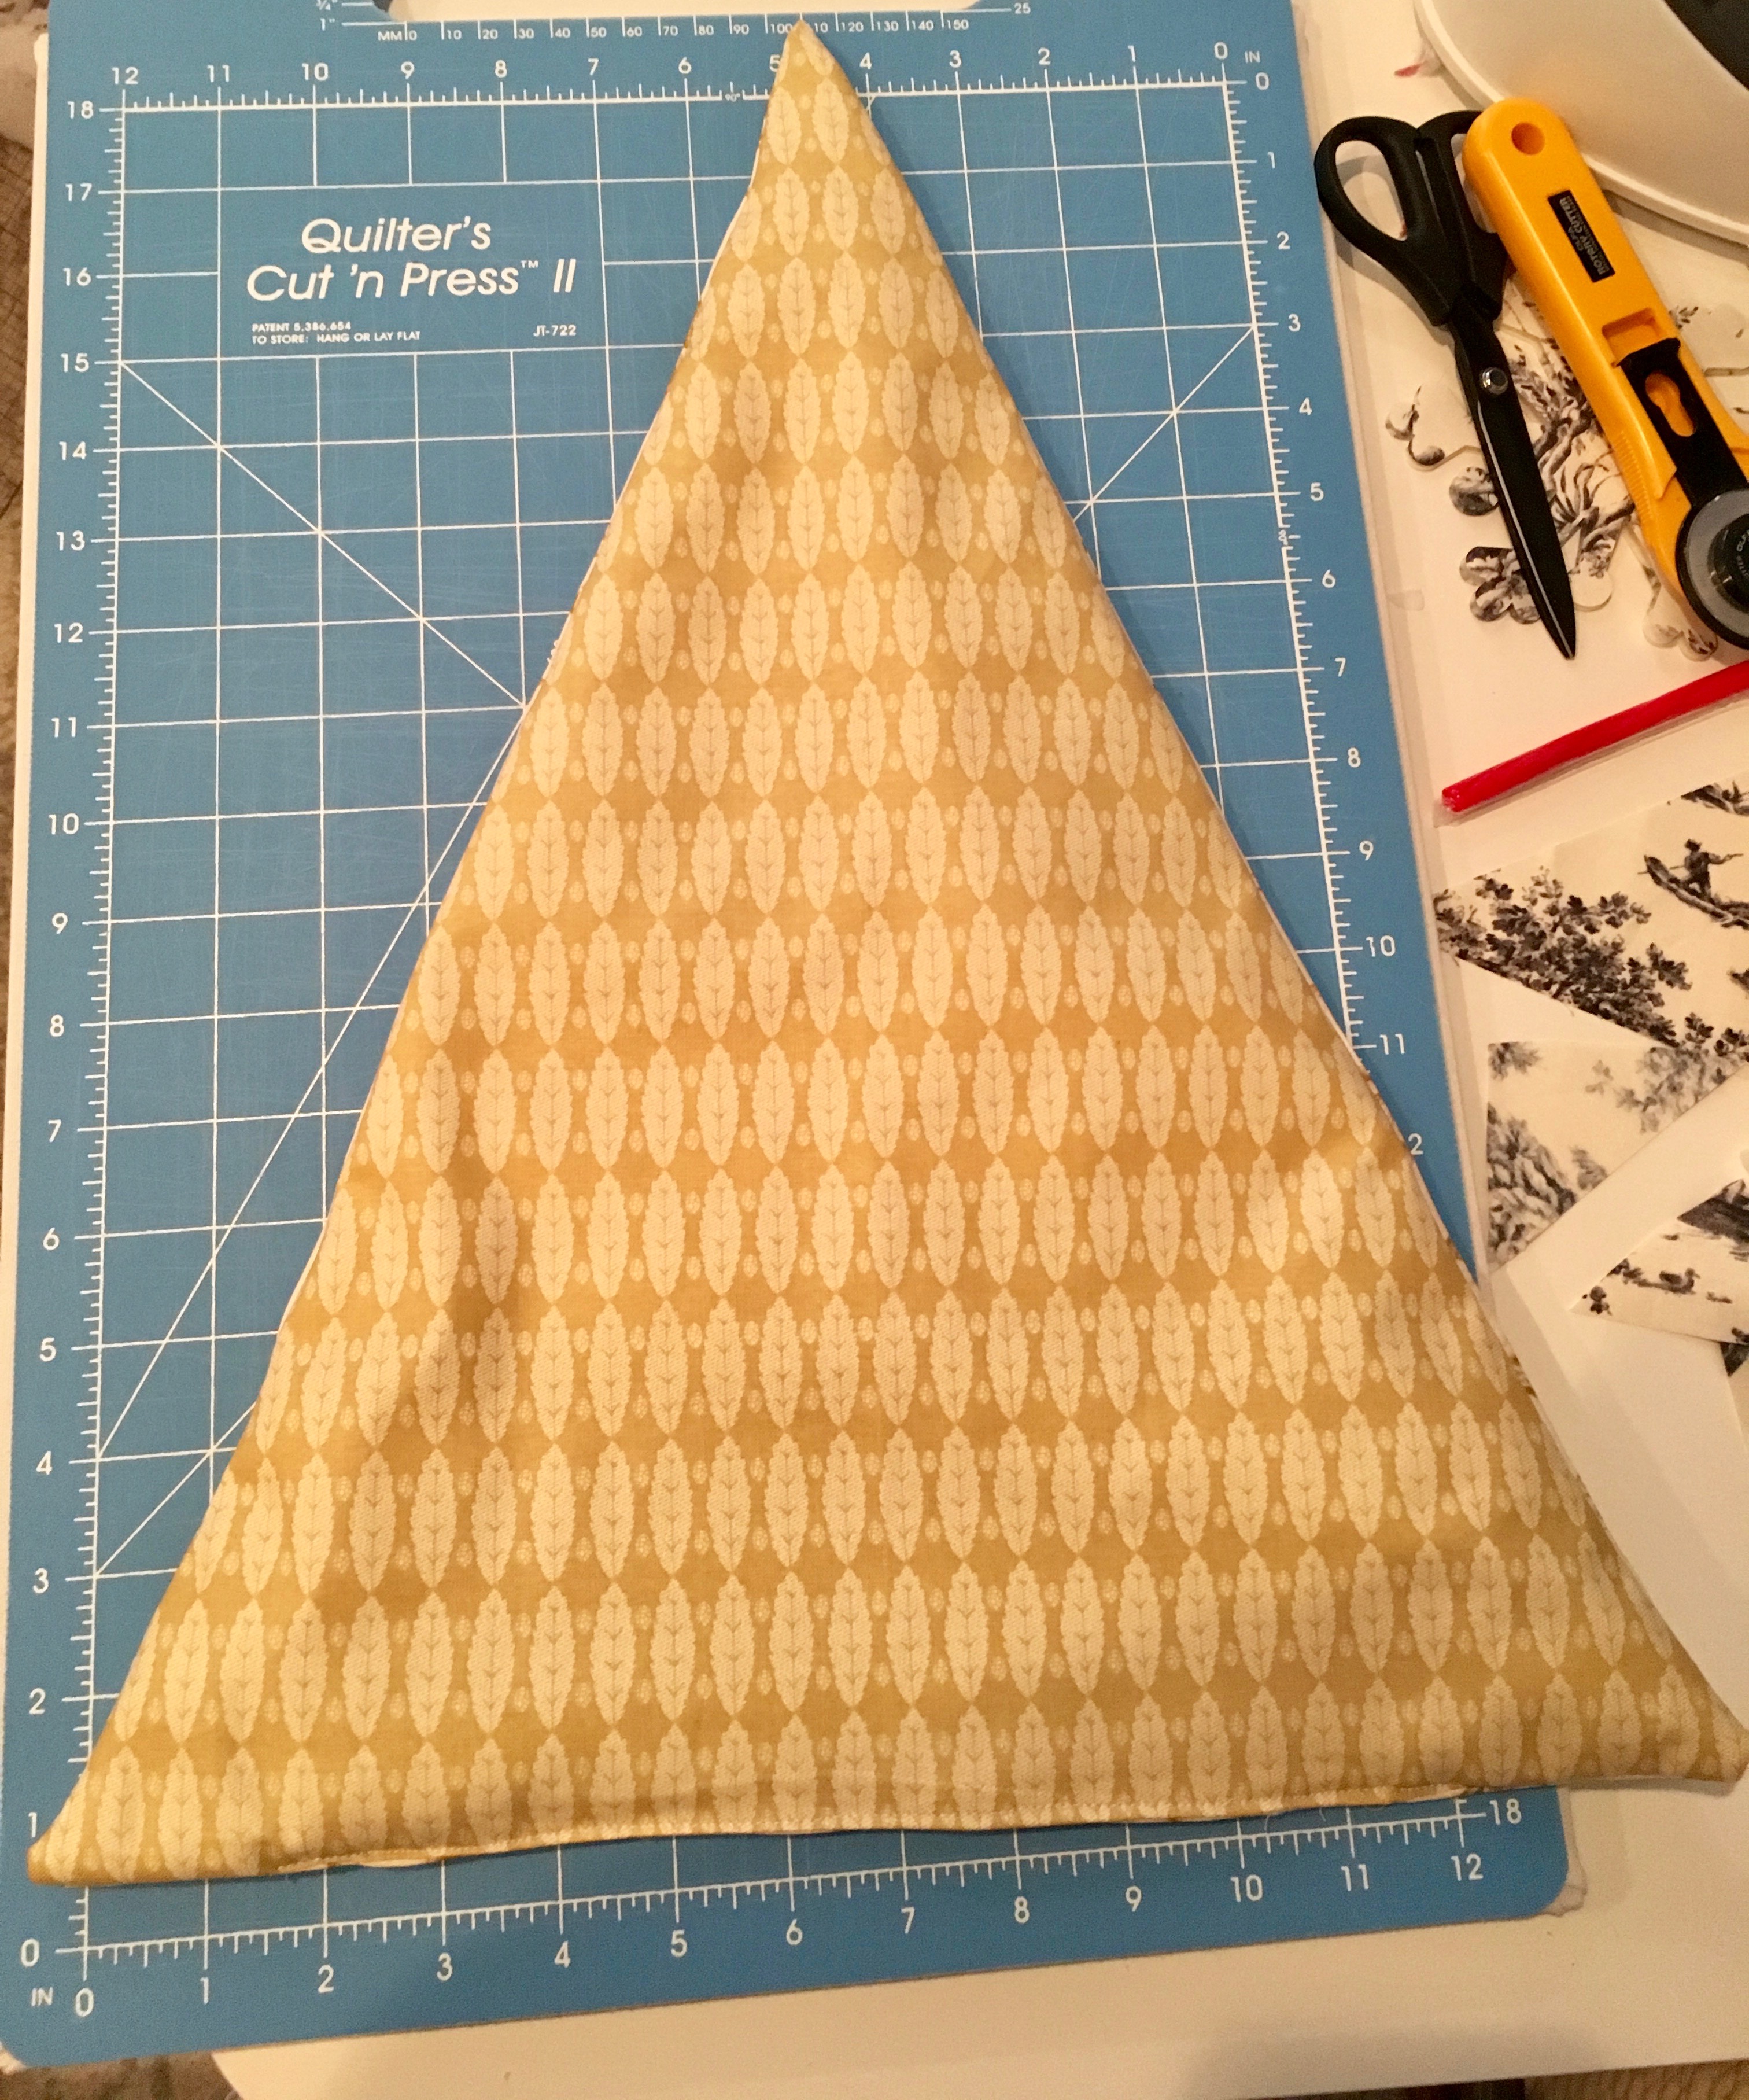
Step Three:
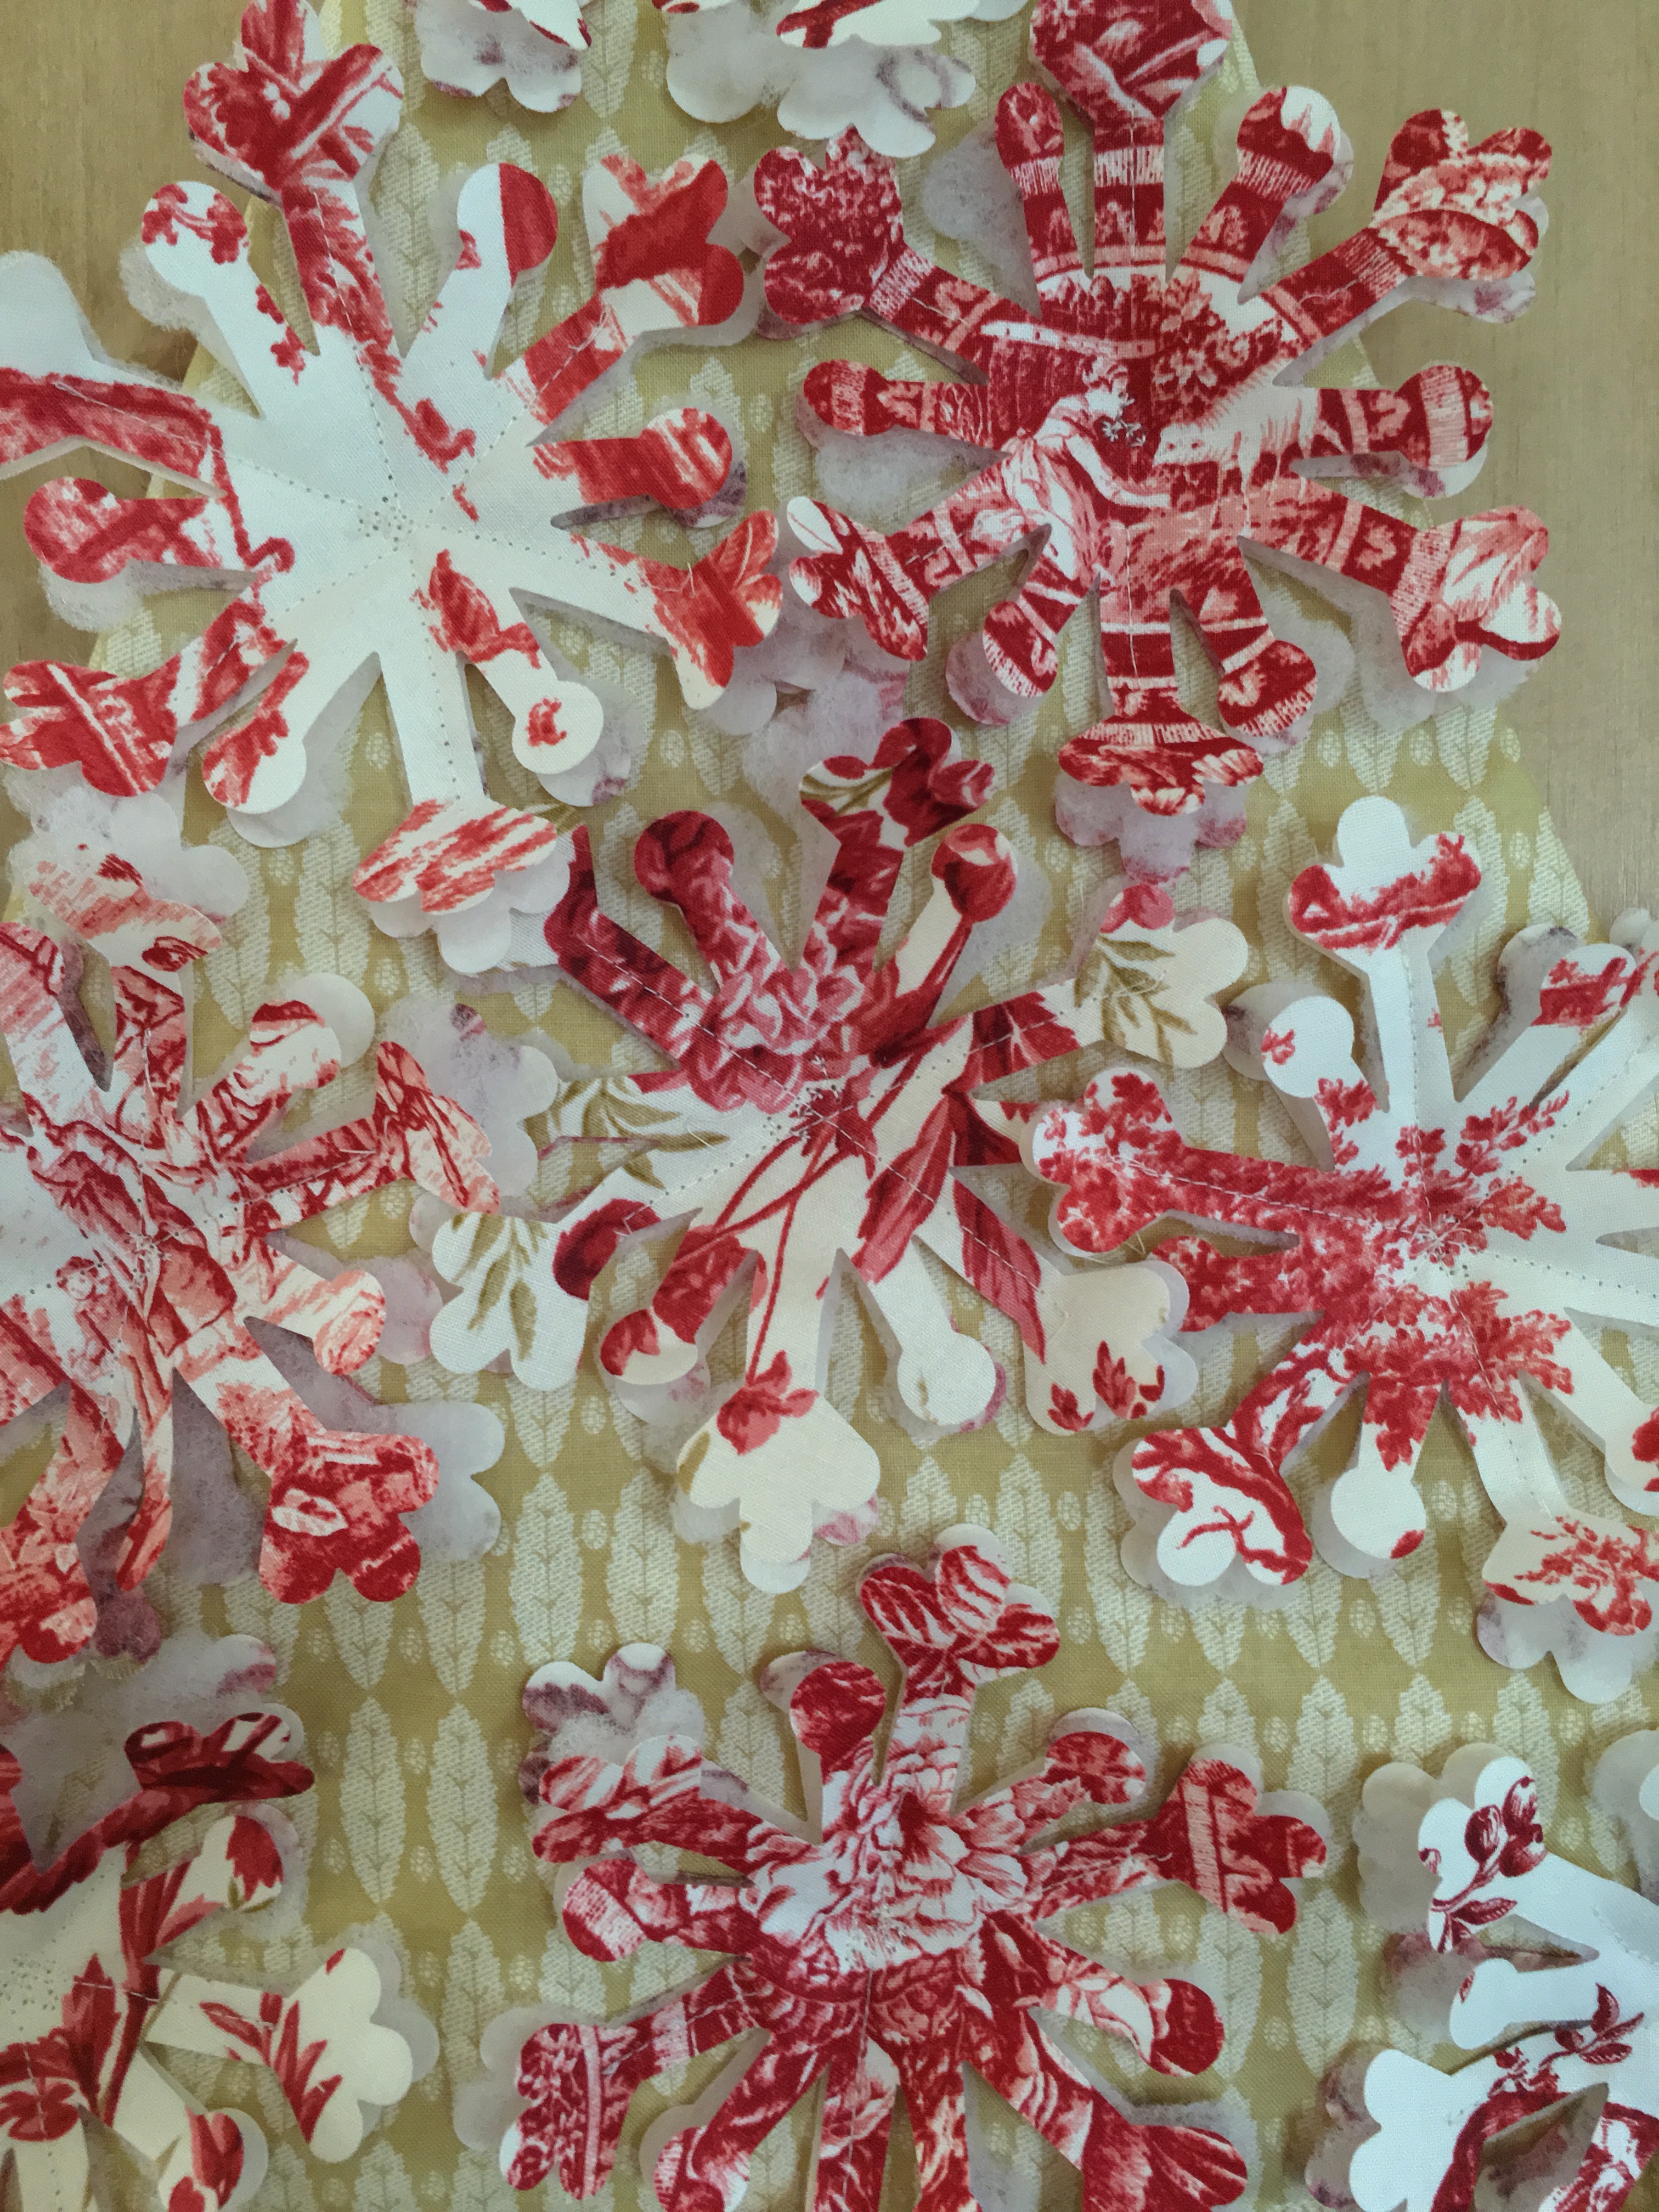
Using the red fat quarters, cut 18 6” squares. Next, cut 9 6” squares from the “Fusibles” Iron-on Fleece. Following directions, adhere fleece to wrong side of 9 of the fabric squares, then add remaining 9 squares onto other side of fleece.
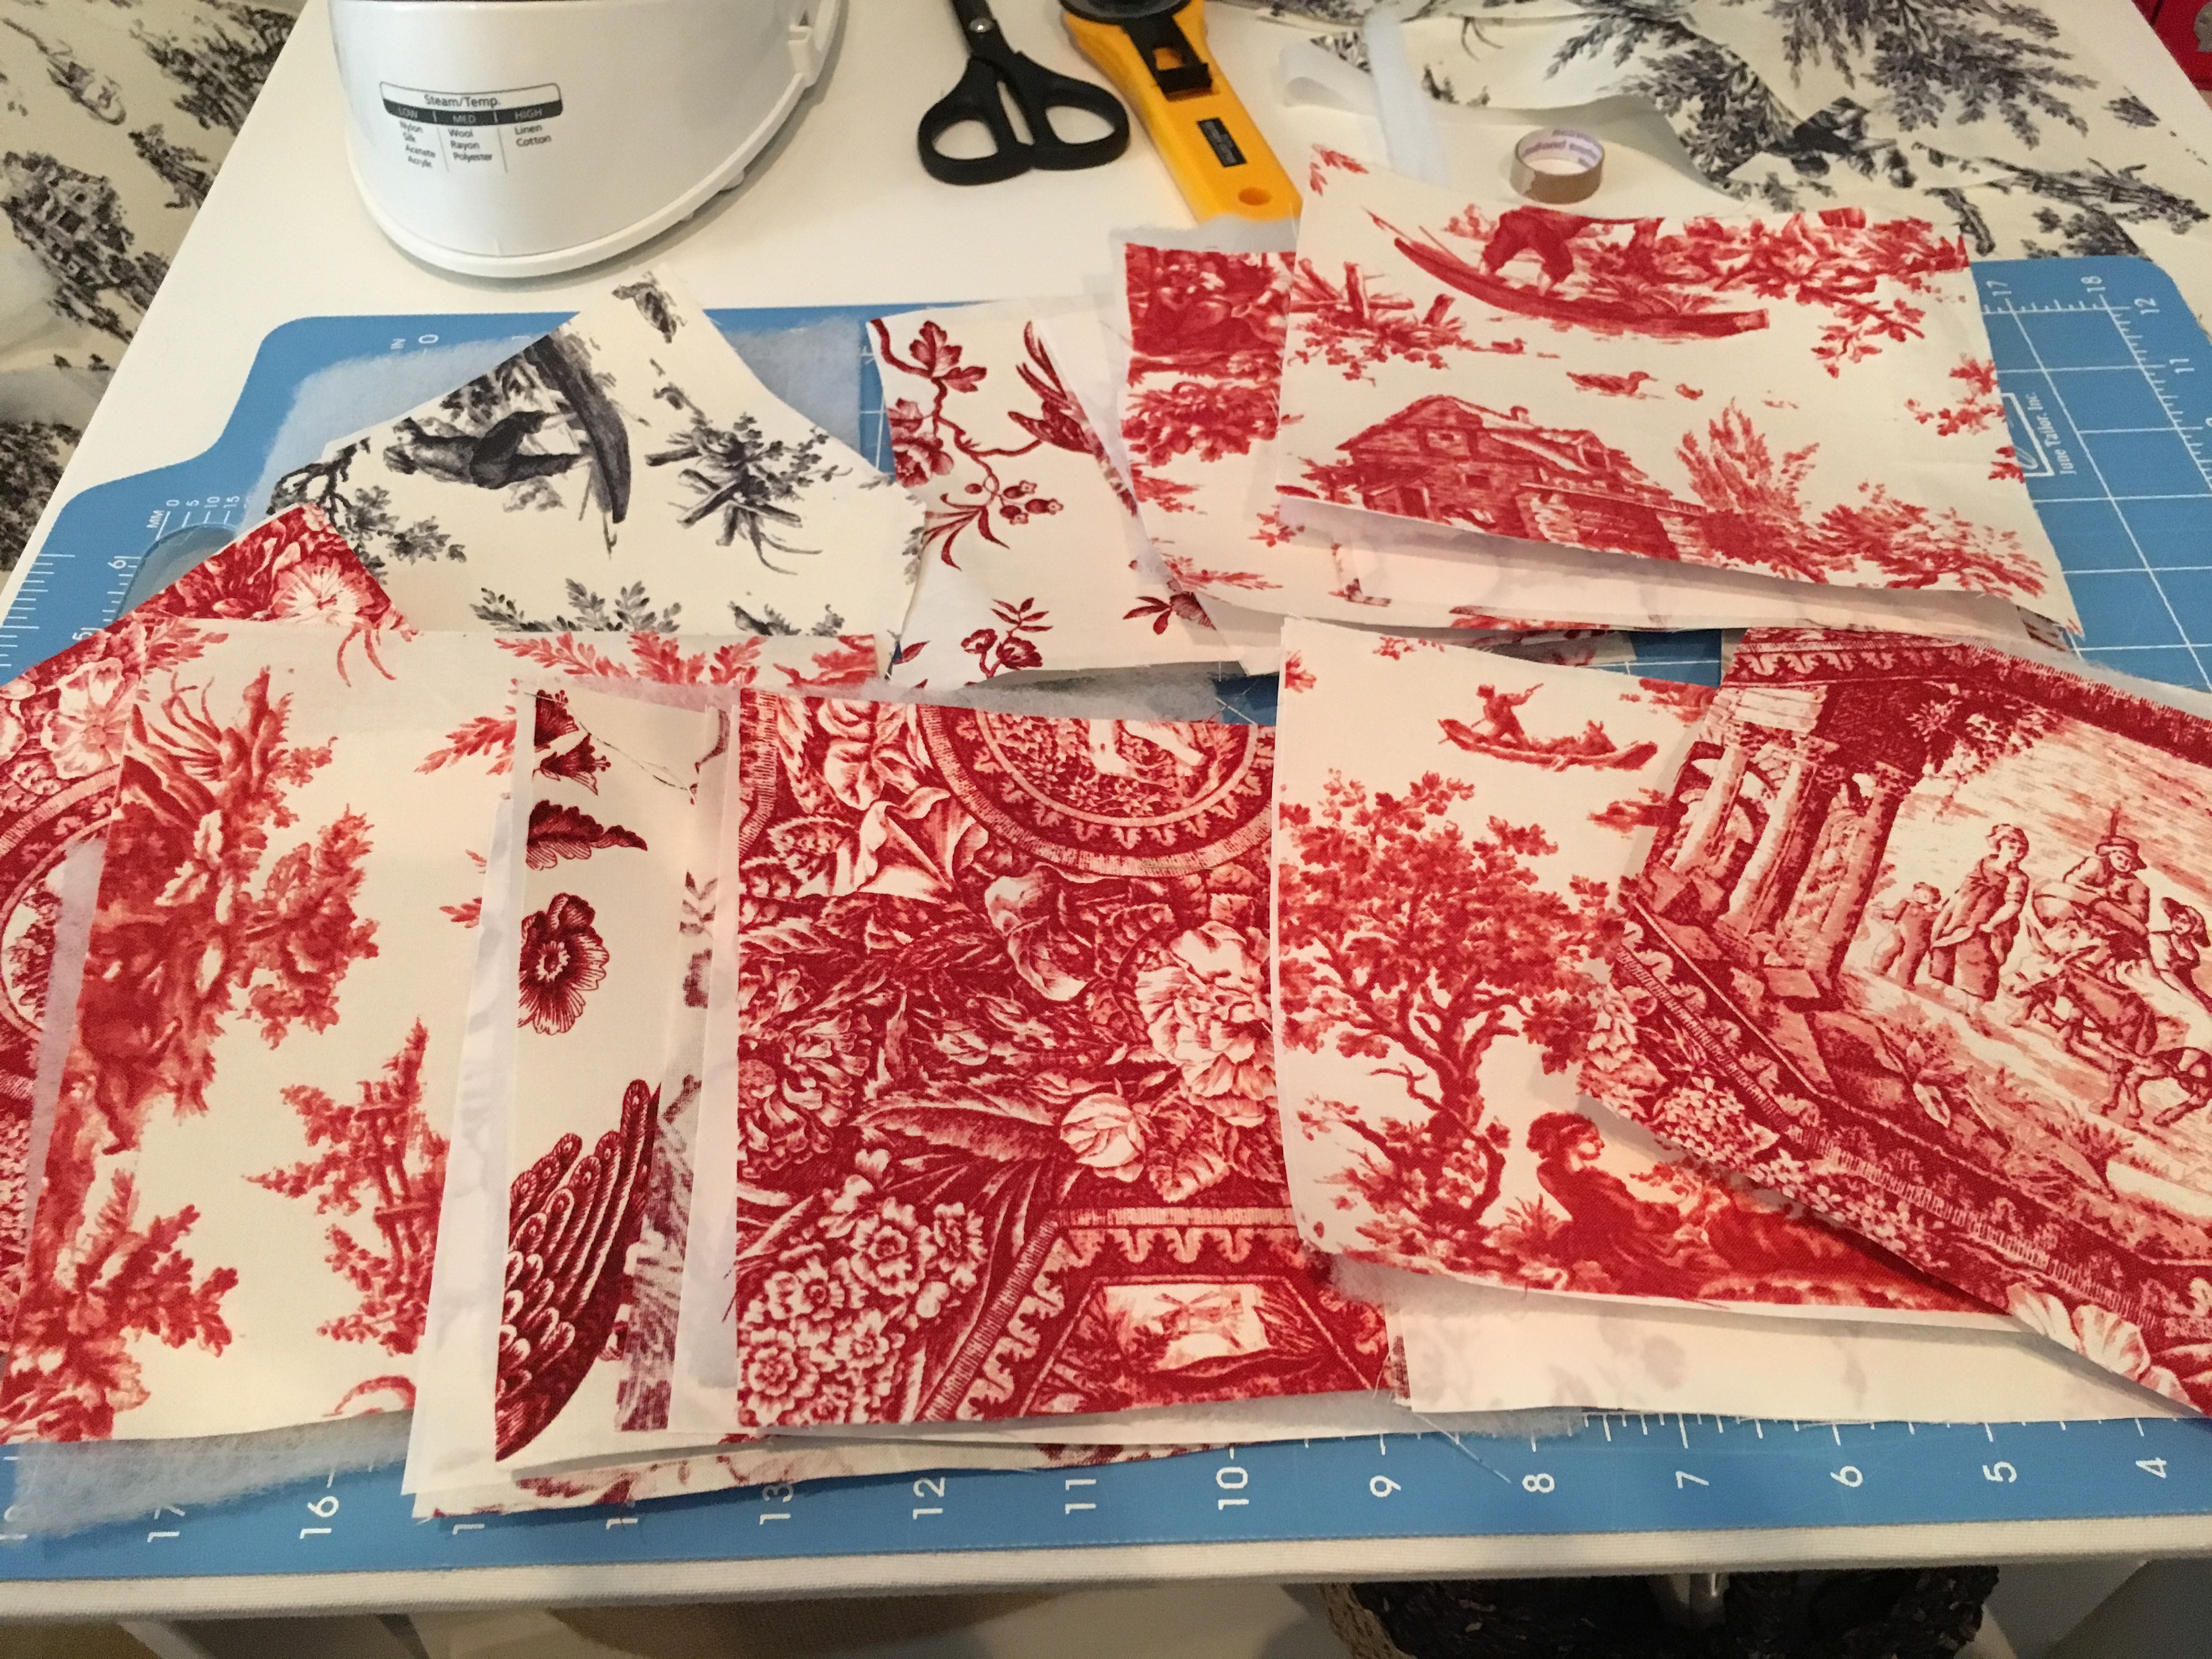
Step Four:
Use the Snowflake die to cut all 9 of the red fabric squares. Next, stitch through the 3-D snowflakes in the center to hold together.
Step Five:
Arrange snowflakes on top of the tree, then stitch into place or adhere to Heat n Bond Hem adhesive.
Step Six:
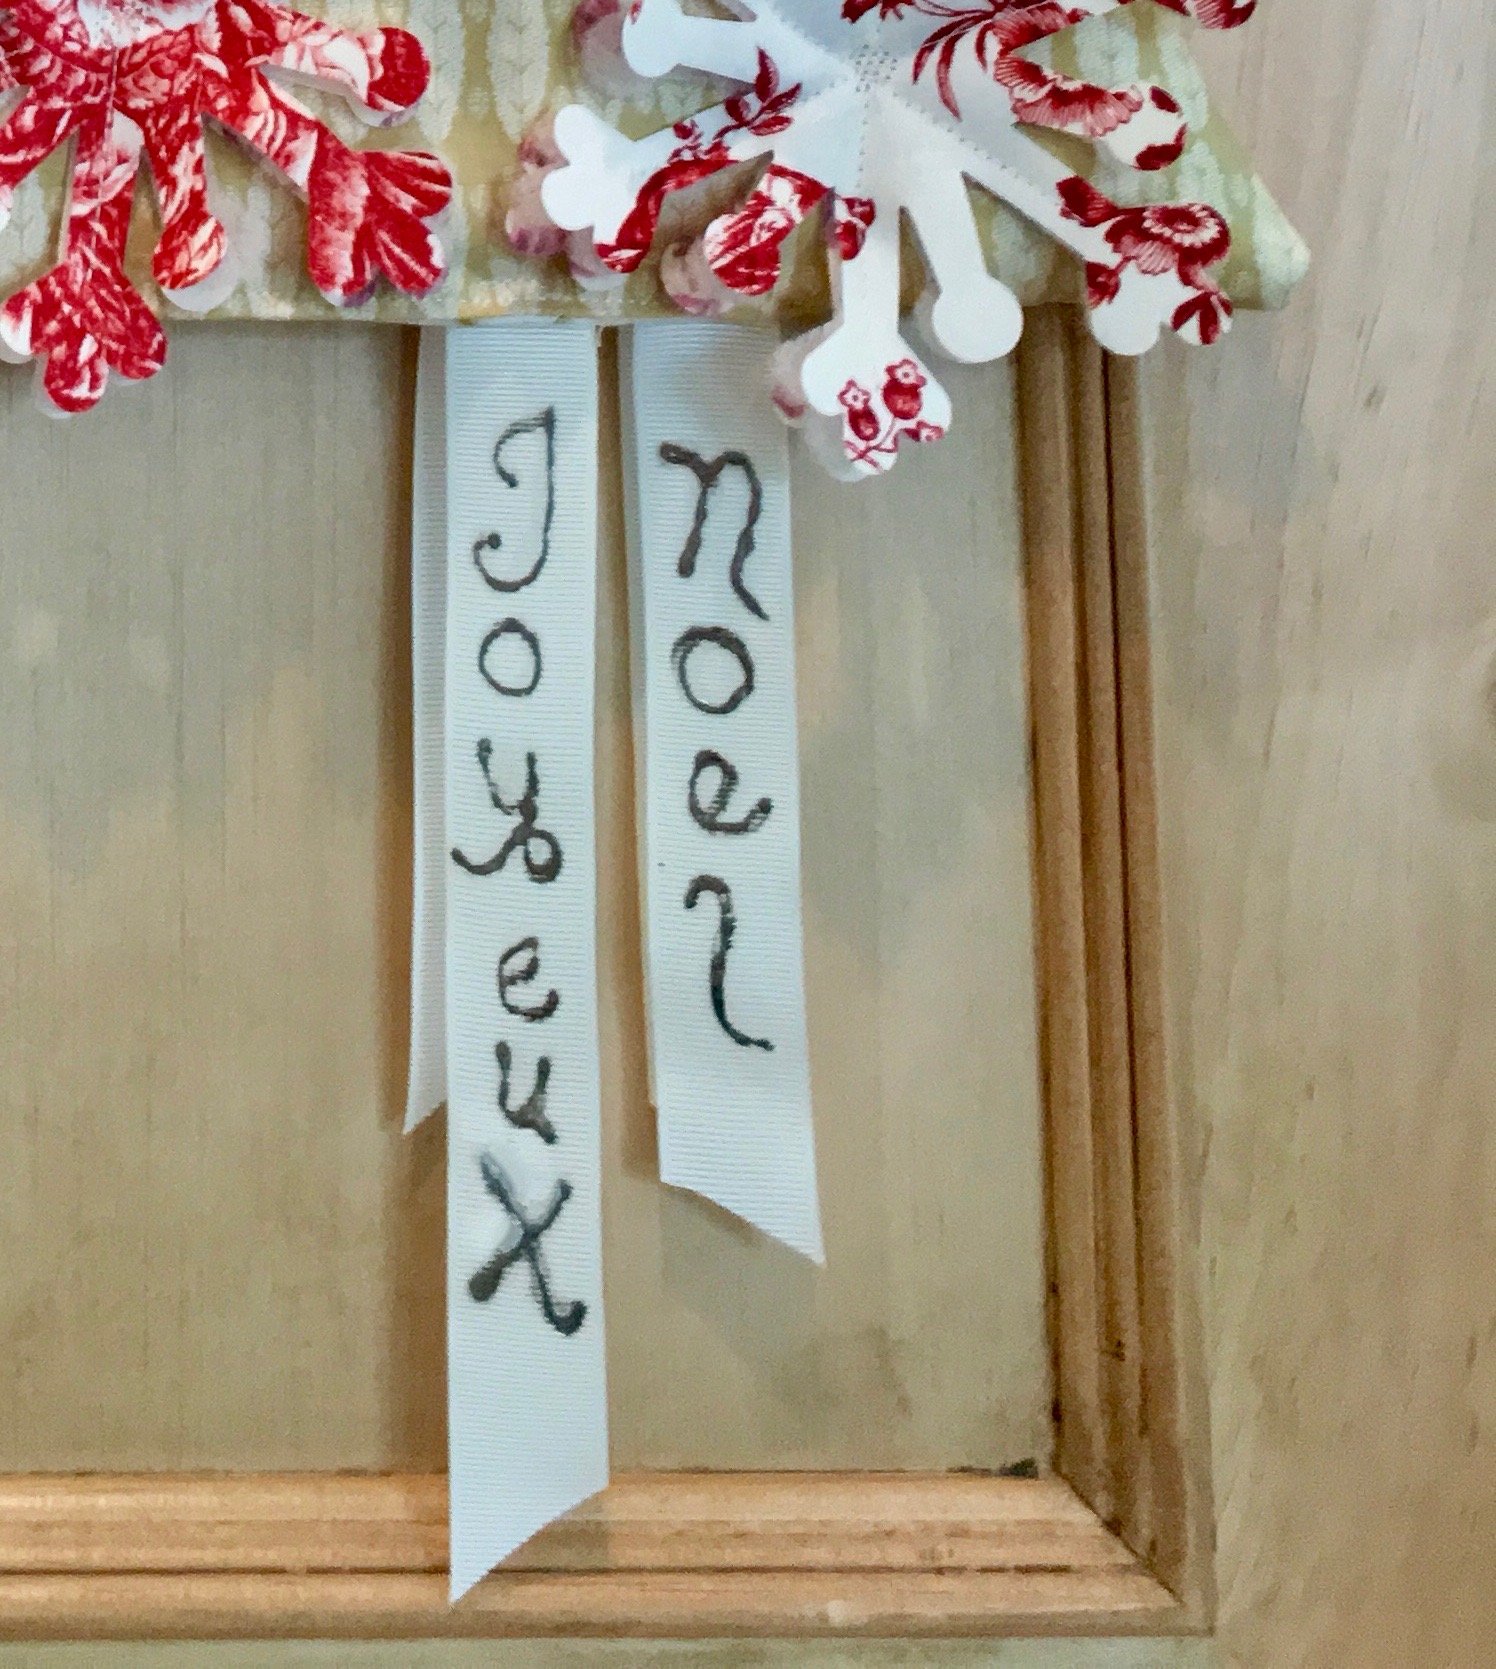
Take ribbon, cut in half. Using Deco foil Adhesive Pen write “Joyeux Noel” Vertically as shown in the photo below. Then following directions, apply Deco foil “Pewter” Transfer Sheet to the adhesive to create the sparkle!
Step Seven:
Sew the ribbons to the bottom of the tree.
Now you’re done!!
Enjoy the beautiful, French touch added to your holidays. Jane xoxo

Mary Ann A Guth
November 29, 2017 at 8:28 pm (8 years ago)This is lovely. It looks wonderful with the Jolie fabric