


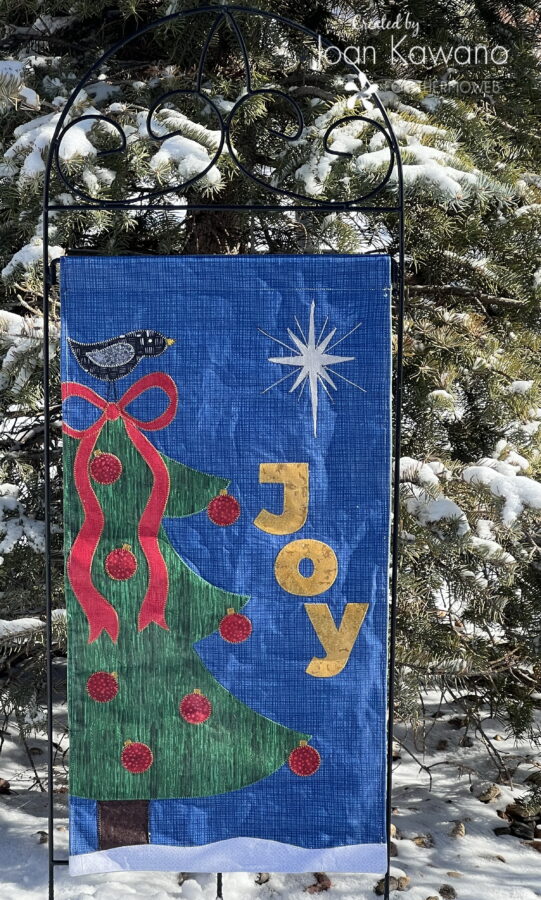
Tis the Season Joy Garden Flag with HeatnBond Liquid Vinyl

Add a little festivity to your outdoor space, by celebrating the season of “Joy” with this fun outdoor garden flag.
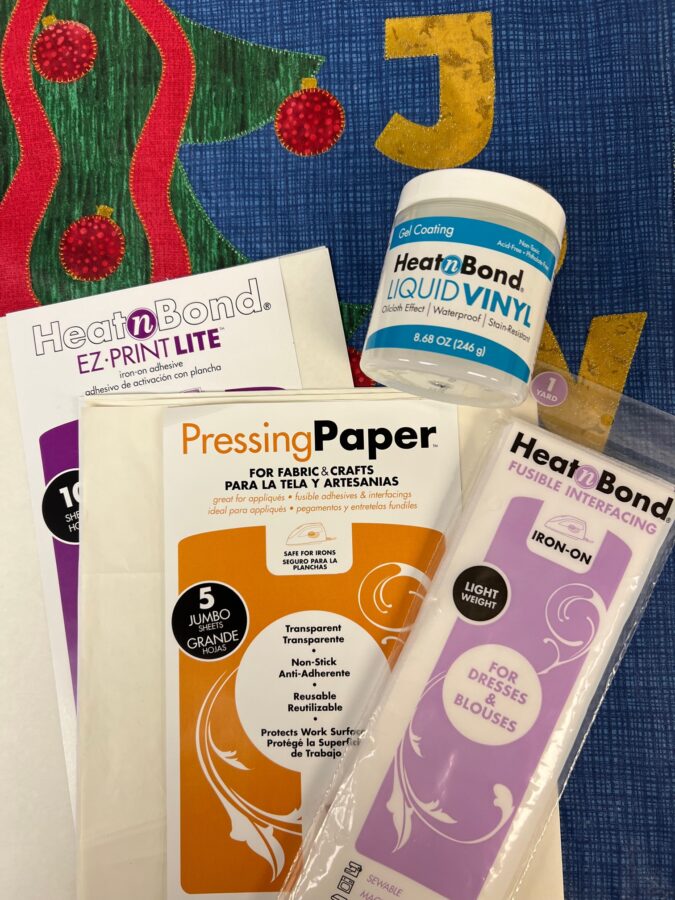
It’s easy to do with these Thermoweb supplies.
HeatNBond EZ Print Lite or HeatNBond®Lite fusible web
HeatNBond®Light-Weight Fusible Interfacing
ThermOWeb Pressing Paper or parchment paper
Additionally, you need…
1/2 – yard background fabric
1/2 – yard backing fabric
1 fat quarter of Green for tree
Scraps of Black and Silver for the bird, Yellow for the bird beak, Reds for the bow and ornaments, Brown for the tree trunk, Gold for lettering and ornament tops, and White for the star. You will also need a piece of white 2” x 15” for snow at the bottom of the flag.
White acrylic paint and a stylus
Chalk Marker or marking pencil
Foam brush or fine bristle paintbrush
Thread to match or contrast
Applique pressing sheet
Teflon Foot for sewing machine
Erasable pencil or Frixion pen
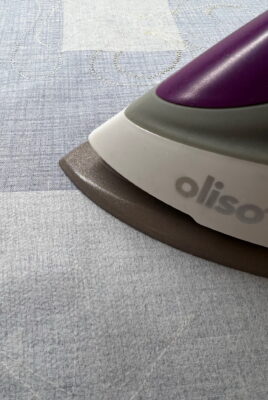
Oliso Iron
Start by downloading the free “Tis the Season Garden Flag” pattern.
The pattern is printer-friendly, using HeatNBond EZ Print Lite sheets. No more tracing! Just pop a sheet into your printer and hit the print button. It’s a great time saver.
Cut out your pieces from the fusible web and fuse them to the reverse side of your fabrics, using the manufacturer’s recommendations. When cool, cut out the pieces and arrange them on your background fabric. You want to offset the tree to the left of the flag and keep it down at least 1 3/4″ from the top, to not interfere with the hanging sleeve.
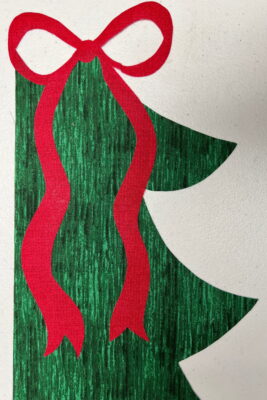
A portion of the bow will be trimmed off, and you may want to place an applique pressing sheet under that portion to protect your work surface.
Remove the papers from the back of your appliques one at a time and tack them down slightly with an iron, to hold them in place, as you continue to add more elements.
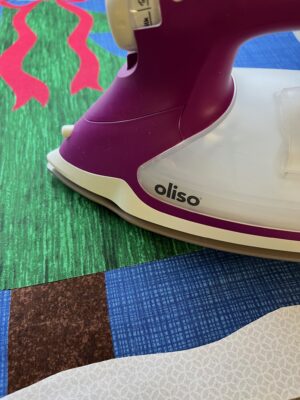
Once you are satisfied with the layout. Press in place, according to the manufacturer’s recommendations.
Stitch applique to the background fabric using your preferred method.
On the reverse side of the flag fuse a small piece of HeatNBond®Light-Weight Fusible Interfacing in place to support the stitching on the birds legs. Cut a larger piece 6 ” x 8” and fuse it behind the star.
Draw in lines using an erasable pencil or Frixion pen for the legs of the birds and the rays coming from the star, on the front side of the fabric. Stitch the legs using black thread and the rays using silver or white thread.

When adding the eye on the bird, I have found that using acrylic paint and a stylus is the easiest way to do it. Just dot a little paint on and let dry thoroughly. Press to set the paint.
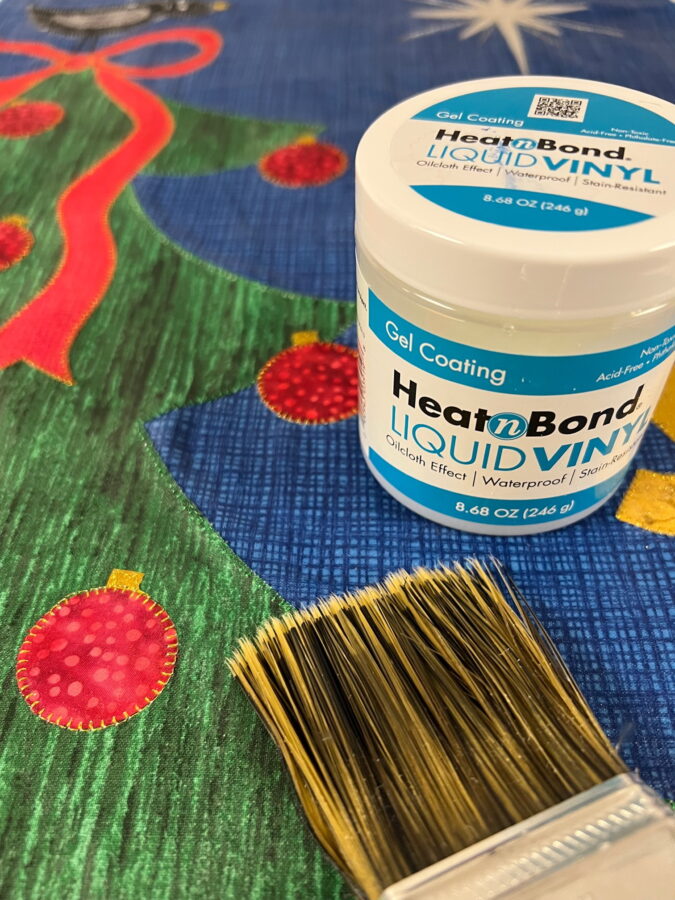
Assemble the front and back and you’re ready to protect your flag from the elements with HeatNBond Liquid Vinyl. It paints on easily with a foam brush or my favorite 2″ fine bristle paintbrush that cleans up easily with just water.
1 coat – water and stain-resistant
2 coats – waterproof and stain-resistant
3 coats – waterproof and stain-resistant with a semi-gloss oilcloth finish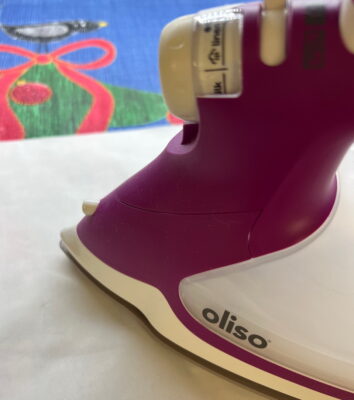
Once dry, cover with Pressing Paper or parchment paper and press according to the manufacturer’s directions.
Sharon Gullikson
November 29, 2022 at 6:26 pm (1 year ago)How cute and homey that is. I’m always looking for cute designs for my home.