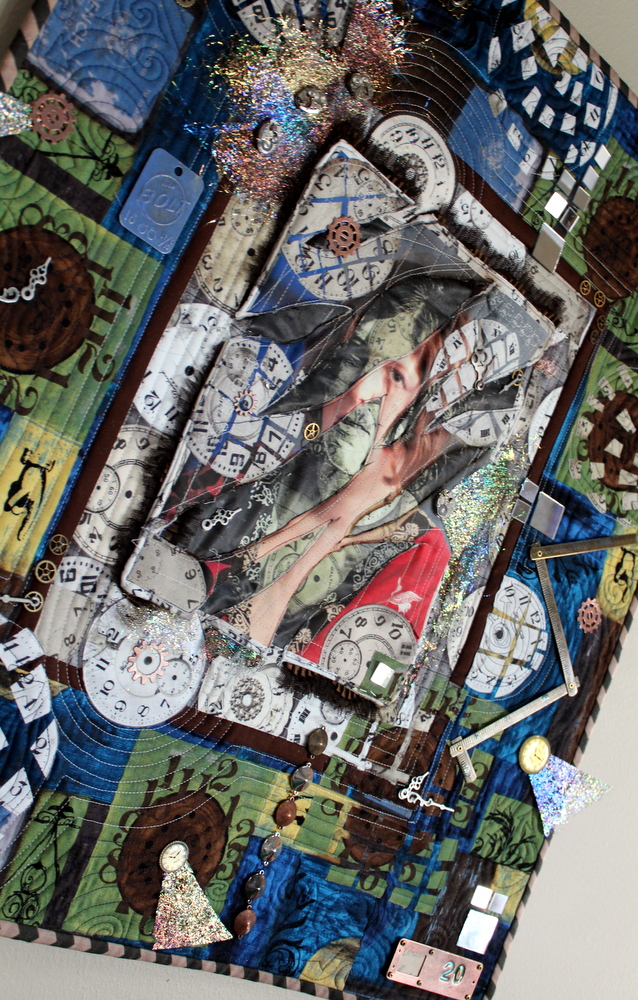
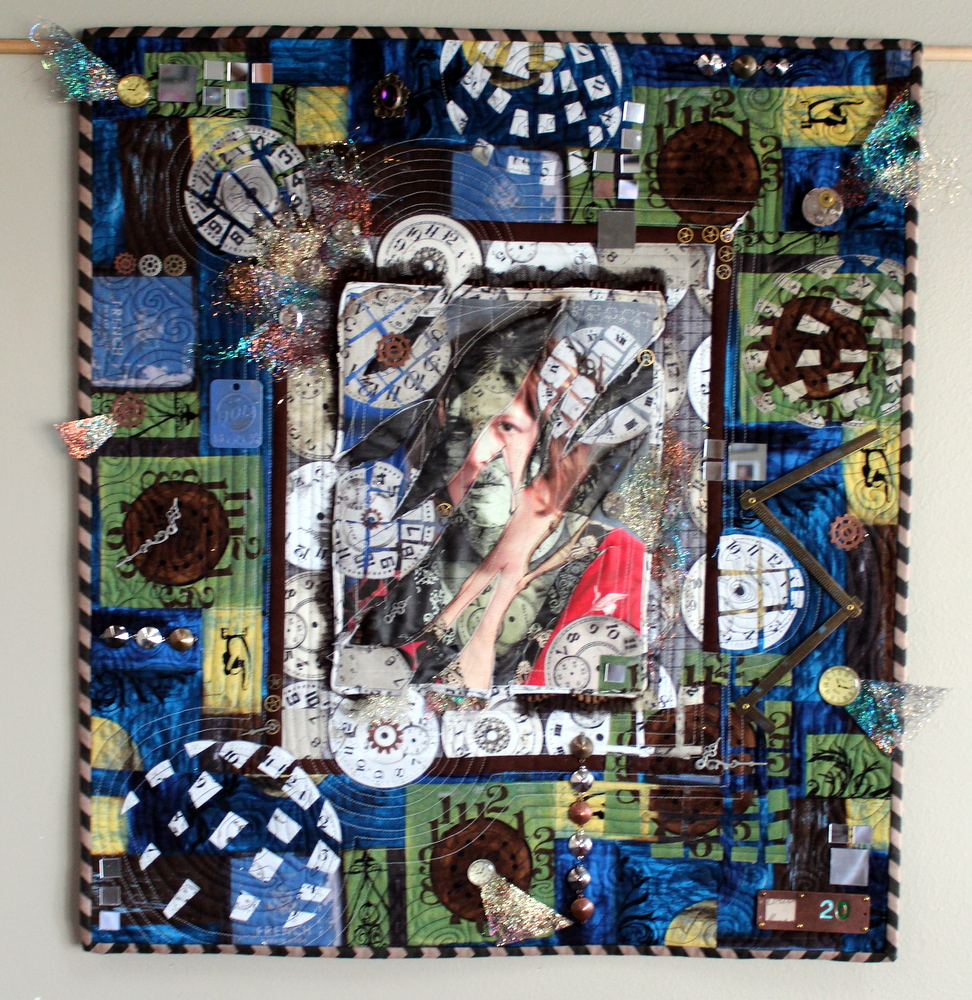
“Time Warp Quilt” with HeatnBond InkJet Transfer Sheets
Hi everyone! It’s Kim Lapacek from Persimon Dreams here with you today! I host a fun quilt challenge on my blog since 2010 called Project QUILTING. We just wrapped up the 8th season with over 600 quilts made during the six, single week challenges this year.
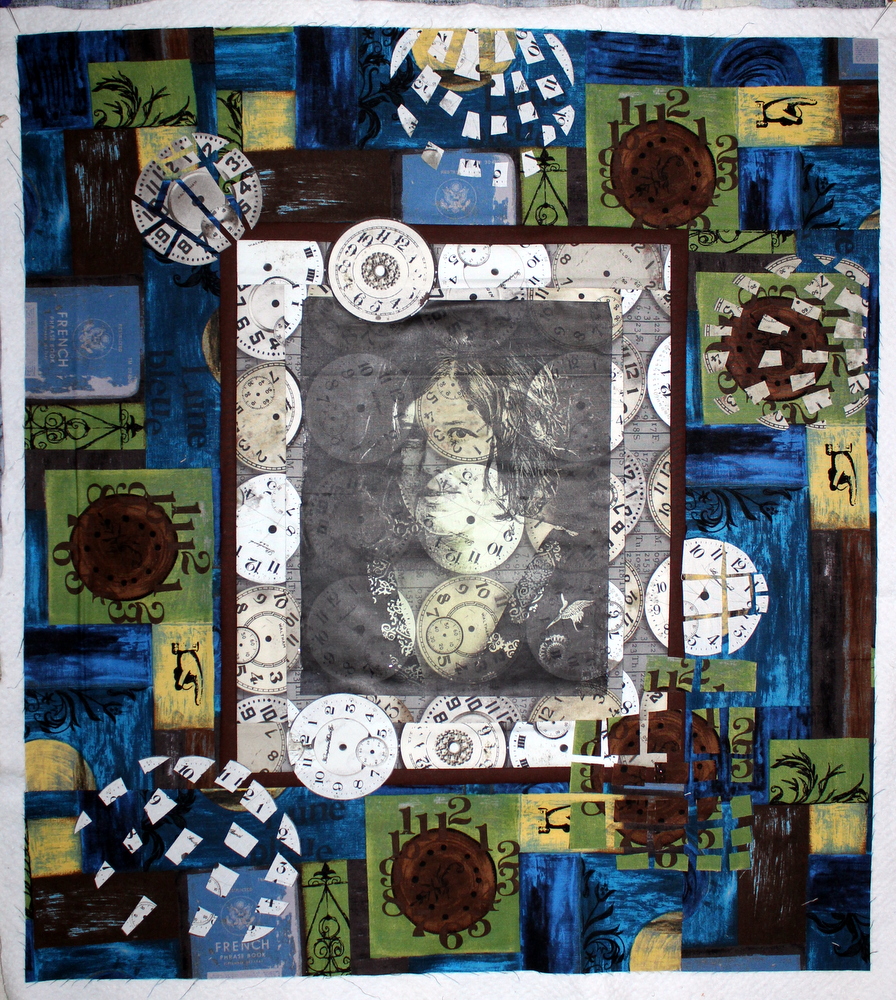
The final challenge was “Time is Up”. I knew I wanted to use HeatNBond’s Inkjet Transfer Sheets to help create a “Time Warp” look for my quilted piece. Today I’m going to show you just how it happened and a few things I learned about the Inkjet Transfer Sheets.
This post isn’t going to be a tutorial – a more of “how I progressed through creating this quilt.” I hope it provides you with some tips and tricks of things you can do when you’re working on a new piece or a challenge.
“Time Warp Quilt” Details:
First – I headed to pinterest and searched “Time Art”. I found this piece for my inspiration.
Well – I have no photo’s of me or my children in the exact same pose at different ages … and I’m not photoshop capable so I decided to use a photo taken of me in 2012 by Green Paint Photography.
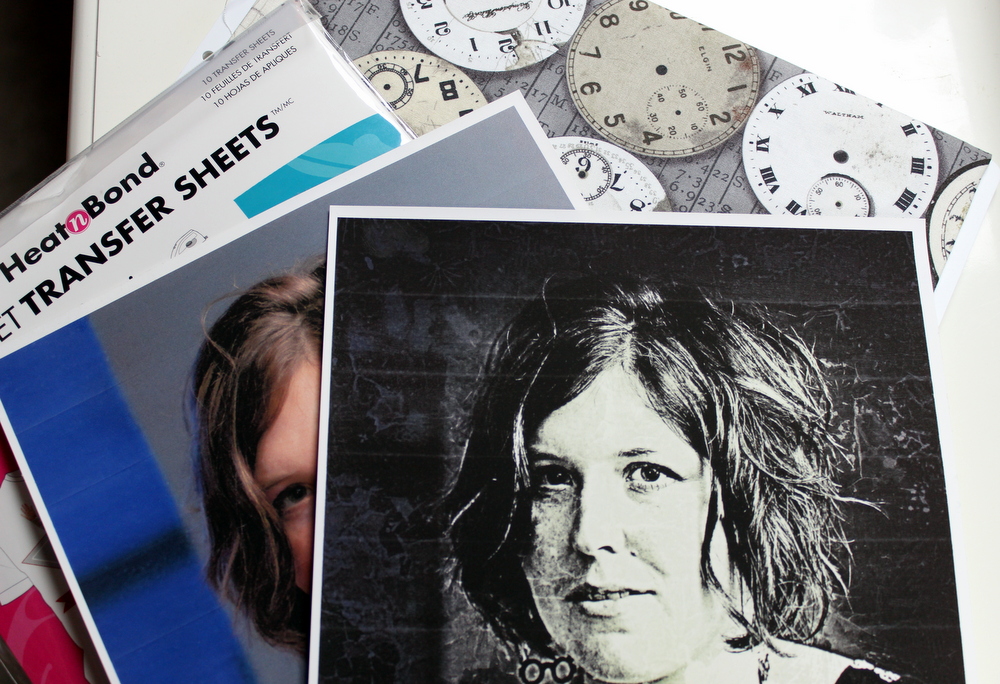
I think it’s the only picture I have of me not smiling AND high enough resolution that I could print it on an 8.5″ x 11″ sheet of HeatNBond® InkJet Transfer Sheets. I wanted to print the image onto the clock fabric you see in the background. First – I printed a colored image onto the HeatnBond® InkJet Transfer Sheets for dark fabric. Before I transferred it I had an epiphany and wondered what would happen if I used HeatnBond® Inkjet Transfer Sheets for light fabric and fused it to the clock fabric. I decided to give it all a try!
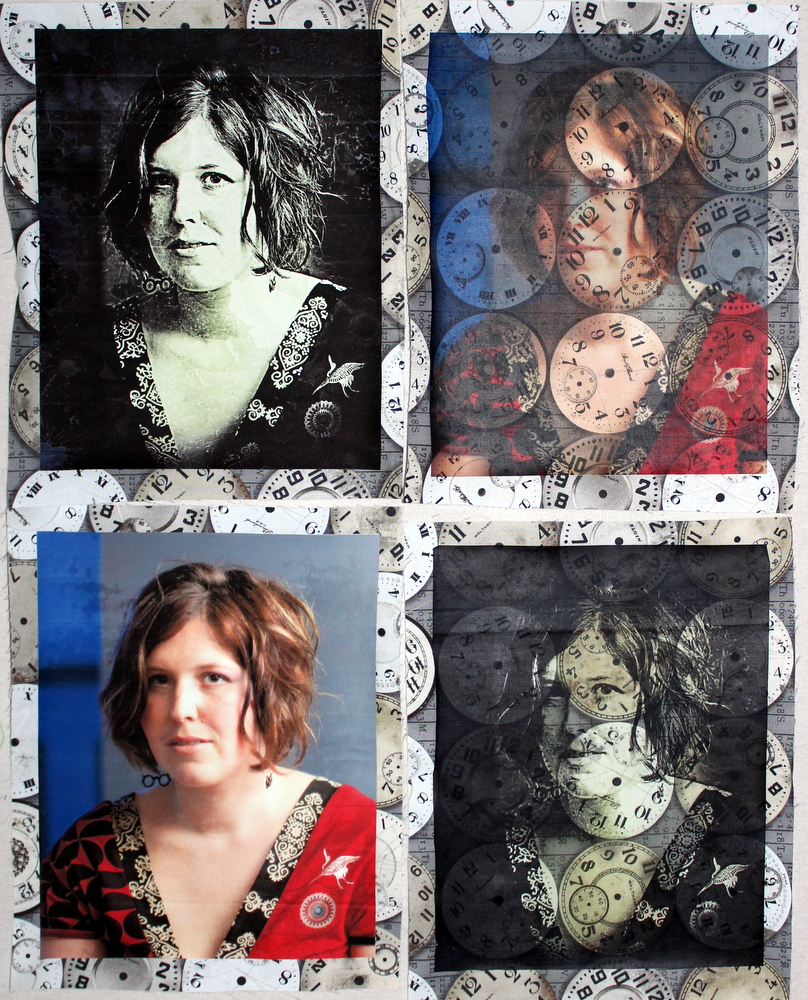
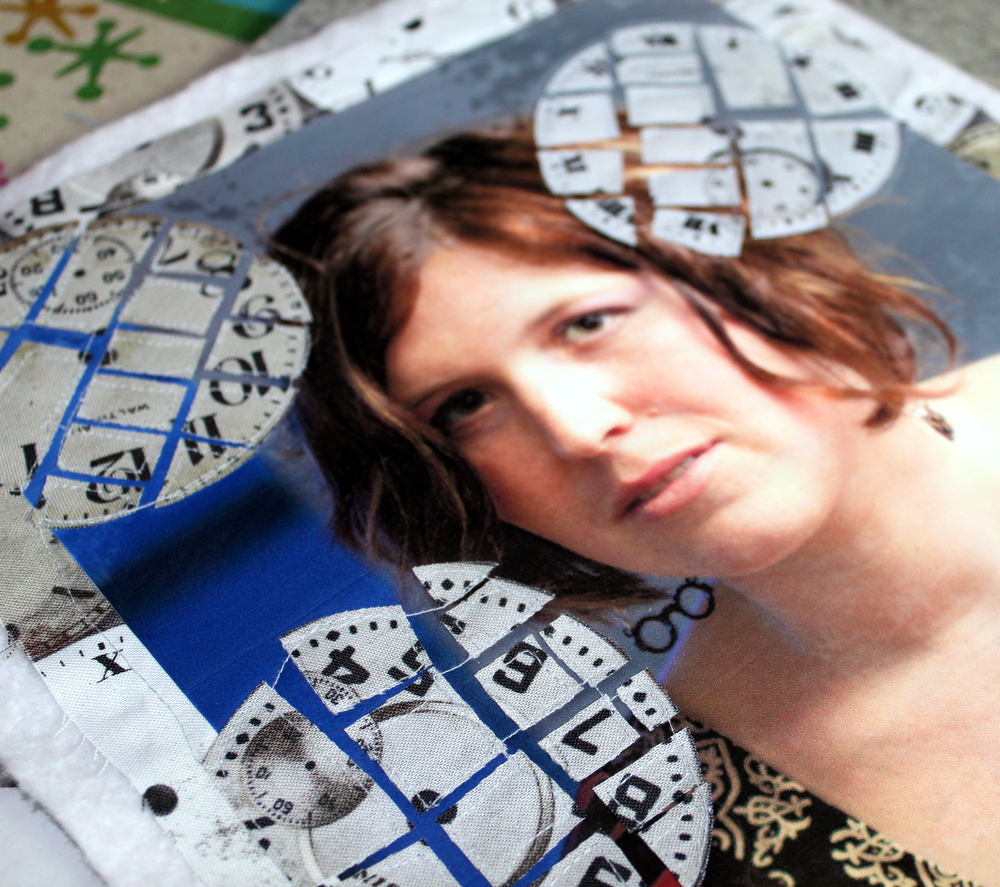
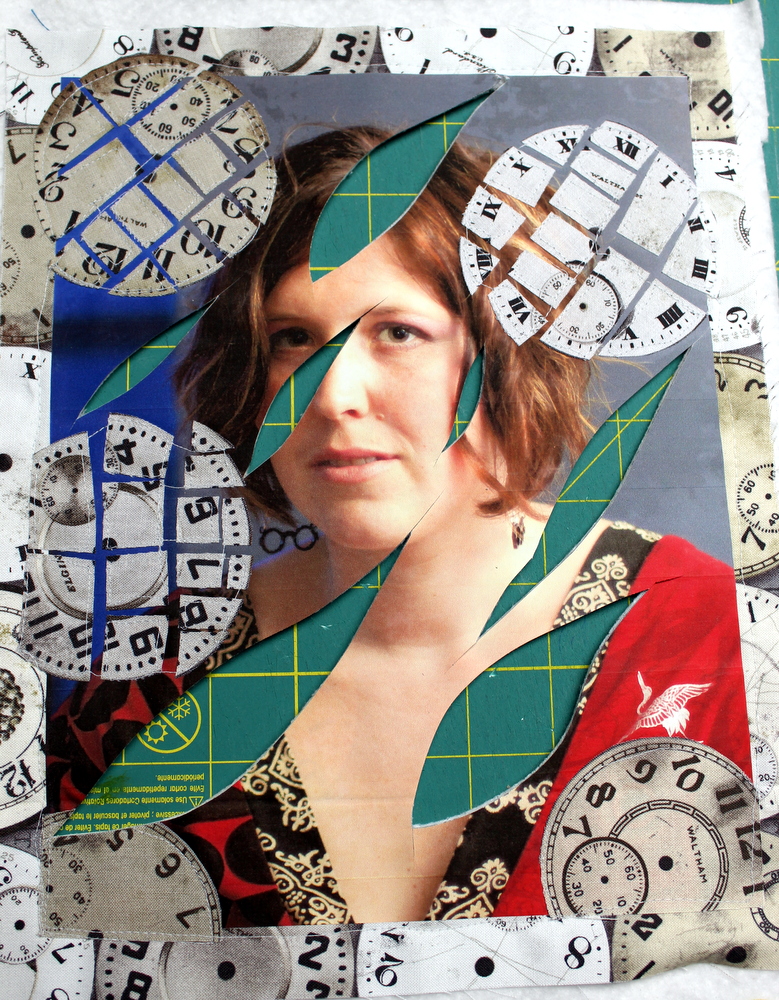
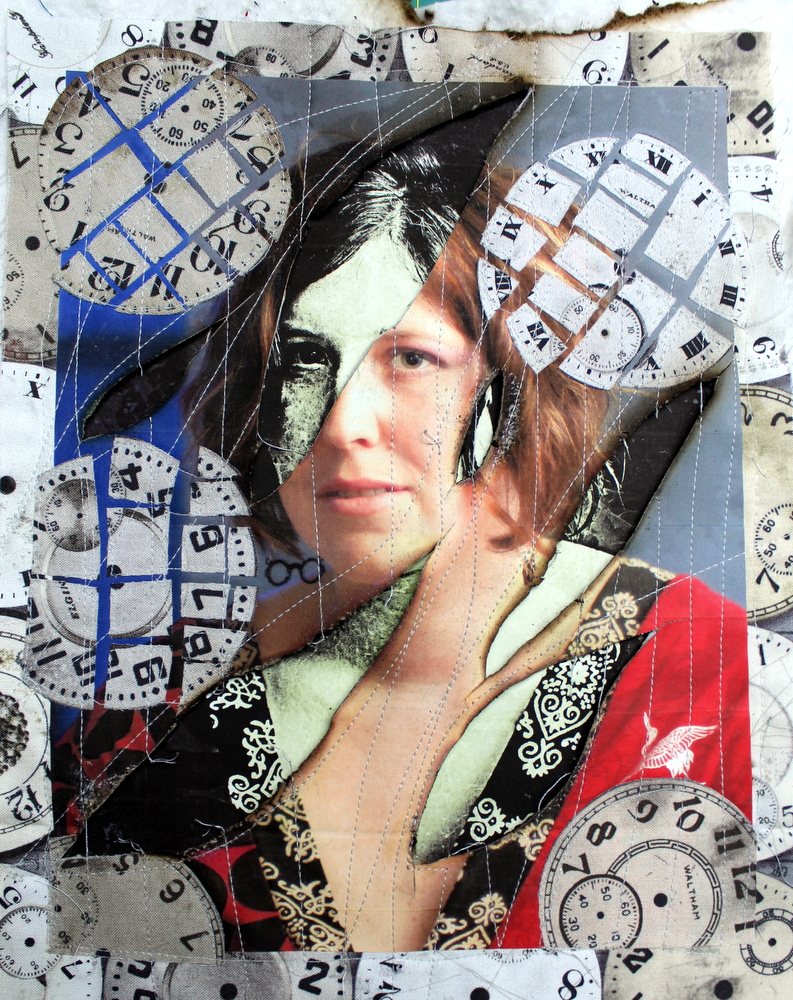
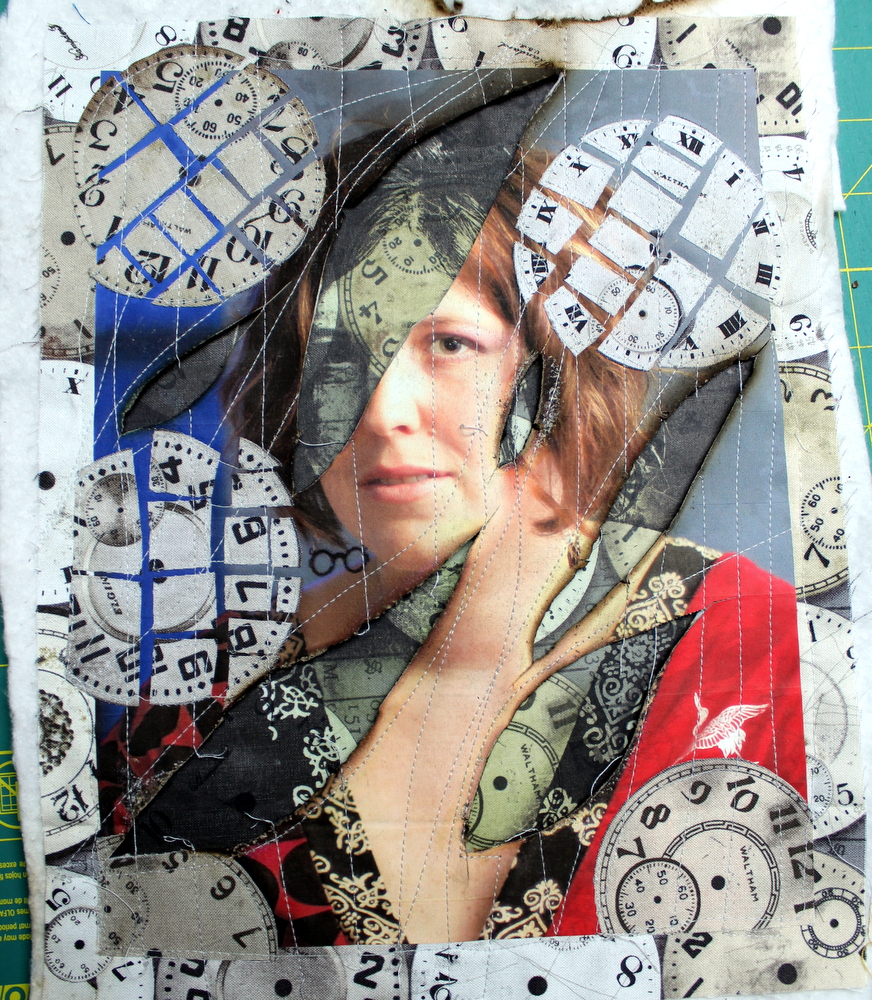
Here are the four images I printed. The two on the left are the photos printed on HeatnBond® InkJet Transfer Sheets for dark fabric and fused to the clock fabric. The two on the right are the photos printed on HeatnBond® Inkjet Transfer Sheets for light fabric and fused on to the clock fabric. I love them each in their own way. The transfer sheets for dark fusible really show off the picture on the fabric and the transparency of the transfer sheets for light fusible with the clock fabric just create an entire new, creepy/eerie look to the images.
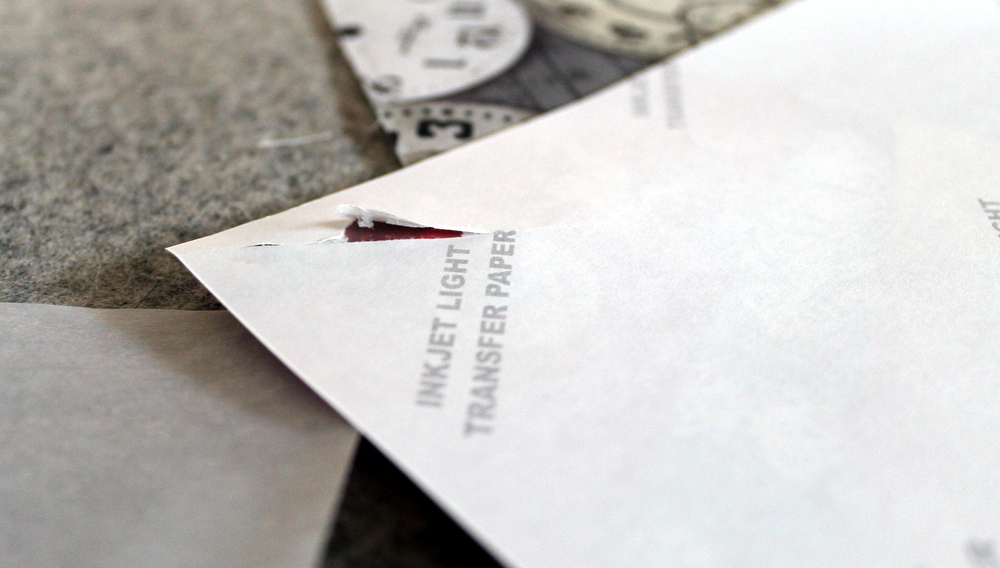
***TIP**** If you are having trouble getting the paper off the back of the printed transfer sheets, score it with a pin … it makes peeling it off easier to get started!TooltipTextI really wanted to incorporate the clock fabric onto the image as well but wasn’t sure how the transfer sheet would handle being fused onto. I figure I’d give it a try and if it didn’t work I still had three more images to play with.
I fused HeatNBond® Lite onto the wrong side of the clock fabric, cut out he clocks and placed them how I wanted. I placed a pressing paper sheet on top of everything before pressing the fabric in place. It worked just FINE!
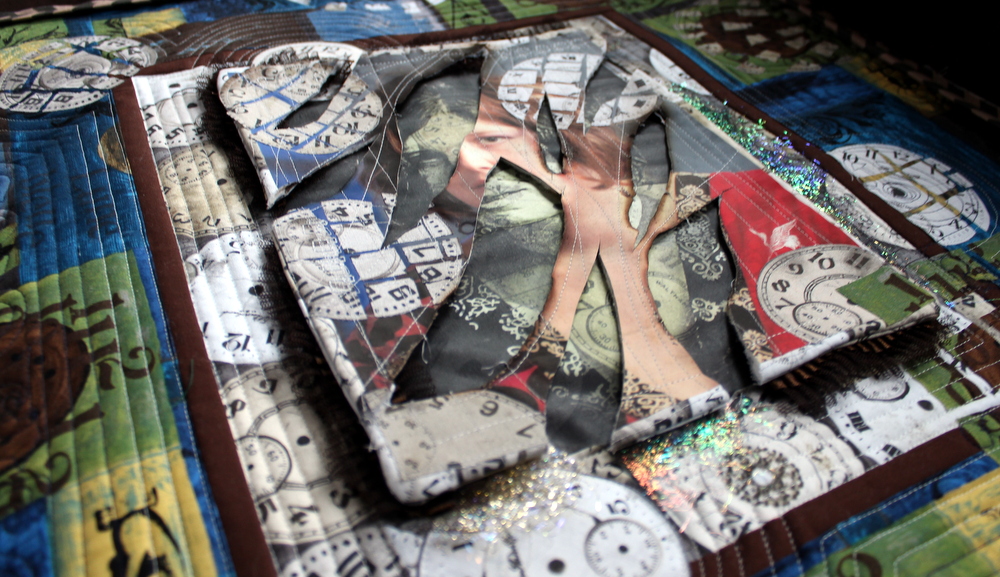
The next step is to work on the layering effect of one image over the other. Using SprayNBond® Basting Adhesive I basted some batting to the back of the colored image. Once the batting was on I free motion quilted around the clock pieces I fused in the previous step.
It’s time to cut some holes in the photo. This is a bit scary … what if I cut them in the wrong place? How big should I cut them? You know what you need to do in this situation – just make the cut and don’t think about it too much.
Once cut, I decided I wanted to see what happened if I burned the edges of the cuts. It turns out that it didn’t do all that much to make it look cooler. Instead it burned the batting more and just really stunk. I wouldn’t do that again for this project.
Do I want to layer this piece over just the black and white photo? OR
Or over the black and white photo with the clocks showing through?
After much back and forth I decided the clocks just looked cooler.
My top piece was basically “done” as much as I needed it to be at this time. I bound it with a faced binding. 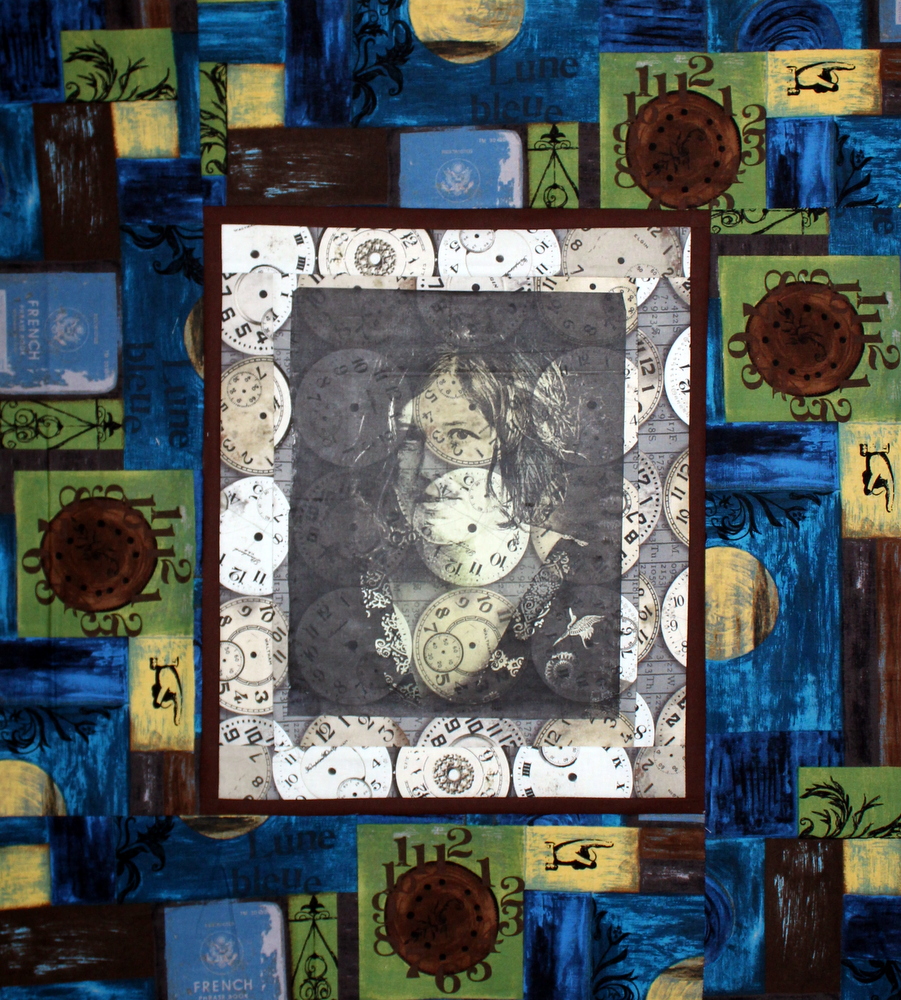
The bottom layer of the quilt needed more so I added borders to the black and white clock image. First a round of more clock fabric, a thin round of brown and to finish it off a nice this round patchwork-esque fabric with more clocks and other fun items!
But I wasn’t done yet! I took more of the clock fabric and used HeatNBond® Lite to add a layer of fusible. I laid them out in different locations before deciding what looked the most pleasing to the eye. Before pressing them into place I covered them with a Pressing Sheet. ***VERY IMPORTANT to remember the pressing sheet.***
It was time to baste and quilt this piece.
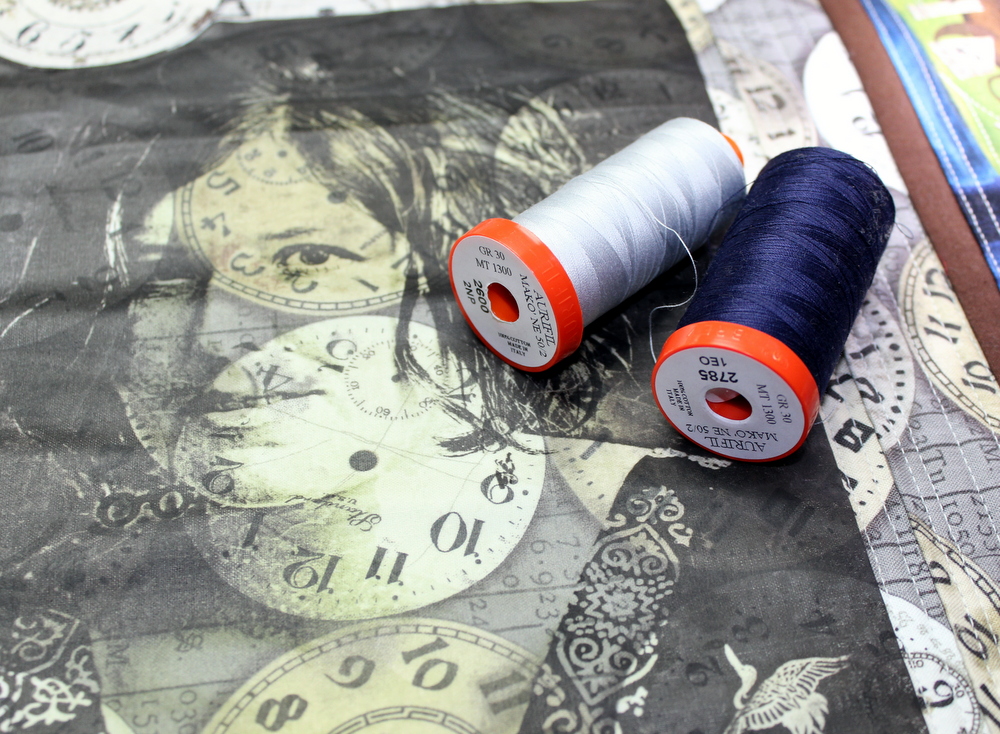
I chose Aurifl 2600 and Aurifil 2785 to do this important job of quilting.
Once the piece was quilted I bound it in a two-toned brown chevron.
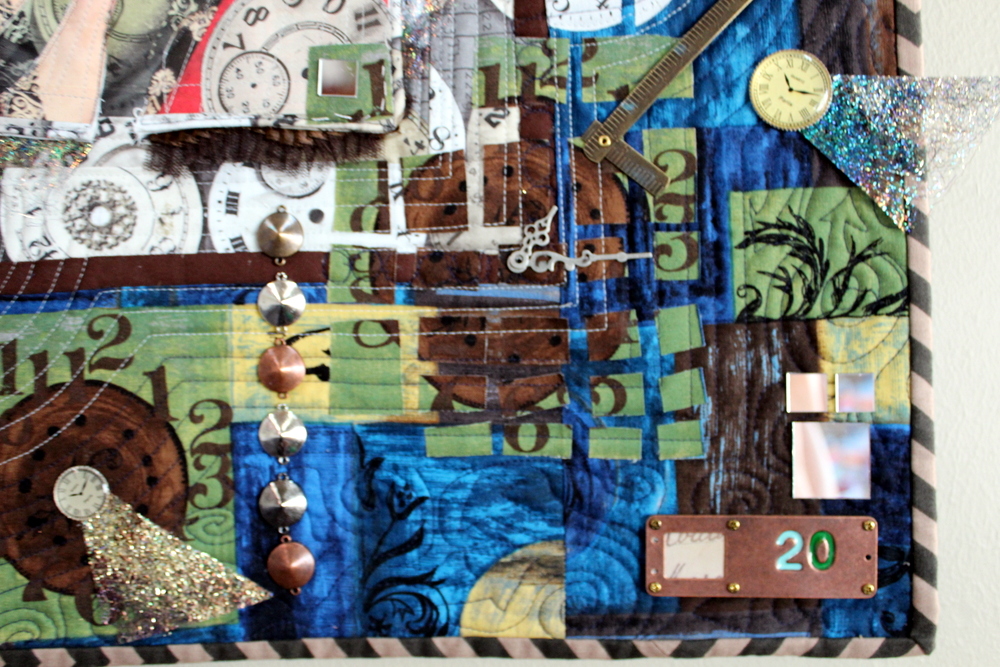
This is a piece that screams “embellish me!” So listen to it. Fun wavy tulle ribbon was glued onto the edges of the smaller quilt. When the ribbon ran out, angelina fiber was glued to the other edges. I started hand stitching the two pieces together but soon realized this wasn’t going to work. Back to the sewing machine and stitched all the edges down so the two quilts were now layered to make one.
Time for more embellishing!
I laid the quilt out along with a lot of random ephemera I found in my jewelry making stash and started to glue things in place using Liquid Fabric Fuse™.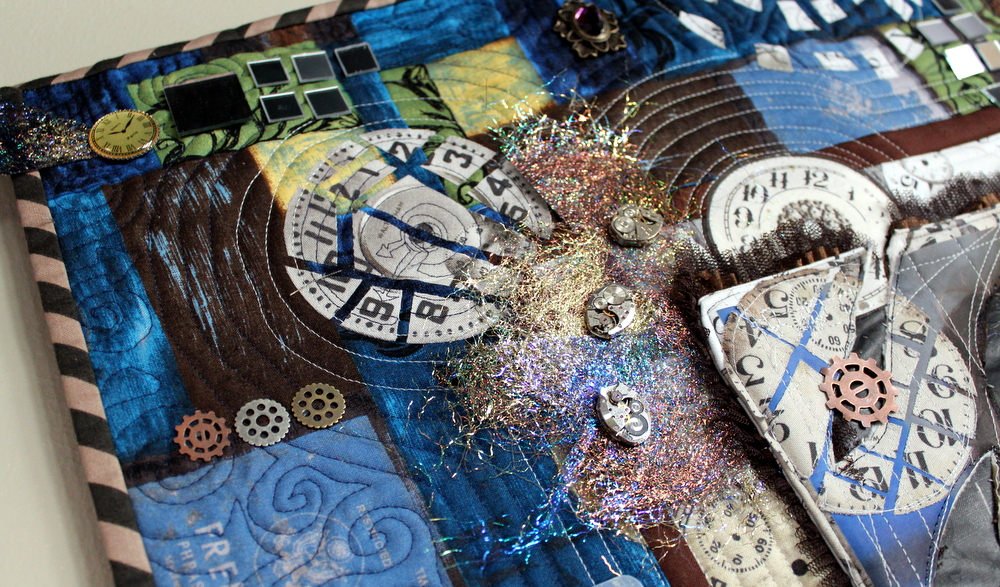
Everything from gears, to watch guts, watch faces, old jewels,
and of course – mirrors, were glued on.
A Trick for Gluing
A few days before bringing the quilt anywhere take out the quilt and start pulling on all the things that are glued on. If they come off – glue it again! This piece is NOT going to be washed … it’s going to be hanging on a wall. The glue just needs to stick enough for it to stay in one place.
Before I knew it my quilt “Time Warp” was complete.
The most difficult thing about this piece was knowing when to stop putting more things on it!
I hope this post helped show you a few new techniques you could use for making your own unique pieces!
CELEBRATE NATIONAL CRAFT MONTH!
Don’t miss out! Shop with us during #nationalcraftmonth to save 15% + FREE SHIPPING all month long on all orders over $15 (after coupon applied). And that’s NOT all! Each time you shop with us you’ll be entered to win the ULTIMATE Deco Foil Giveaway! That’s right! Just imagine about every product we make! It’s valued over $300! So this is the month to shop, save AND be entered to win!!
Visit us at http://www.thermowebonline.com and use code: LUCKY
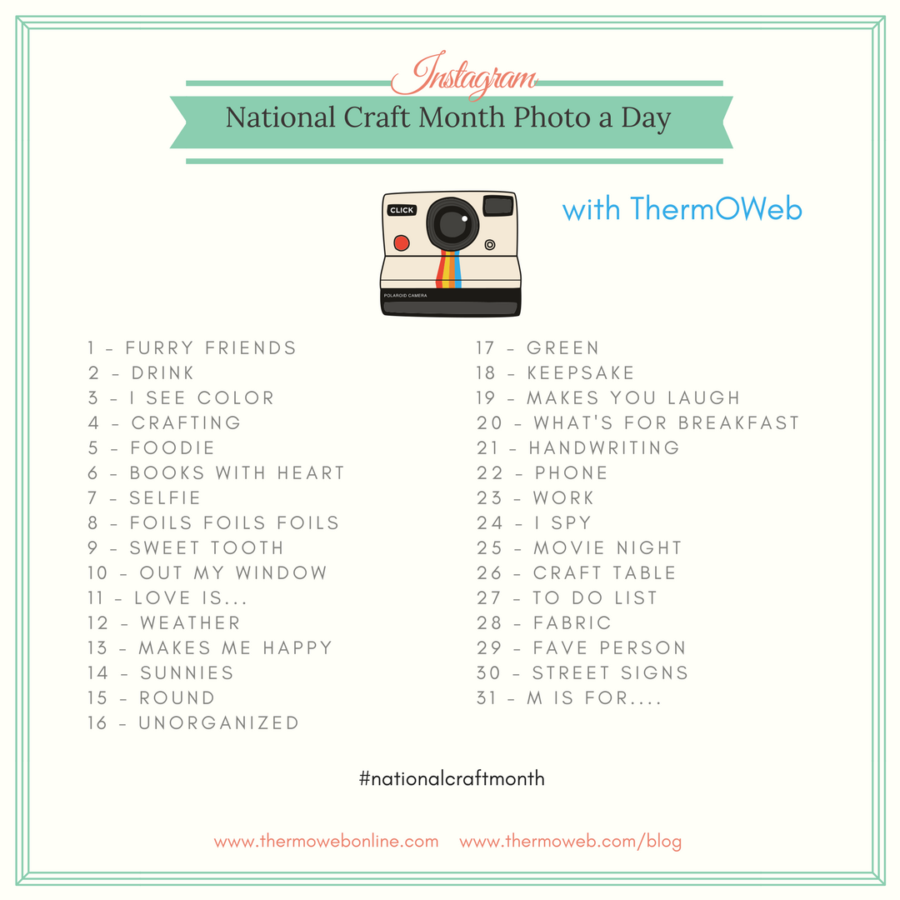
And that’s not all! Join us on Instagram for a chance to win prizes ALL MONTH LONG! That’s right! Join us in our Photo Challenge by sharing and tagging us #thermoweb in photos with each day’s challenge theme! The more you participate the better your chances are to win as we’re not telling you what days we’re picking winners!

