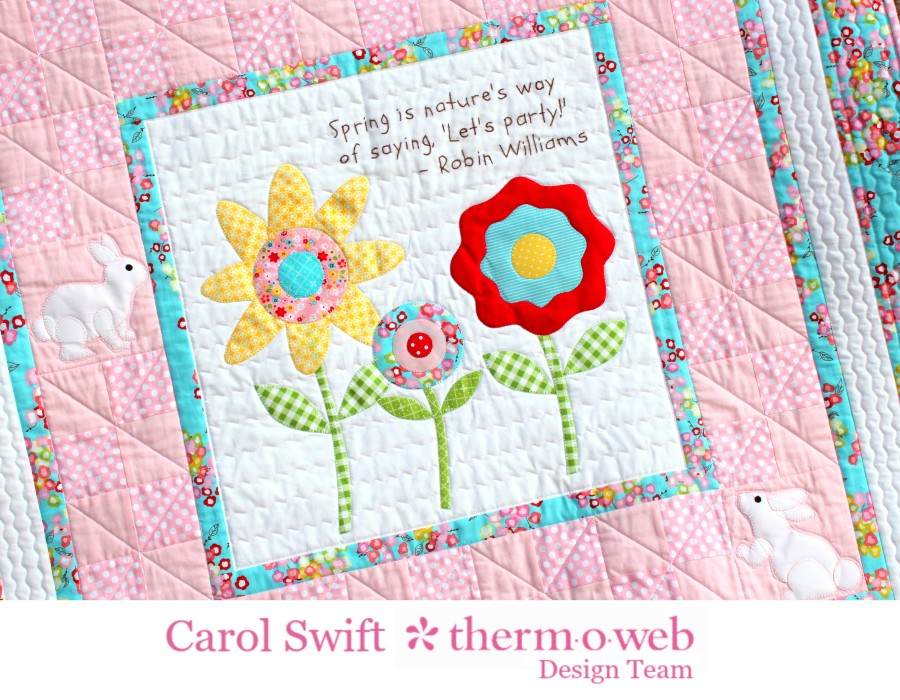
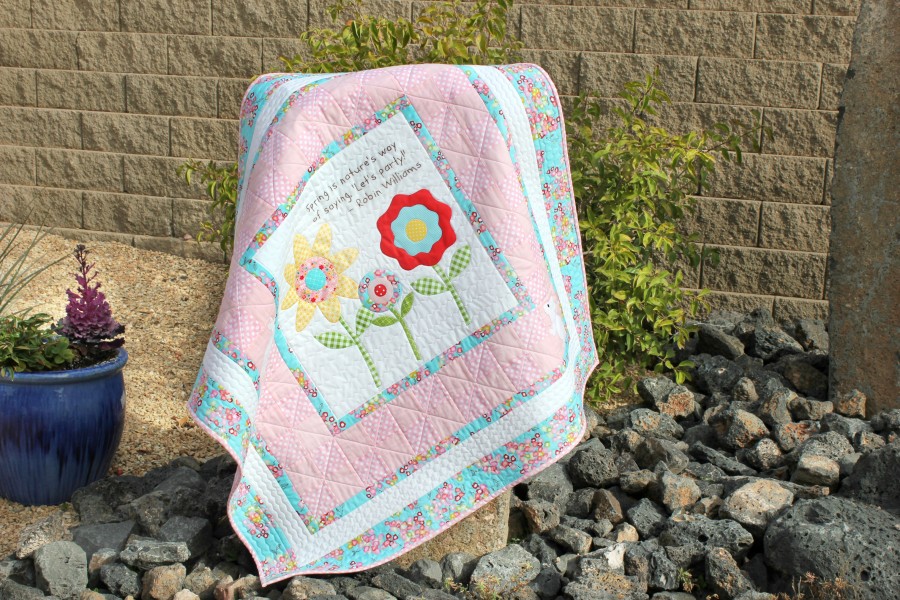
I’m feeling a whole lot of flower power coming on and think it must be time for Spring to arrive. There will be tulips, roses, and other sweet-smelling flowers to awaken us from the cold winter weather…I’m so excited for that to happen! I’m sure there will be bunnies hopping around looking cute with their cottontails, too. All of those wonderful things about spring are why I love the quote by Robin Williams:
“Spring is nature’s way of saying, ‘Let’s party!”
Seeing a garden full of beautiful flowers definitely looks like a party is going on to me and I love parties!
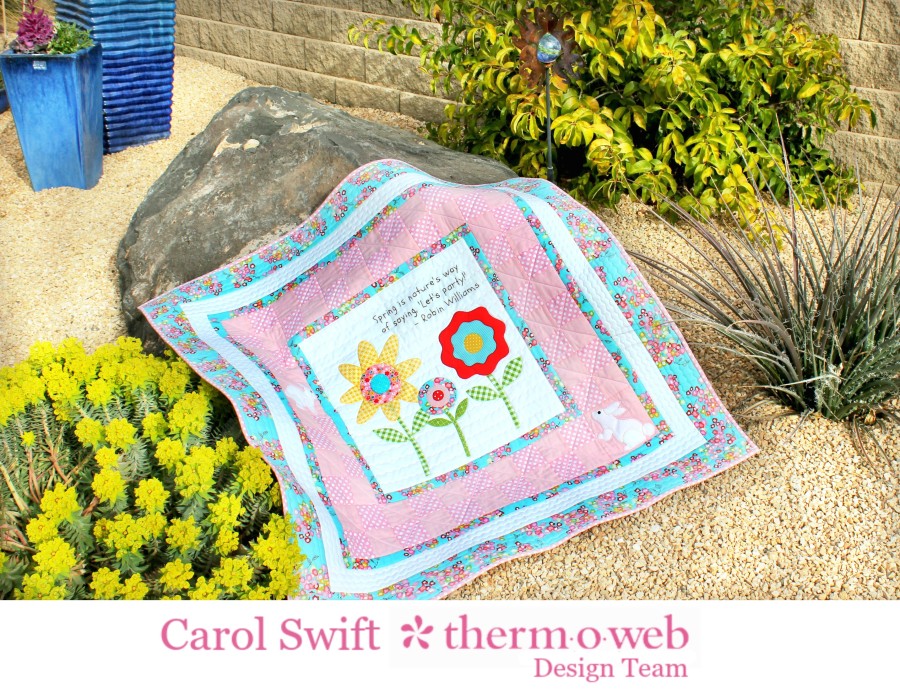
It’s time for a Spring Party Quilt!
What you’ll need:
Fabrics of your choice to make this 44″ x 44″ quilt
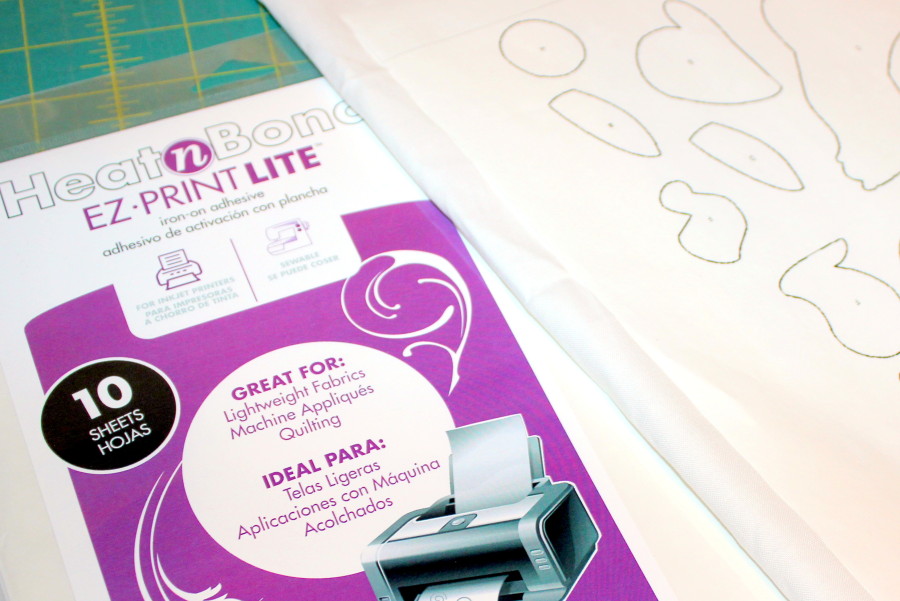
Heat N Bond® EZ Print Lite, 8.5” x 11”
ThermOWeb Stitch n Sew Fleece Sew-in High Loft
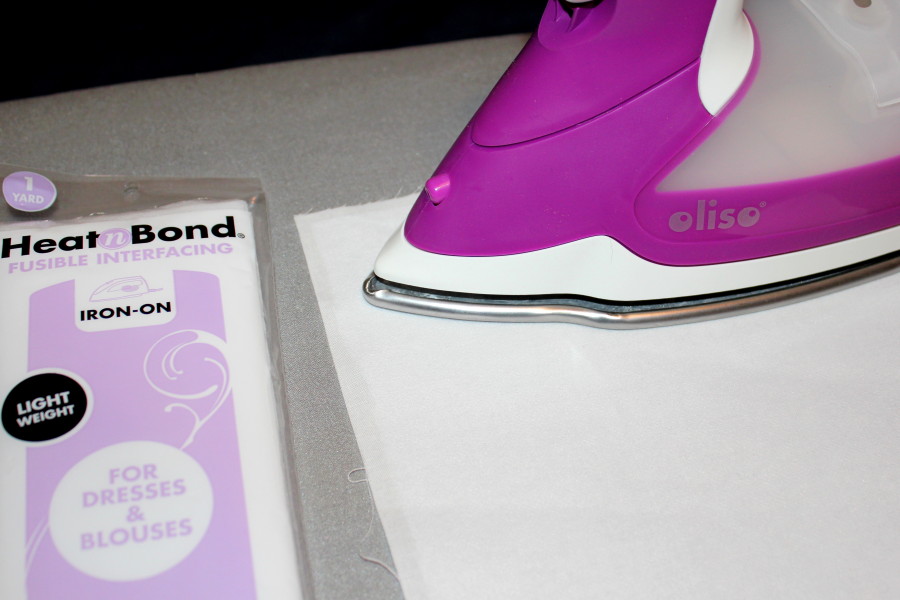
Heat N Bond® Fusible Interfacing – Light or Heavy Weight
Spray N Bond® Basting Adhesive
Directions are given using fabrics from the quilt shown above. Replace pattern designs and colors with your choice of fabrics. All seams are sewn at 1/4” wide. Download the PDF instructions, flower patterns, and bunny patterns Spring Party Quilt Instructions
Cutting instructions:
4 square blocks:
Cut 1 – 18½” x 18½” white square
Cut 36 – 3” x 3” pink dot squares
Cut 36 – 3” x 3” pink squares
Bunny blocks:
Cut 2 – 5½” x 5½” pink squares
Border #1:
#1a – Cut 2 – 1½” x 18½” flowered border
#1b – Cut 2 – 1½” x 20½” flowered border
Border #2:
#2a – Cut 2 – 1½” x 30½” flowered border
#2b – Cut 2 – 1½” x 32½” flowered border
Border #3:
#3a – Cut 2 – 2½” x 32½” pink dot border
#3b – Cut 2 – 2½” x 36½” pink dot border
Border #4
#4a – Cut 2 – 4½” x 36½” flowered border
#4b – Cut 2 – 4½” x 44½” flowered border
Sew 1 – 3” x 3” pink square to 1 – 3” x 3” pink dot square. Press towards pink dots. Repeat to make 36 sets.
Sew one pink and pink dot set to one pink and pink dot alternating directions. Repeat to make 18 sets. Set aside.
Applique:
Using an inkjet printer, print out pattern pieces using Heat N Bond® EZ Print Lite sheets. Follow the manufacturer’s directions to the iron adhesive to the wrong sides of desired fabrics. Let cool. Cut out adhesive-backed applique pieces. Remove backing from cut out pattern pieces and follow manufacturer’s directions for ironing them to the fabric. *It is recommended that all applique pieces be positioned in place before ironing.
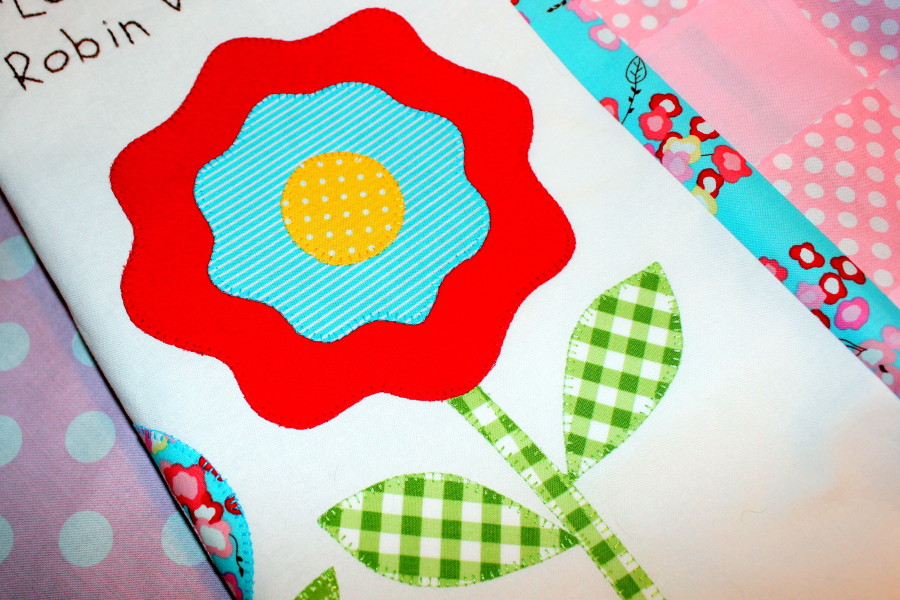
Blanket stitch, straight stitch, or zigzag around pieces after appliqueing flowers and bunnies to the fabric.
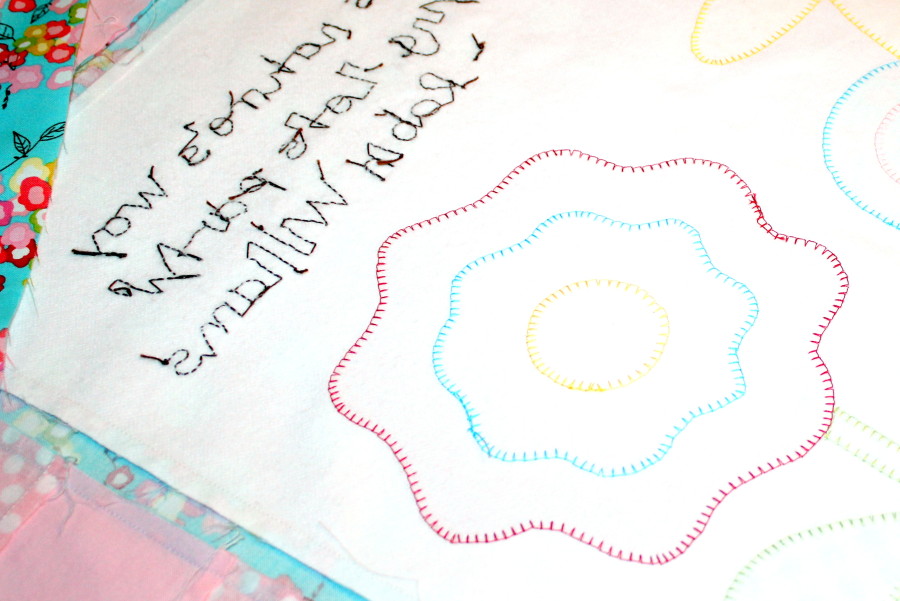
Trace quote on 18½” x 18½” white center square fabric using a pencil or washable pen. After tracing the quote, iron Heat N Bond® Fusible Interfacing to the wrong side of the 18½” x 18½” center fabric piece.
This helps to hide the embroidery threads on the back of the letters so they don’t show through to the front of the quilt, plus it stabilizes the stitches around the applique so there is less pull on the fabric.
I hand embroidered the text on the center fabric piece, but you could use HeatNBond® EZ Print Inkjet Transfer Sheets and iron on the lettering. It’s important to remember to reverse lettering if using transfer sheets.
Assemble quilt using ¼” seams:
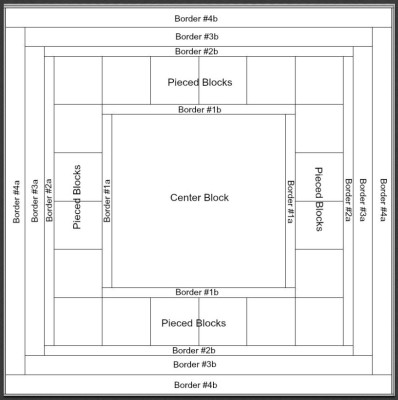
Sew two rows of six preassembled blocks together. Sew preassembled blocks and bunny blocks together as shown on the quilt. Sew Border #1a – 1½” x 18½” blue-flowered border to sides of center 18½” x 18½” block. Press towards borders. Sew Border #1b – Cut 2 – 1½” x 20½” blue-flowered border to the top of the block. Press towards borders. Sew the block sets to the left and right of the center block group. Sew the preassembled blocks on top and bottom of the center block group. Complete quilt top by adding borders #2, #3, and #4.
Here’s an easy way to prep a quilt for either hand or machine quilting using Spray N Bond® Basting Adhesive and ThermOWeb Stitch n Sew™ Fleece Sew-in High Loft:
Protect the area you’ll be using the Spray N Bond Basting® Adhesive by placing an old sheet or paper under and around the area you’ll be spraying.
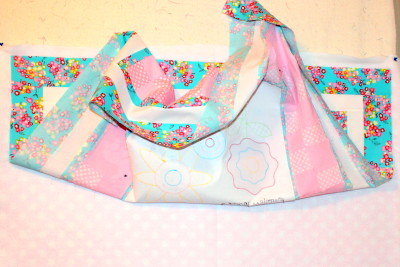
Place the quilt back right side down on your working surface. Using the Spray N Bond® Adhesive, spray about a 6” section across the top portion on the wrong side of the fabric. Place Therm O Web Stitch n Sew Fleece Sew-in High Loft on top of the wrong side of the quilt back over the sprayed surface. Smooth fleece to ensure it adheres to the sprayed fabric. Reposition as necessary. Continue this method of spraying just 6” at a time until you reach the bottom of the quilt back, smoothing as you go along. Pinning the unsprayed fleece out of the way while spraying portions of the quilt back help avoid sticking in the wrong areas.
Place quilt top on the unsprayed side of the fleece with the right side of the quilt facing up, wrong side facing fleece. Using the same method used for the quilt back, spray 6” sections to adhere to the quilt front to the fleece. Check both sides to make sure the quilt is smooth and there are no puckers or folds. This method works best with twin-sized or smaller quilts.
Now the quilt is ready to be hand or machine quilted. Add binding using your favorite method and you are ready to use your Spring Party Quilt!

Mary
March 23, 2016 at 9:42 pm (9 years ago)The spring quilt is super cute.
Terry
March 24, 2016 at 12:58 pm (9 years ago)What a fun quilt…great job Carol!!!
Celia McCollum
March 25, 2016 at 3:43 pm (9 years ago)What a cute spring quilt! I love applique!