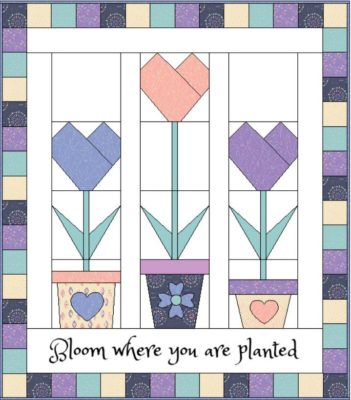
With all the snow and rain happening all over the place, it will be nice to see some warmer weather in the forecast and flowers blooming. I can’t wait! In the meantime, these paper pieced blooms on the It’s Time To Bloom Quilt will have to do. They are so easy using the Stitch n Sew™ EZ Print Quilt Block Sheets and the Heat n Bond® EZ Print Lite sheets make adding applique to the pots a breeze. Your printer will do all the work…no tracing!
IT’S TIME TO BLOOM, finished size: 35” x 40”, paper pieced, applique, and pieced blocks
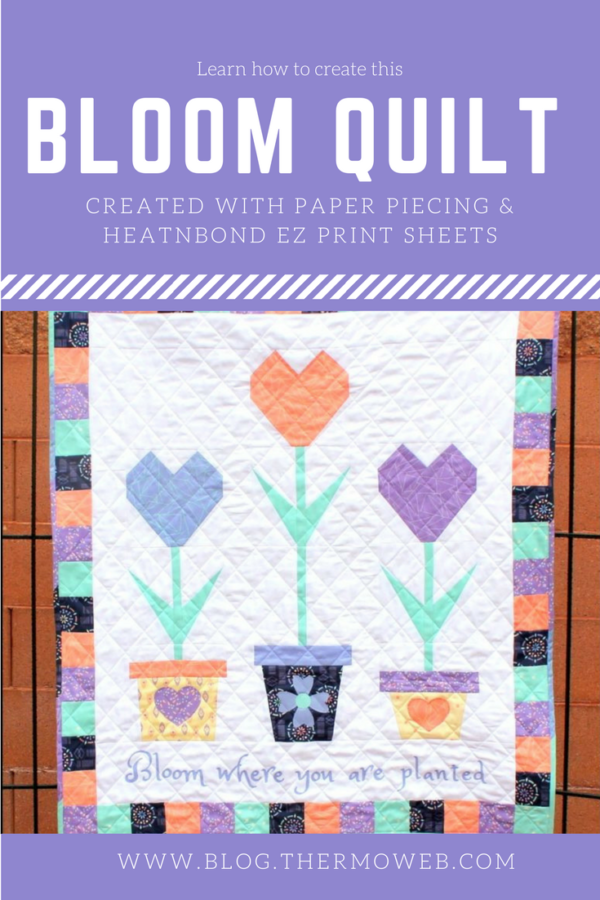
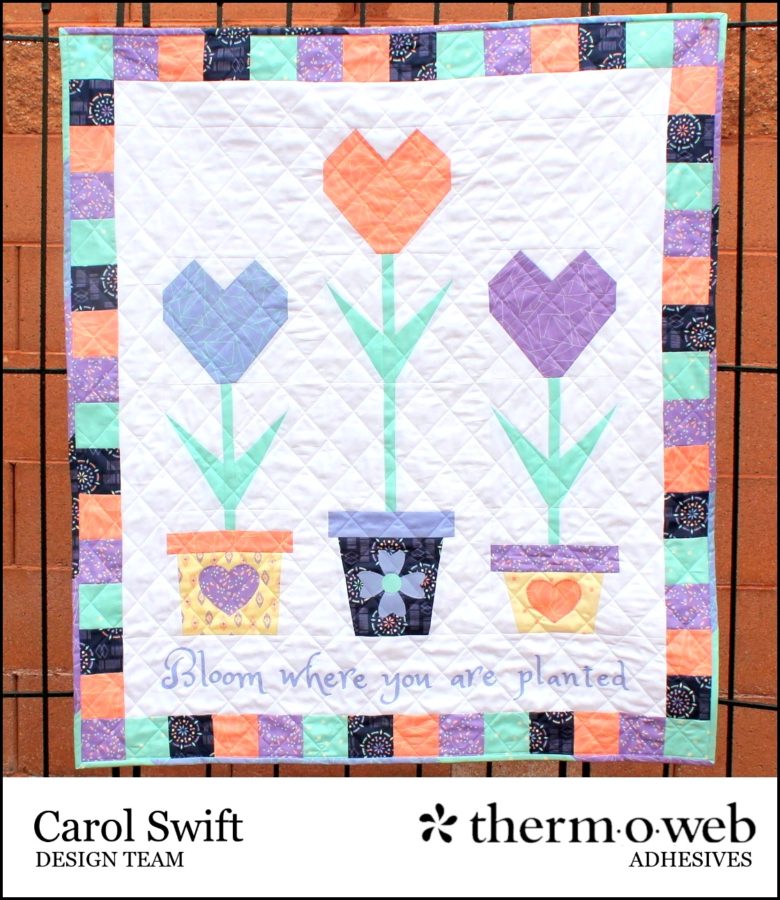
This was quilted with a walking foot using that oh-so nice thread by Aurifil. With all the colors going on over the top of the quilt, I used Aurifil MT 1000 100% nylon thread to have it blend in. The back was white so it was easy…used Aurifl 100% cotton 2024, 50 WT.
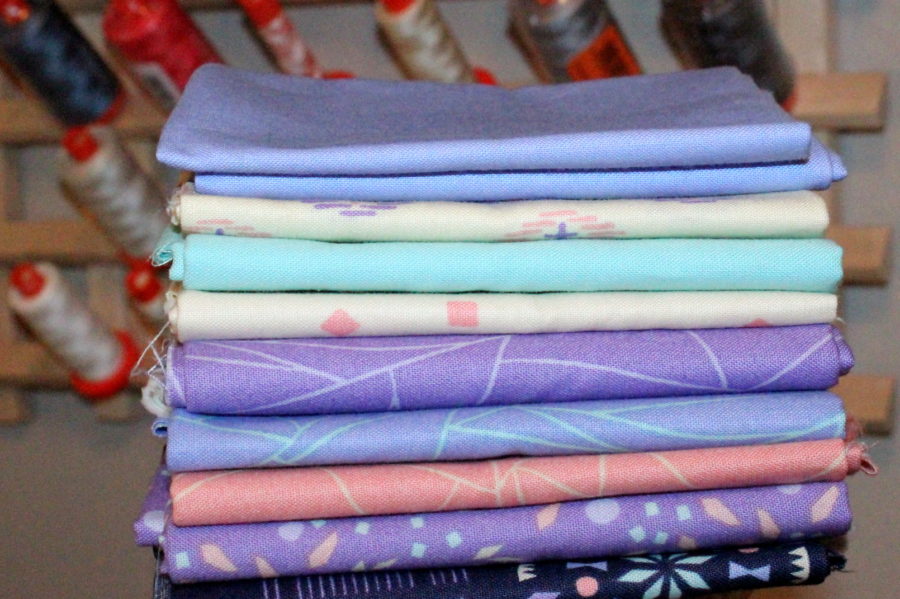
Fabrics by Camelot Fabrics, Kaleidoscope…so beautiful!
Time to Bloom Quilt by Carol Swift, Just Let Me Quilt
What you’ll need:
Stitch n Sew™ EZ Print Quilt Block Sheets
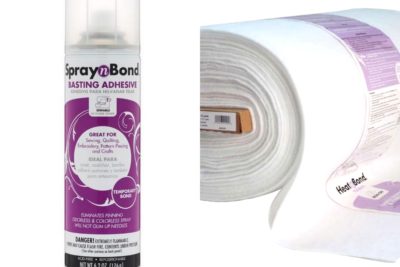
Heat n Bond® EZ Print Lite sheets, 8½” x 11”
Stitch n Sew™ Fleece Sew-in High Loft/Batting
Therm O Web Spray n Bond® Basting Adhesive
Therm O Web Peel n Stick Fabric Fuse™ Tape
Iron – My purple Oliso iron makes ironing so much more fun!
The It’s Time To Bloom Quilt PDF pattern with full instructions and templates for paper piecing and applique can be found It’s Time To Bloom Quilt InstructionsE.
Fabric
¼” ruler for paper piecing
Rotary cutter and mat
Fabric needed:
9 – various colored fat quarters
1¼ yard white fabric
1/3 yard binding fabric
Prepare and sew paper pieced flowers and pots using Stitch n Sew EZ Print Quilt Block Sheets.
Follow the paper piecing directions below or use your own favorite paper piecing method.
Paper piecing instructions:
Print patterns onto Stitch n Sew EZ Print Quilt Block Sheets using an inkjet or laser printer. The sheets are: 100% polyester, transparent, easy to print and tear, and they are washable. Printers vary so make sure your pattern pieces print out at the correct size. Patterns will have a ¼” border around them; do not cut that off!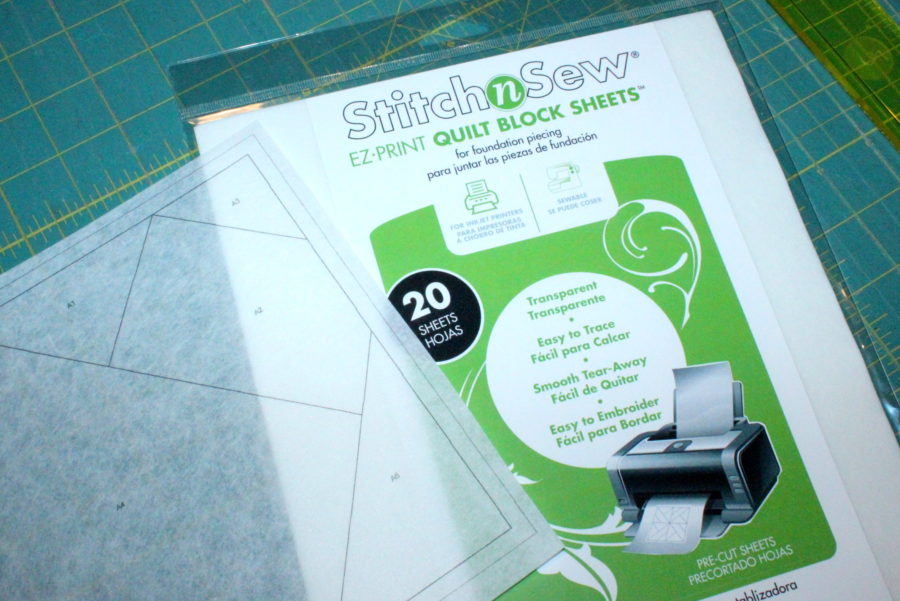
Set your sewing stitch to a very small size to make tearing off block sheets easier. A preferred stitch is 1.5. You’ll be sewing on the lines on the right side of the paper piece pattern. Fabrics will be placed on the wrong side of the pattern. Make sure your fabric always overlaps each numbered piece by at least ¼ around all edges.
Pattern pieces are numbered. Begin paper piecing with #1: Place the wrong side of the fabric for #1 facing the wrong side of the printed pattern. Make sure the fabric overlaps the lines on #1.
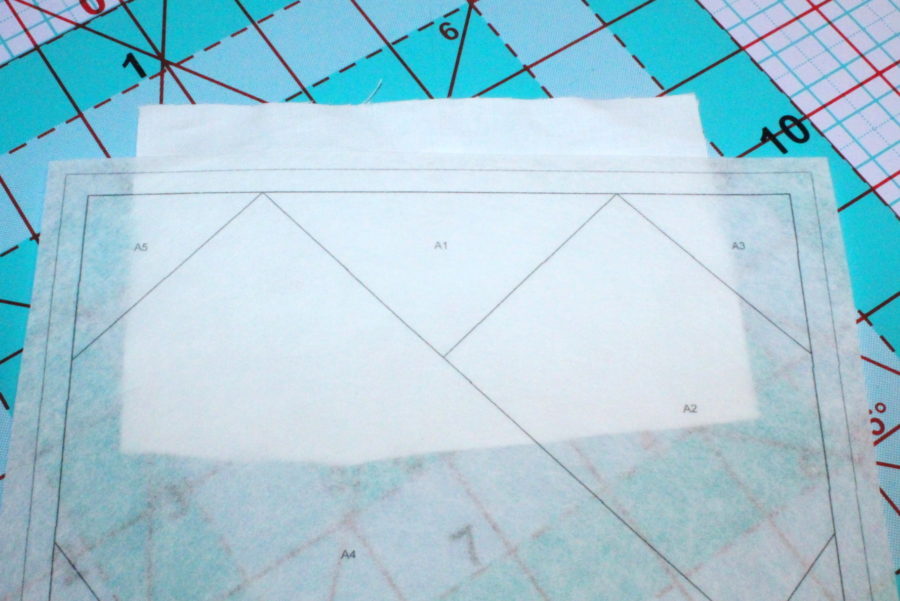
Tip: Pinning or using Therm O Web Peel n Stick Fabric Fuse™ Tape to hold the first fabric piece in place makes it easier to work with.
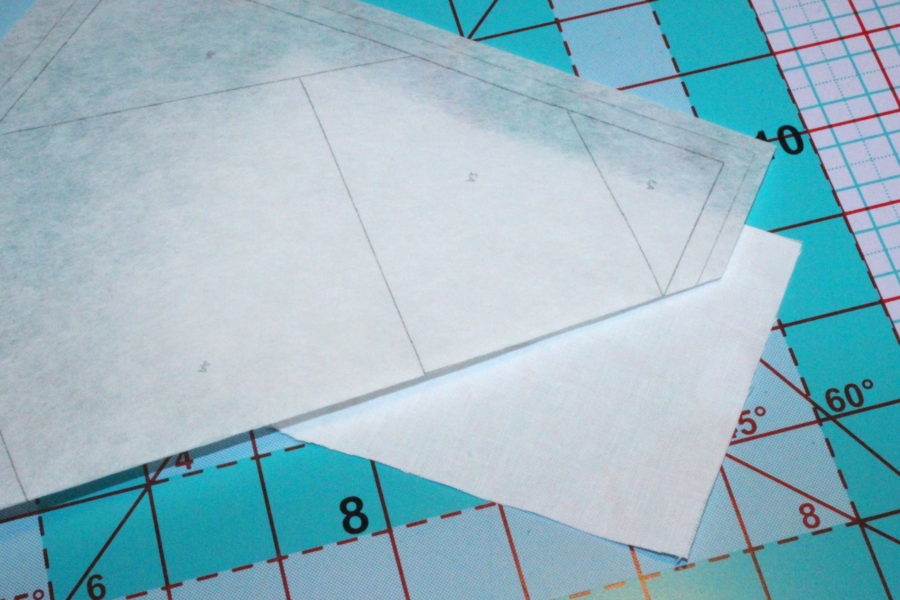
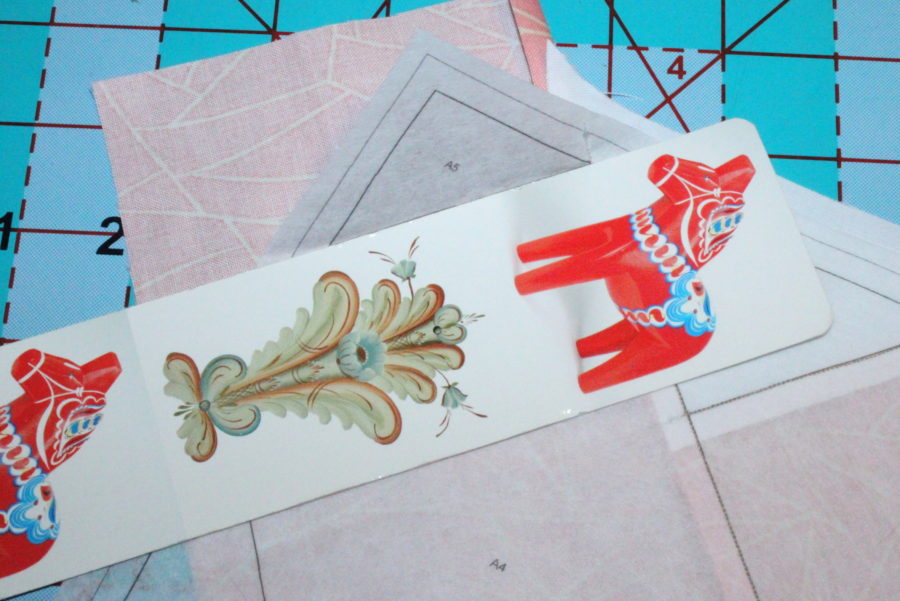
Fold back the paper piece pattern on the line between #1 and #2. Using a piece of cardboard or a bookmark makes folding much easier and accurate.
Place the ¼” ruler up against the fold on the pattern with the lip side down and tightly against the bookmark/cardboard. Use your rotary cutter to trim the extra fabric from piece #1. This will give you a straight line to place fabric piece #2.
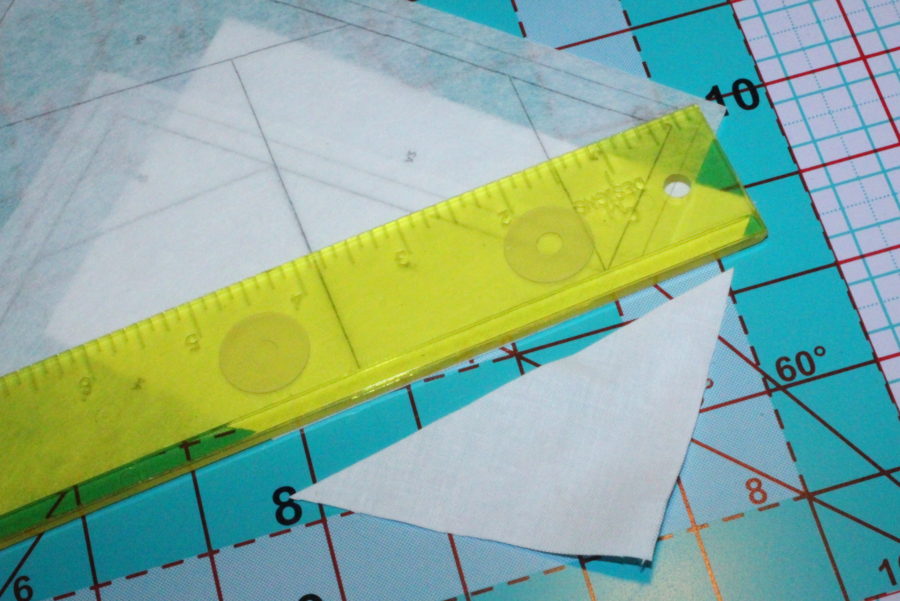
Position #2 fabric on the trimmed edge of piece #1 with the right sides together. Make sure the fabric covers #2 with some overlap.
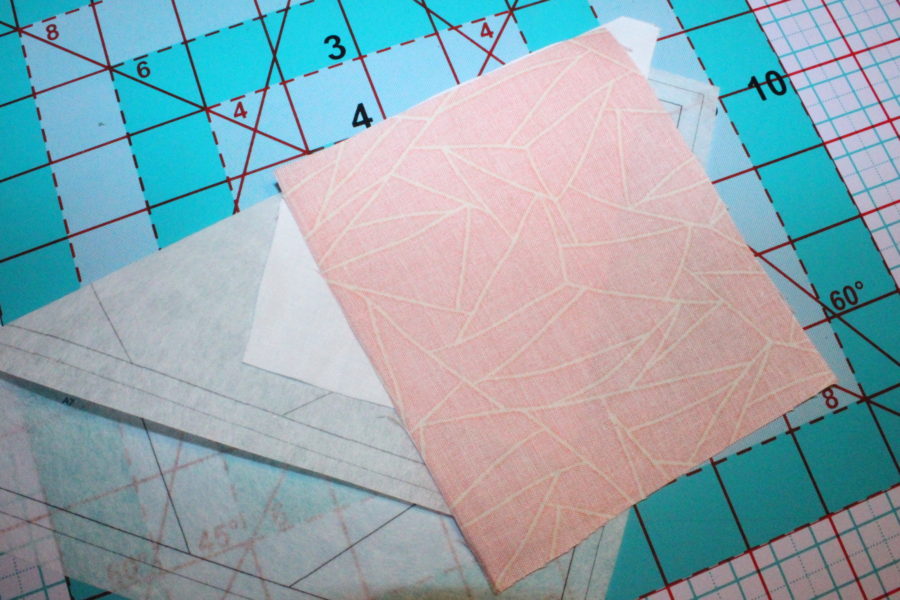
Turn the quilt block sheet over and stitch on the line between #1 and #2. Be sure to sew a few stitches before the line and a few stitches after the line.
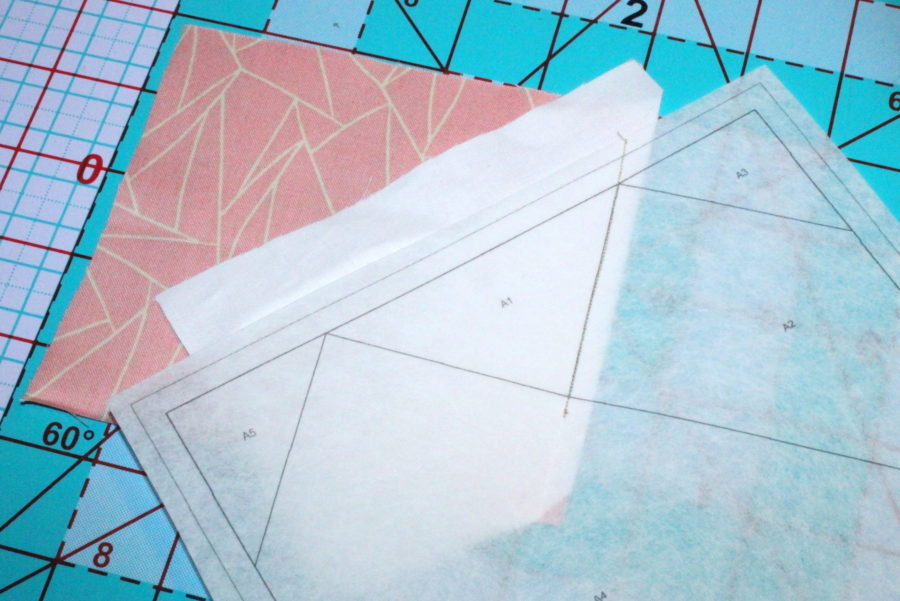
Flip the quilt block sheet over to the right side and open. Press using a dry iron.
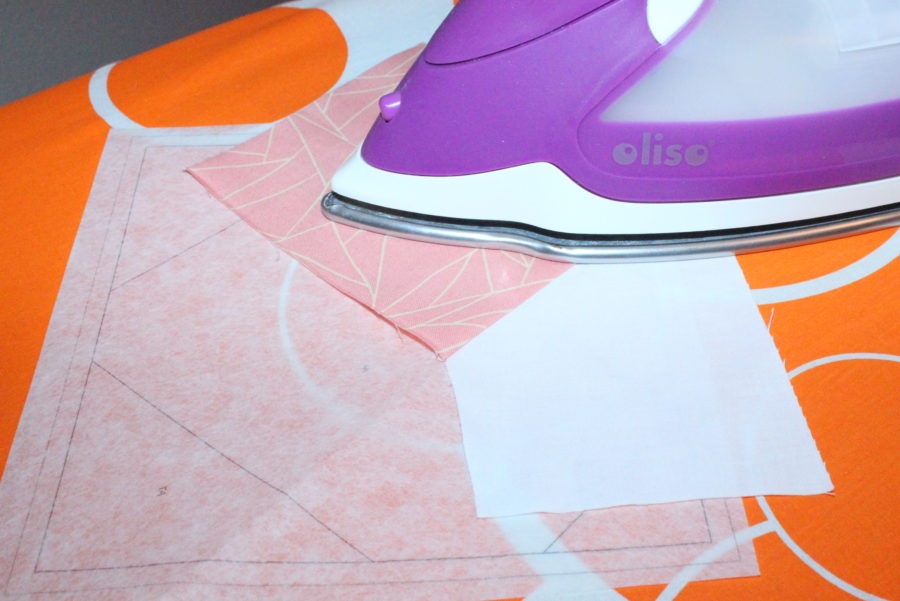
Fold the quilt block sheet back along line between #2 and #3 using the same method of placing bookmark/cardstock on line and folding. Use ¼” ruler to trim excess fabric. Continue folding, sewing, and pressing the rest of the blocks as shown in steps above.
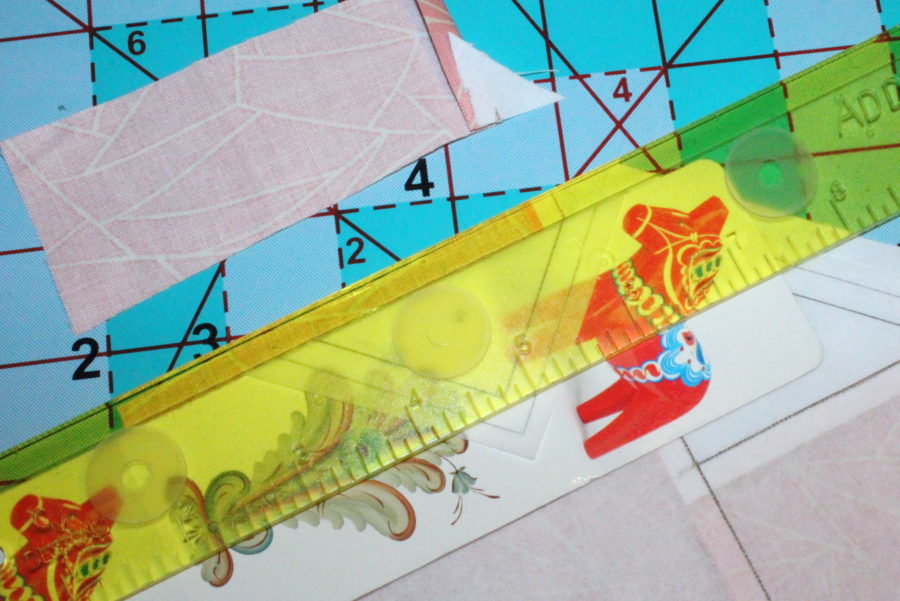
When all fabric pieces have been sewn on the Stitch n Sew™ EZ Print Quilt Block Sheets, trim along ¼” seam on outside of block by lining up the ¼” ruler on the solid seam line. Do not cut on the solid line! Cut on the dotted line to remove excess fabric. Sew the rest of the blocks following the steps above.
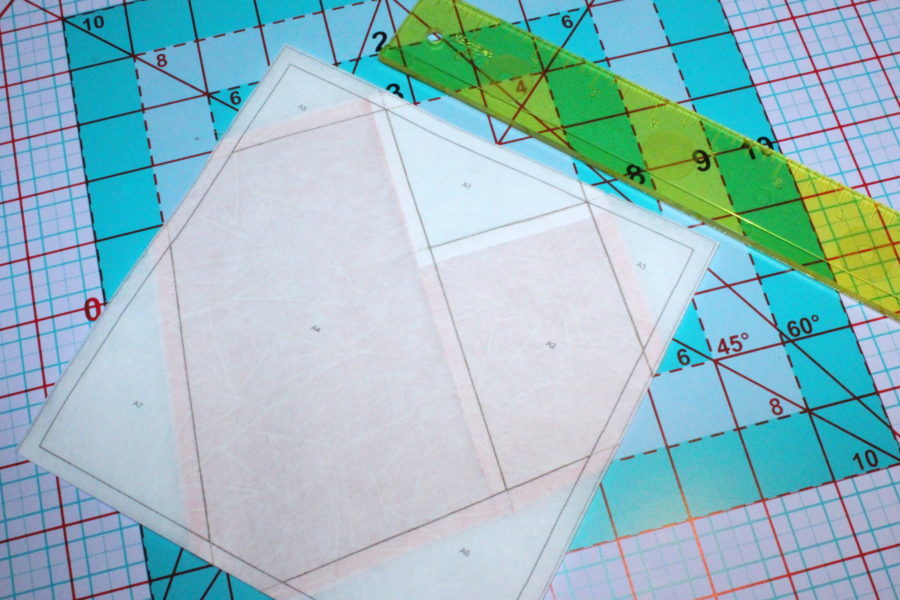
You can leave the HeatnBond® EZ Print Quilt Block Sheet in place to sew all the blocks together. Once the blocks are all sewn together, carefully remove the quilt block sheets.
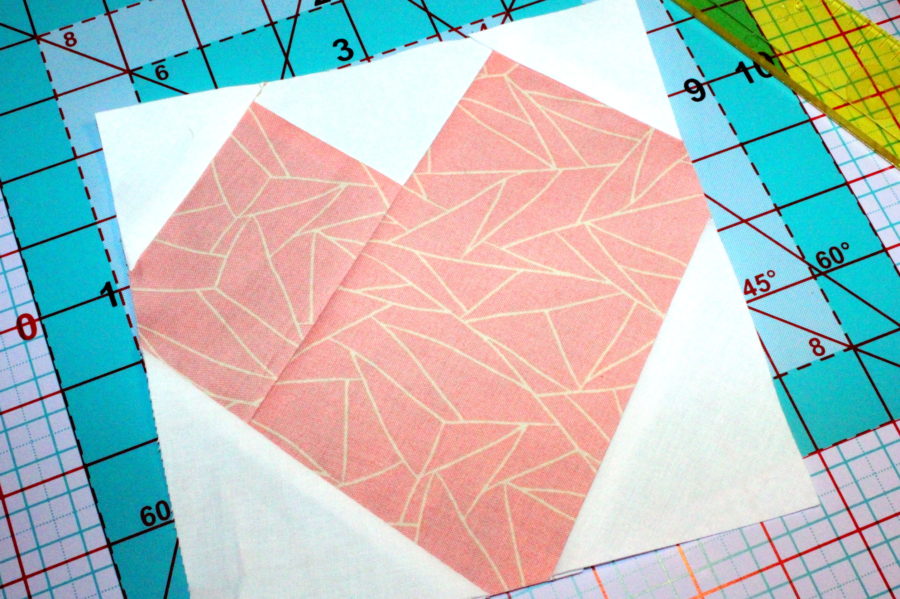
Tips:
If you make a mistake and need to remove stitches, a piece of tape can easily be placed on the line to repair it.
Press on the fabric side, not the paper side. The ink may transfer to your iron if you press on the paper side.
Cover your ironing board with a pressing cloth or large scrap of fabric will help to prevent ink from getting on your ironing board cover.
Do not use steam when pressing the blocks. A dry iron is best.
TooltipText
Fabric Applique Instructions: Using your inkjet printer, print out applique pattern pieces using Heat n Bond® EZ Print Lite Sheets. Load one sheet at a time into the paper tray. Sheet should be placed so printing is on the smooth side of the paper. Print quality at the normal setting and for plain paper. Allow 5-10 seconds for ink to dry.
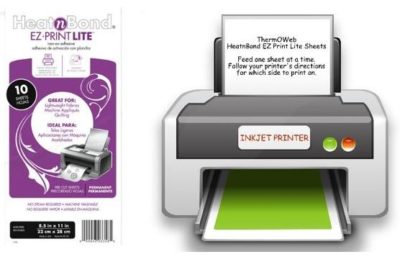
Fusing Applique Instructions: Iron adhesive pieces to wrong sides of fabrics with a medium heat iron, no steam. Press for 2 seconds. Repeat until all surfaces have been bonded to fabric. Let cool. Cut out applique pieces. Peel off paper liner. Place applique shape, adhesive side down, on top of project. Press and hold iron for 6 seconds on each section until entire piece is bonded. Let cool. Sew around edges using a straight, zig-zag, or blanket stitch.
Finishing the quilt: Lay quilt fabric backing with right side down on protective cloth or paper (to prevent overspray.) Spray wrong side of quilt backing with Therm O Web Spray n Bond® Basting Adhesive following manufacturer’s directions. Lay Stitch n Sew™ Fleece Sew-in High Loft/Batting on backing and smooth to remove wrinkles and creases. Spray batting with Therm O Web Spray and Bond Basting Adhesive. Lay quilt top, wrong side down, on sprayed batting. Smooth to remove wrinkles and creases. Quilt as desired. Add binding using your favorite method.
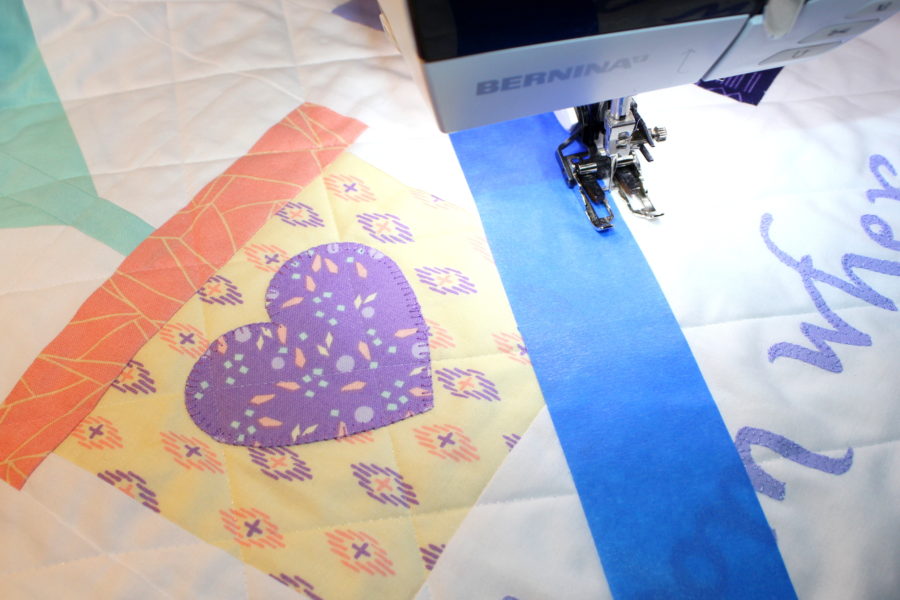
Tip: An easy way to keep your lines straight while quilting is to use painter’s tape and sew along the edges. It doesn’t leave a sticky residue and is easy to reuse several times.

Lori M.
March 7, 2017 at 5:51 pm (8 years ago)Wow.. I love tulips….I remember my first bouquet from my first boyfriend (kindergarten does not count) in high school. And whenever I see a quilt with them I have to make it… Thank you for the excellent tutorial and as I am an old school freezer paper appliquer I am now rethinking how I can use fusible products, as in the past I have never been a fan…fusible did not stick or stuck so much needle would get gummed up in machine…. So I will have to see anout getting some…..