Hi friends!
Nicole from Modern Handcraft here with a fun Fall inspired project for you today! I was so excited when I heard that a fellow Therm O Web designer, Jennifer Heynen had a new fabric line A Walk in the Woods – and it was right up my alley…adorable and for Fall! The colors I chose were more of the orange / brown color scheme because I love pumpkins and knew exactly what I wanted to create, an Autumn Pumpkin Pillow.
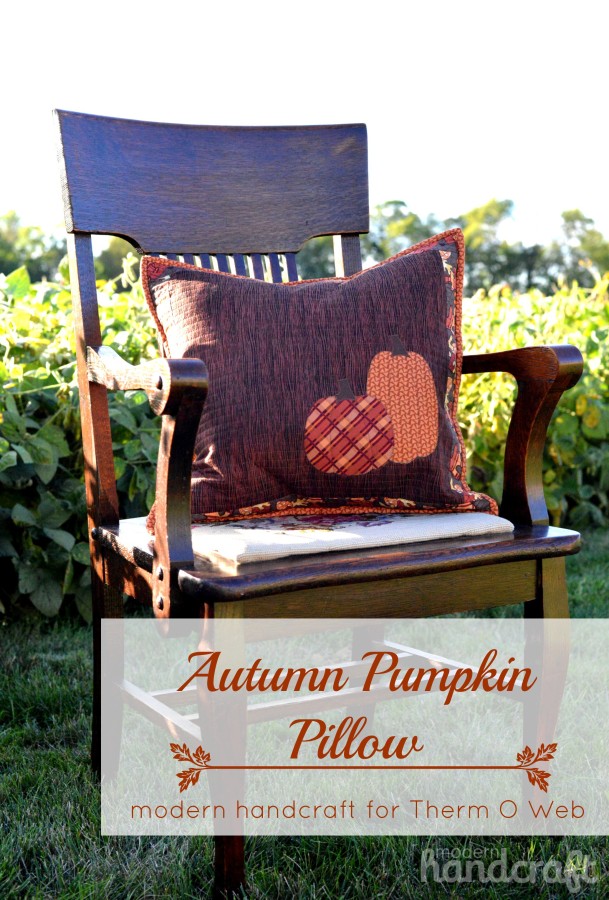
Materials needed:
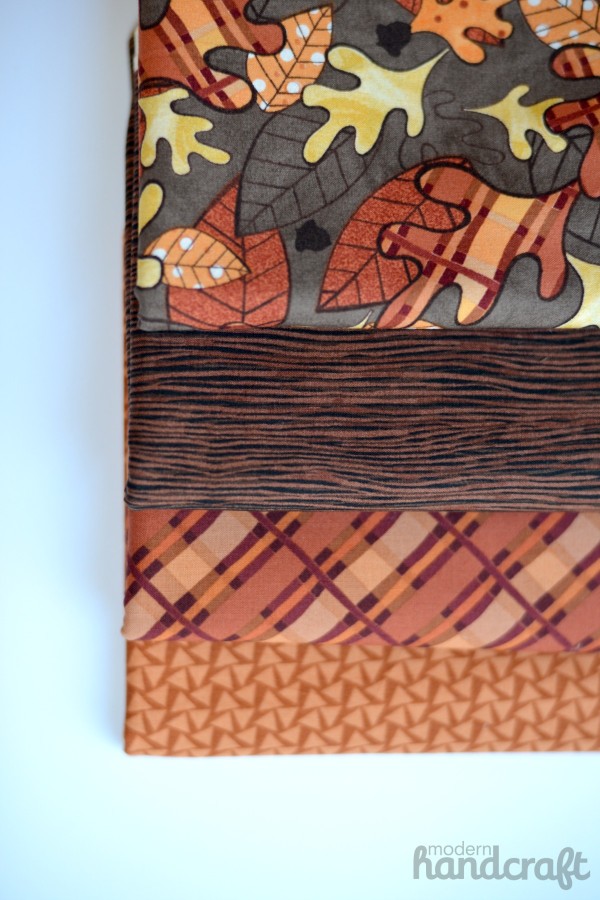
- Jennifer Jangles, A Walk in the Woods line: 2JHH1, 5JHH1, 6JHH1, 7JHH1. (Fabric amounts and cutting instructions below)
- Sizzix Big Shot machine / Cutting Pads / Pumpkin Short with Stem Die & Pumpkin Tall with Stem Die (you may also cut out your shapes by hand)
- Therm O Web Heat n Bond® light
- Therm O Web HeatnBond® Fusible Fleece 19″ x 19″ piece
- Coordinating thread
- Sewing Machine and notions (acrylic ruler, cutting mat, rotary cutter, straight pins or magic clips)
Step 1: Cutting your fabric
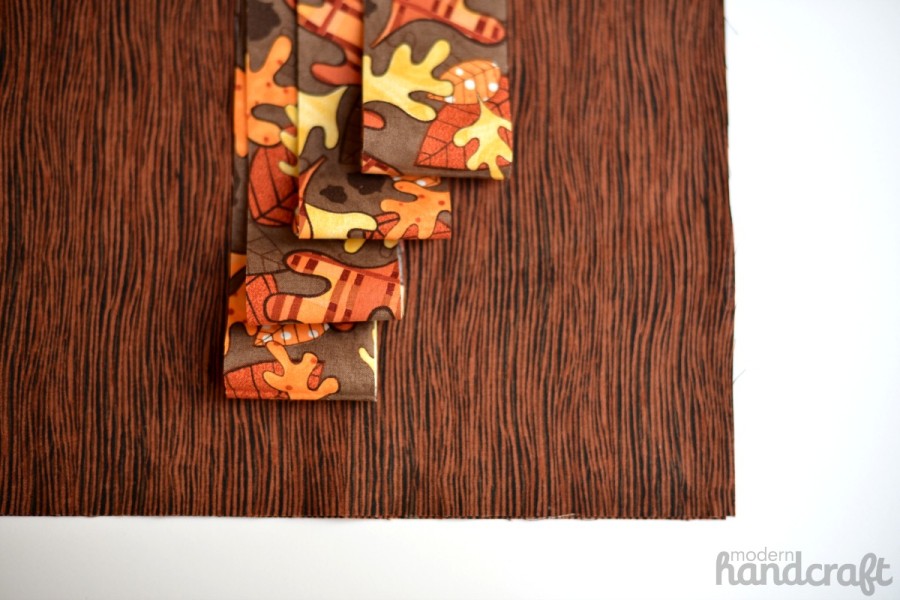
Pillow Front
- main piece: 1 – 15″ x 15″ piece
- border: 2 – 2″ x 15″ strips, 2 – 2″ x 19″ strips
Pillow Backing
- envelope backing: 2 – 19″ x 13″
Pillow Binding (optional if you would like to have a different fabric for pillow edges)
- binding material: 2.5″ strips of fabric to create a finished binding length of 80″ long
- envelope back binding: 2.5″ x 19″ strip
Pumpkins
- pumpkin short with stem: 5″ x 5″ piece / backed with Heat n Bond
- pumpkin tall with stem: 7″ x 5″ piece / backed with Heat n Bond
Step 2:
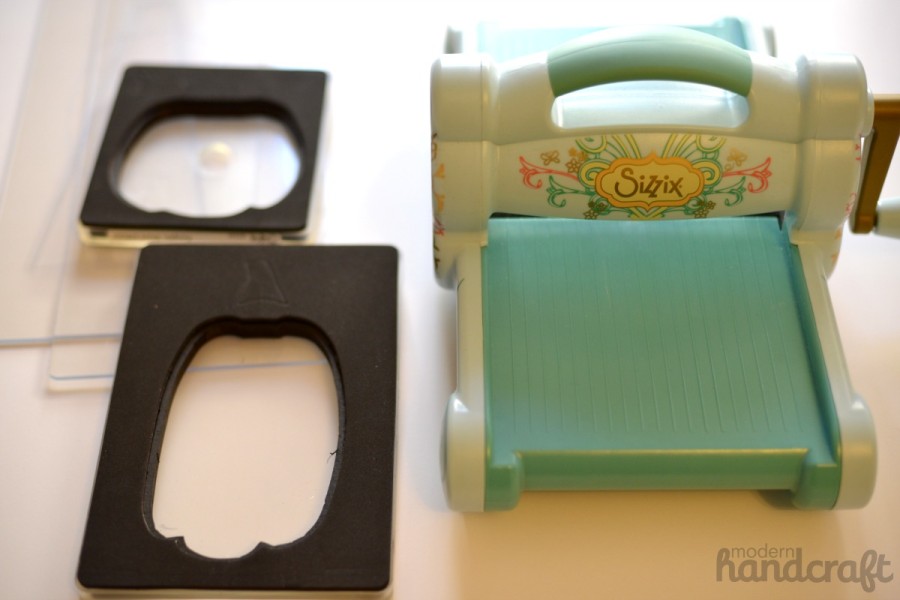
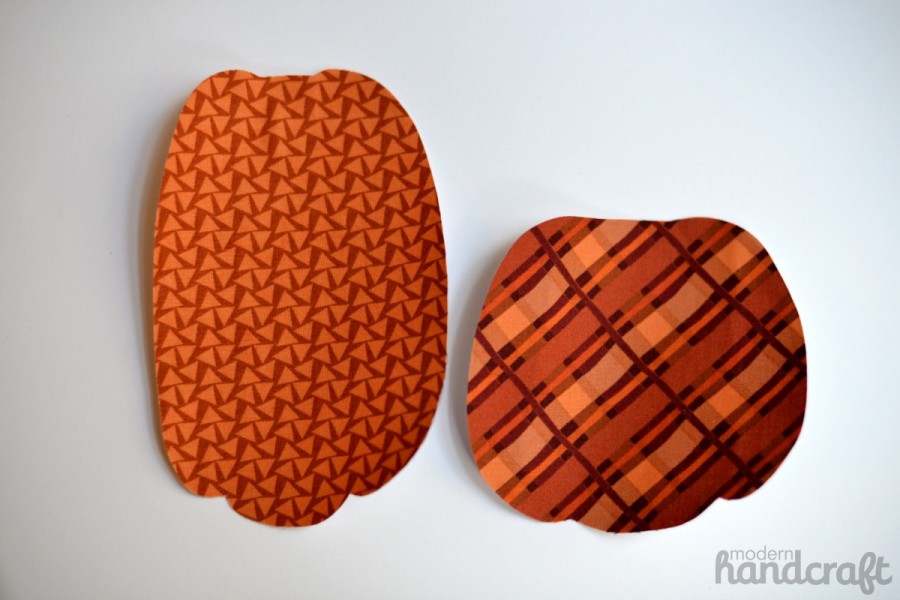
- If using a die cutting machine for the pumpkins, layer your fabrics onto the die making a “Sizzix Sandwich” cutting pad – pumpkin dies- layer of fabric – cutting pad. Roll through machine and set aside.
Step 3: Use 1/4″ seam allowance unless otherwise noted
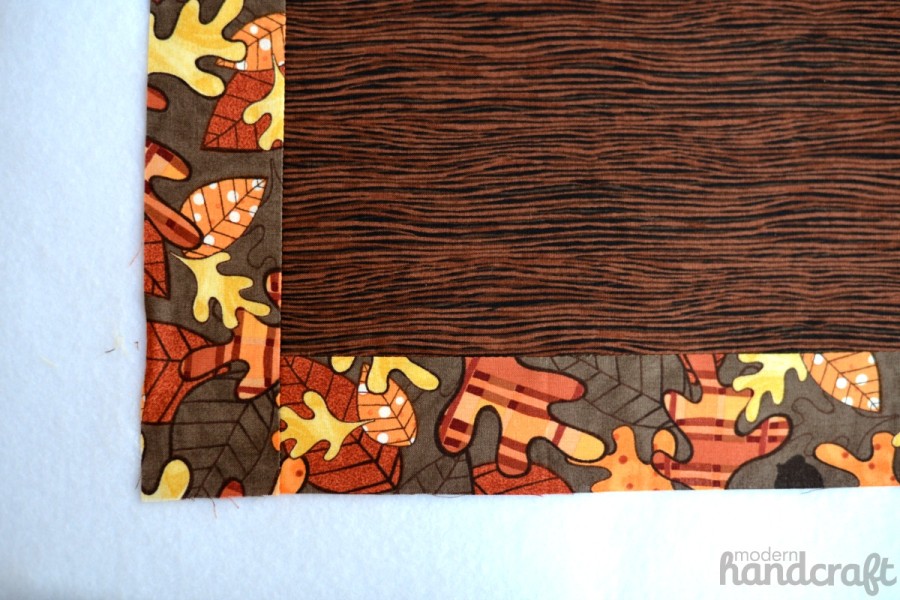
- Assemble your pillow front. Take your front pillow piece measuring 15″ x 15″ and attach the two border pieces measuring 2″ x 15″ on the top and bottom. Iron back seam allowances. Now add your two border pieces measuring 2″ x 19″ and attach to your sides. Iron back seam allowances and trim any fabric overhang. Take your pillow front and iron to a piece of Therm O Web Fusible Fleece measuring 19″ x 19″.
Step 4:
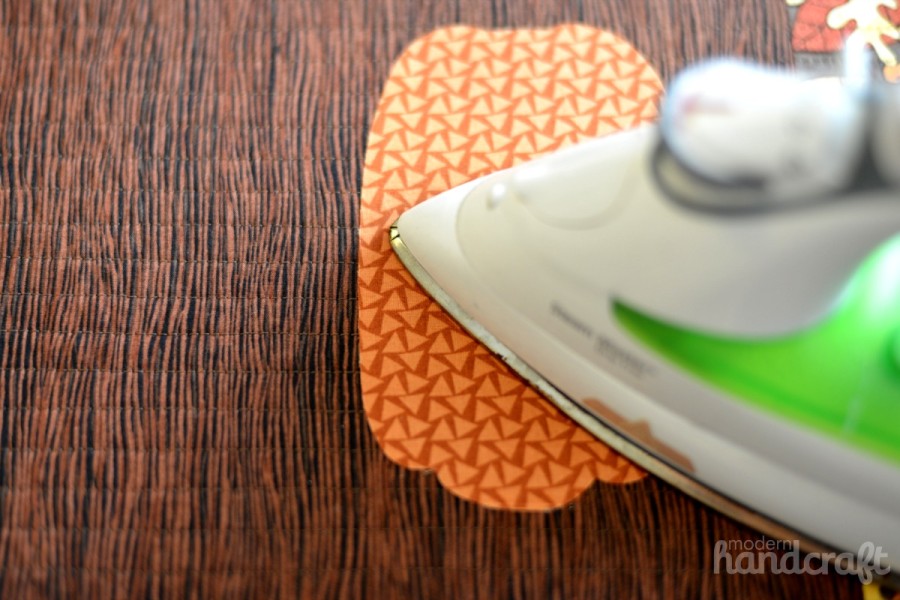
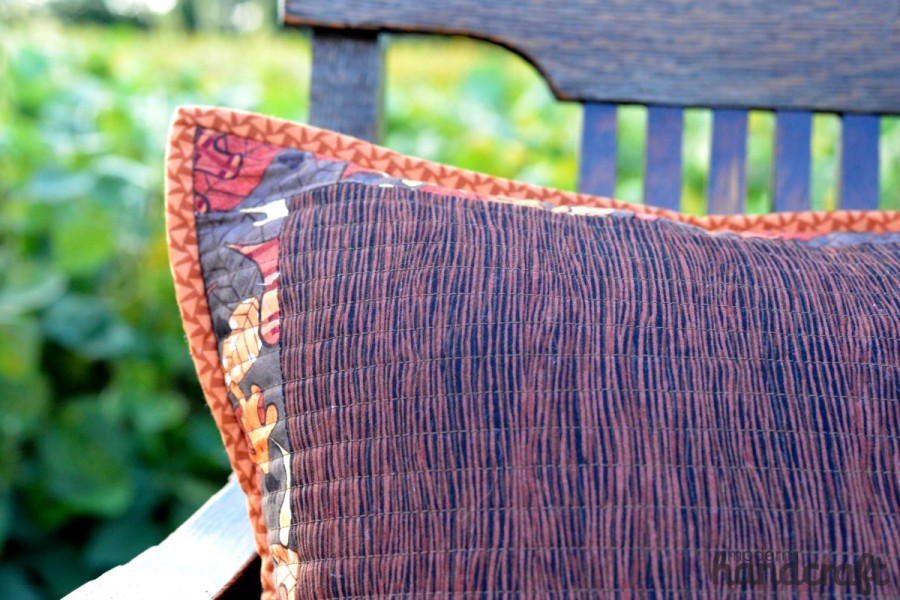
- Quilt your pillow front if desired, this pillow was quilted in a straight line 1/2″ pattern over the entire front. After quilting you may iron down your first pumpkin shape, preferably larger pumpkin first. Stitch around your pumpkin with a blanket or zig zag stitch to hold in place.
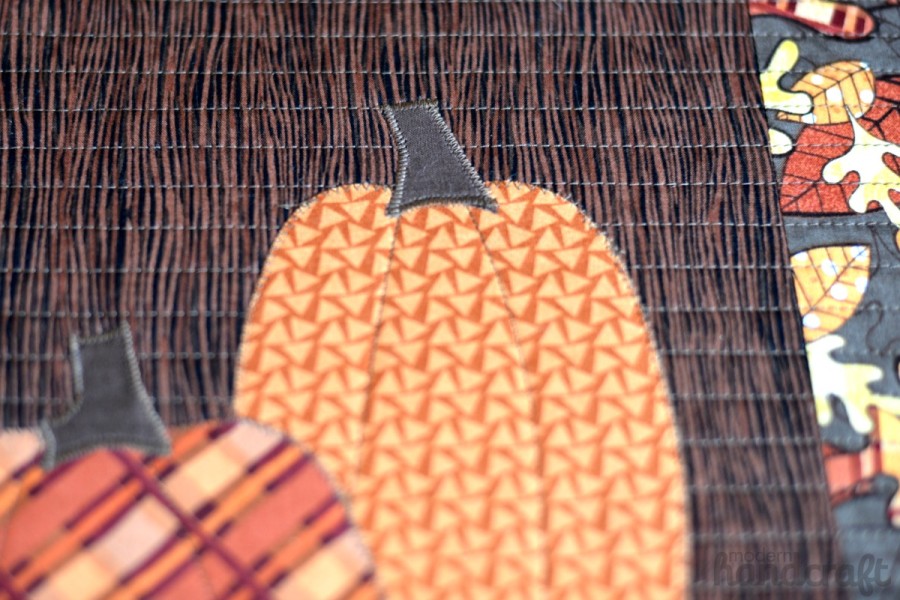
- Now add your second pumpkin and stitch around the borders. To finish off add your stem pieces and stitch in place. You may also add a couple of curved line stitches down the front of the pumpkins to add some depth to the design.
Step 5:
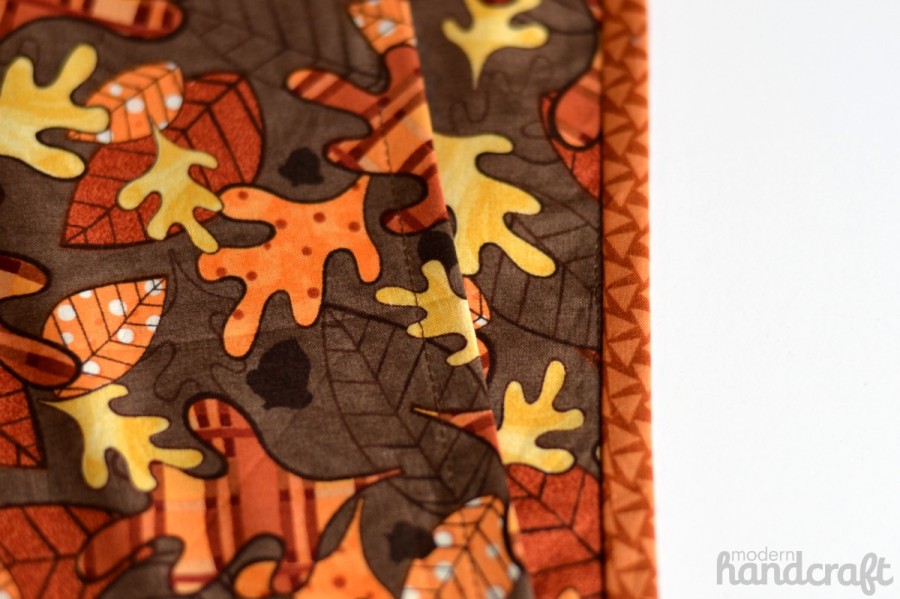
- To create your envelope backing you will take your two pieces of fabric measuring 19″ x 13″ and finish off one side of each. The fold that will be on top you may add a binding detail along one 19″ side, for the fold that will be underneath you may double fold under and stitch.
Step 6:
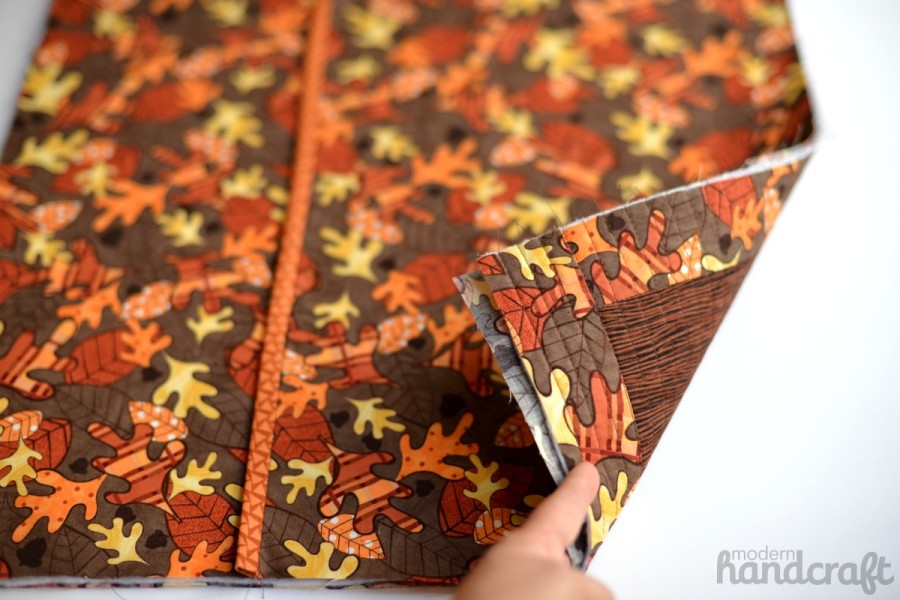
- Add binding to the edges of the pillow. To do this you will need to lay out your pillow pieces in the manner that they would look when finished. Front piece laying face down and two envelope back pieces facing up with the front fold on top. Trim around your pillow so that all pieces are the same size and pin around edges.
- Add your binding material around your pillow in the same manner you would quilt binding.
Add an 18″ x 18″ pillow form and you are finished!
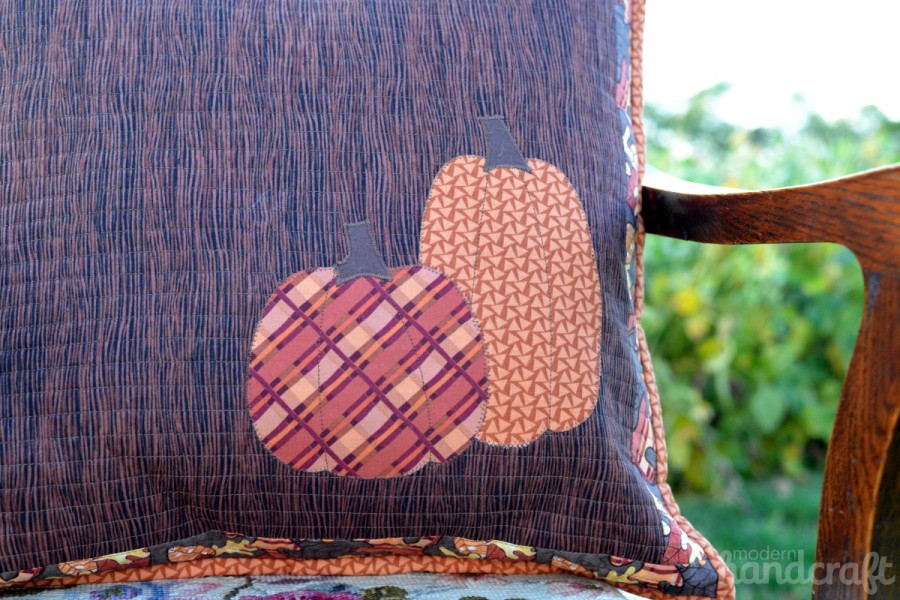
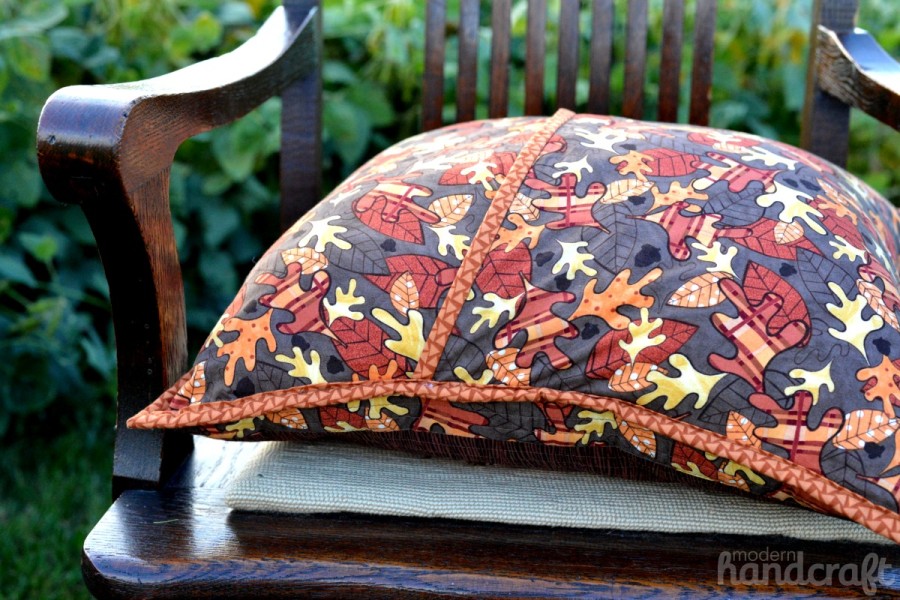
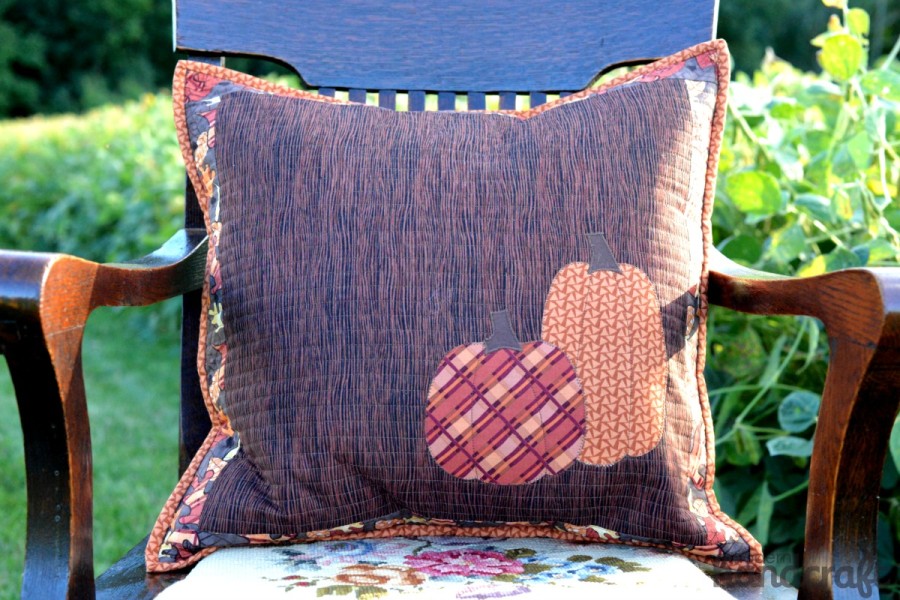
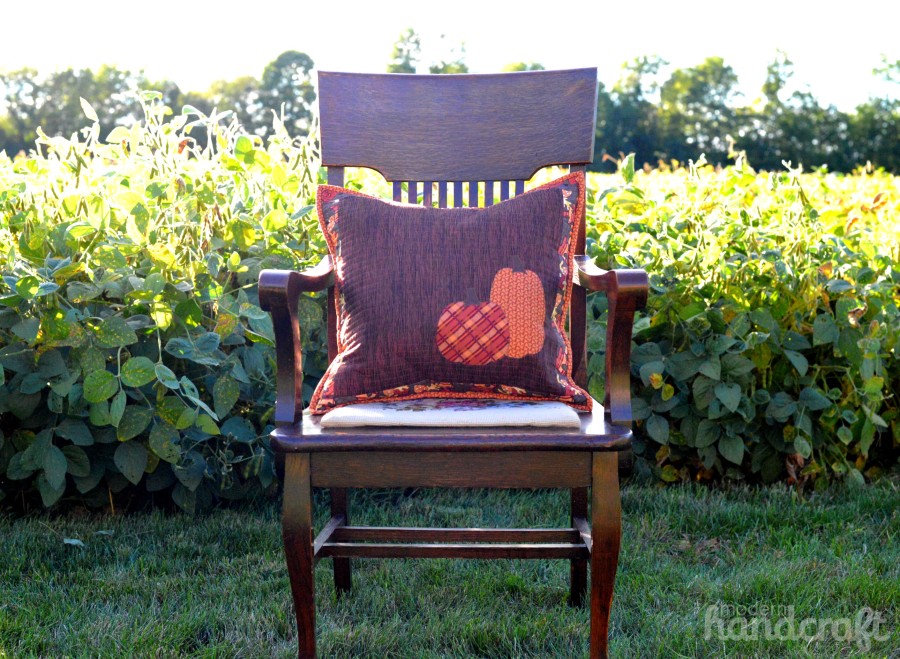
Time to enjoy your new Autumn Pumpkin Pillow, if you make this project I would love to see it! Please share your creations on the Modern Handcraft facebook page or on Instagram by tagging me at @modernhandcraft.
-Nicole

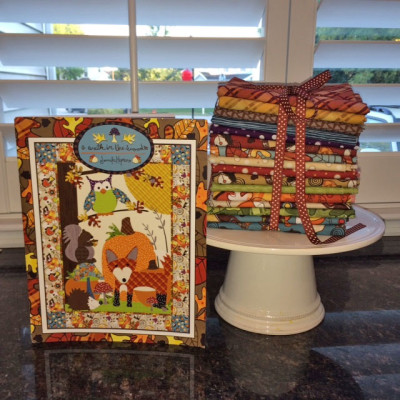
Be sure to join us all this week as we share projects featuring Jennifer Jangles new for fall fabric collection, A Walk in the Woods and her new pattern book!
We’re also giving you a chance to win! Simply follow the Rafflecopter to enter to win a copy of her new book AND a huge stack of her new fabrics!
Plus we’ll include some of our new HeatnBond® EZ Print Sheets, Liquid Fabric Fuse™, HeatnBond® Fusible Fleece and some other must have products to help you recreate the ideas we share!
12 Comments on The Perfect Autumn Pumpkin Pillow
3Pingbacks & Trackbacks on The Perfect Autumn Pumpkin Pillow
-
[…] I was over at Therm O Web sharing a fun fall tutorial – The Autumn Pumpkin Pillow. This was created using some of my favorite TOW products – Heat n Bond no sew and Heat n Bond […]
-
[…] The Perfect Autumn Pumpkin Pillow, by Modern Handcraft […]
-
[…] I was over at Therm O Web sharing a fun fall tutorial – The Autumn Pumpkin Pillow. This was created using some of my favorite TOW products – Heat n Bond no sew and Heat n Bond […]

marylouh
October 3, 2014 at 3:12 pm (11 years ago)I have yet to try cutting fabric with my Sizzix. I know it will make life so much easier.
The pillow is beautiful. Love the colors. Great idea for putting the pillow in – a lot better than doing zippers.
thanks for sharing a week’s worth or beautiful projects.
Denise Bryant
October 3, 2014 at 5:27 pm (11 years ago)Gorgeous pumpkins on your pillow. Haven’t cut fabric yet with my dies, but what a fun idea!
I love fall and the beautiful colors!
Cecilia
October 3, 2014 at 7:39 pm (11 years ago)I love the cooler weather.
Margaret Schindler
October 3, 2014 at 7:50 pm (11 years ago)I love all the beautiful colors of fall and all the good smells of baking pumpkin pies, and apple pies
Sandy A in St. Louis
October 3, 2014 at 8:26 pm (11 years ago)I love the colors of the trees, the cool temps and all the pumpkin things available!
Theresa powers
October 3, 2014 at 9:35 pm (11 years ago)I love the cooler weather and pumpkin anything!
Joanne Roberts
October 3, 2014 at 10:34 pm (11 years ago)I hope I win. Thank you
Melinda Wilson
October 4, 2014 at 8:03 am (11 years ago)I love the beautiful colors of fall and all cooler weather.
Diane Baldwin
October 4, 2014 at 9:03 am (11 years ago)Nice idea with great fall theme. Love your colors.