


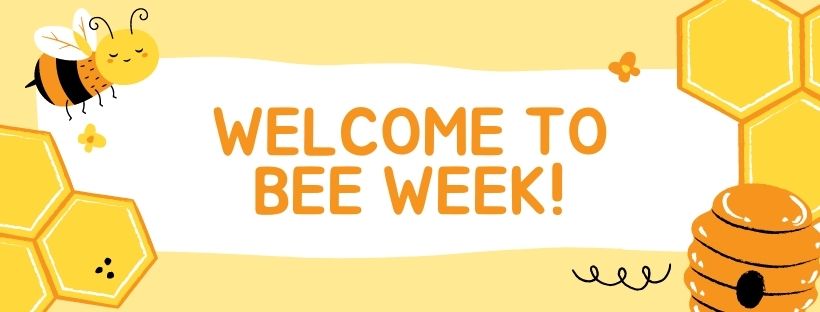
 Hi ThermOWeb friends! Shemaine here today sharing a fun couple of cards that I created with Laura Kelly for this week’s Bee theme.
Laura Kelly Thanks Bee to You Cards

Laura Kelly Clear Stamp Set, Kindness On Purpose
Laura Kelly Clear Stamp Set, Me & My Peeps
Laura Kelly Foil Transfer Sheets, Wagon Red
Laura Kelly Foil Transfer Sheets, Flamingo Pink
Laura Kelly Toner Sheets, Spotty Dots
Laura Kelly Toner Sheets, Baby Swiss Dots
iCraft Ultra Bond Permanent Dries Clear Adhesive Pen, 1 fl oz
iCraft Memory Tape Runner XL (50ft)
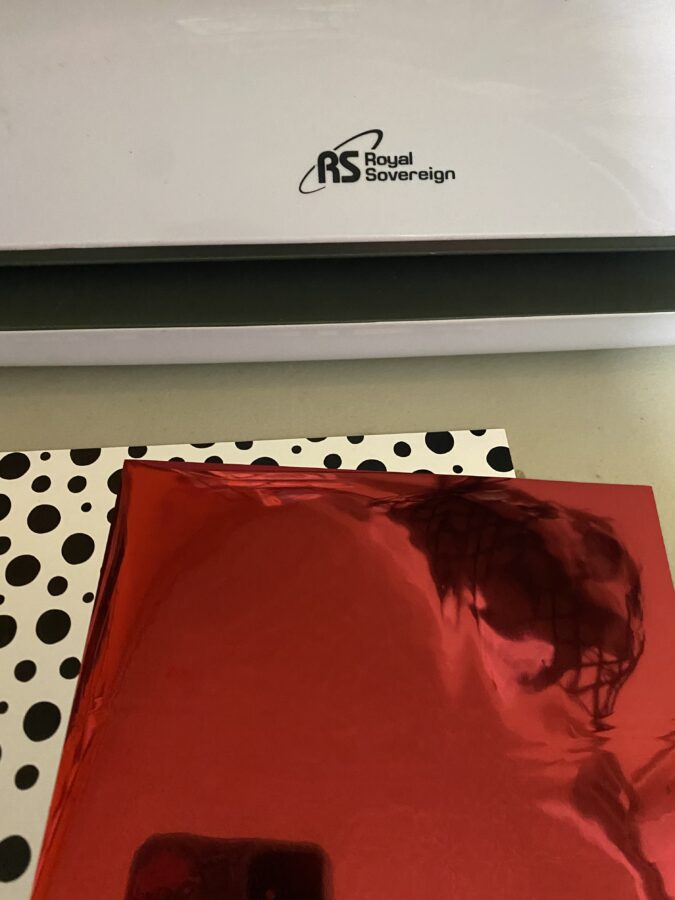
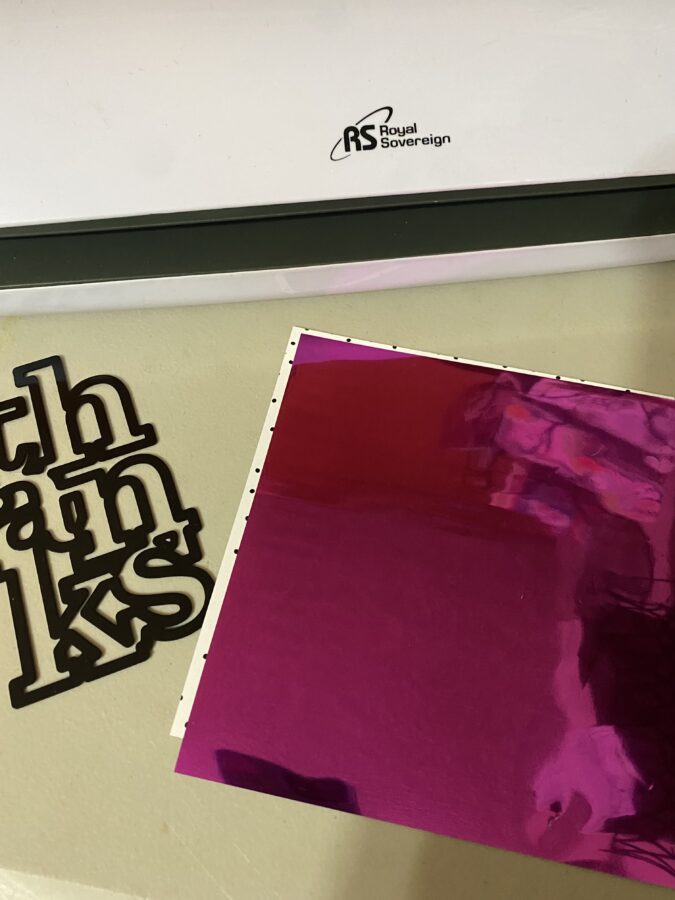
Start by foiling the toner sheet.
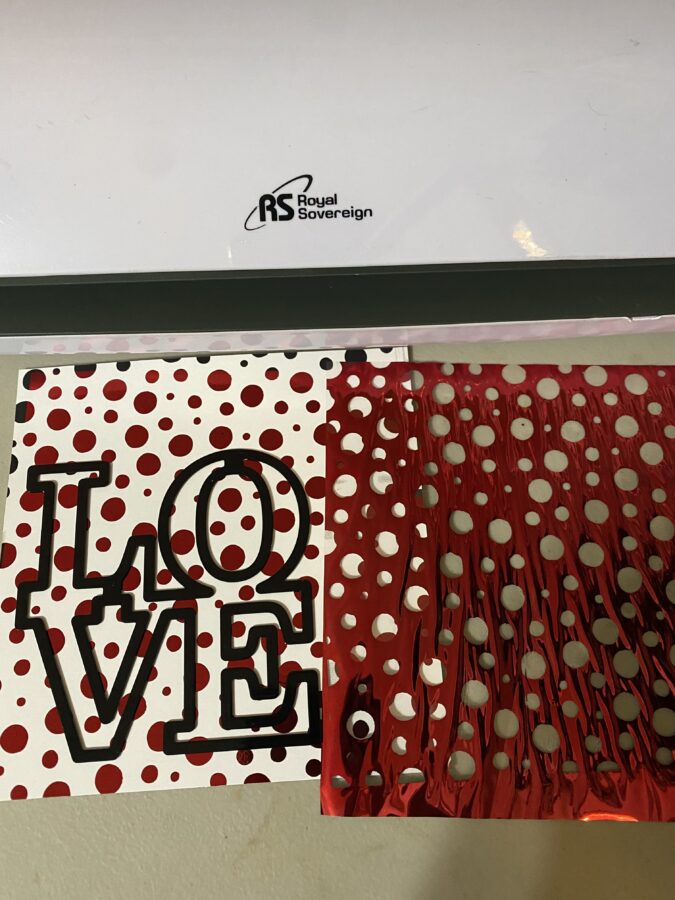
Using this word die from Diamond Press, I cut out the sentiment with the foiled toner sheet.
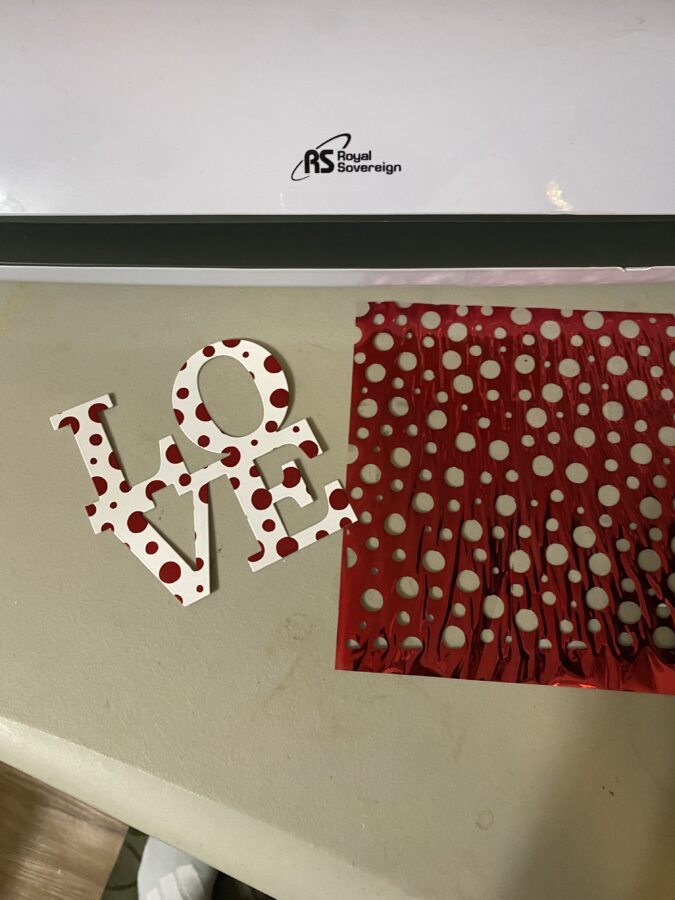
The result is super cute!
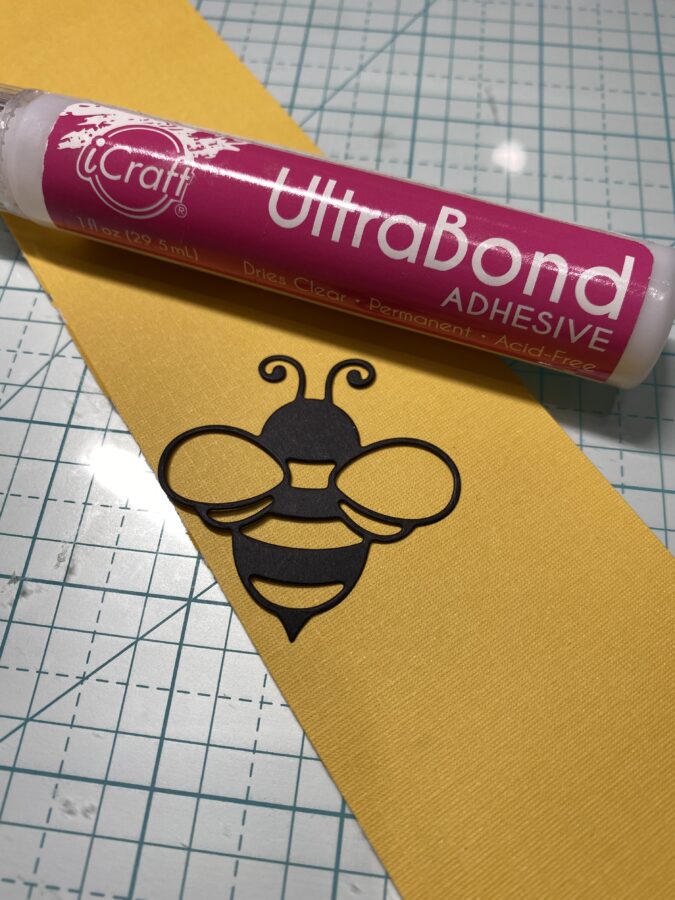
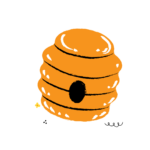
Next, I cut this bee die in black cardstock and adhere the yellow cardstock with our liquid adhesive.
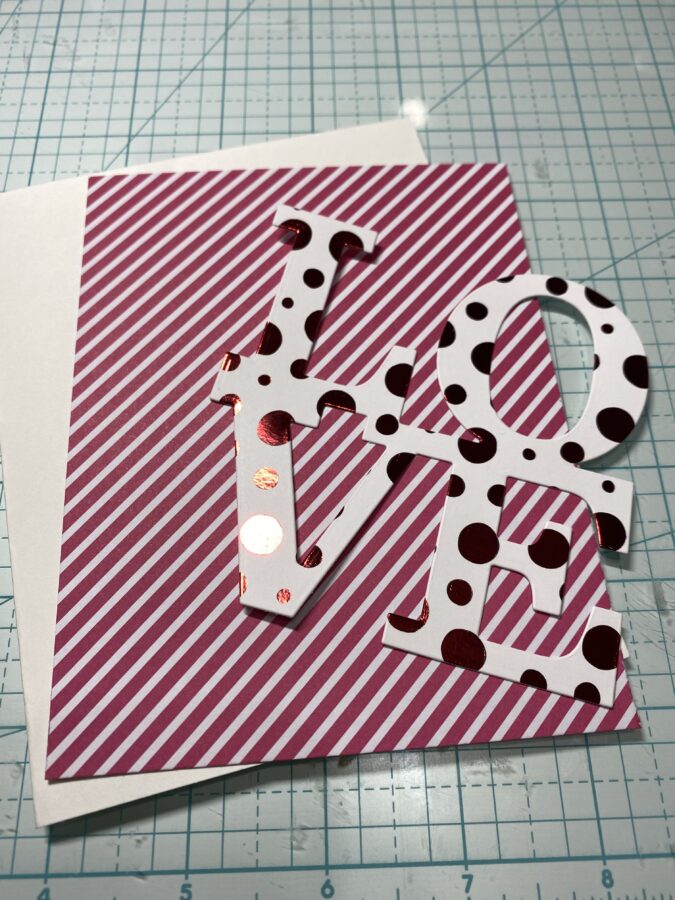
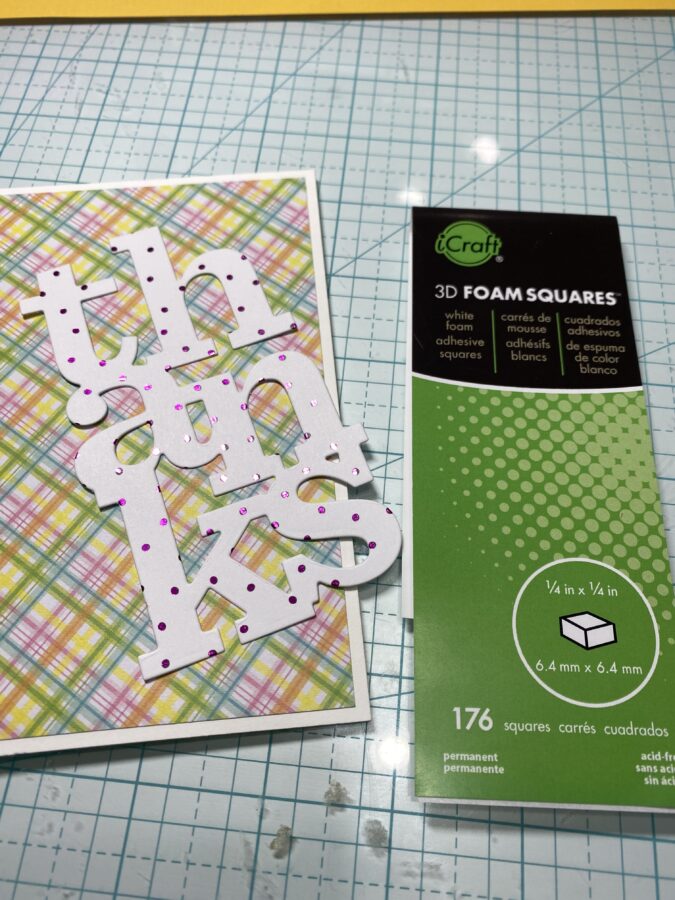
Next, I chose a complimenting pattern of cardstock and adhered it with our XL tape runner.
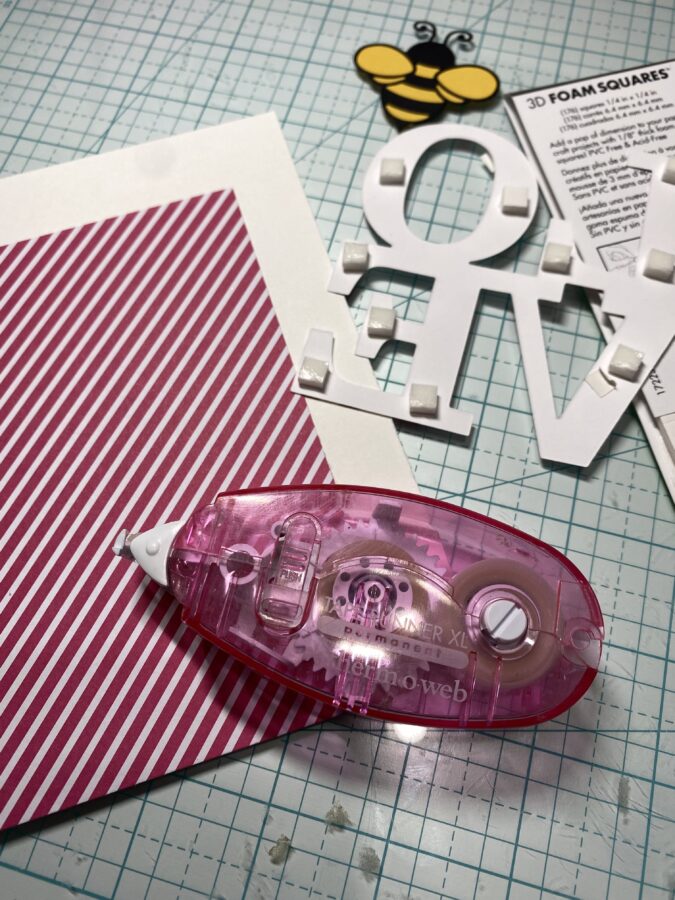
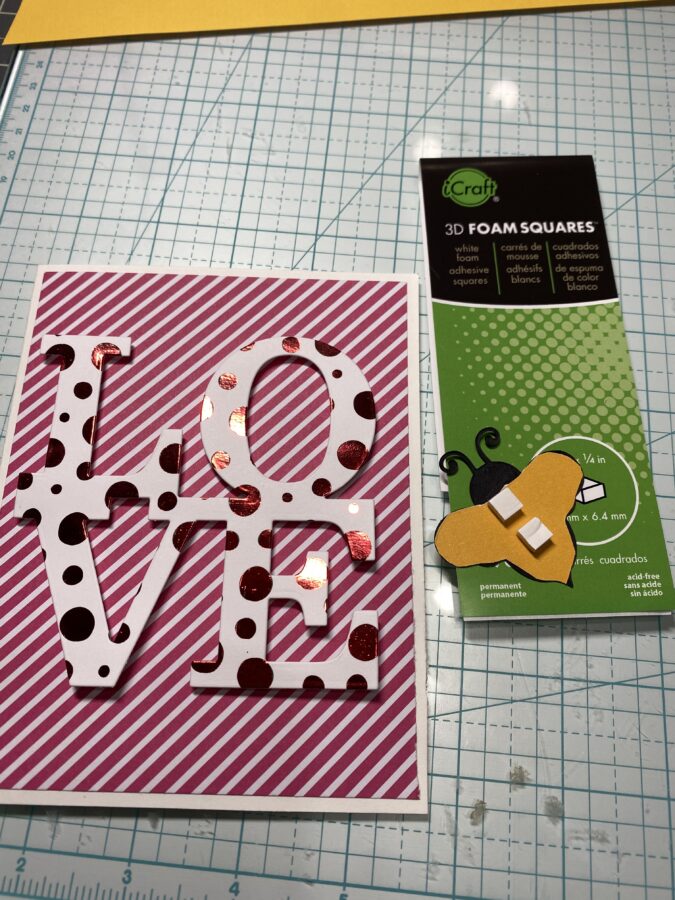
Using the 3D foam squares, I adhere the sentiment to the card base.
I then do the same thing with the bumblebee die.
For the next card, I choose a different color transfer foil and pattern of toner sheet and repeat the same steps as above.
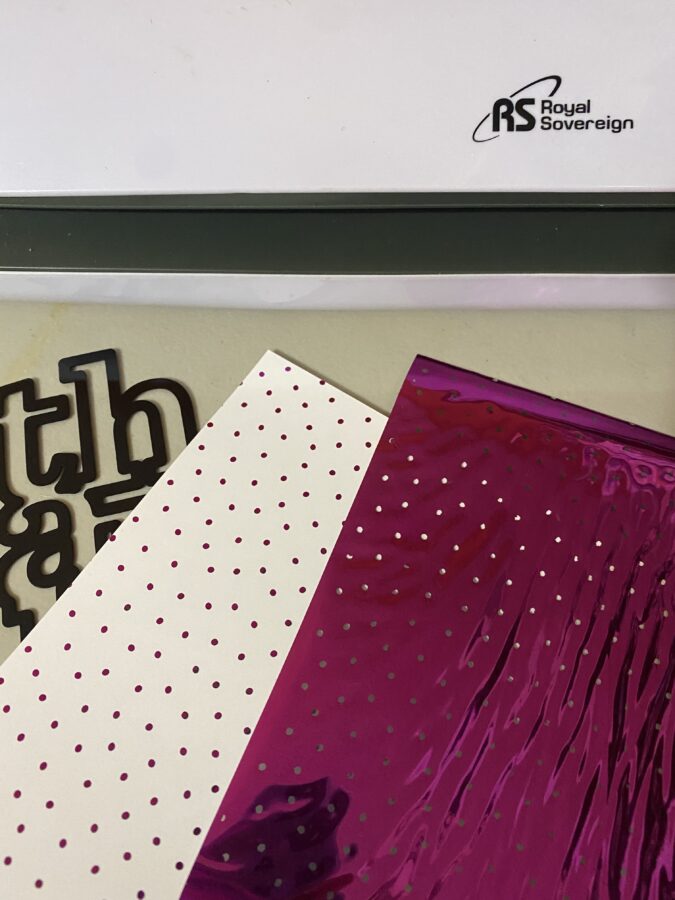
The result is so pretty!
Using the foam squares again to mount the sentiment to the card base, the card is easy to create quickly.
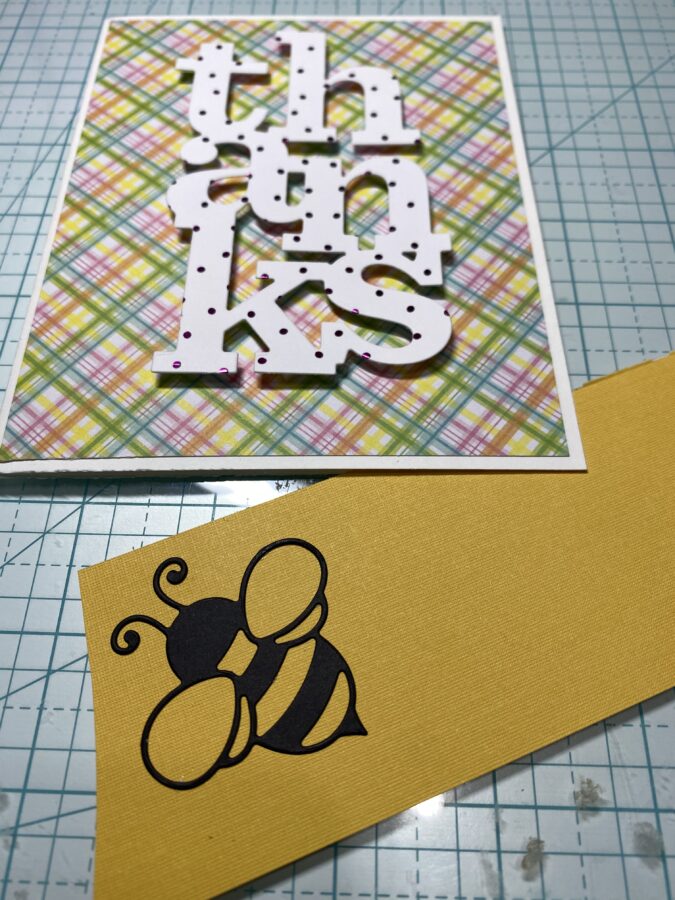
I die cut another bee to add to the design of this card as well. I finish the card by stamping the sentiment.
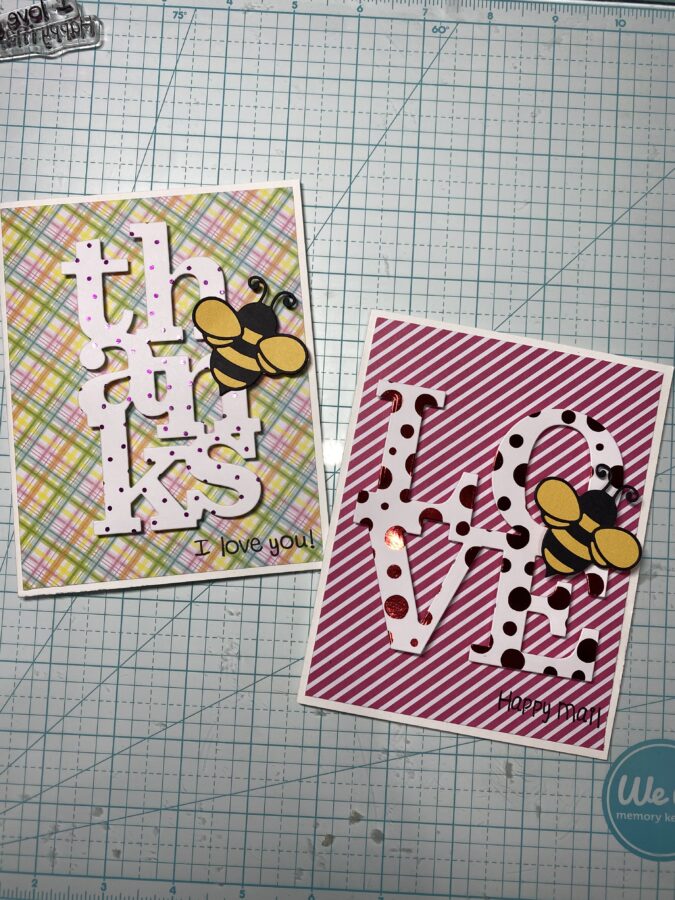
The finished cards are super cute!
Thanks so much for stopping by today!
 PLUS today we have a bonus project to share from Jenifer Cowles for our sewing friends!
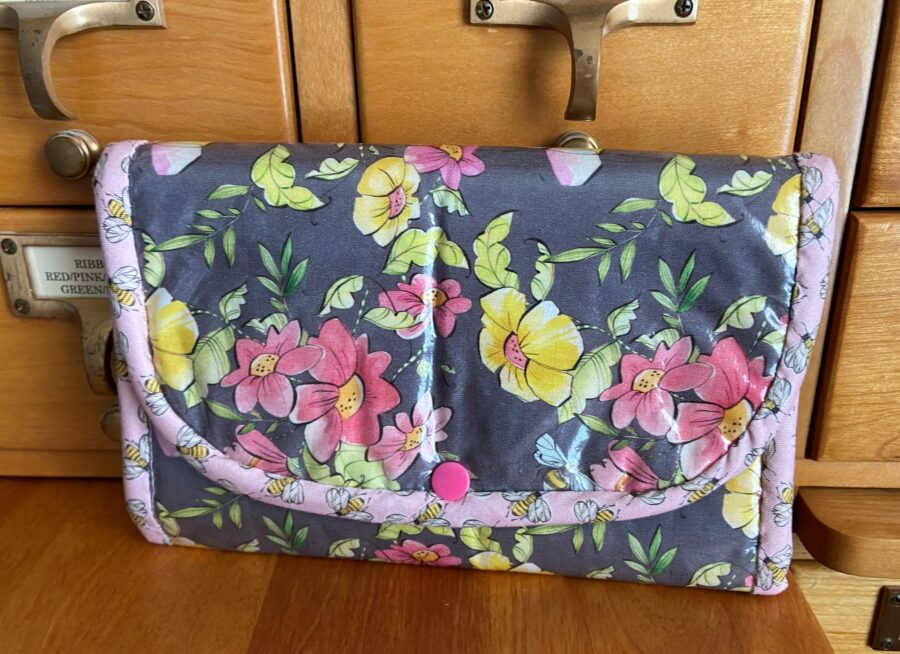
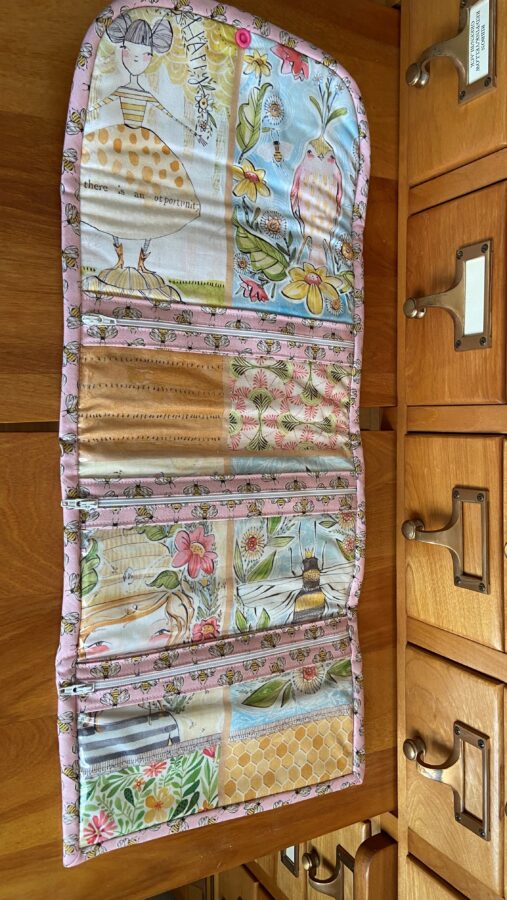
Hi there Jenifer here with you today with my project for Bee Week. I created this 3 zippered accessory pouch with some beautiful fabrics from Cori Dantini called “For the Love of Bees”. The gray fabric on the outside is one of my all-time favorite prints so my stash is down to just a few scraps.
Supplies:
Fabric – Cori Dantini called “For the Love of Bees”
Pattern from book Stitched Sewing Organizers from Aneela Hooey
Zippers, vinyl, thread, Snap
Let’s Get Sewing this Accessories Pouch
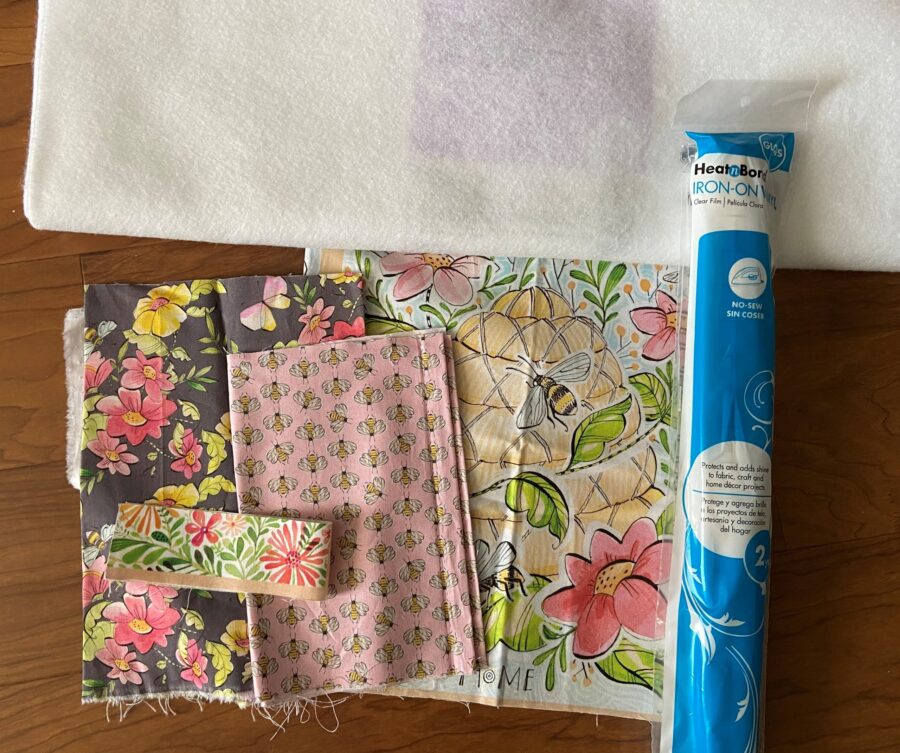
Follow the instructions for the pattern. The only change I made was adhering the HeatNBond Vinyl to the front fabric. I also have a hard time sewing the binding on by machine so I did it by hand to save the vinyl on the front side.
I used one of the panel fabrics for the inside. This was a great way to use up some of those beautiful panel pieces.
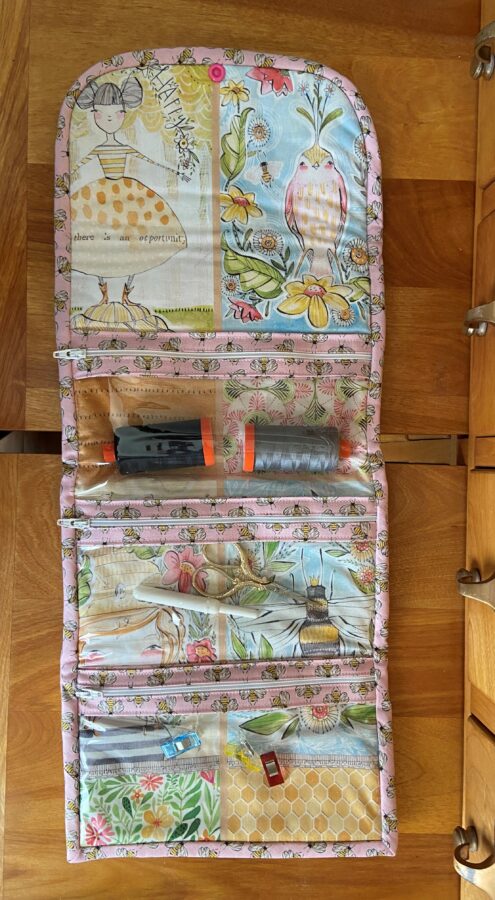
It holds quite a bit of stuff. I have decided to use this for sewing necessities when traveling but you could use it for anything jewelry, crafting, and small toys, etc. 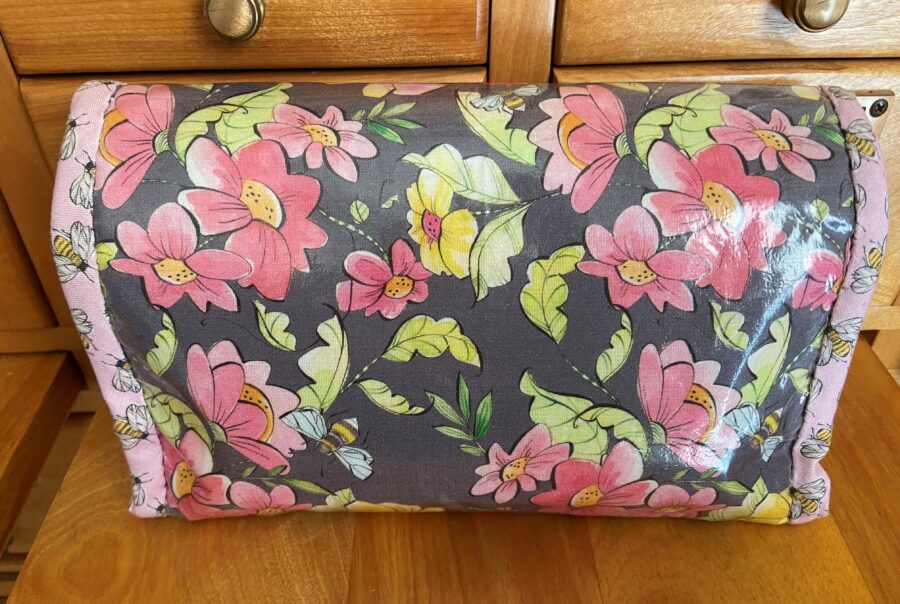
 Here is a picture from the back with it loaded with goodies. It was so fun to make and I see a few more in my future.