I’m not sure why, but those old t-shirts that have been shoved in boxes or bottom drawers definitely tug at our hearts with sweet memories of years past. From volleyball teams, marathons, travel, or other adventures and sports, those t-shirts represent a big or small portion of who we are. When extra space is needed in a closet or drawer, those t-shirts aren’t usually the ones to go. They are just too precious to get rid of so making them into a quilt is a great way to preserve them. I can’t even begin to count how many people have asked me “How do you make a t-shirt quilt?” So…I’m going to show you how and it’s easy!
SWEET MEMORIES TEE SHIRT QUILT
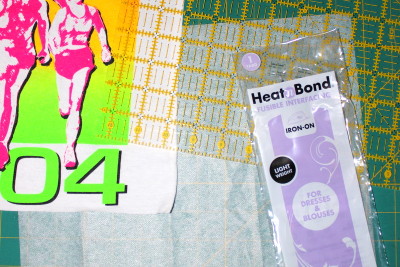
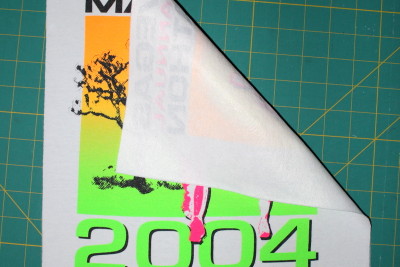
Tee shirt fabric is incredibly stretchy, so before sewing those sweet memory blocks they have to be stabilized. The best way is to use Therm O Web’s Heat N Bond Fusible Interfacing. It keeps the t-shirts from stretching out of shape without making them stiff and when washed they remain soft. I love using it and wouldn’t use anything else. It totally makes this quilt so easy to put together! We have a brand-new product to make t-shirt quilting even easier, HeatnBond EZ TEE Stabilizer. Click here to learn more.
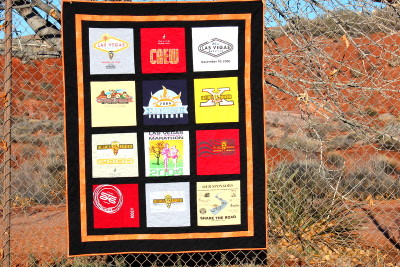
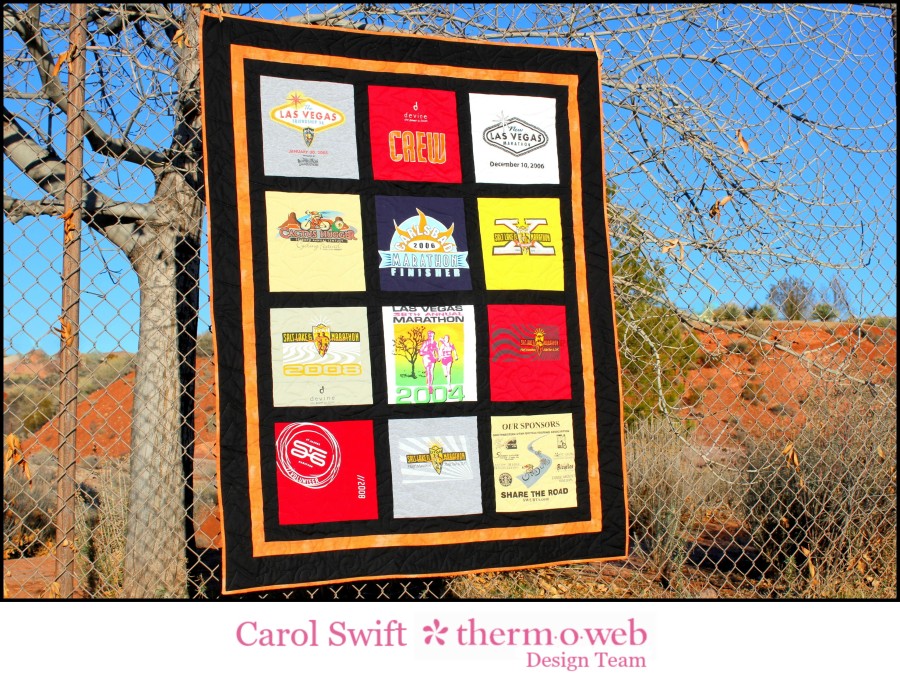
This quilt was made out of my hubby’s marathon shirts where he was a participant, planner, or part of the crew. The finished quilt measures 54” x 68” with finished blocks at 12” x 12” (unfinished blocks are 12½” x 12½”.)
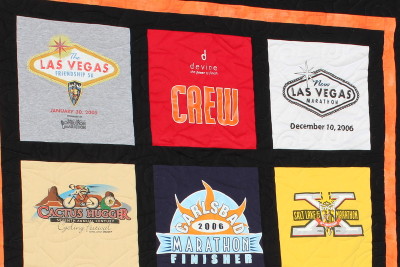
Let’s get started making those old t-shirts into a sweet and memorable treasure!
What you need:
-
-
- ThermOWeb Heat N Bond EZ TEE Stabilizer
- ThermOWeb Heat N Bond Fusible Interfacing
- 12½“ square ruler or ruler w/rotary cutter
- 12 special/beloved t-shirts (washed) that have the owner’s approval to be cut up
- Sashing (black): Cut 9 – 12½“ x 2½” strips and cut 2 – 2½” x 54½” strips
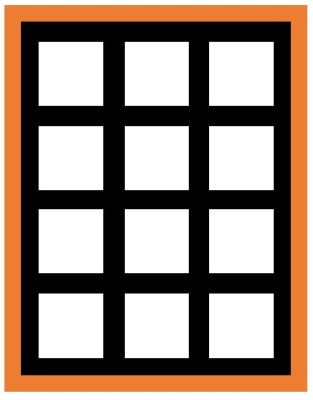
- Border #1 (black): Cut 2 – 2½” x 40½” strips and cut 2 – 2½” x 58½” strips
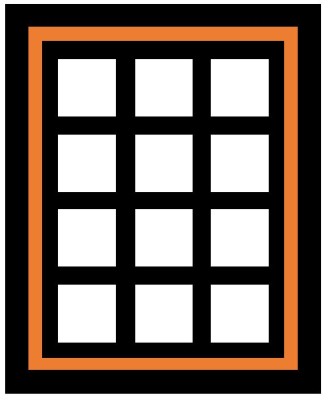
- Border #2 (orange): Cut 2 – 2” x 44½” strips and cut 2 – 2” x 61½” strips
- Border #3 (black): Cut 2 – 3½” x 47½” strips and cut 2 – 3½” x 67½” strips
- Fabric for backing: 54” x 68”
- Fabric for binding (orange): 1/2 yard
- Batting
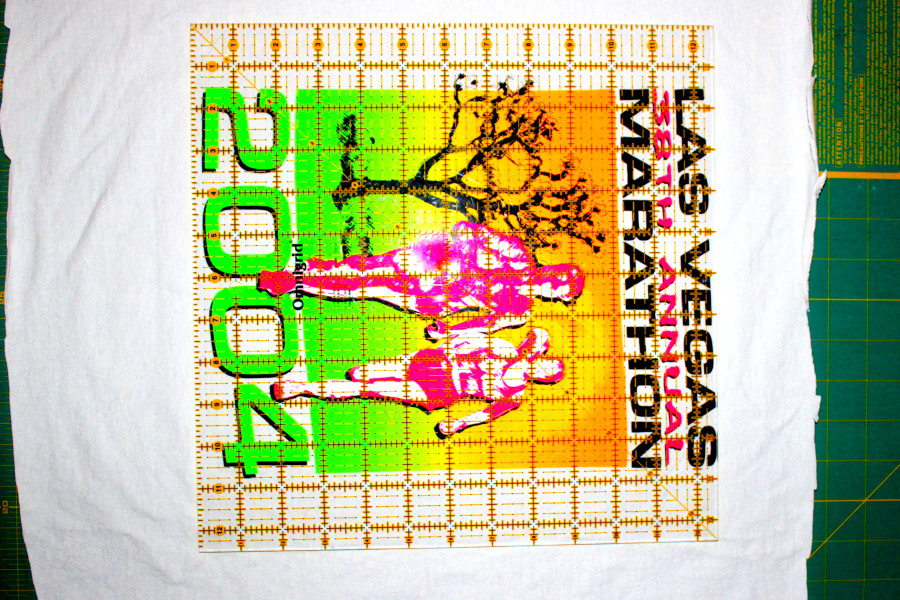
Check your t-shirt’s logo/decal to make sure a 12” finished block is big enough. Blocks can be made bigger to fully capture a larger logo/decal, just make sure you cut all blocks the same size for this quilt and make adjustments in the length of borders and sashings. The directions in this post are for the finished 12” x 12” blocks.
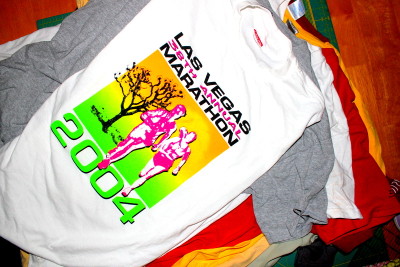
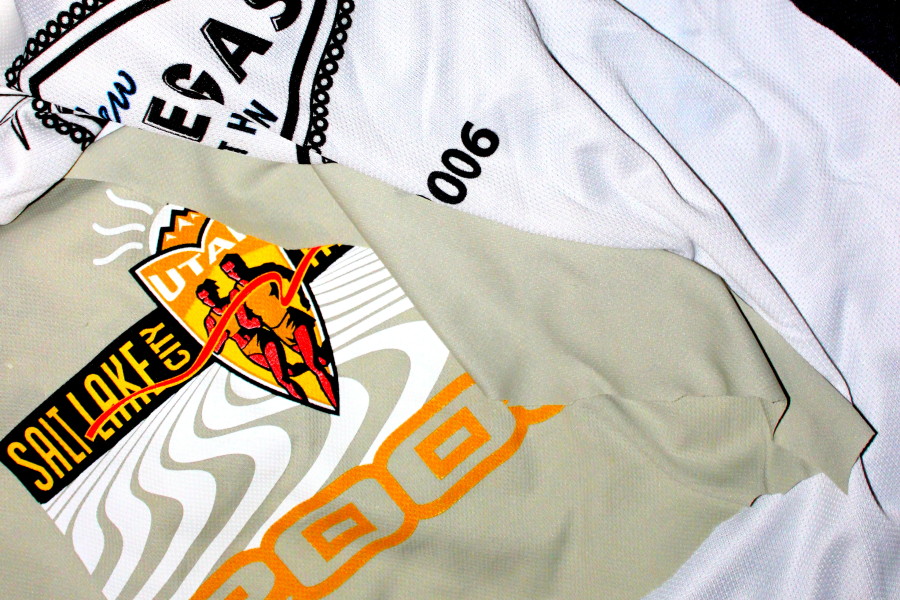
A few things to deal with are small logos with the date on the sleeve or back, weirdly placed logos with little fabric around it, and/or maybe a stain or two. Sewing smaller pieces together to create a big block works just fine. As for stains, even though my hubby felt his bloody bike fall stains (badges of honor, I guess) would be fine on the quilt, I chose to cut those out and piece other parts together to get the right-sized block.
Select 12 t-shirts that you are willing to cut up.
Sewing instructions (all seams are 1/4”):
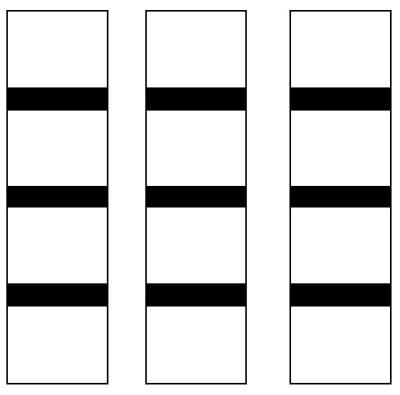
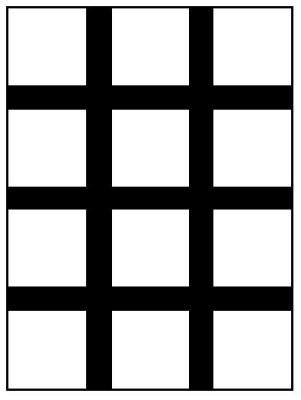
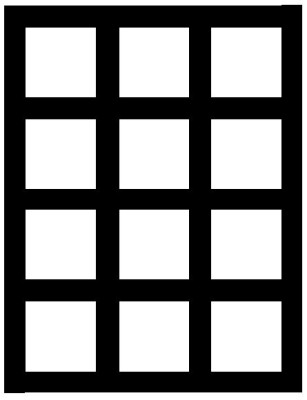
Sew 2½” x 12½” sashing strips to the bottom of nine blocks. Sew blocks together as shown:
So, are you ready to drag those favorite t-shirts out of their boxes or drawers? Gathering together your teenager’s sports shirts would make a great graduation or birthday gift, don’t you think! I say go for it and make a sweet memory for someone you love.
-

krislovesfabric
February 22, 2016 at 9:11 am (9 years ago)Thanks for the tips Carol 🙂
Jan
February 26, 2016 at 9:09 am (9 years ago)That is an awesome quilt Carol. Thank you for the Easy tutorial! I have been wanting to make a Tee Shirt Quilt but wasn’t sure how to tackle it! I like the sashing . Now to see if I can round up my daughters Tee Shirts!
xo Jan
Shirley
February 19, 2020 at 6:36 pm (5 years ago)Assuming the sashing should be a knit material?
admin
February 20, 2020 at 9:56 am (5 years ago)Hi Shirley…you can use whatever you like! Cotton, knits are all fine however we do find many designers chosing to use cotton.