The holidays are upon us! Soon many of you will be pulling out the tree, decorating your homes and spending endless hours shopping for the perfect gift!
Today more then ever..a handmade gift strikes a special chord. With stores such as Etsy and ArtFire to help push the concept…we’re right here backing it up!
Because behind every great project…well is Therm O Web!
Let us be a part of your holiday gift giving and more!

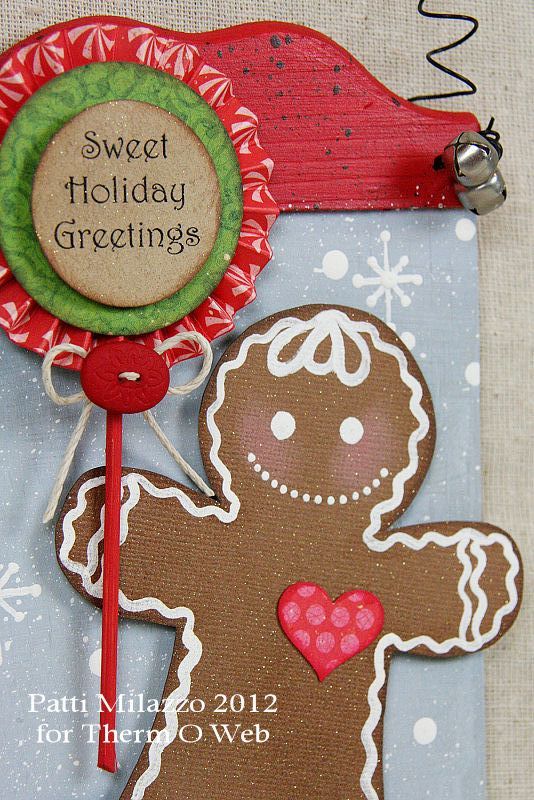
“Sweet Holiday Greetings” (Gingerbread Sign) by Patti Milazzo
Therm O Web Supplies:
Therm O Web Zots – Small
Therm O Web Zots – Medium
Therm O Web Zots – 3D
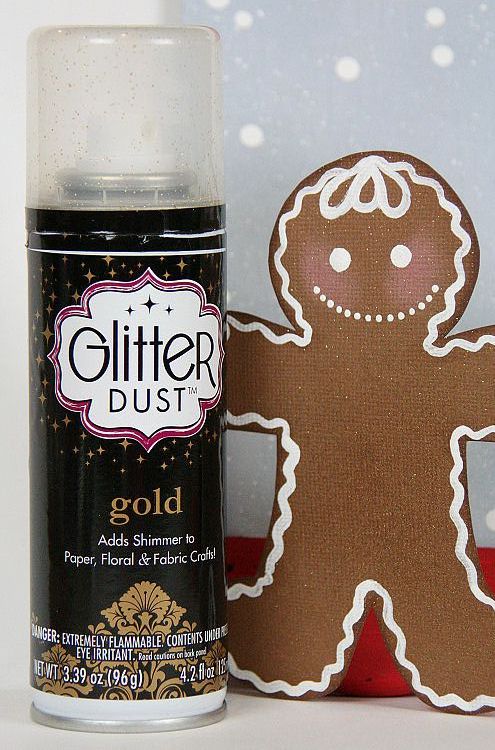
Therm O Web Glitter Dust – Gold
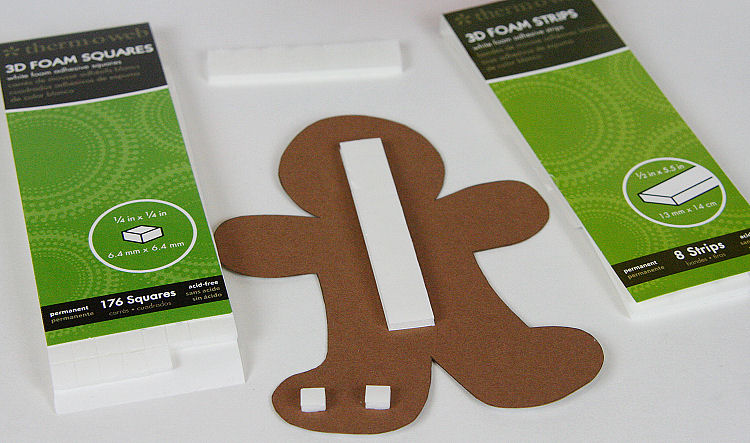
Therm O Web 3D Adhesive Foam – Squares
Therm O Web 3D Adhesive Foam – Strips
Other Supplies:
Craft wood frame; holiday color acrylic paints; gingerbread man template or die to fit; button; hemp; jingle bells; craft wire (20 guage); clear acrylic spray – matte finish
Instructions:
- Drill holes in top corners of wood craft frame.
- Paint craft wood frame – add splatters, dots, painted snowflakes to decorate. Seal with matte finish clear acrylic spray and let dry.
- Attach curled/twisted wire to top of frame through holes. Attach jingle bells to wire.
- Die cut or fussy cut a gingerbread man shape to fit the frame from brown cardstock. Embellish with white paint or pen. Lightly spray with Therm O Web Gold Glitter Dust to add a little sparkle!
- Adhere small heart punch to gingerbread shape using Therm O Web Small Zots. Use Therm O Web Medium Zots to create paper rosette and secure a 2” punched circle to the center of the rosette.

- Use additional Small Zots to attach the painted wood dowel to the back of the rosette.
- Apply Therm O Web 3D Adhesive Foam Strips and Squares to the back of the gingerbread shape and press onto the painted craft wood frame.
- Place Medium Zots on the back of the rosette and position the “lollipop” so that it appears as if the gingerbread man is holding it. Use more Zots to apply the hemp bow and button.
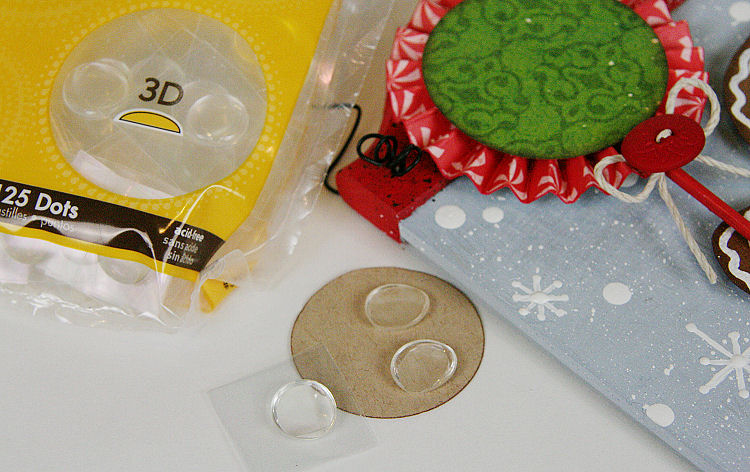
- Print “Sweet Holiday Greetings” sentiment on cardstock and circle punch. Apply Therm O Web 3D Zots to back and adhere to center of rosette to complete.

Holiday Doorhanger by Andrea Budjack
Therm O Web Supplies:
HeatnBond Fusible Firm Interfacing
Time to deck the house with color and texture for the holidays and Therm O Web products can help you accomplish that. Today I created a door hang using a two pieces of wool blend felt, Heat N Bond fusible firm interfacing, circle die and sewing machine.
To create this, begin with cutting your door hang pieces of felt (front and back) to the desired size. Cut two pieces of interfacing to back each piece and iron on to each side. Cut circle in top of each piece, making sure that they line up with layered back to back.
Add Spray N Bond fusible adhesive to back side of one piece (interfacing side) and layer back sides together then iron. You should end up with felt on each side. Now it is time to stitch and embellish.
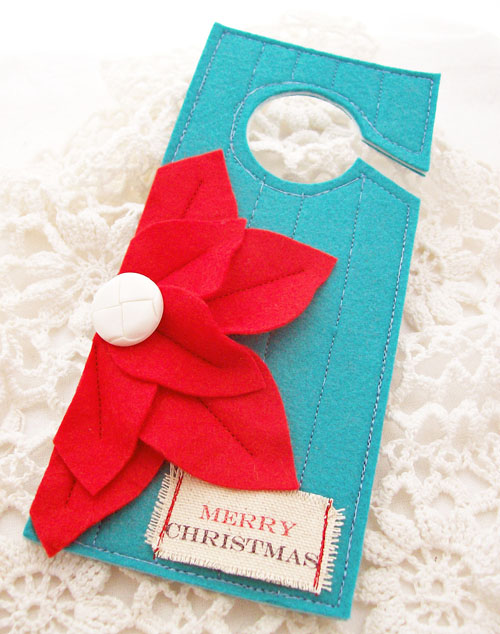
To create the poinsettia, hand cut with scissors petals to size. Here I cut four larger and three smaller petals.
Stitch them onto the door hang one at a time. Once they are all attached, trim the petals to match the edge of the door hang. Add a button for the center. Stamp onto a piece of canvas and stitch onto the piece.
Just a reminder if you’re planning on staying home and avoiding all the Black Friday craziness…point your mouse right here to Therm O Web! We’ll have a special sale and even better..no leaving the house to participate! Sale kicks off tomorrow so don’t miss it!


maseadi
November 21, 2012 at 9:12 am (13 years ago)Beautiful…
salam http://mayherbal.blogspot.com