
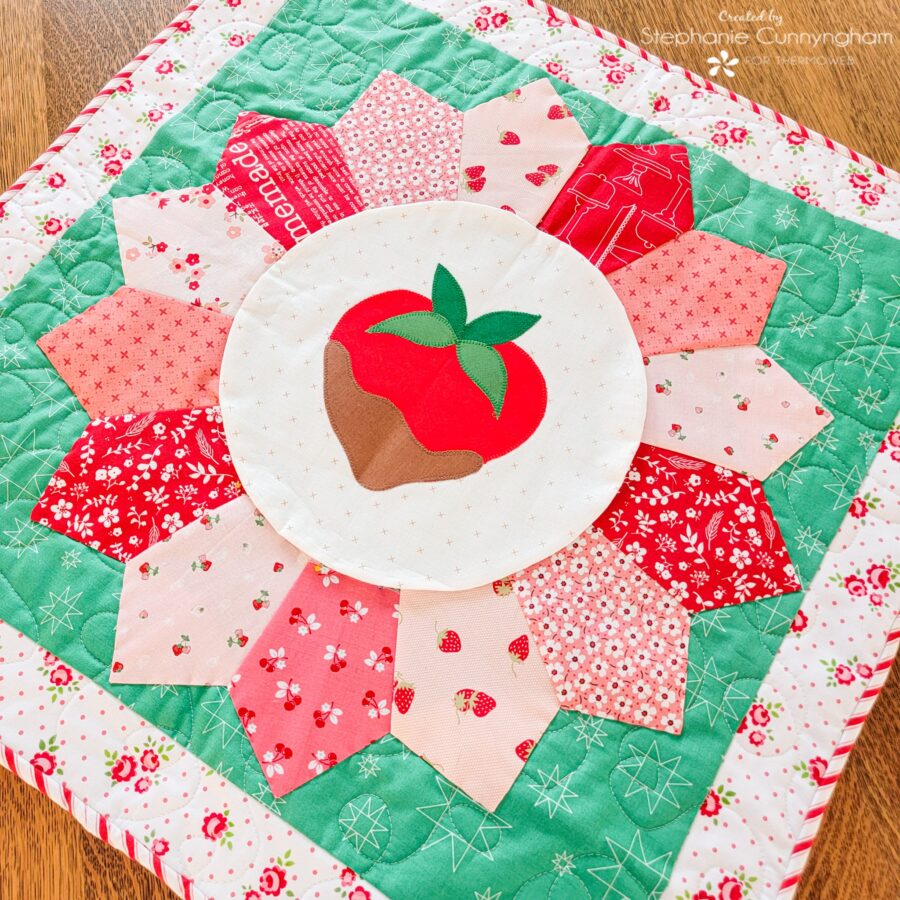
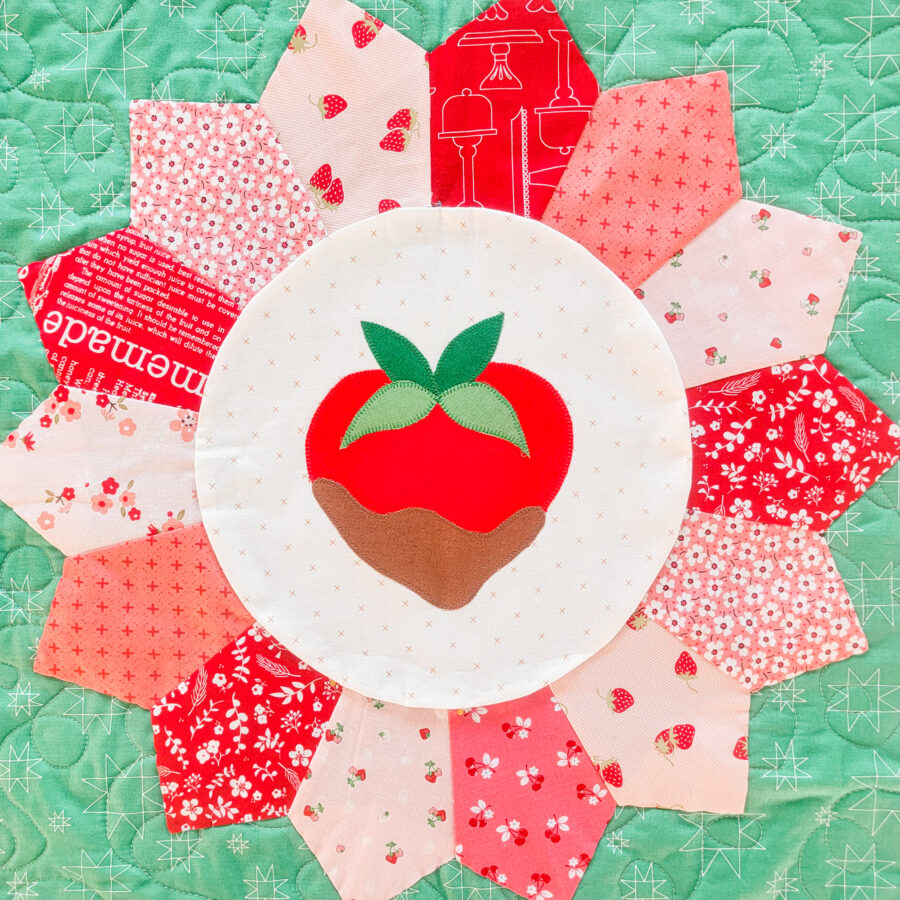
Hello, and happy February! We have been snowed in for the last few days here in the Midwest. I haven’t minded too much because being home allowed me to stitch up a little last-minute sweet table topper, just in time for Valentine’s Day! My favorite treat of all time is a chocolate-covered strawberry, and since this week is Sweet Treats week here at ThermOWeb, I knew my project had to feature my favorite sweet.
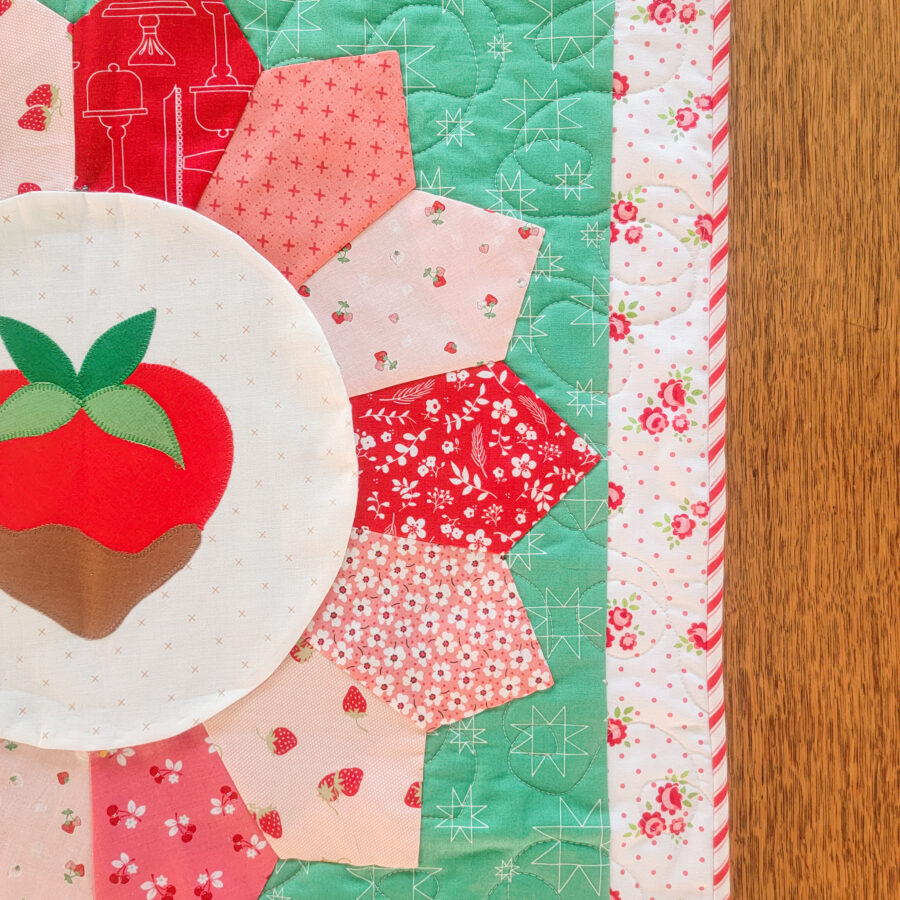
Sweet Berry Mini Quilt
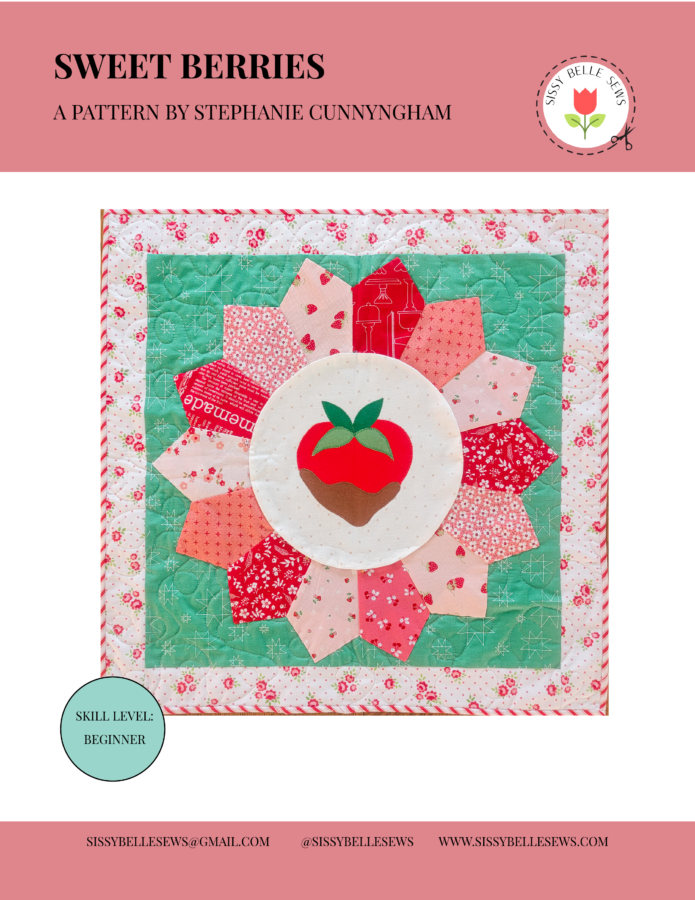
I wrote a pattern for this project for you, and I’m including some pictures below that might help you through the process if you decide to make one too!
Supplies Needed
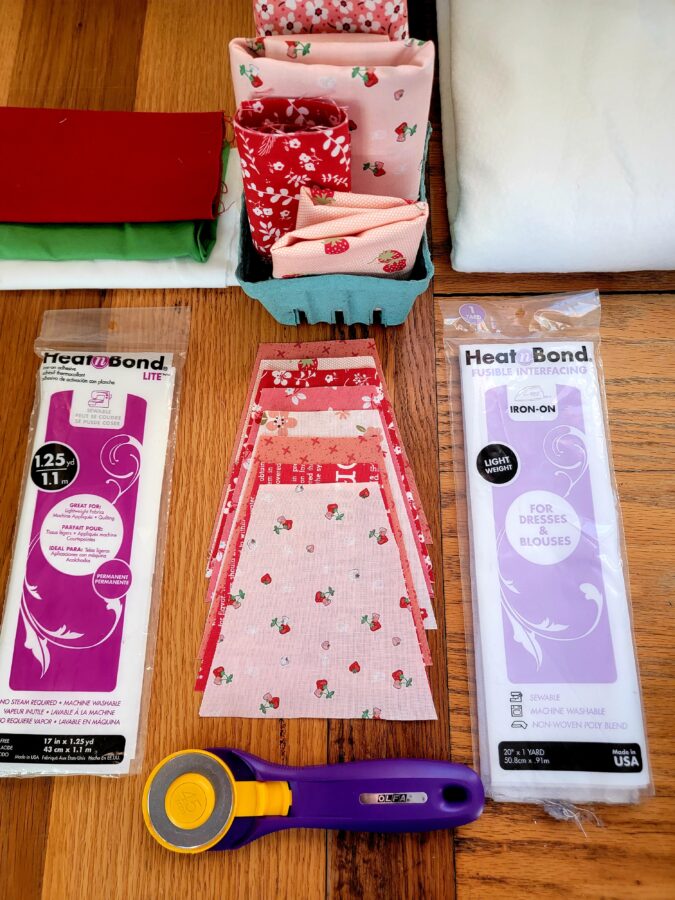
- Fabric, batting, and quilting supplies (see the pattern for details!
- 1 package of Heat n Bond Lightweight Fusible Interfacing
- 1 package of Heat n Bond Lite Iron-On Adhesive
- Spray n Bond Basting Spray (my favorite!)
- 5″ tumbler block template
- Sweet Berries pattern and templates
Sewing Instructions
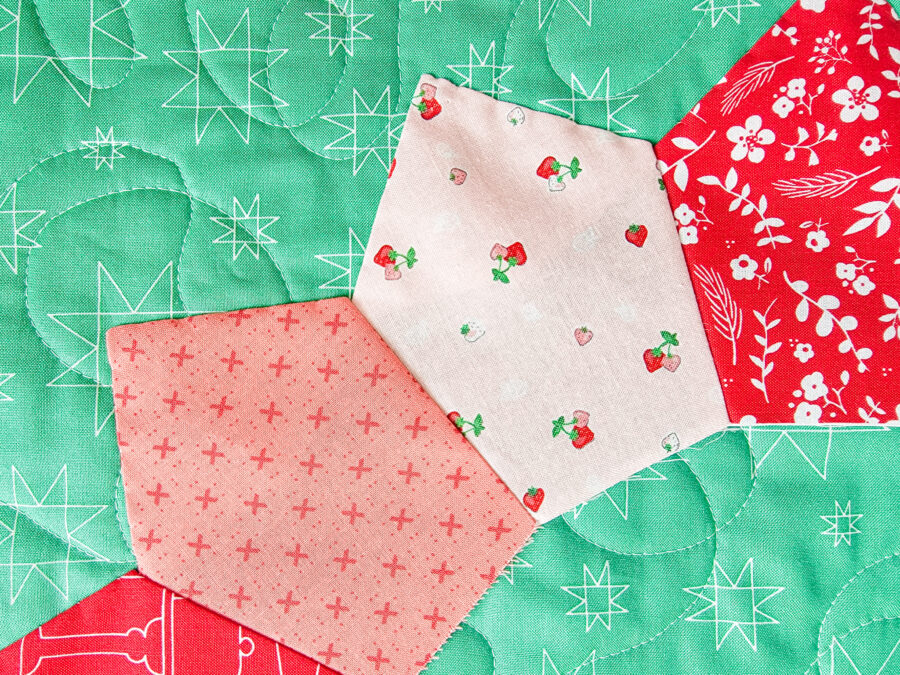
- Using the tumbler block template, cut 14 tumbler blocks from red and pink fabrics.
- Turn the tumbler blocks into Dresden blades by folding them in half, right sides together, and stitching across the top. Turn the point out and press. See the image below.
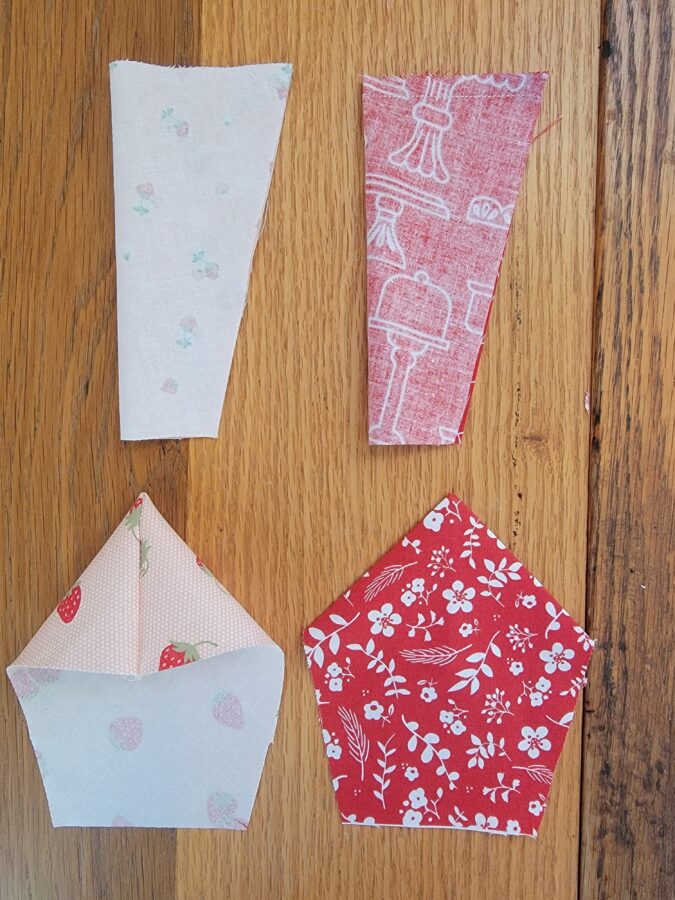
- Sew the Dresden blades together into a circle and press. Set aside for now.

- Piece the quilt top according to the pattern instructions. Using the Spray n Bond, layer the quilt top, batting, and backing fabric and quilt as desired.

- Center the Dresden plate on the quilted square and hand-stitch in place.
- For the strawberry applique, trace the pattern templates onto the paper side of the Heat n Bond Lite iron-on adhesive. Cut generously around drawn lines, but not on the lines.
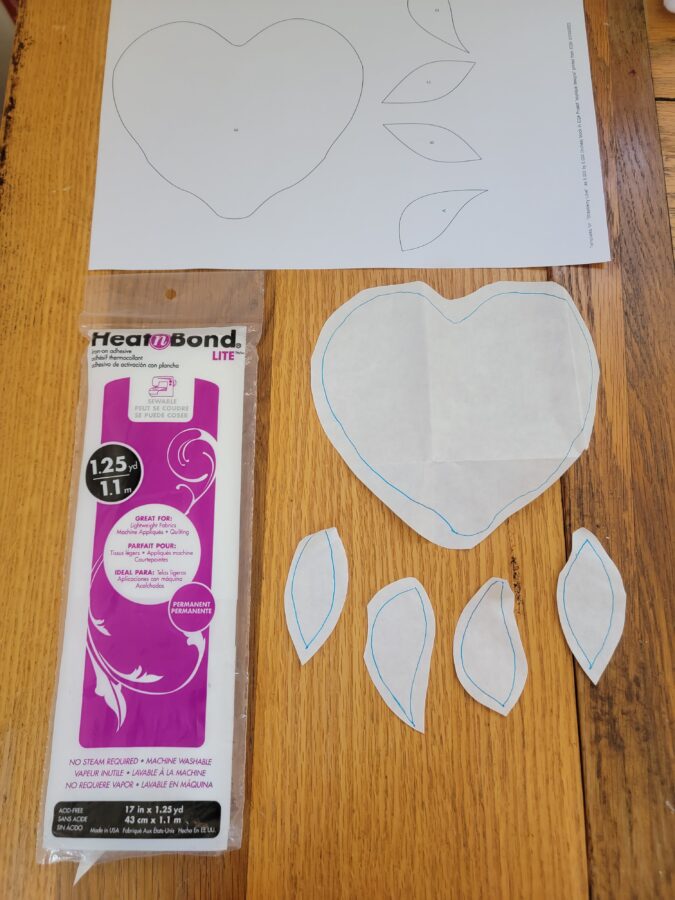
- Fuse the shapes onto the wrong side of the corresponding fabric pieces.
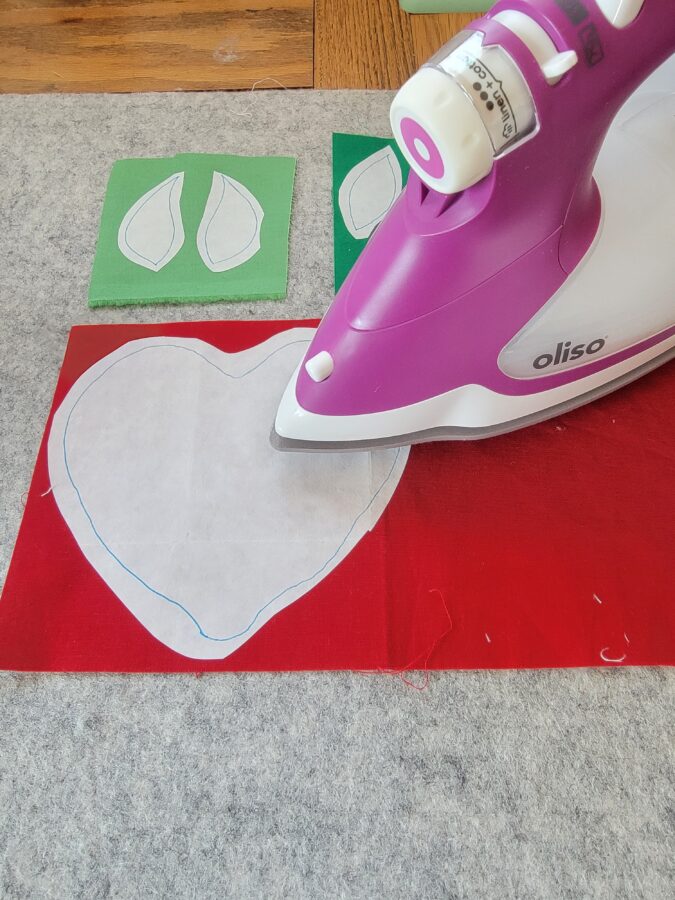
- Cut the shapes on the drawn lines.
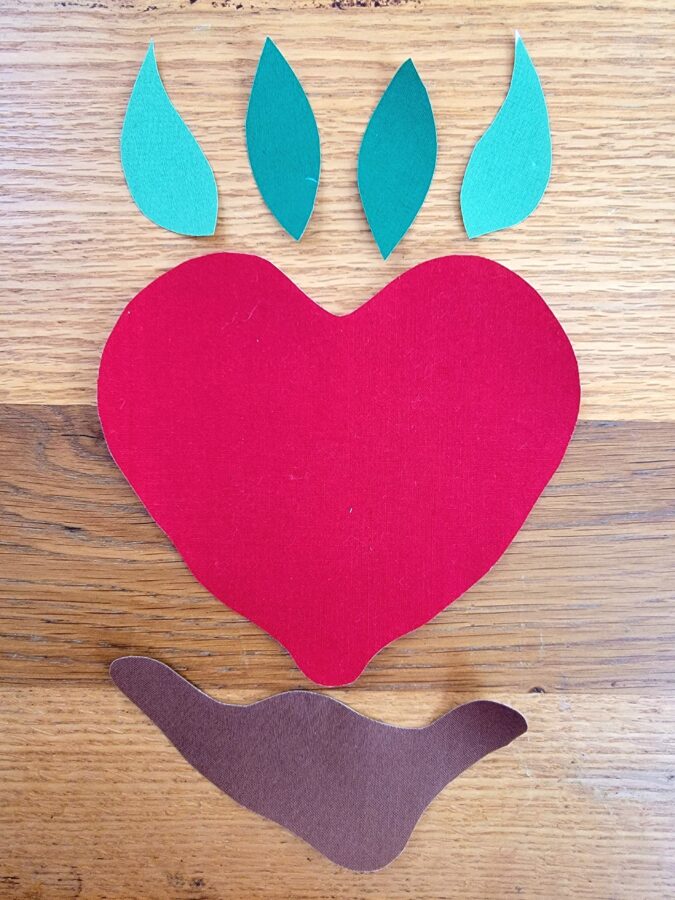
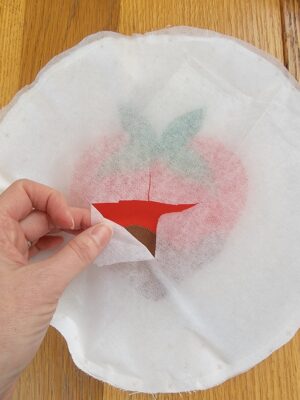
- Peel the paper from the back of the shapes.
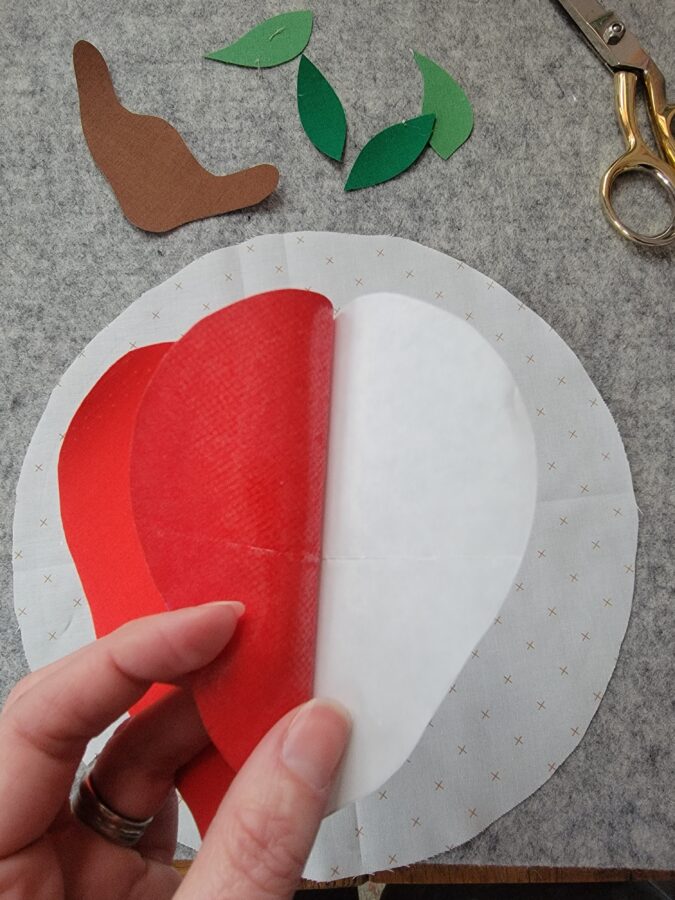
- Cut a 12″ circle from fabric and arrange applique shapes onto the circle. Fuse in place.
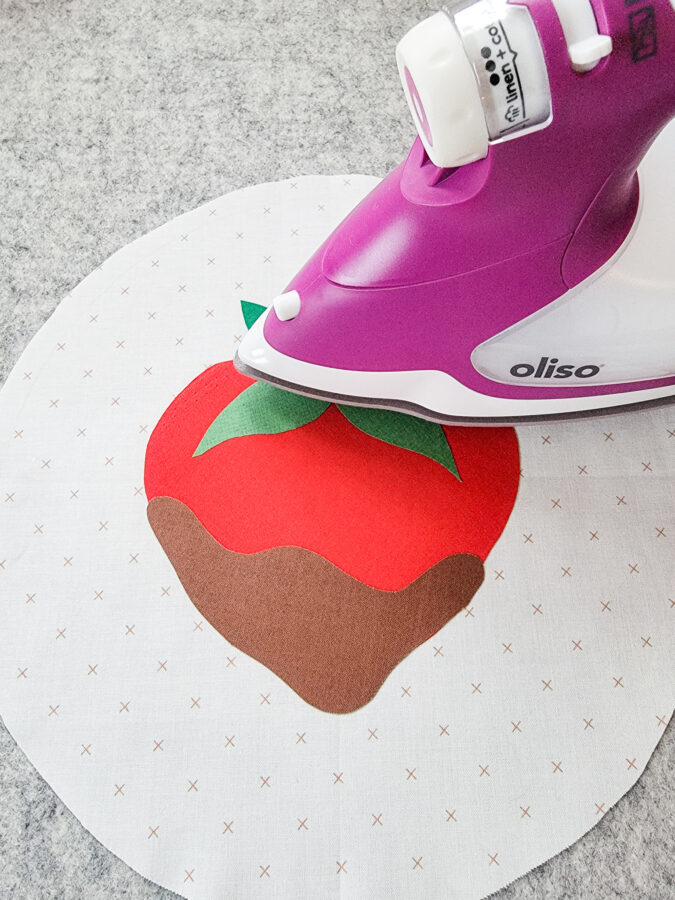
- Cut a 12″ circle from the Heat n Bond lightweight fusible interfacing.
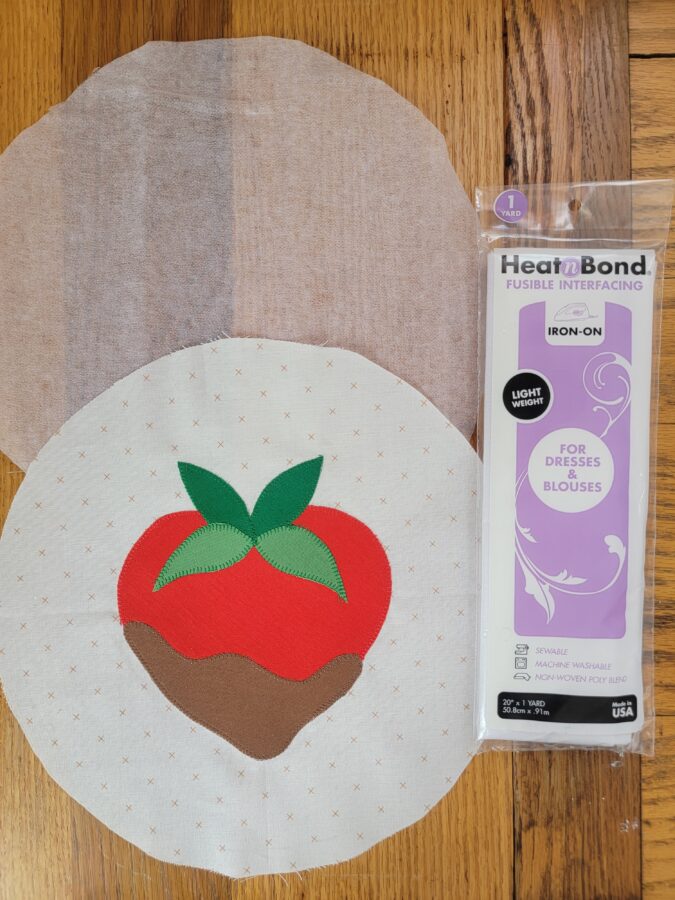
- Sew the two circles together, right side of the fabric to the bumpy side of the interfacing. Cut a slit in the interfacing and turn the circle right side out.
- Center the circle on the Dresden place and fuse in place. Stitch to secure.
- Bind your mini quilt, and enjoy it!
Mine is going straight to my table with a vintage jadeite cake stand full of yummy treats!
Thanks for joining me today, and happy sewing!
-Stephanie-

Yesterday we announced the official release of our NEW Pixie Tape and Pixie Dots! We’d like to invite you to learn more about these new products and get entered into a chance to win!