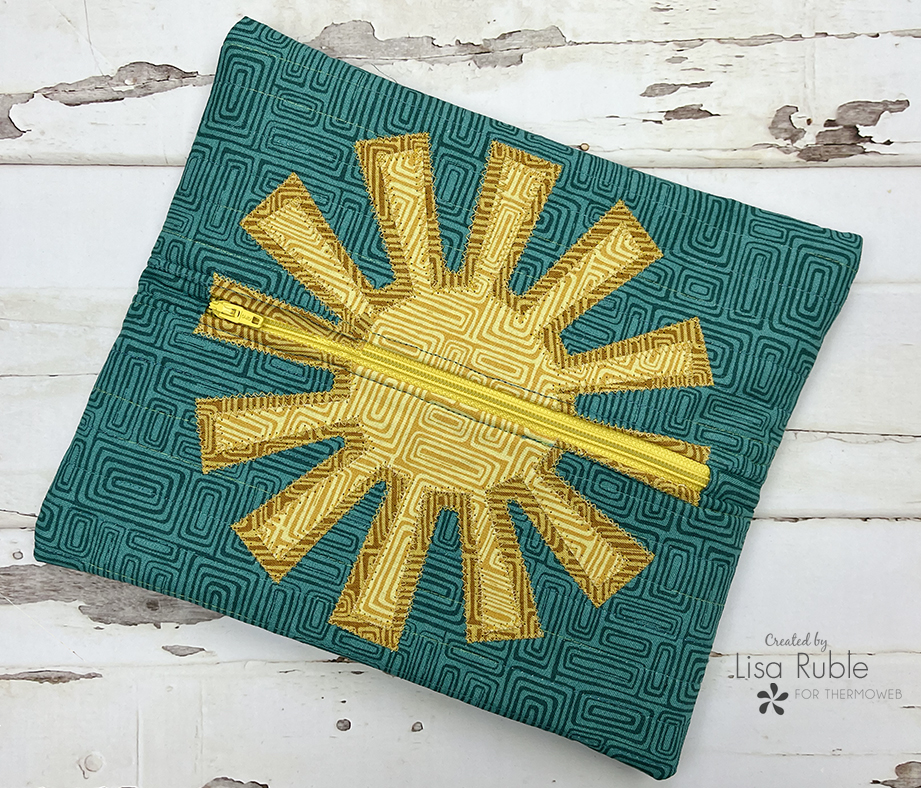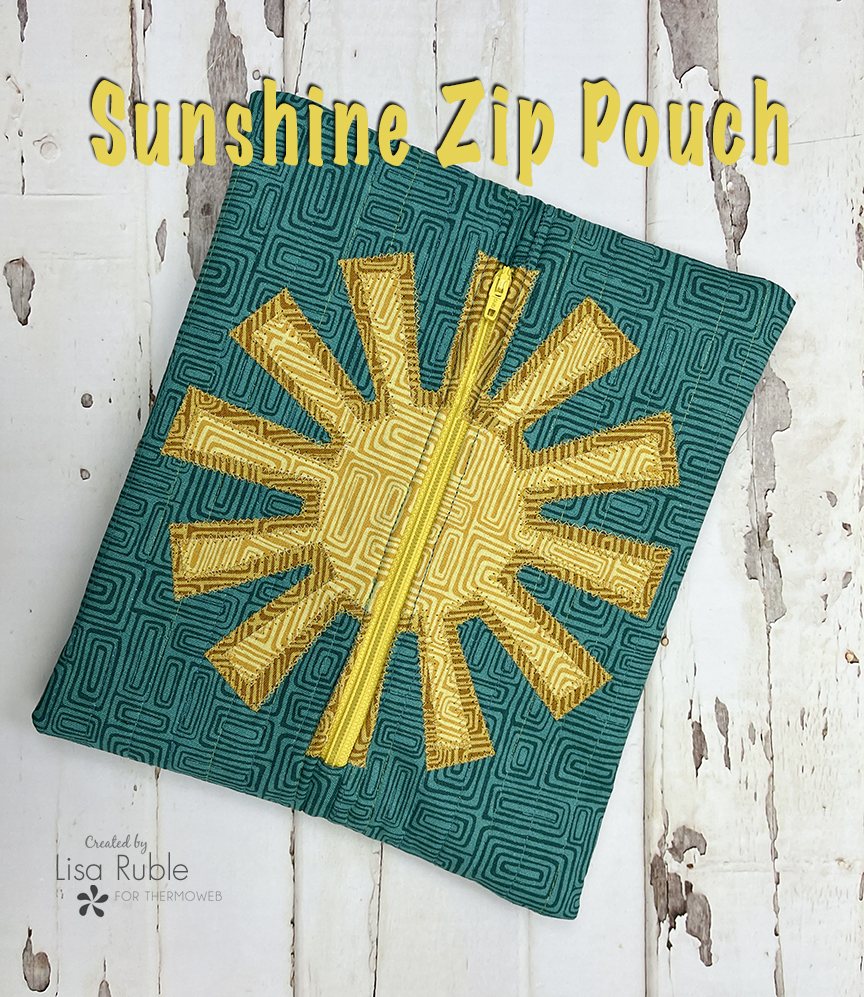
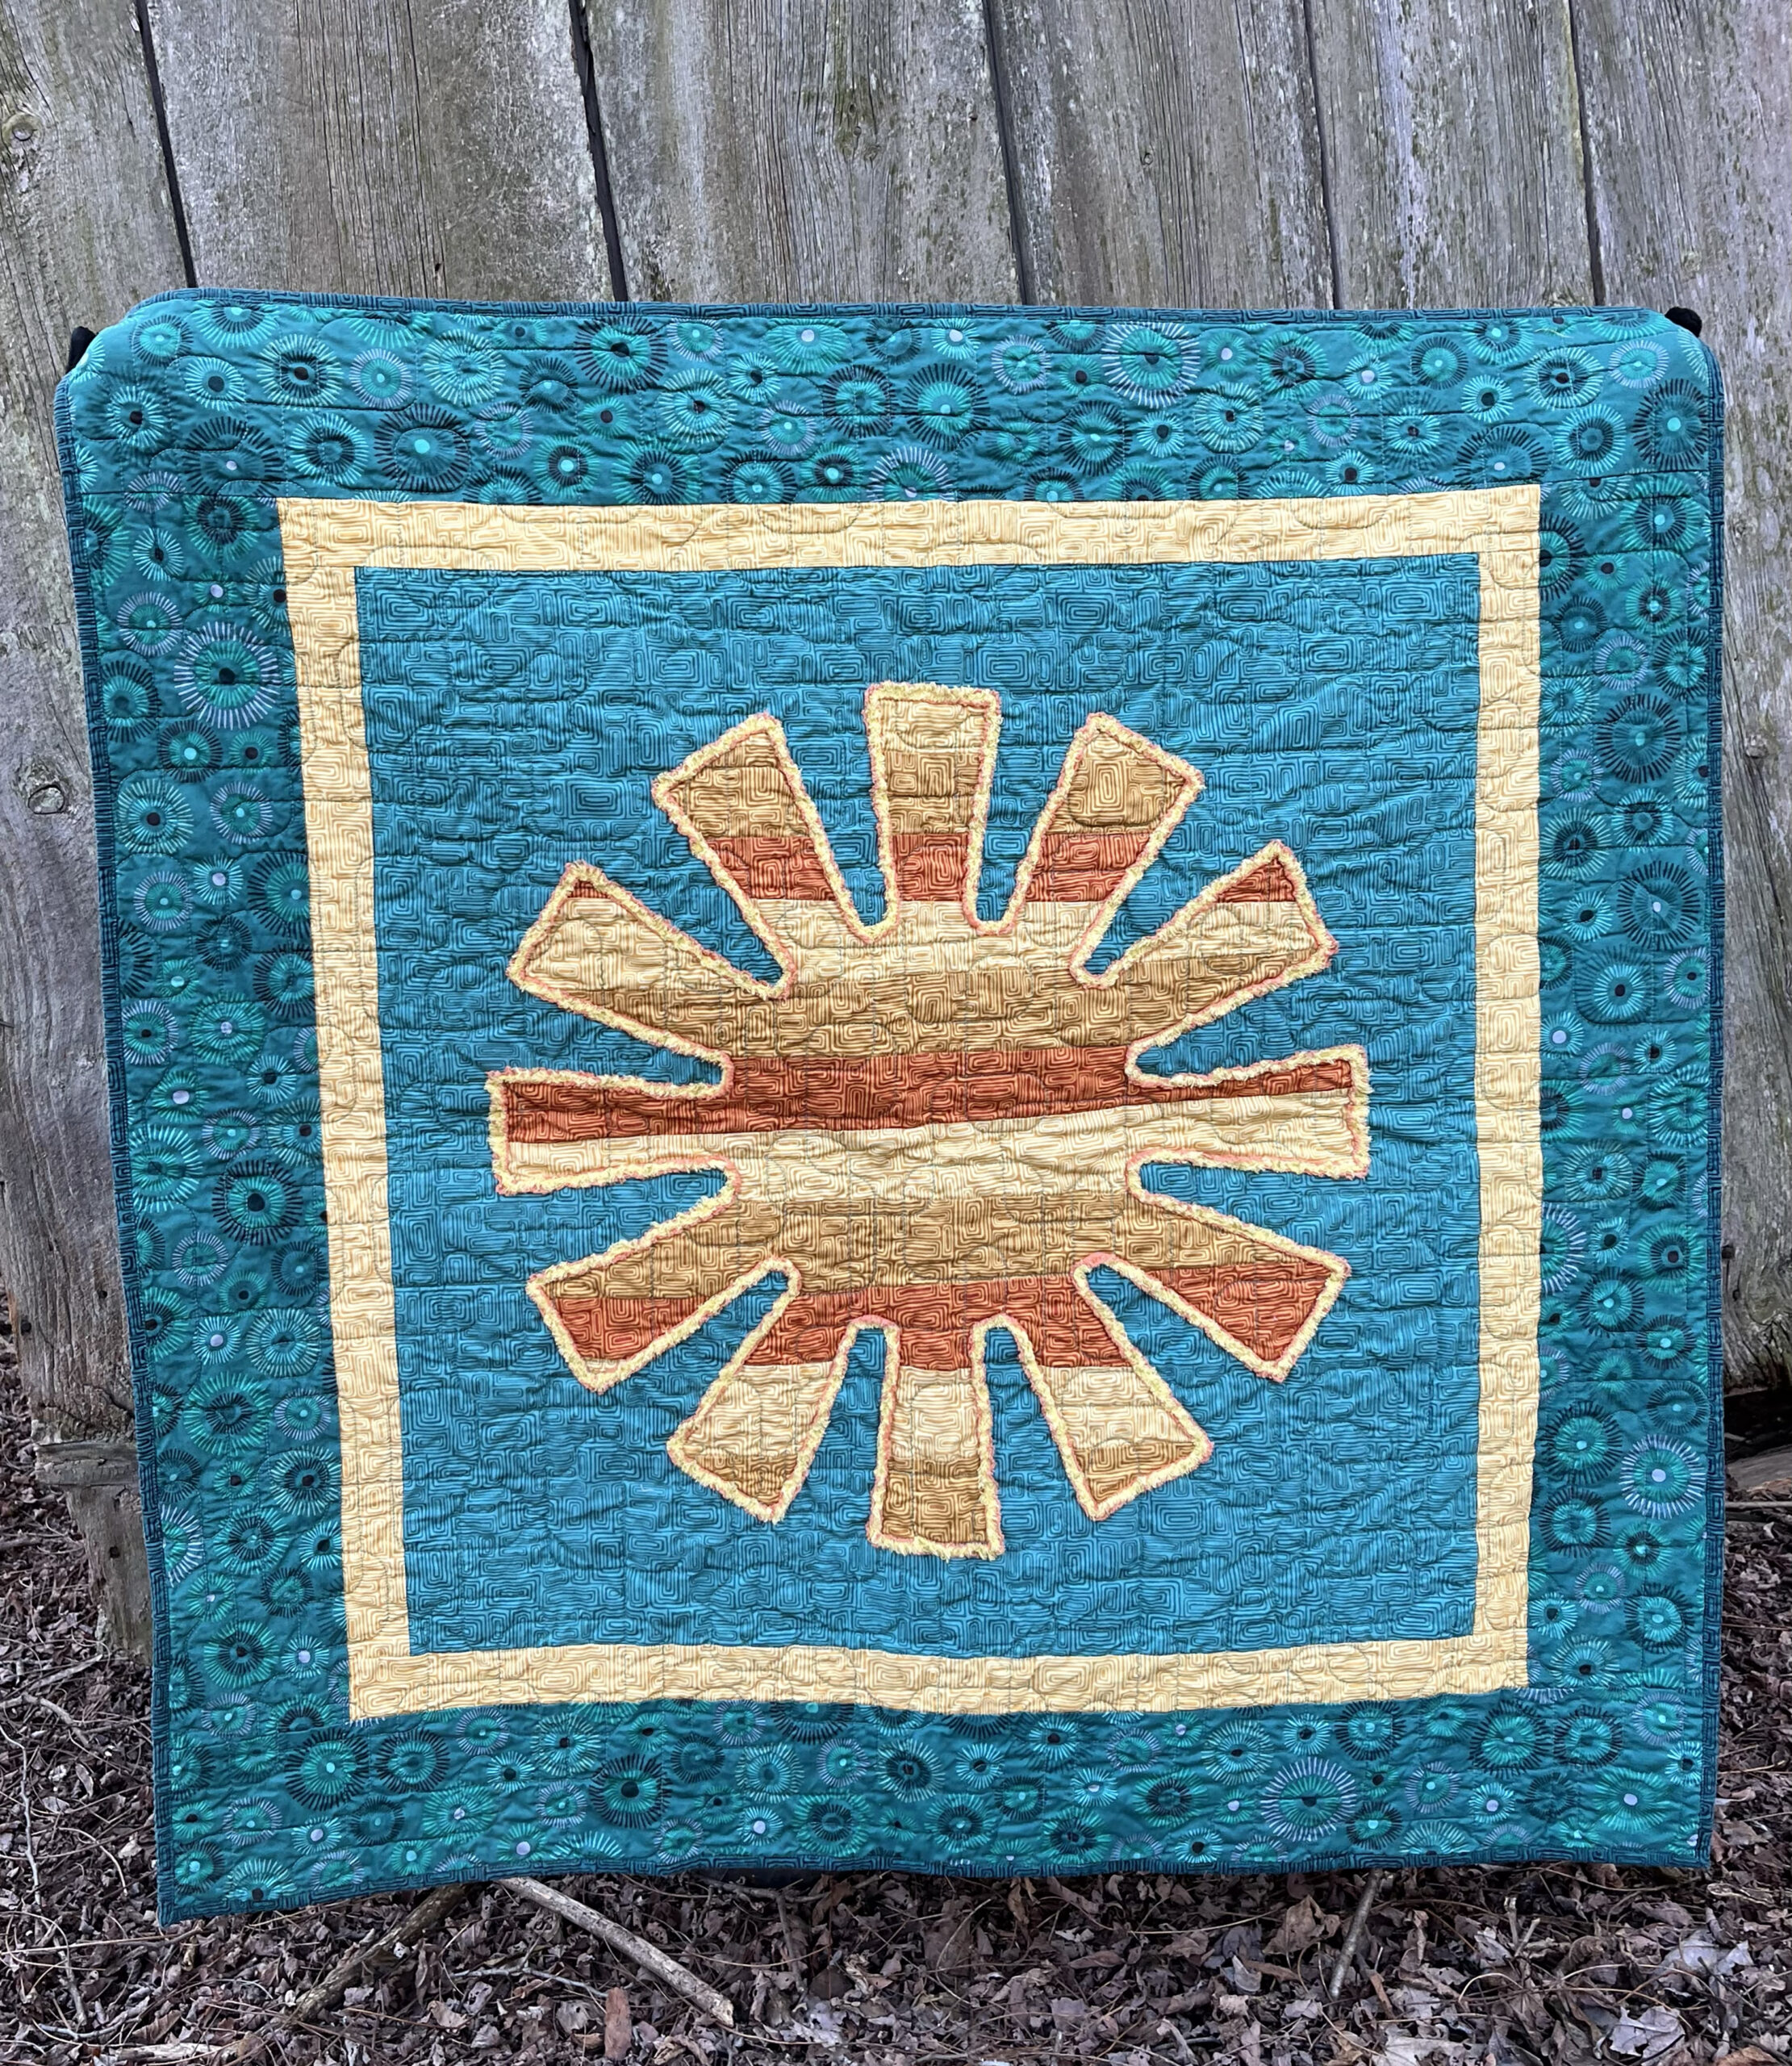
Hi! It’s Lisa Ruble from Quilty Zest, here with a fun summery tutorial! I took inspiration from my Follow the Sun quilt (see below!) to create a Sunshine Zip Pouch.
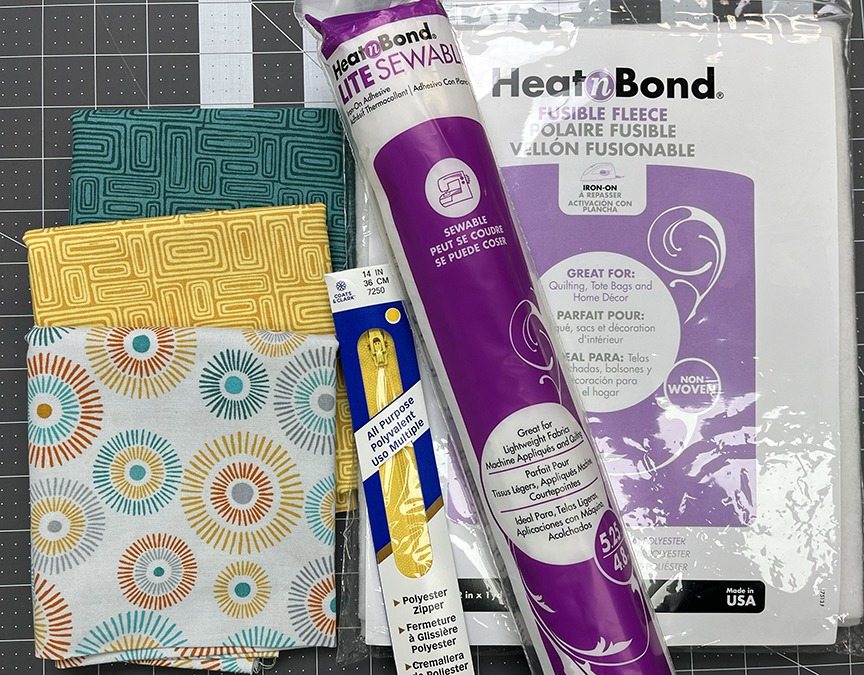
Here’s a look at what supplies I used to make the pouch:
– 4 fat quarters from Find Your Way
– 1 yellow zipper (at least 12″ long)
– HeatnBond Lite Sewable
– HeatnBond Fusible Fleece
– Thread in coordinating colors (I used yellow and teal)
Cutting:
From teal print:
(1) 10-1/2″ x 16-1/2″ piece
(2) 2″ x 4″ pieces
From white print:
(1) 10-1/2″ x 16-1/2″ piece
From fusible fleece:
(1) 10-1/2″ x 16-1/2″ piece
Download the sunshine template pdf here.
Let’s get started!
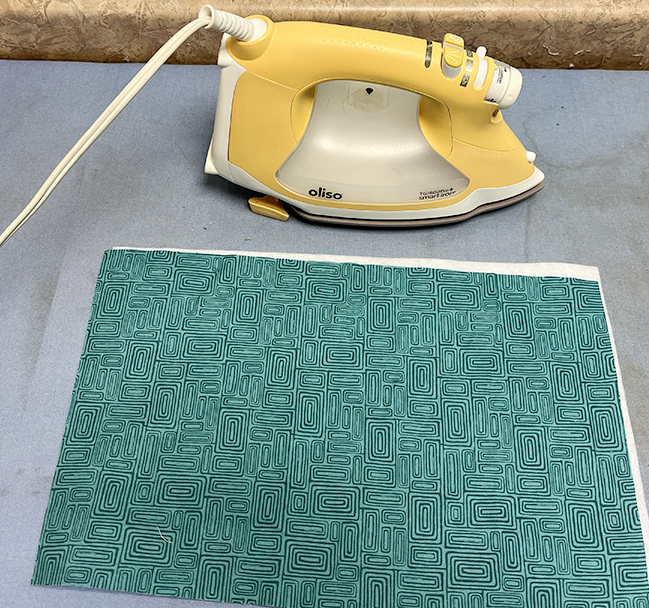
Step 1 Adhere the fusible fleece piece to the wrong side of the 10-1/2″ x 16-1/2″ teal piece. Machine quilt as desired (I quilted straight lines.)
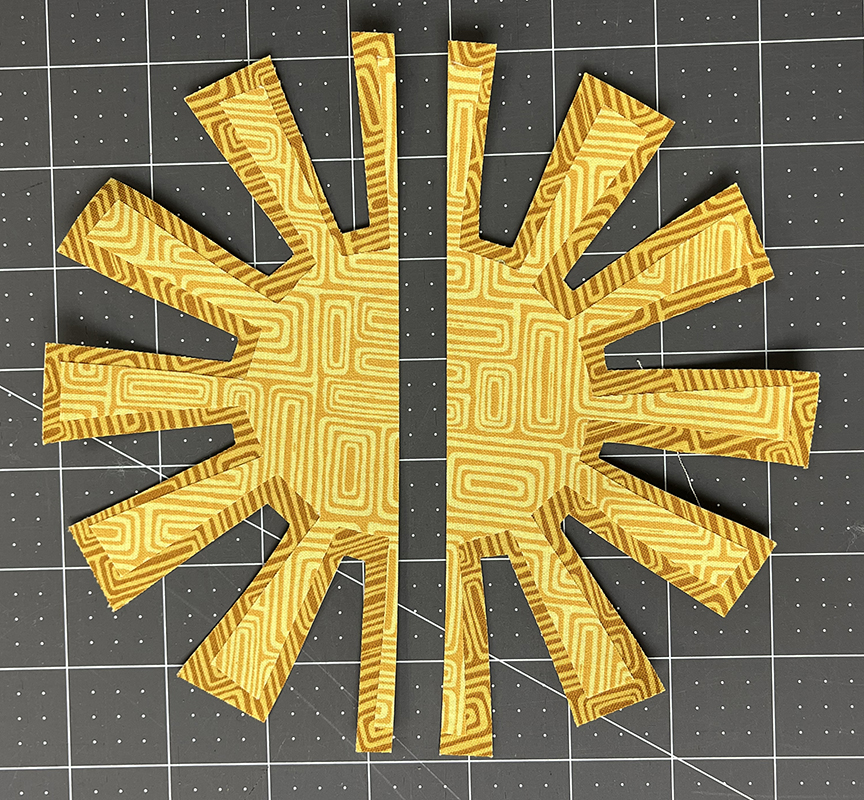
Step 2 Trace both the inner and outer sun onto the paper side of HeatnBond Lite Sewable twice. Fuse the outer sun shapes onto the wrong side of the gold print and the inner sun shapes onto the wrong side of the yellow print. Cut out all shapes. (Mine are shown here stacked just for fun – you’ll fuse them in the next step.)
Step 3 Fuse an outer sun and inner sun to each short end of the quilted teal rectangle, leaving an 1/8″ of teal exposed. Make sure to center each sun half so they meet up nicely when the pouch is complete.
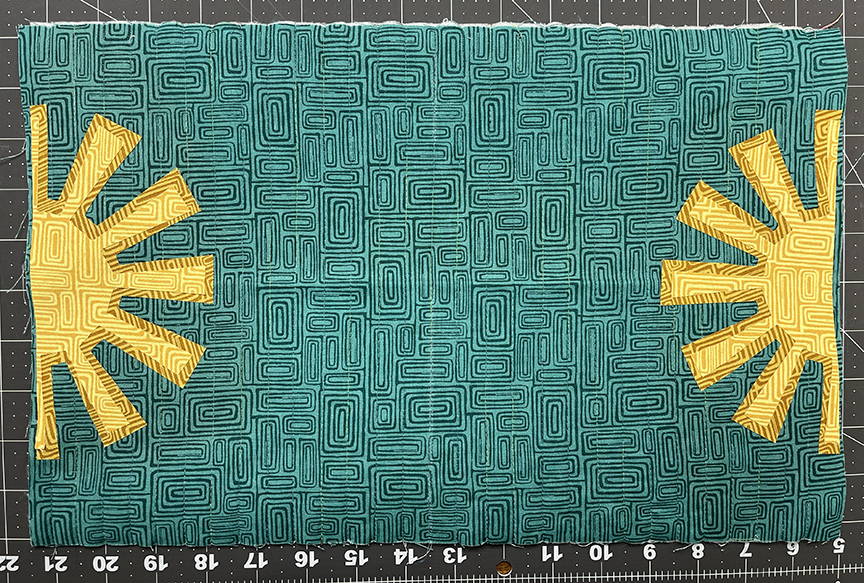
Step 4 Use a zig zag stitch to secure each inner and outer sun shape (you don’t need to stitch along the long edge- that will be caught in the zipper seam). Tip: Use an open toe foot so you can more easily see where your zigzag stitch is headed!

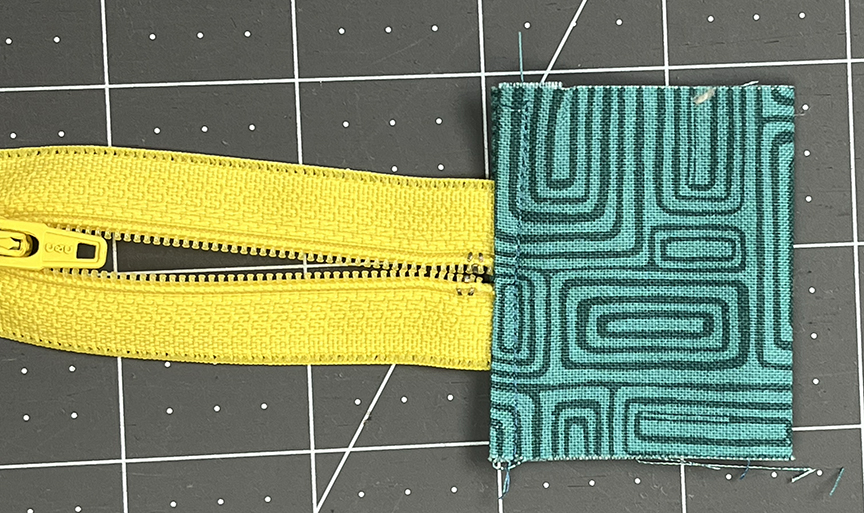
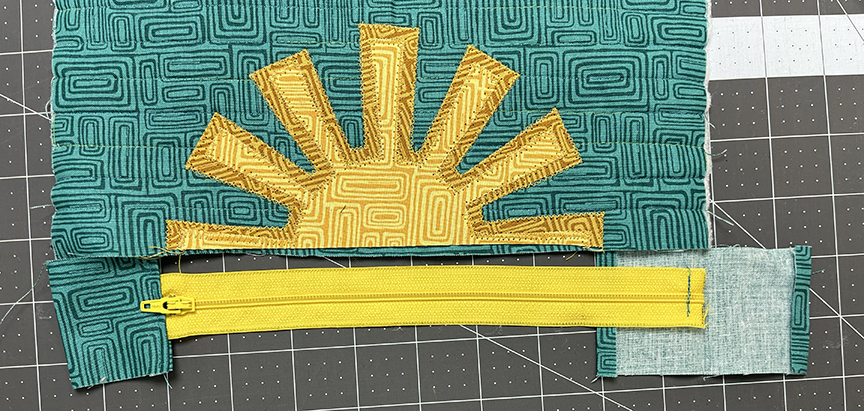
Step 5 Fold (1) 2″ x 4″ teal rectangle in on both short ends 1/4″ and press. Fold in half and press. Make (2).

Step 6 Slide the pull end of the zipper into the folded teal piece from step 5, makings sure the zipper sides are close together. Stitch along the folded teal edges to secure.
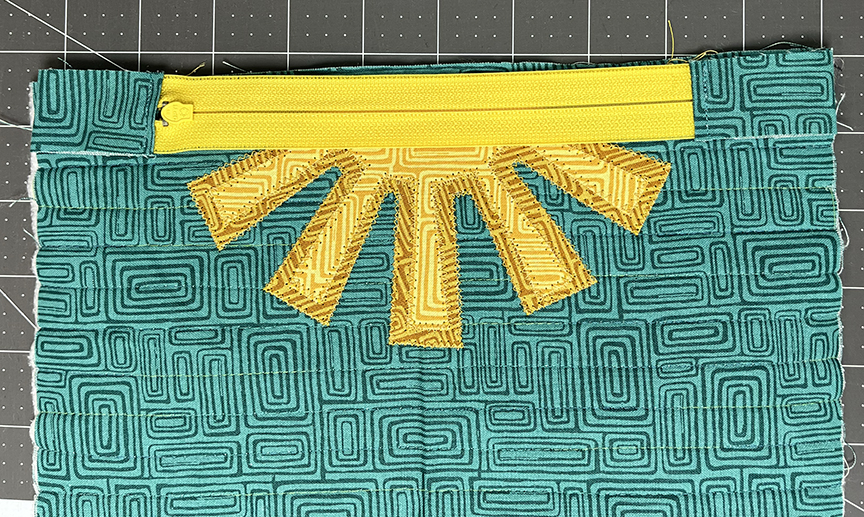
Step 7 Align the partially prepared zipper along the sunshine edge of the pouch piece. Draw a line on the zipper at the opposite end. Stitch 1/4″ in from that line to secure zipper, and then trim zipper on the marked line. Tuck this end of the zipper inside the second folded teal rectangle so zipper touches the fold and then stitch like on the first end. Trim excess teal sides to match the width of the zipper (which you can see in the step 8 photo).
Step 8 Lay the zipper unit right sides together on the quilted pouch rectangle. Pin in place, and then lay the 10-1/2″ x 16-1/2″ white print piece on top, also right sides together. Pin to secure, and then stitch the units together using a zipper foot.
Step 9 Press the quilted pouch and lining rectangles away from the zipper unit.Topstitch along the edge of the pouch, making sure the lining is smooth on the back as well.
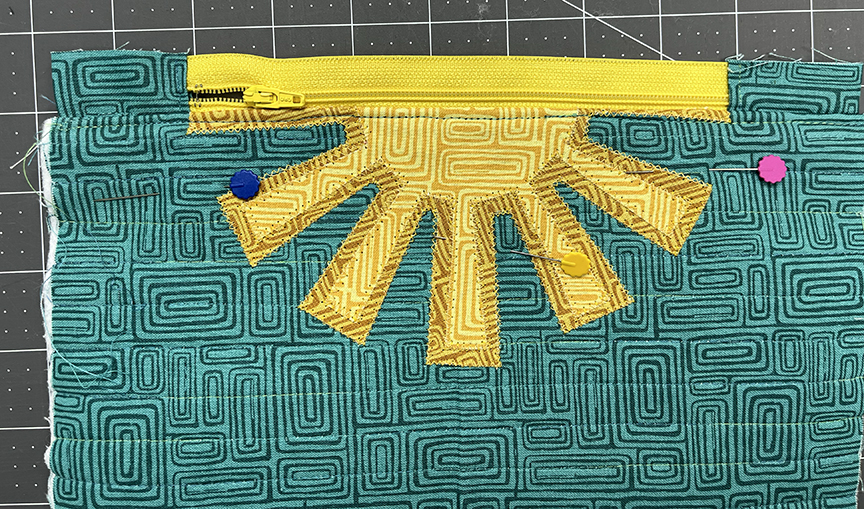
Step 10 Fold the quilted pouch rectangle in half and pin the zipper unit to other sunshine end. (Make sure the zipper is open.) Fold the lining rectangle in half and pin on top. Stitch using the zipper foot.

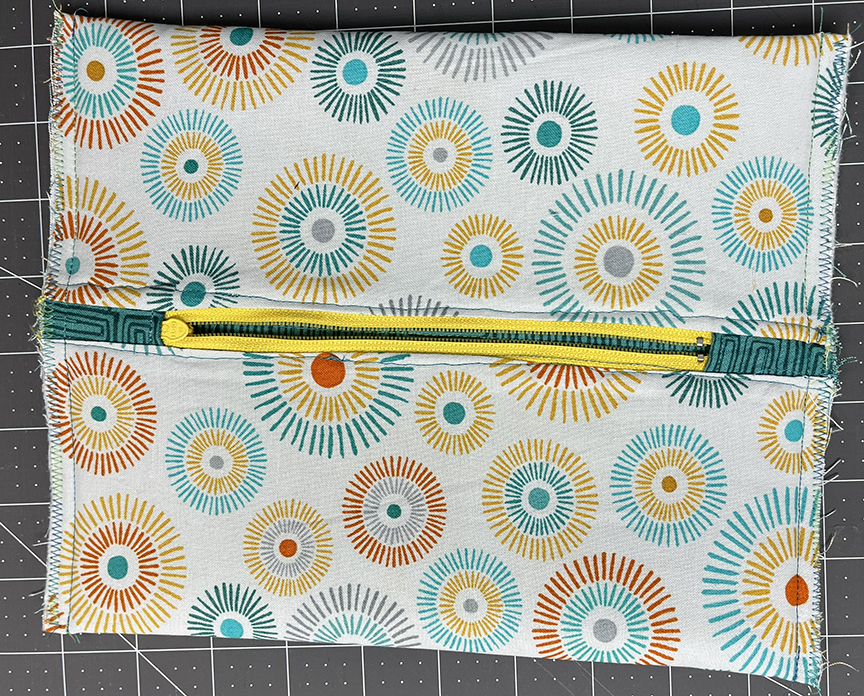
Step 11 Manipulate the quilted pouch and lining, pressing away from the zipper. Topstitch down the second edge of the pouch (this is the hardest part because you need to make sure you’re not stitching through the back side of the pouch! But stick with it – you can do it!). Turn the pouch lining side out, center the zipper, and pin both open ends (again, make sure the zipper is open!).

Step 12 Stitch along both open ends and then zig zag the raw edges to reduce fraying.
Step 13 Turn the pouch right side out through the zipper and poke corners out as needed. That’s it! Enjoy your pouch!

What would you fill this pouch with? Here it will probably be colored markers/pens – a favorite for both me and my kids!