We hope you’ve enjoyed the past weeks projects we’ve shared with our friends at Ruby Rock-It!
Their new Carnival King and Carnival Queen collections just make you want to go have fun!
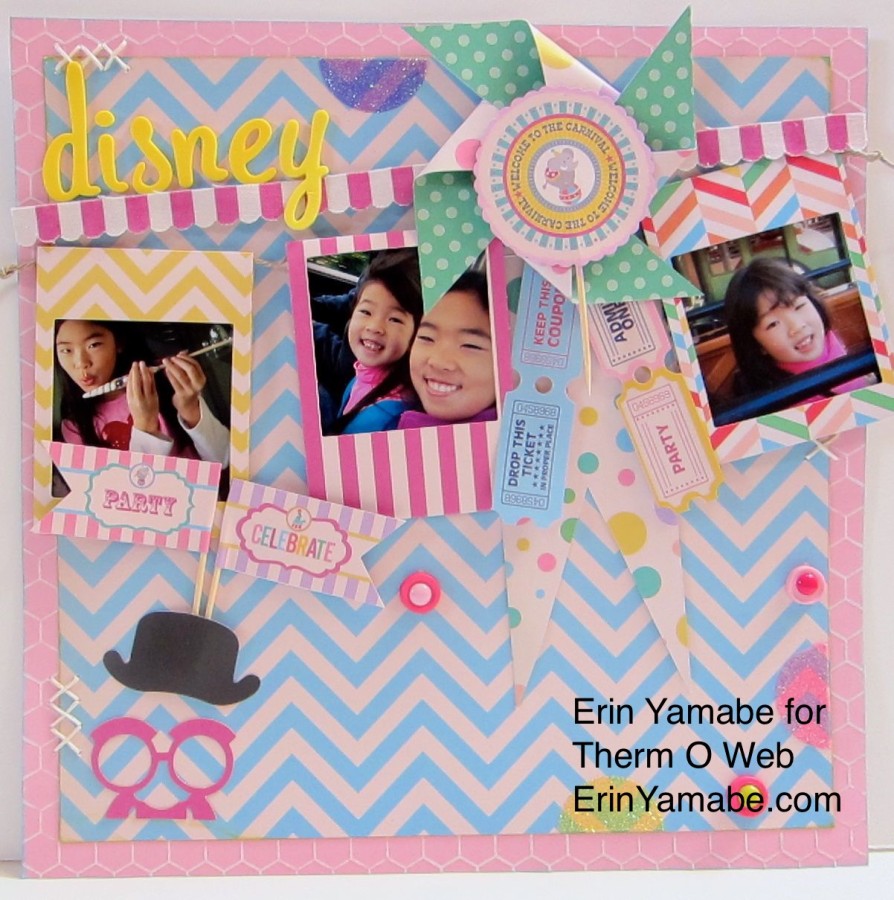
Today Designer Erin Yamabe shows how to celebrate with Carnival Queen and our iCraft adhesives to perfectly capture your Disney memories!
We’re kicking off today with some fun layouts celebrating carnivals, rides and memories!
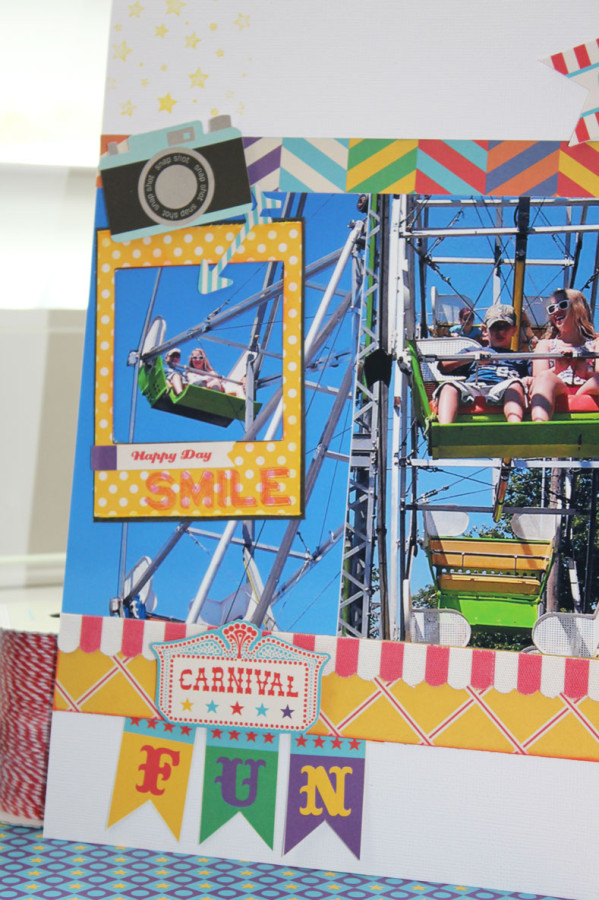
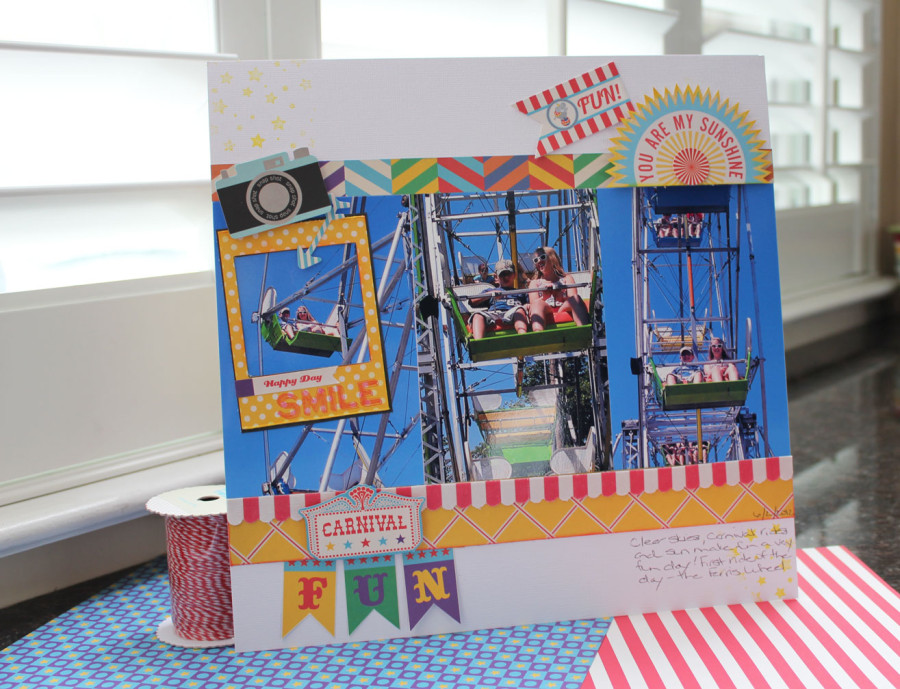
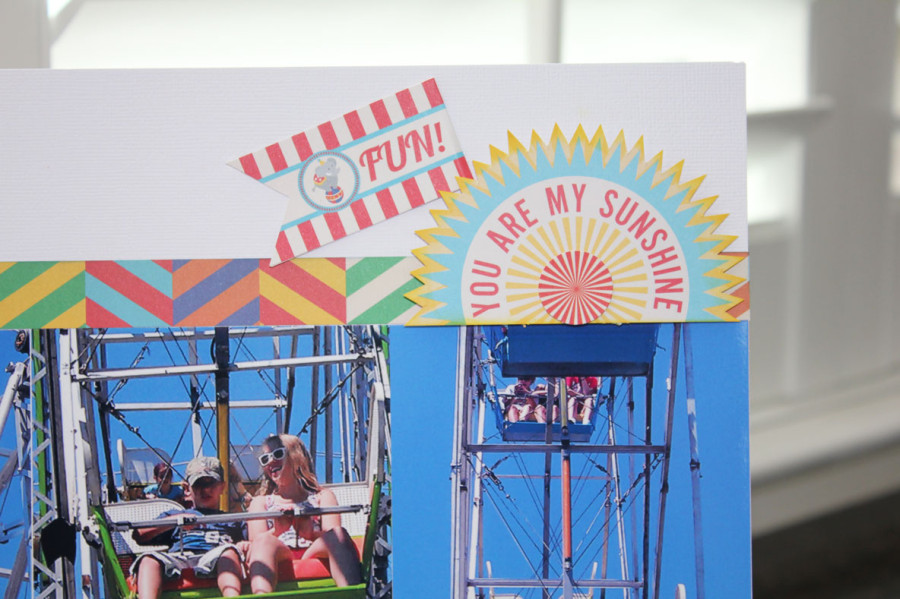
Sunshine Fun Layout by Julia Sandvoss
Supplies:
Therm O Web Mini Sticky Tape Runner
Therm O Web Foam Squares – combo pack
Therm O Web iCraft Adhesive Circles – 1.5 inch
Therm O Web Zots Medium
Ruby Rock-It Carnival King Collection – Papers, Stickers, Diecuts, Garlands, Picks, Frames
Studio Calico Stamps
Colorbox Chalk Inks
Tip:
Cut apart the pockets from Ruby Rock-it to make a fun polaroid style frame. Cut apart the various designs and dies for creative shapes!
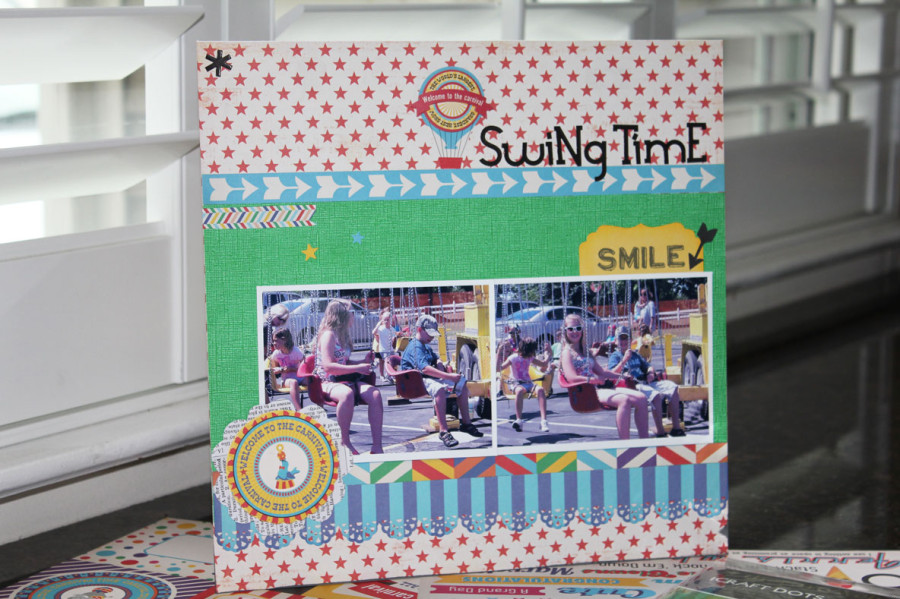
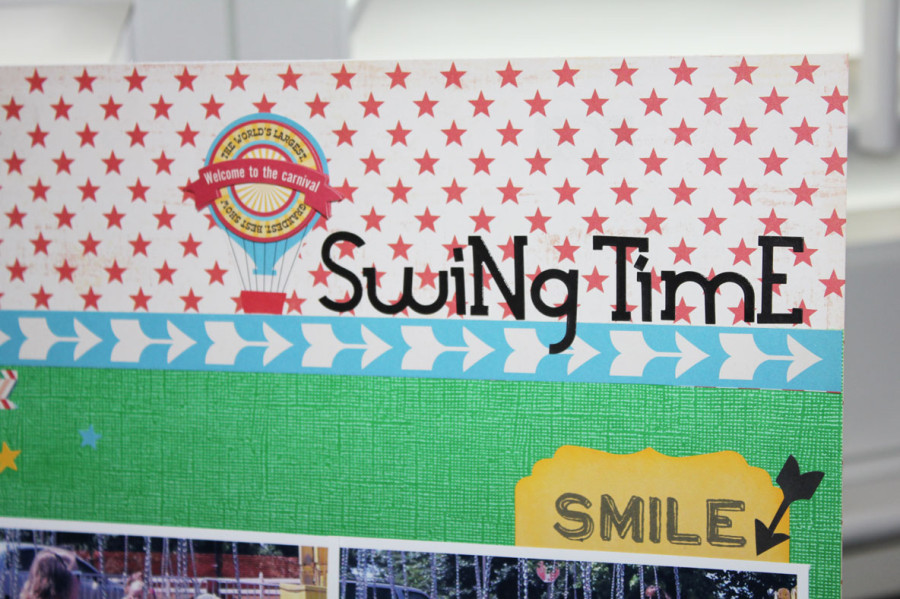
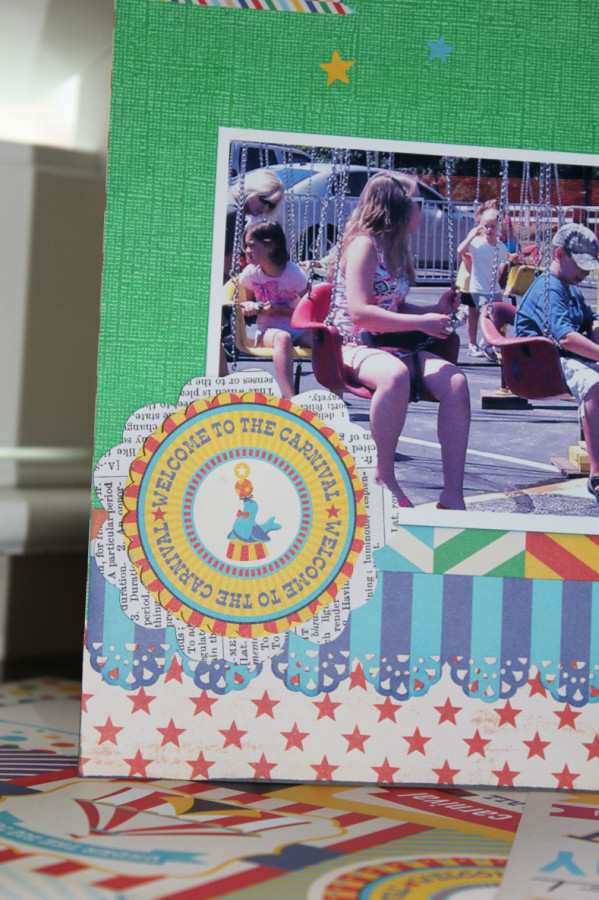
Swing Time Layout by Julia Sandvoss
Supplies:
Therm O Web Mini Sticky Tape Runner
Therm O Web Foam Squares – combo pack
Therm O Web iCraft Adhesive Circles – 1.5 inch
Therm O Web Zots Medium
Ruby Rock-It Carnival King Collection – Papers, Stickers, Diecuts, Garlands, Picks, Frames
Studio Calico Stamps
Colorbox Chalk Inks
Ki Memories Alphabet Stickers
What darling projects our TOW designers have come up with! Ruby Rock-it’s Carnival Queen line has been so much fun to create with!
One of our recent trips to Disneyland’s photos seemed just perfect for these bright and whimsical patterns!
Therm O Web supply list:
Mini Sticky Tape Runner
Zot dots – 3D
Zot dots – small
Foam squares – combo pack
ICraft Adhesive dots – 1.5 inch
Super Tape – 1/2 inch
Other Supplies:
Carnival Queen papers
Carnival Queen diecuts
Carnival Queen pockets
Carnival Queen party picks
American Crafts Thickers
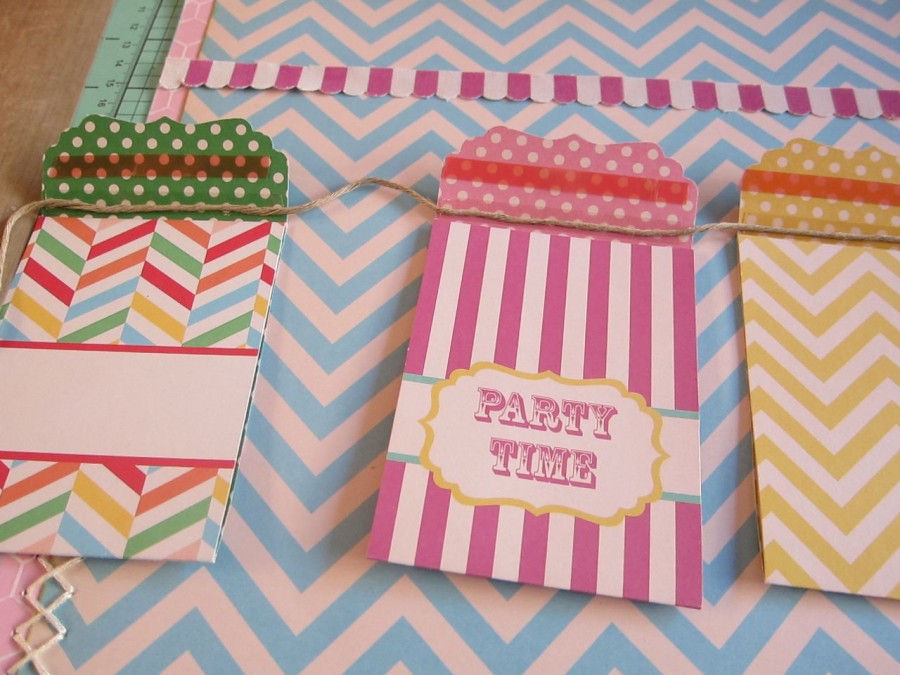
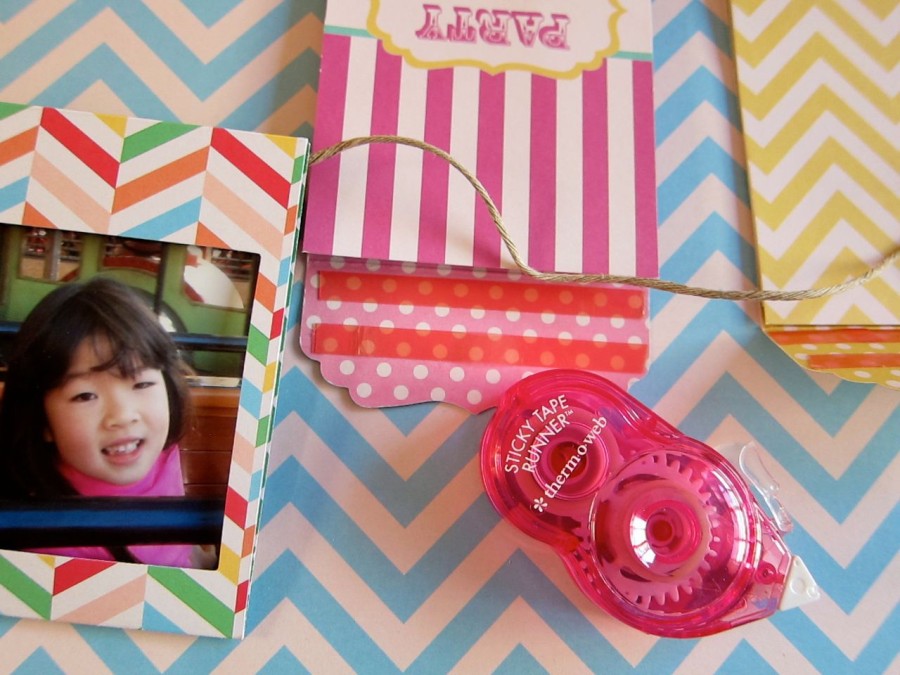
One of my favorite embellishments in this kit are the darling little pockets! They make a perfect little banner with your photos inside!
On the flap, adhere two strips of the Super Tape across the back. One strip will be to adhere the twine attaching the pockets to create the banner. The other strip will be to adhere the pocket to itself once the twine has been added onto the pockets.
They look like little polaroid photos captured in your own banner!
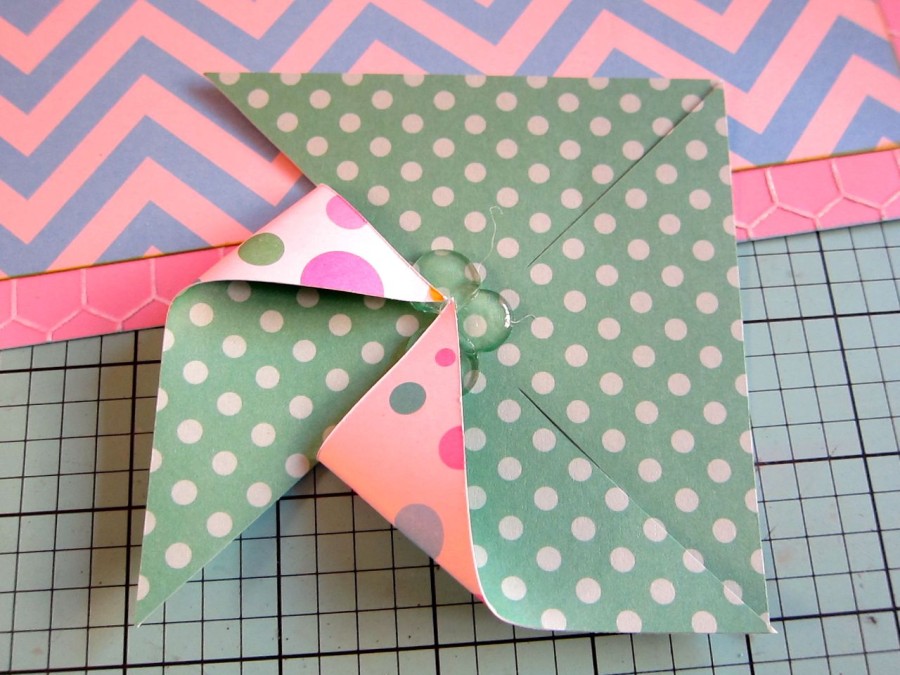
The little pinwheel began as a 4 in by 4 in square. Cut at each diagonal inward, leaving about 3/4 in uncut. Place 3D zots in the center. Fold one side of each triangle into the center, adhered by the 3D zot.
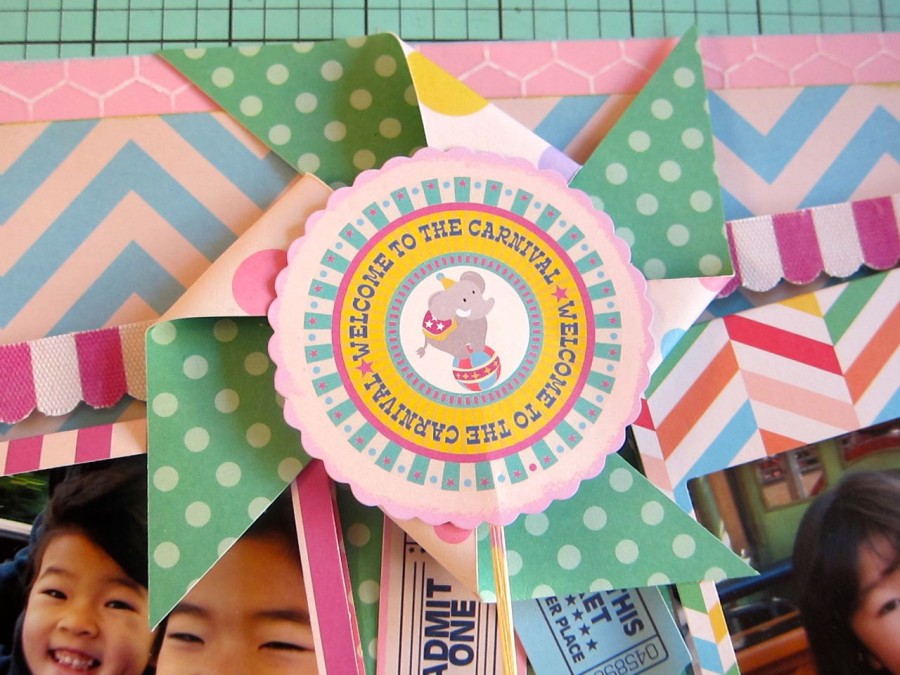
Adhere Party Pick to center of pinwheel with foam squares.
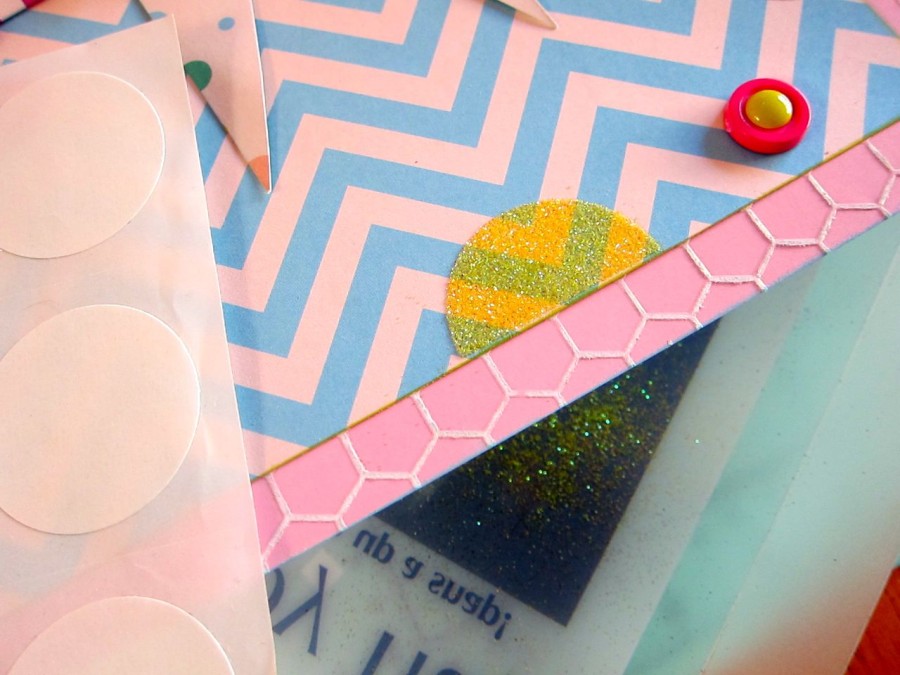
What’s a girly layout without some glitter? Our iCraft Adhesive dots make the perfect glittery accent!
Thanks for making Therm O Web a part of your creative day!
Cheers!
Erin Yamabe
We’re wrapping up our time with Ruby Rock-It and would like to give you a chance to win!
Simply follow the steps to enter to win the Ruby Rock-It Carnival Queen Collection! It’s filled with:
11 Double-sided amazing papers!!
Pack of Party Picks
Pack of 24 Diecuts
Pre-stitched Garlands
Pockets and more!
Pack of Project Cards

Regena
April 12, 2013 at 5:57 pm (12 years ago)I have retweeted, tweeted, liked and shared. Thanks for the chance to win!