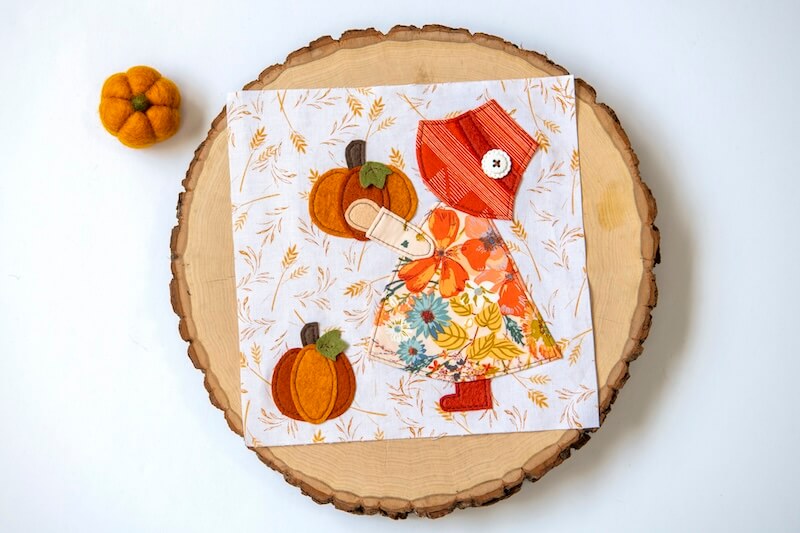
Good morning, friends! I’m back with another fun applique pattern for you. Today, we have Sunbonnet Sue out picking pumpkins.
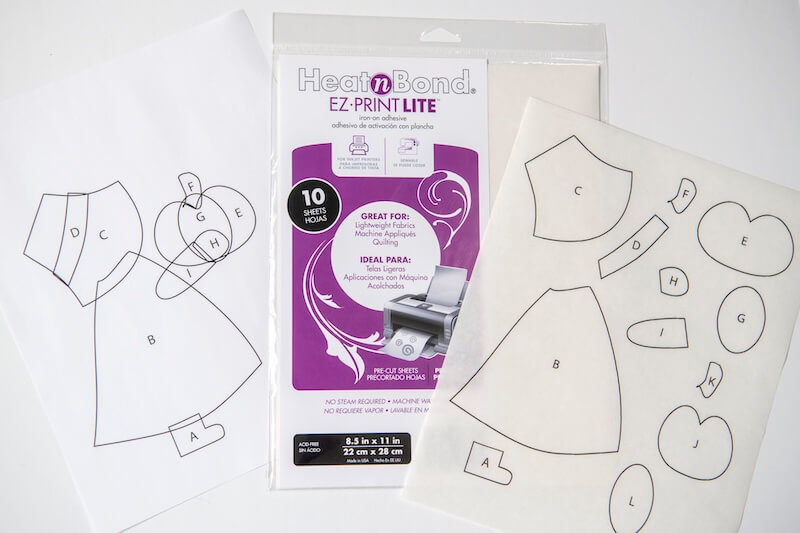
Supplies:
- Pattern (DOWNLOAD HERE)
- HeatnBond EZ Print Lite
- Spray n Bond Basting Adhesive
- Fabrics (I’ll be using wool felt and quilters cotton)
- Lightbox or Water-Soluble Marking Pen (optional)
The pattern is designed to make an 8.5” block (8” finished). I will be showing you how to assemble the pieces; however, you can adhere Sunbonnet Sue on any project to give it fun detail.
I love using wool felt for applique projects that I want to really hold up. The raw edges won’t fray as they do with woven fabrics. I’ll also be showing you a technique I use to add cotton fabric to my project to turn the edges under to avoid fraying.
Let’s get started.
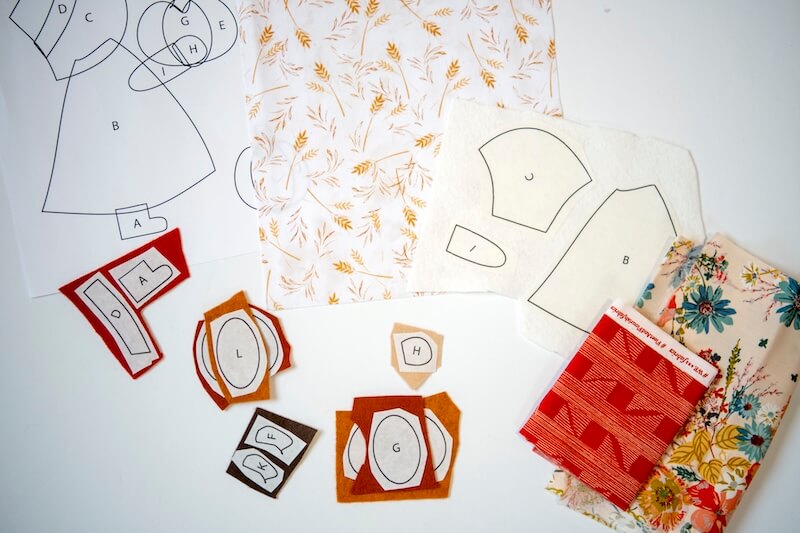
Print the second page of the pattern on a sheet of HeatnBond EZ Print Lite. Cut out the pieces, leaving some negative space around the perimeter of each piece. Iron your pieces onto the selected fabrics. If using wool felt, make sure to use a barrier cloth between the iron and your fabric to avoid scorching. For the pieces I will be adding cotton fabric to, I have used white felt as the base. This helps the pieces stand as tall as the other felt pieces when finished since cotton is thinner than felt.
Once all the pieces are adhered, cut them out.
Choose your fabrics. If making a quilt block like I am, cut out an 8.5”x8.5” square for the base of your quilt block.
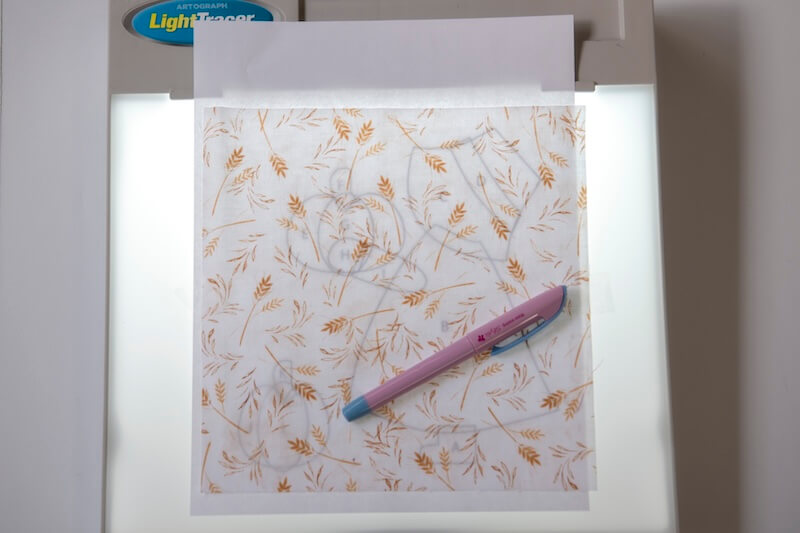
To get the exact placement, I suggest using a lightbox and/or a water-soluble pen. You can trace the pattern on your block with the water-soluble pen. Then when placing your pieces and pressing them with the iron, your marks will stay. Do not use steam! Once finished, use a spray bottle to spritz the markings to make them disappear.
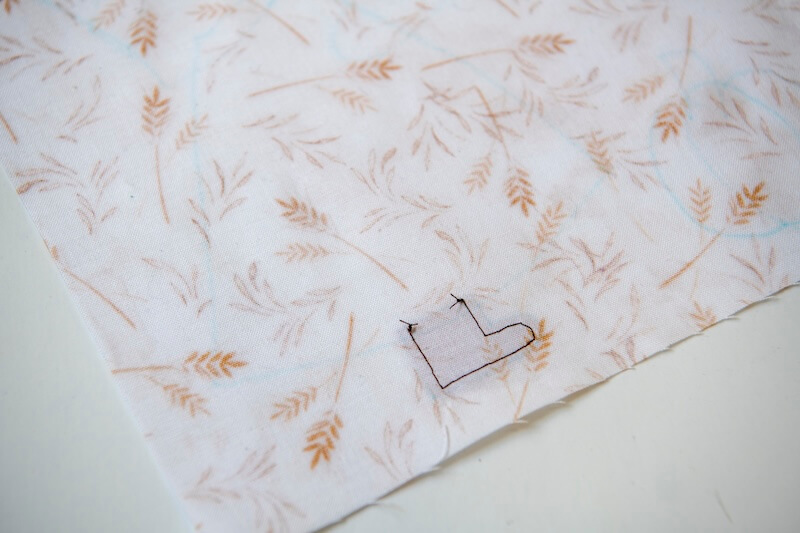
Alright, let’s start placing our pieces. The letters are in order for placement. A goes on first which is slightly overlapped by B, etc. Follow the diagram to help with order and placement. I like to sew around the perimeter of each piece before placing the next. Pull your tails to the back instead of backstitching. Tie them in a knot in the back and trim the excess thread.
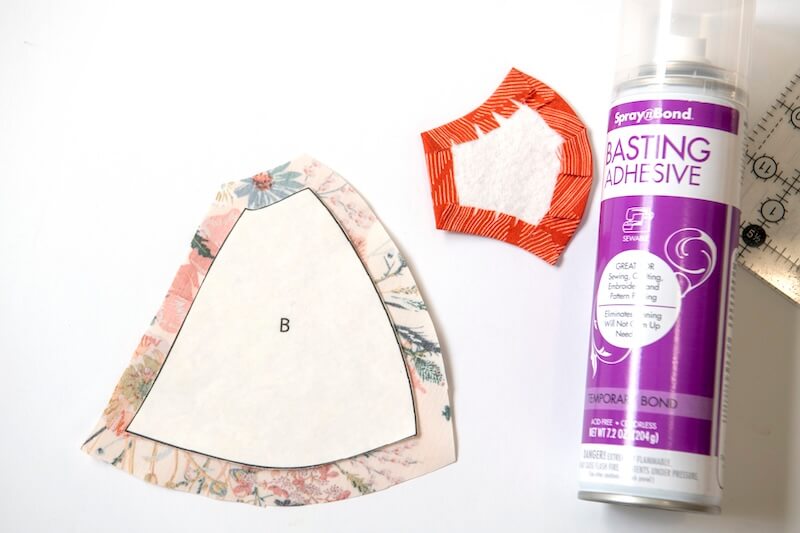
For the pieces you want to add cotton fabric to, use some SpraynBond Basting Adhesive on the felt side of each piece. Attach the cotton fabric with the right side facing up and the wrong side adhering to the felt. Trim the cotton fabric so it has about a ⅜” seam allowance around your applique piece. Take the paper off the back of your piece. Press the seam allowance to the back using a barrier cloth so the adhesive doesn’t get on your iron. Cut small notches around any curves to form the fabric into the grooves. The adhesive will hold the cotton fabric seams in place. In the photo above, I am just starting my dress piece and the hat is finished.
To adhere the piece to your block, you’ll need to use the SpraynBond again. Once it’s in place, sew around the perimeter like all the other blocks.
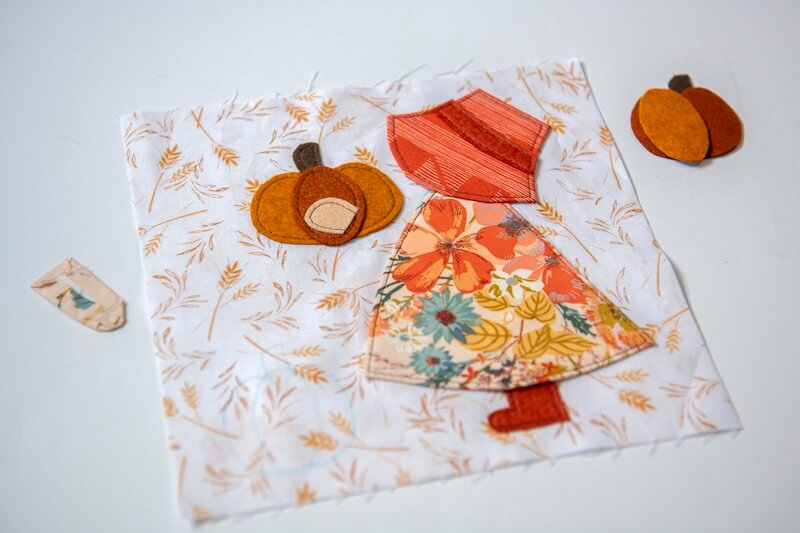
Continue placing your pieces and sewing them down until all pieces are in place.
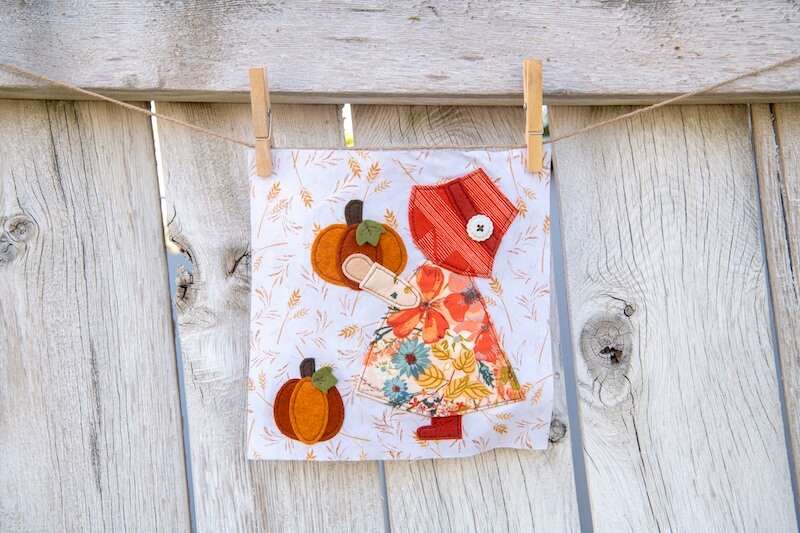
Finish by adding any embellishments. That’s it — one happy little Sunbonnet Sue!
