Hello friends, this is Jennifer Long, Bee Sew Inspired, back to share a fun tutorial, inspired by the beautiful and long days of summer – with a nod to fun and whimsy! Today I am inviting you on a scrap busting, magical journey of quilting fun!
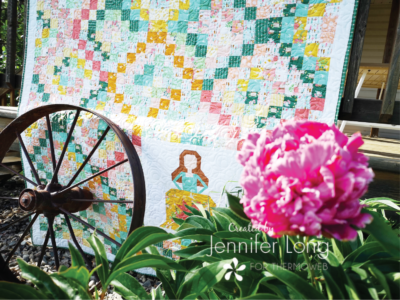
I LOVE a good quilt that looks like it has taken months to make, when in fact, you can whip up this beauty with some fun and simple strip piecing!!! YAY!
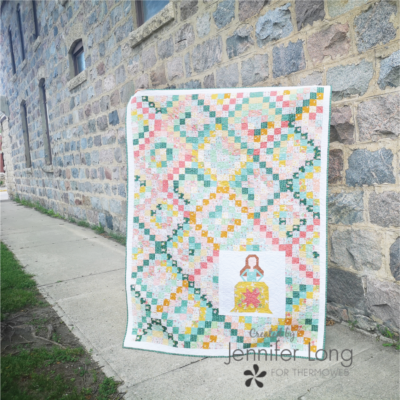
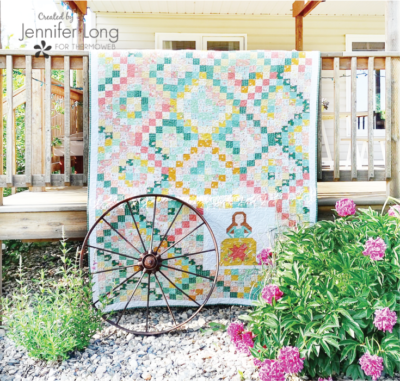
In this tutorial, I am sharing with you my version of a “Trip Around the World” Quilt, but instead, we will just be taking a trip “dancing” around the ballroom.
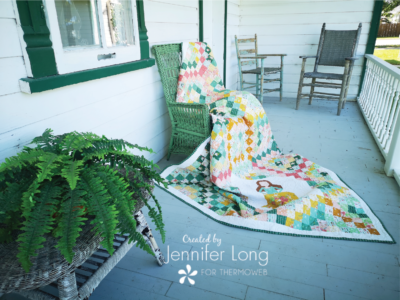
Use my simple and free tutorial below, and grab THIS (or any) Enchanted BOM Quilt pattern to create your own story! Let’s get started.
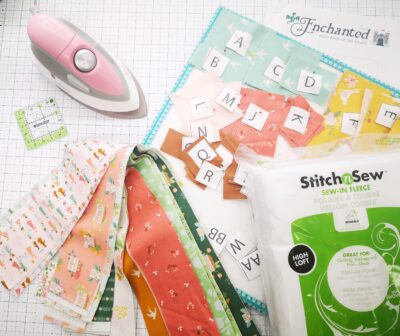
What You Need:
-
(8) sets of 10 – 2 1/2″ x WOF strips of assorted light and dark colors (80 strips in total). I used Emma by Citrus and Mint for Riley Blake Designs.
-
5/8 yard of white background fabric
-
Scraps of fabric for Enchanted BOM block
-
Lady in Waiting Enchanted BOM pattern: You can purchase the pattern from the shop HERE, or join the Annual Maker’s Club and receive this pattern (and the entire Maker’s Club library of patterns for one price.) If you are already a member of the Bee Sew Inspired Maker’s Club, simply scroll to the bottom of this post and down the pattern instantly.
-
Backing for a quilt finishing at 64″ x 80″
-
5/8 yard binding
Instructions:
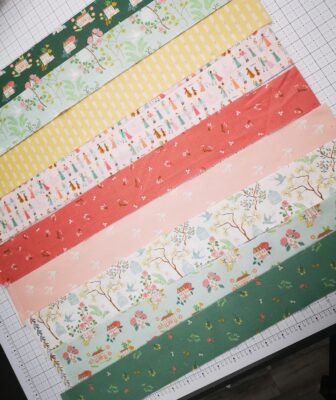 1. Layout (10) 2 1/2″ x WOF strips on your work surface. For an “ombre” affect, arrange them from dark to light prints in rotation of 5. For example, if you want the dark green to be your MAIN color from corner to corner in your blocks, place (1) dark green, then (4) colors, then repeat with (1) dark green, then (4) colors.
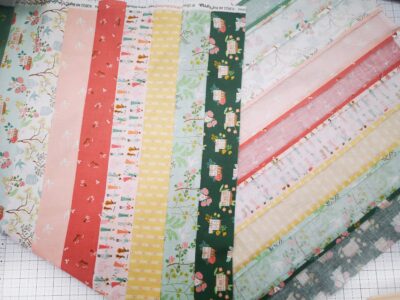 2. Once you are happy with your layout, begin sewing the strips together along the length at 1/4″ seam allowance. Do not stretch your fabric. You can alternating sewing directions to keep the weave even, or simply always start with the same selvage edge.
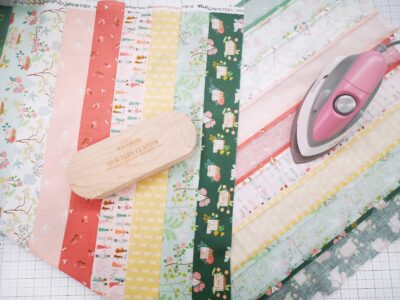 3. Once all (10) strips are sewn together, press seams OPEN. This allows for a nice alignment of intersections without the added bulk.
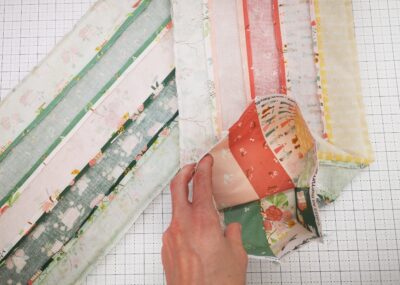 4. Fold the (10) strip sets in half along the length, and sew along the the long edge of row 1 and row 10 to form a complete tube. Press this seam open.5. Lay out the prepared 10-strip tube on your cutting table. Using a ruler and a rotary cutter straighten out one edge of your tube. From this cut, continue to cut tube strips at 2 1/2″. You will need to cut (15) 2 1/2″ tube strips from this set. Set aside.6. Repeat step 1 – 5, seven more times to make a total of (8) strip layouts. You will have a total of (8) groups of (15) 2 1/2″ tube strips sets.
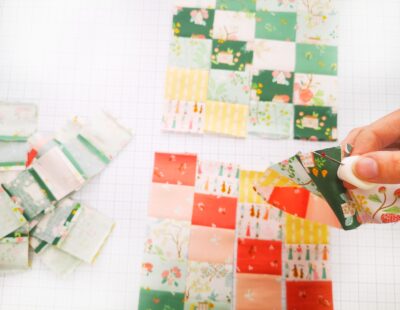 7. Next for the FUN! Seam ripping! Open up your tube with your seam ripper at the top of row 1 and the bottom of row 5. (For a total of 5 blocks together in one strip). This will give you (2) blocks starting at once! You will repeat this process with the second strip starting at the top of row 2 and the bottom or row 6. This way when you lay this block next to the first strip you will see all the colors move down one. Continue in this way till you have built a block that is 5 squares by 5 squares. Notice that with each tube of 10, you are actually building (2) blocks at a time.
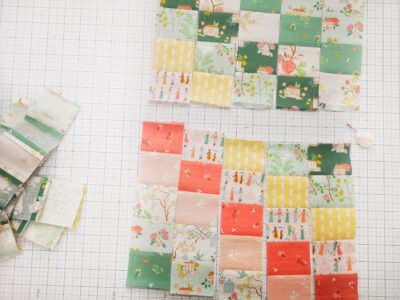 8. Pin and sew these groups of 5 strips together to form (1) block. Press seams open. Make a total of (44) blocks. Set aside.
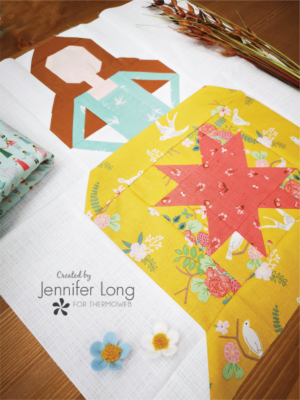 9. Following the pattern instructions, sew together an Enchanted, Lady in Waiting Quilt Block. Do NOT sew on the (W) and (EE) top and bottom border pieces. These will be adjusted to fit this quilt.10. Cut (1) 1 3/4″ x WOF strip and then subcut the strip into (2) 16 1/2″ strips for the vertical sides of the block.11. Cut (1) 1 1/2″ x WOF strips and then subcut these strips into (2) 21″ strips for the horizontal sides of the block.
 12. Using the photo as guide, or your own creativity, layout the pieced trip around blocks around the Enchanted block as shown.13. Pin and sew each horizontal row together. You will need to sew row 2 & 3 together to sandwich the Enchanted block at the same time. Press seams.14. Then, pin and sew each horizontal row together. Press seams. I added a 2 1/2″ background border around the entire perimeter of my quilt to offset the blocks and let the binding pop!
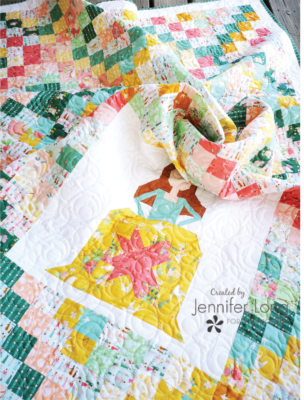 15. Layer the Quilt Top with the Stitch n Sew, sew-in fleece and prepared backing fabric. Quilt and bind as desired.Your Trip Around the Ballroom Quilt is complete!
 For more inspiration, and whimsical fun, follow me, Jennifer – Bee Sew Inspired, on Instagram @beesewinspired, YouTube and join our FREE newsletter HERE. I am a Riley Blake Designs fabric designer, Modern Rag Doll Designer, Quilt Pattern writer and online educator. I would love to have you be part of my creative world!
 stitchstit
