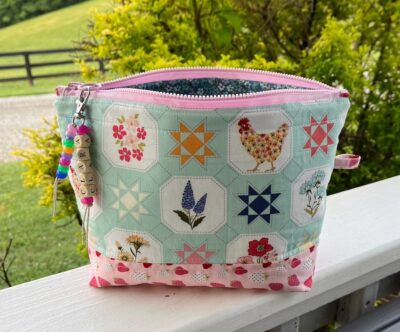
Hello my creative friends! It’s time for some summer sewing and how about a cosmetic zipper bag with vinyl interior? The vinyl makes for easy cleanup of those little spills that inevitably happen inside a cosmetic bag! I’ve written up a simple pattern and tutorial for you to follow and I hope you’ll give it a try!
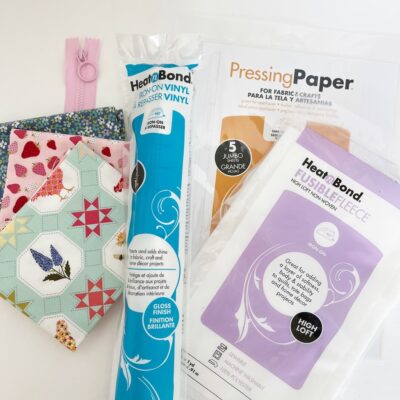
Supplies
- HeatnBond Fusible Fleece
- Pressing Paper
- HeatnBond Iron On Vinyl
- Vinyl Zipper – 12 inches or longer (do not use zipper with metal teeth)
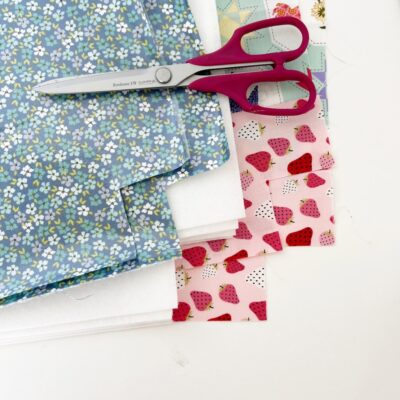
- Fabric – 3 contrasting fat quarters
Instructions
Step One:
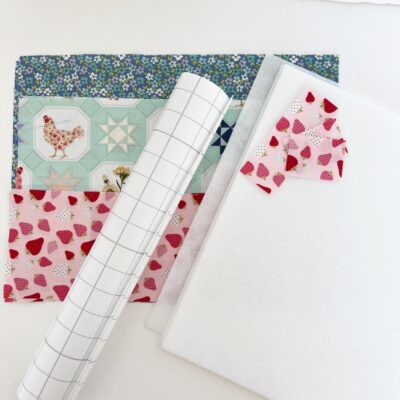
Cut the following:
- From top main fabric cut two 6″ x 12″ pieces
- From bottom main contrasting fabric cut two 4″ x 12″ pieces
- From lining fabric cut two 9″ x 12″ pieces
- From fabric scraps cut two 1.5″ x 2″ pieces (for zipper ends) and one 1.5″ x 4″ (optional for bag tab)
- From HeatnBond Fusible Fleece cut four 8.5″ x 11 inch pieces
- From HeatnBond Iron On Vinyl cut two 9″ x 12″ pieces
Step Two:
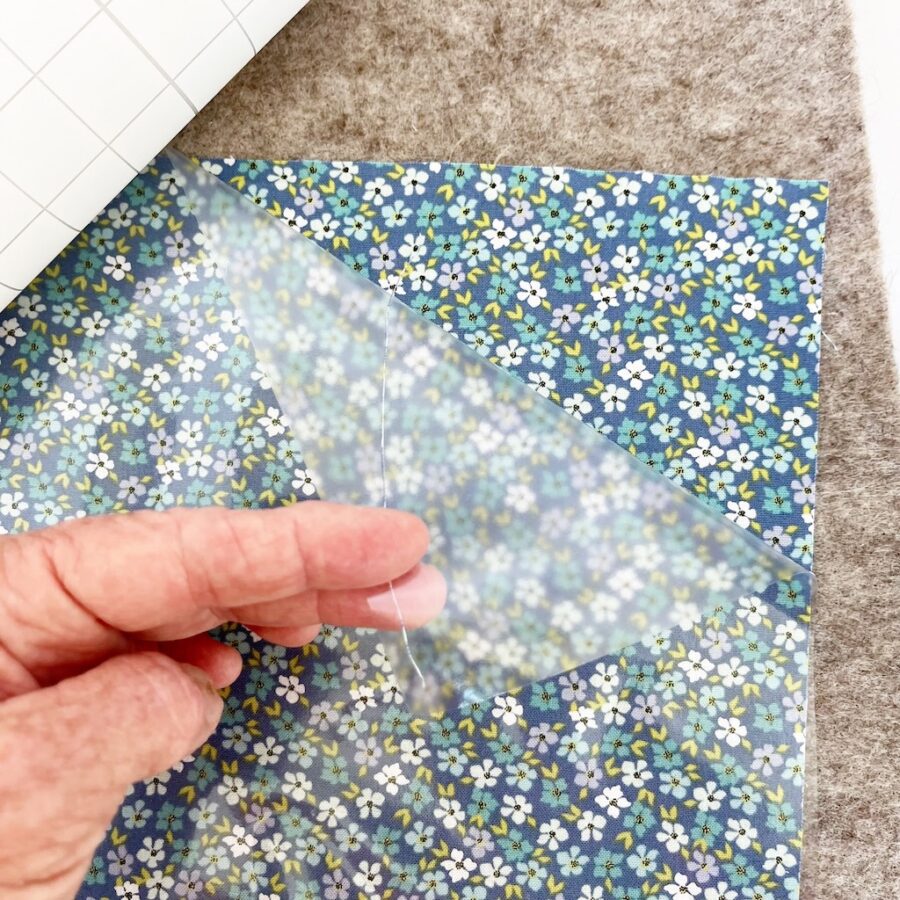
- Remove paper backing from vinyl
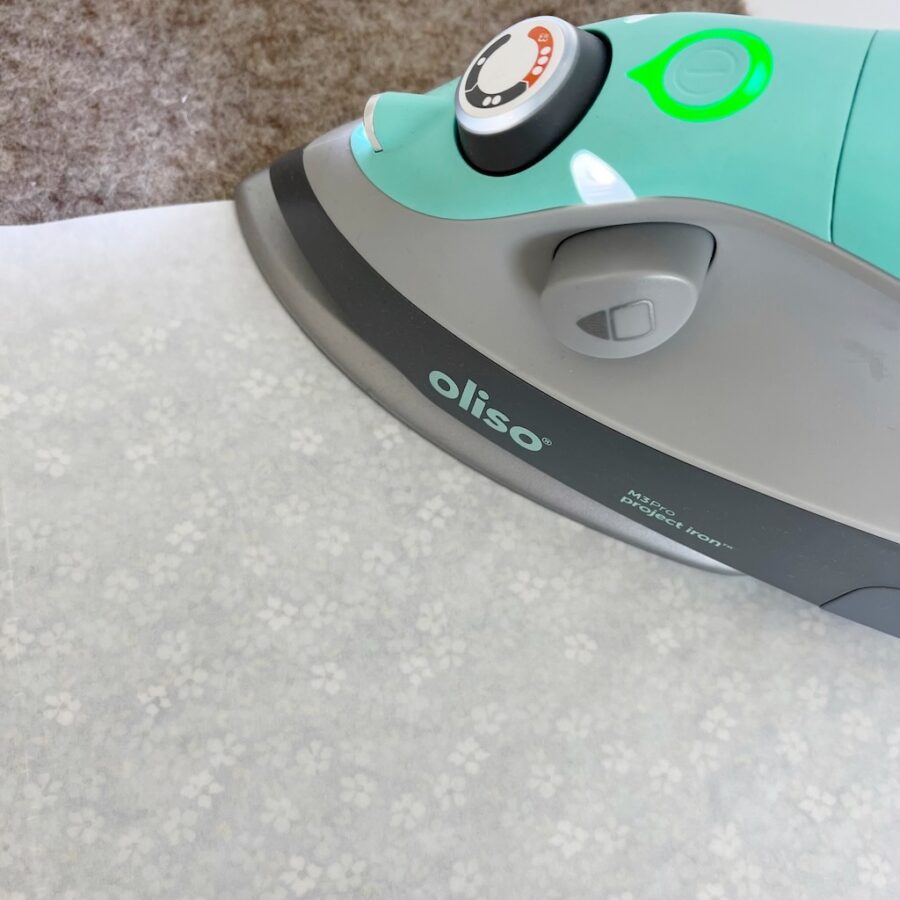
- Place iron on vinyl on the RIGHT side of fabric lining pieces
- Lay pressing paper over the vinyl and iron to the fabric pieces, making sure it adheres completely (you could also use the paper you removed from the vinyl, but I really prefer a pressing paper sheet)
Step Three:
- Cut out a 1.75″ square from the bottom corners of the two 4″ main pieces and the two lining pieces. (Do NOT cut squares from the two 6″ main pieces.) Repeat this with the four fusible fleece pieces as well. You do not need to save the little cut out squares.
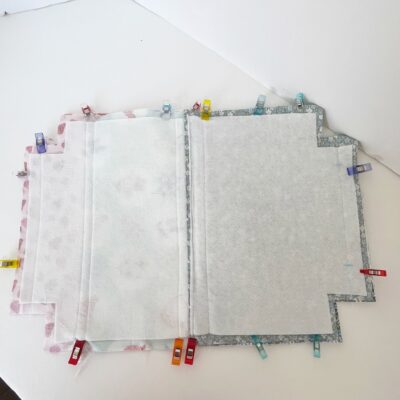
Step Four:
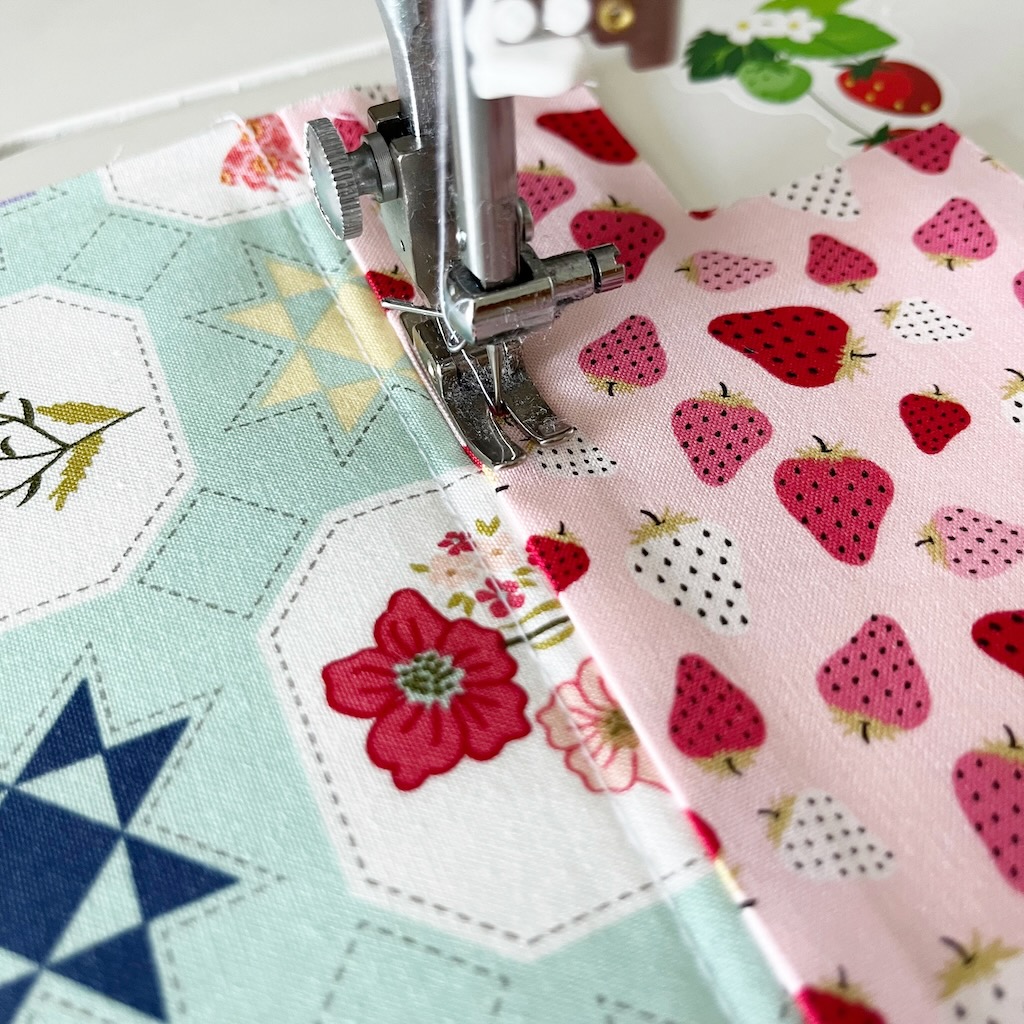
- Place the 6″ x 12″ and 4″ x 12″ main fabric pieces right sides together and sew along the long edge with a 3/8″ seam. The 6″ piece will the top of the bag, so keep that in mind when sewing them together, especially if your fabric is directional. Repeat with remaining two pieces. You now have the front and back of the bag. Press the seams open.
- Lay the fusible fleece on the back of each sewn outer main fabric pieces of the bag and press until it adheres. I use the pressing paper for this so that I can hold my iron still on the fleece and not worry about it sticking to my iron. (Your fusible fleece will be smaller than the fabric it is adhered to… this is correct.)
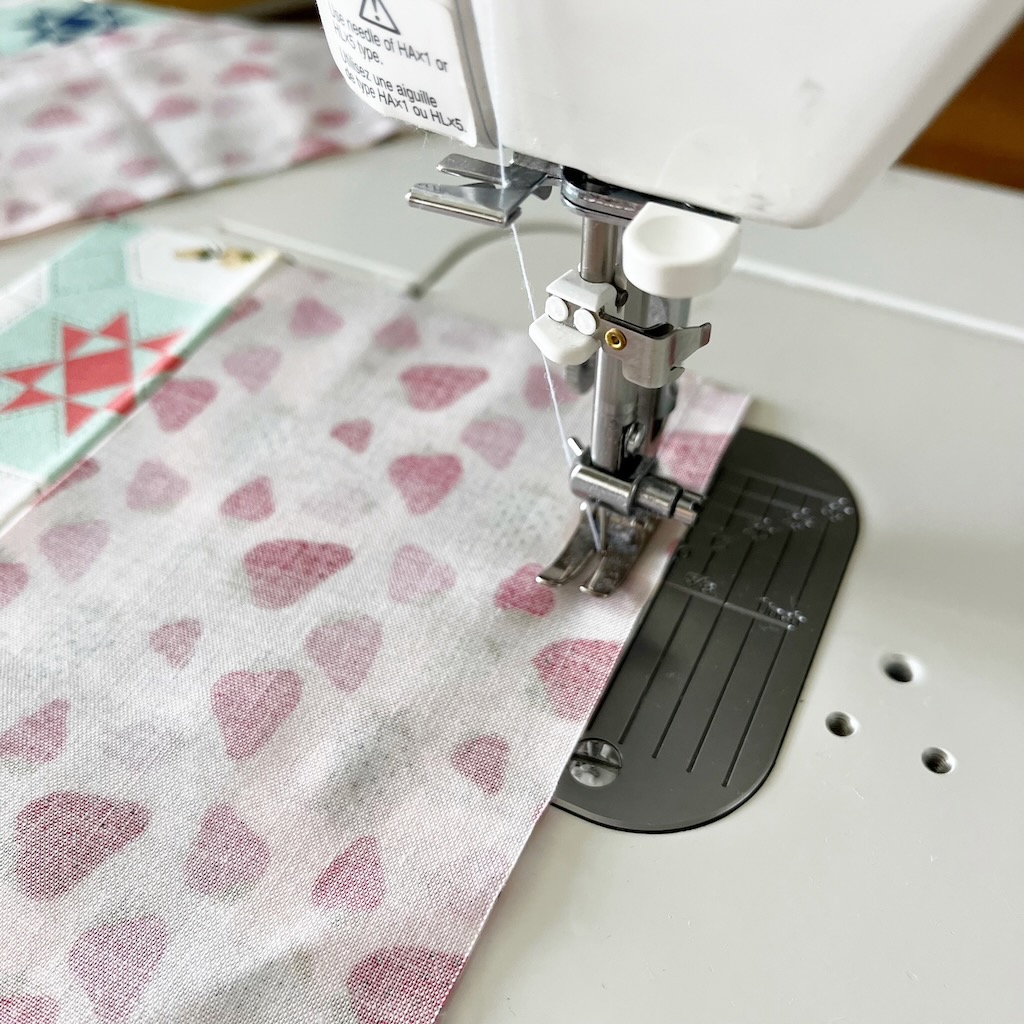
- Top stitch 1/4″ away from the seam both above and below it. Also top stitch 1″ from the top of the main fabric piece as well as 1″ from the bottom. Repeat this on both main fabric pieces of the bag.
- Adhere fusible fleece to the back of both lining pieces as well, using pressing paper again (be very careful not to put your hot iron directly on the vinyl). Top stitch 1″ from the top and bottom of both lining pieces.
Step Five:
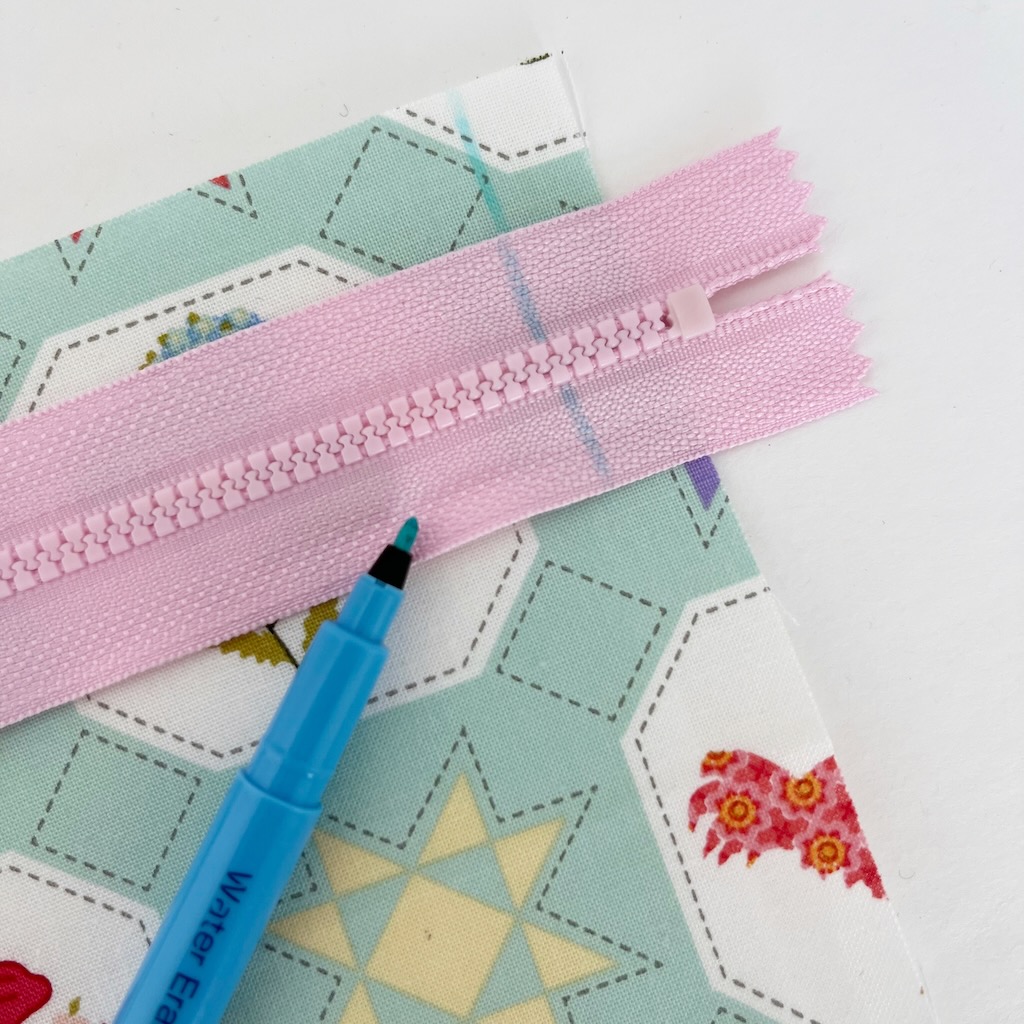
- Lay your zipper on the top edge of the main fabric piece and mark on the zipper (and the fabric) 1/2″ from each edge of the fabric. Cut the zipper on these lines. Be sure the zipper slider tab is pulled towards the middle of the zipper so that you don’t accidentally cut it off!
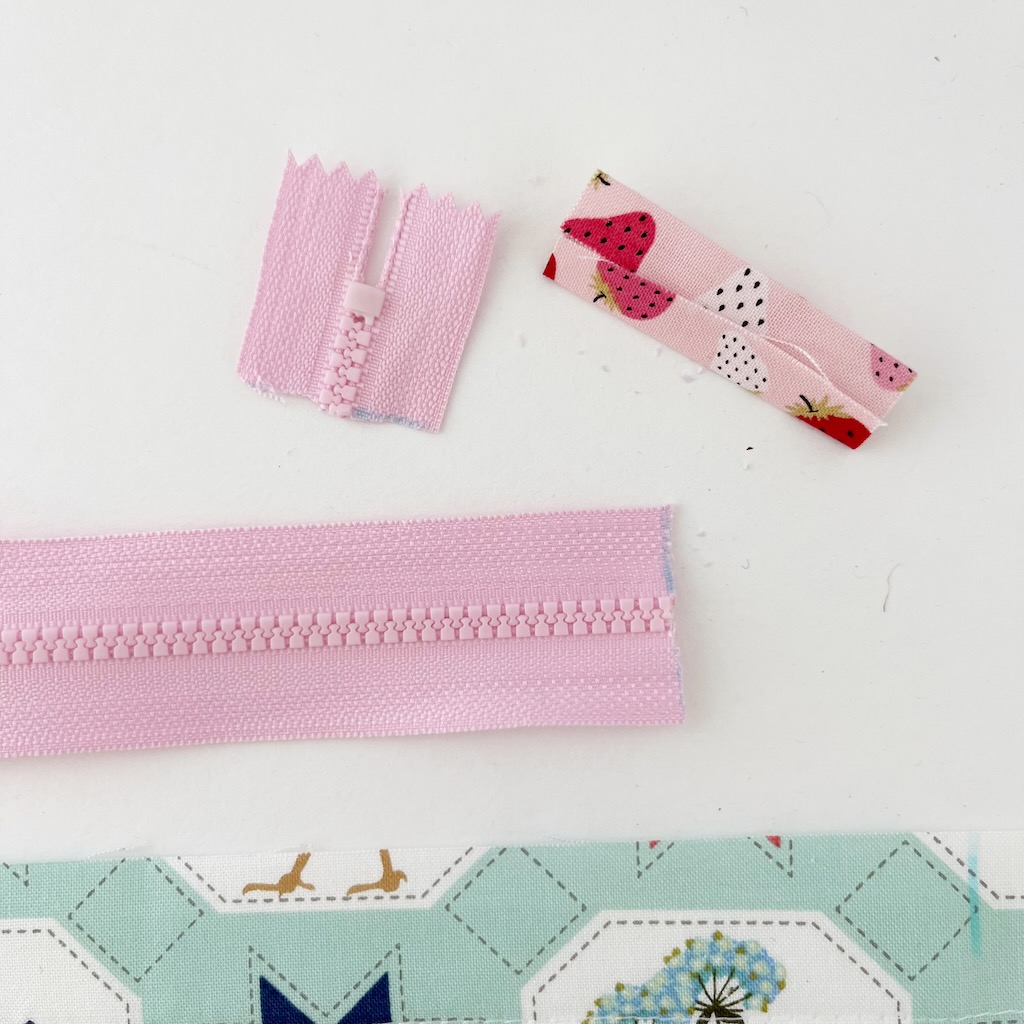
- Take the two 1.5″ x 2″ pieces of fabric and fold them in half lengthwise and press. Fold both edges towards the pressed line and press again, fold that in half and press. These will cover your zipper ends.
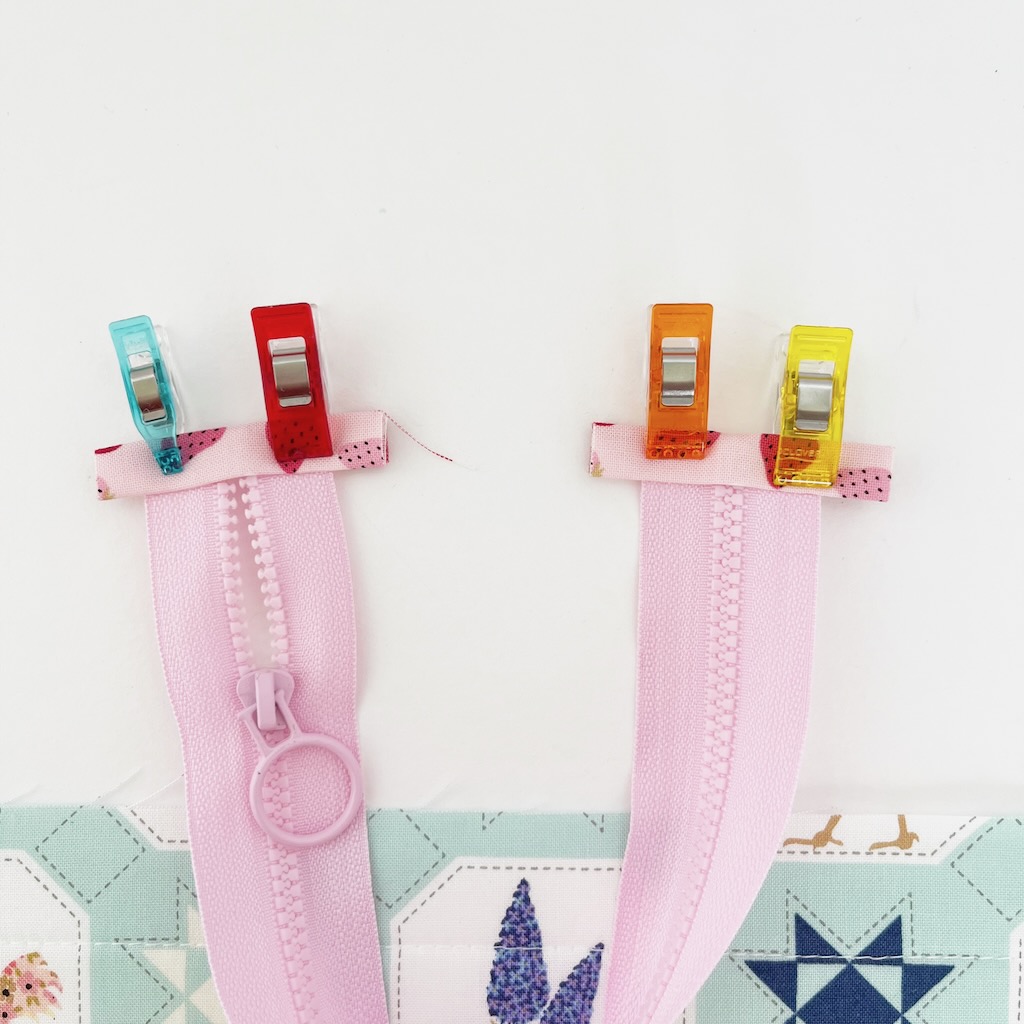
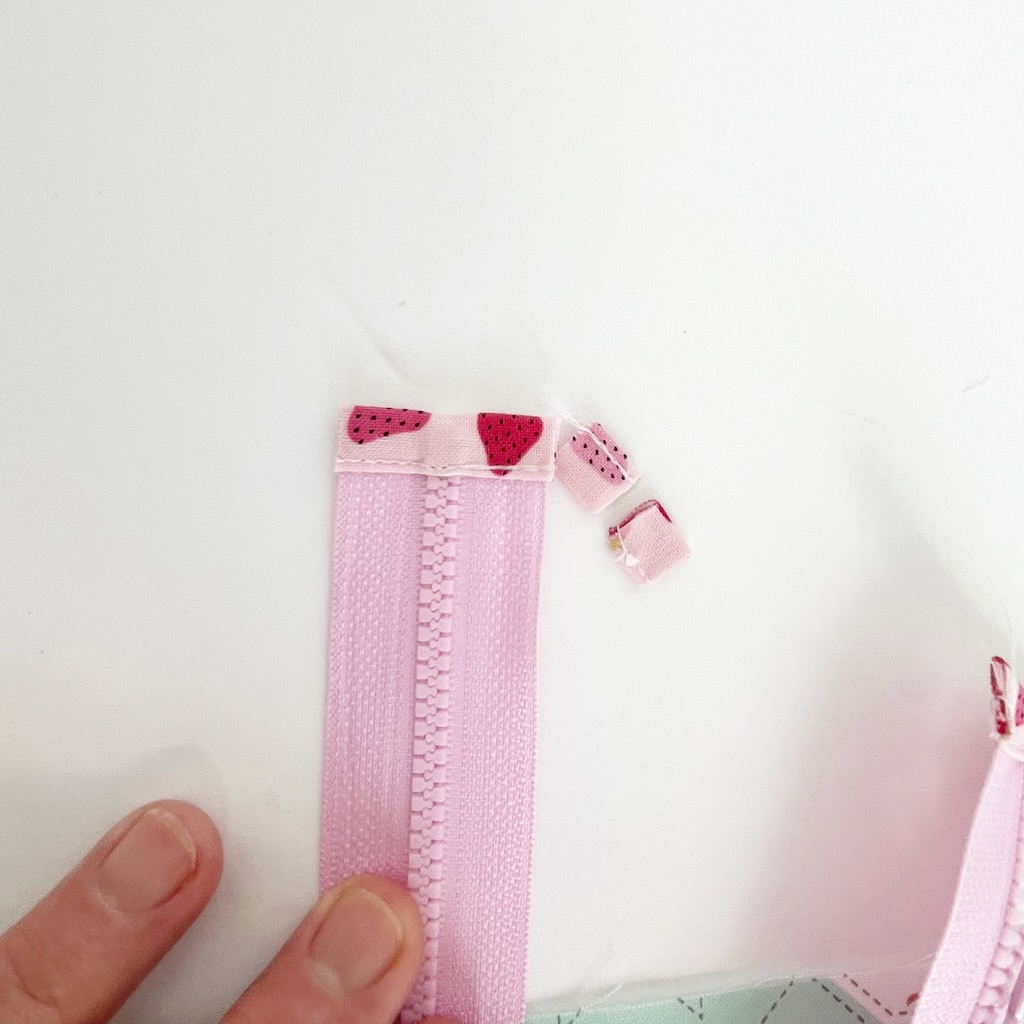
- Place each zipper end into the fabric tabs. Sew 1/8″ from the edge, completely adhering the zipper end into the tab, go slow with this step as you’ll be sewing through zipper teeth. Repeat on the other side. Cut the tabs to the same width as the zipper.
Step Six:
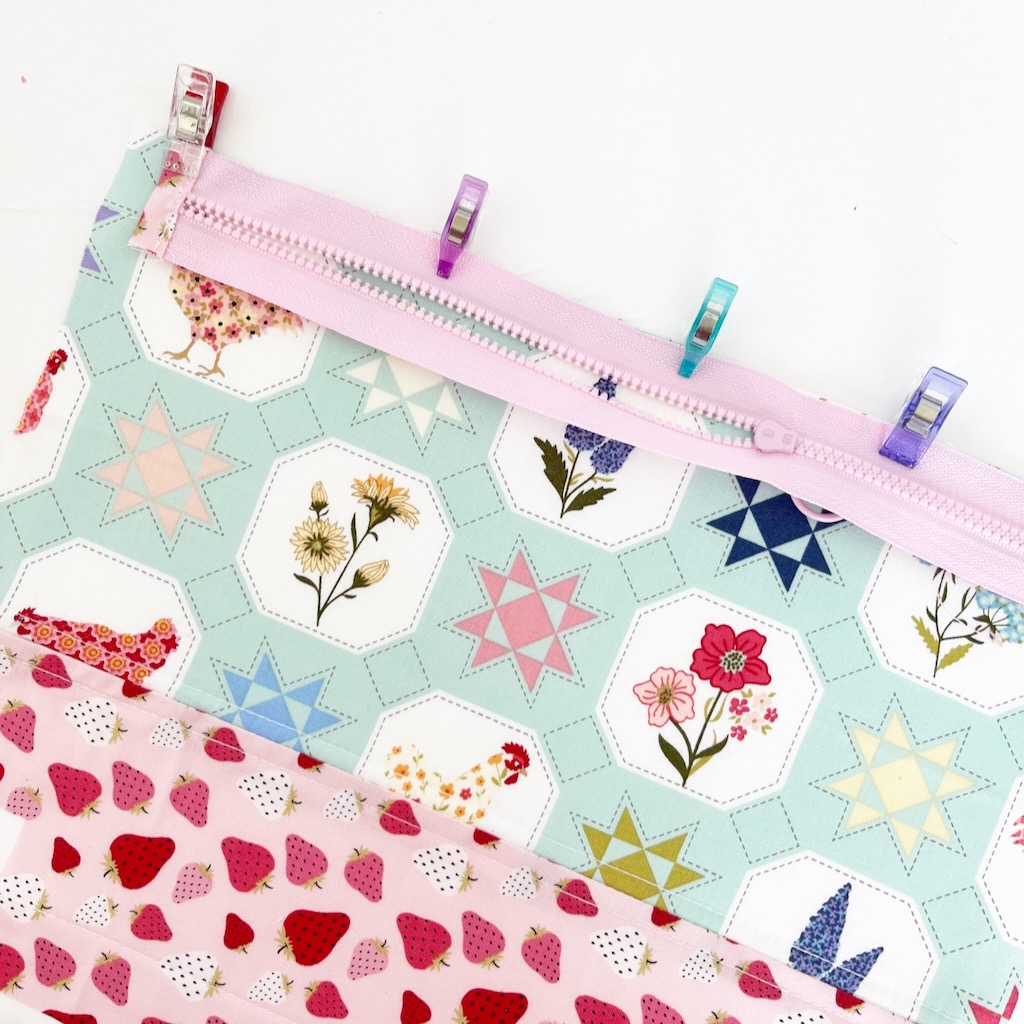
- Lay the zipper on the top edge of the outer bag right sides together, with the 1/2 inch space at each end. Use clips or pens to adhere it in place.
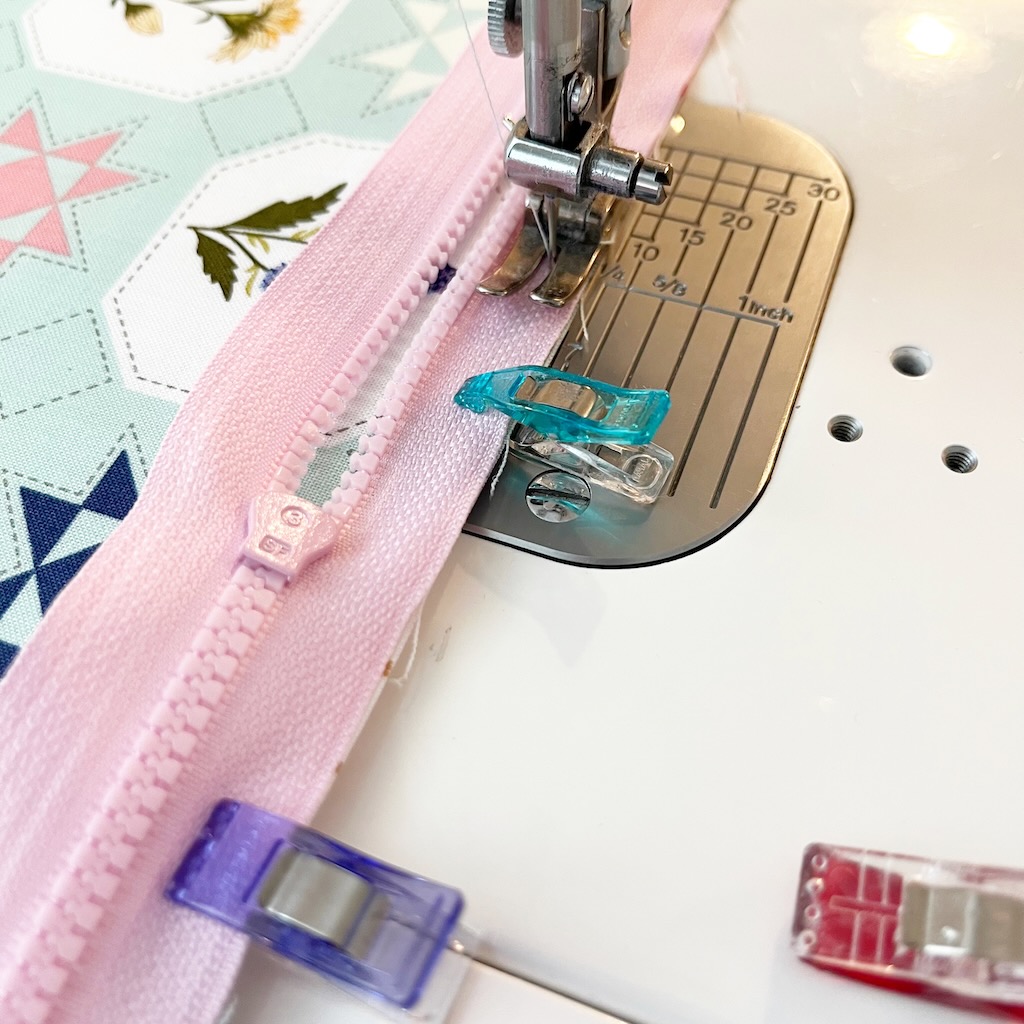
- Sew along that top edge, approximately a 1/4″ from the zipper edge. Move your sliding zipper tab out of the way if you need to. (You may need to change to a zipper foot for this step.)
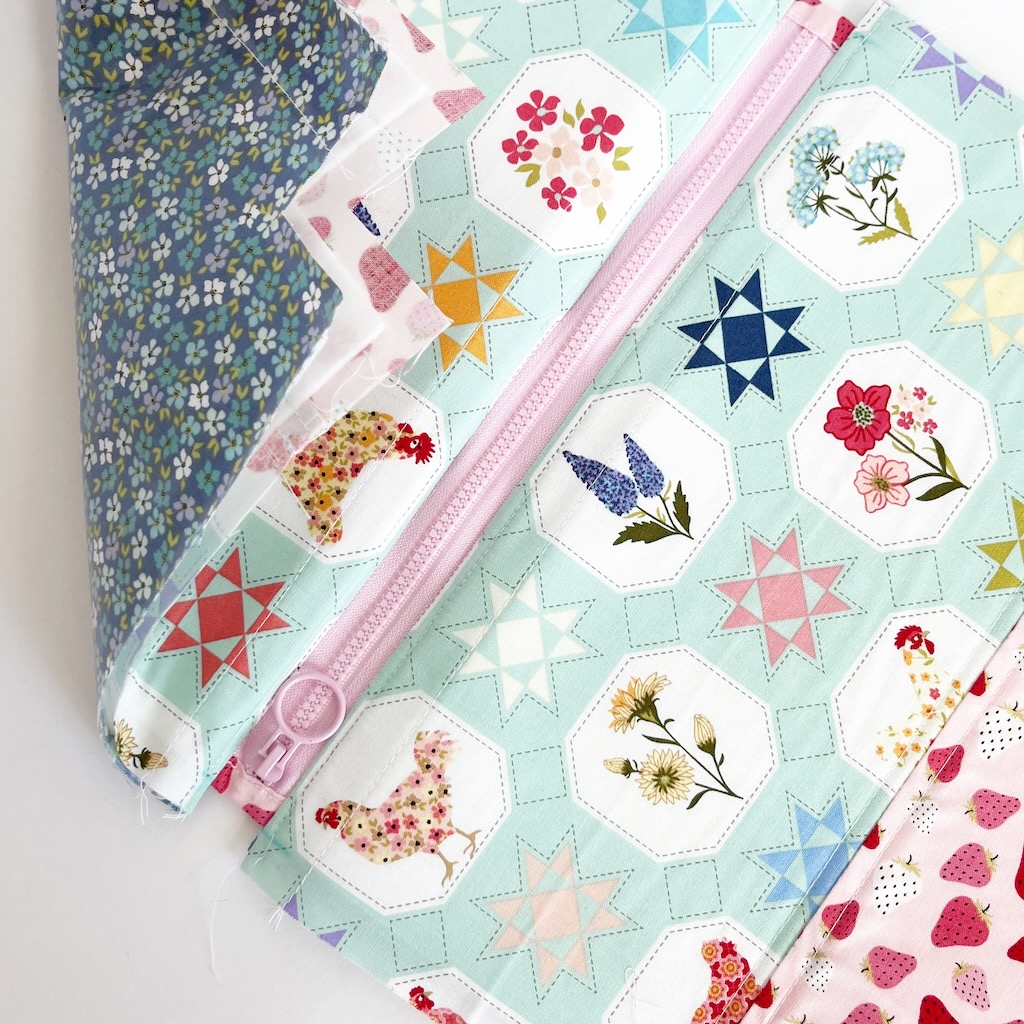
- Lay the lining on top of the zipper and outer bag, right side facing down. Clip in place and sew 1/4″ from edge again (basically you are sewing right on top of where you just sewed).
- Repeat on the other outer fabric and zipper edge.

- Carefully press along the zipper edge (be sure to use pressing paper for this step).
- Topstitch about 1/8″ inch from the zipper on both front pieces (do not sew through to the lining).
- Take your remaining 1.5″ x 4″ fabric piece and fold in half lengthwise and press. Fold both long edges towards the pressed line and press again, fold that in half and press. Sew right next to the long edges. Trim to 3 inches. Fold in half and sew the raw edges to the side of the bag front; about 3 inches from zipper edge. This is an optional step, but it adds a fun dimension to the bag!
Step Seven:
- Open the zipper up at least halfway (this is VERY important!). Line up the outer bag pieces to the lining pieces, right sides together. Match up all seams, including the seams where we’ve top stitched. Clip in place.
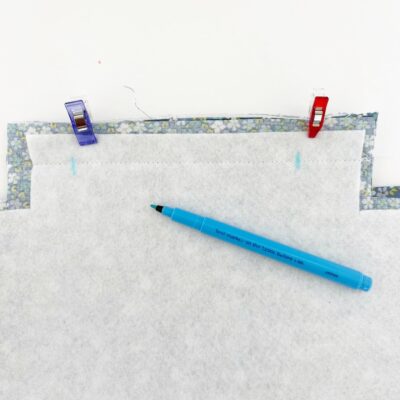
- On the bottom of the lining pieces, mark a line about an inch from the boxed corner edges. Do NOT sew between those lines; you’ll want to keep that open for turning.
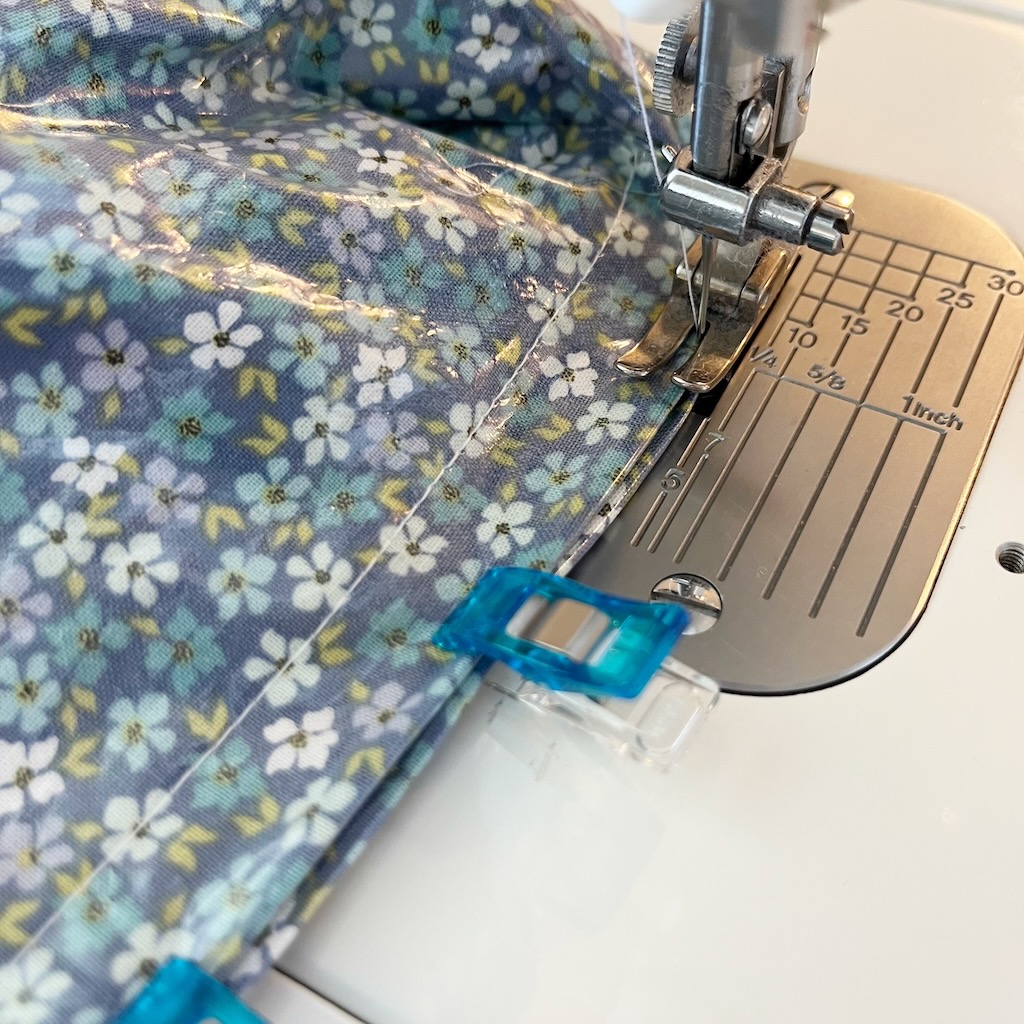
- Sew 3/8″ all the way around the raw edges (make sure you leave the lining open in between the marks!). Do NOT sew around the corners where we’ve cut out the boxes.
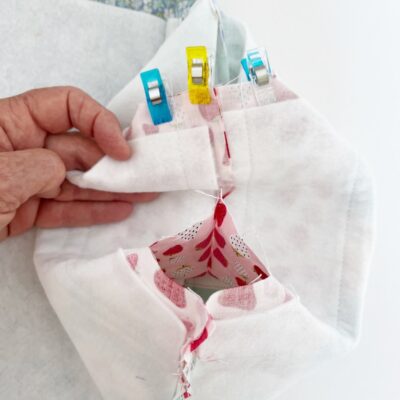
- Once you’ve sewn all the way around, we will sew up those boxed corners. Open then up and line up the seams, working one corner at a time. Use clips to hold in place and sew 3/8″ inch across the raw edge (see picture above where clips are). Repeat on all four boxed corners.
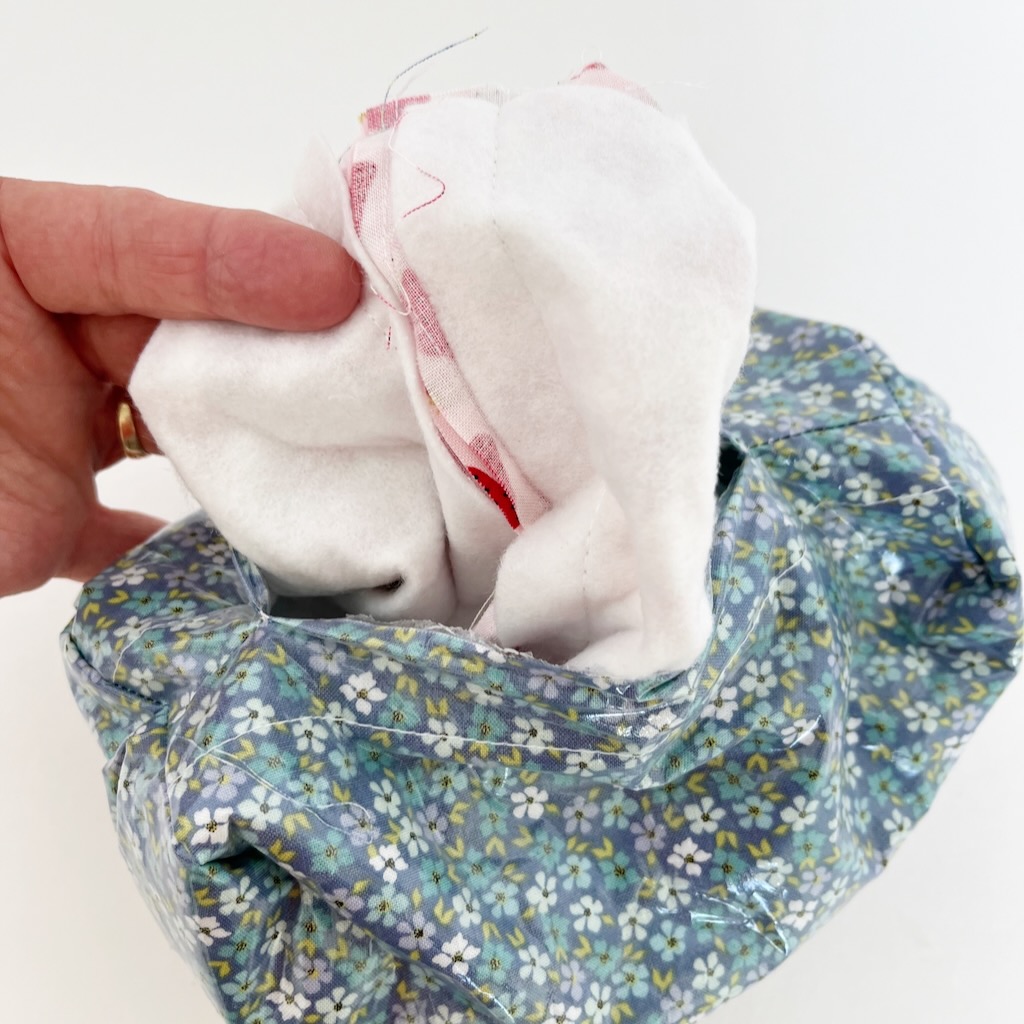
- Push the entire outer bag through the opening in the lining, turning it right side out.
- Turn the raw edges to the inside on the opening in the lining bottom. Sew that opening closed with an 1/8″ seam.
- Push the lining to the inside of the bag and use your fingers to push out all the corners.
Step Eight (optional!):

- Attach a beaded key chain to the zipper pull if you’d like! It’s a fun way to customize your cosmetic bag (this bag is a gift to my friend Clara!).
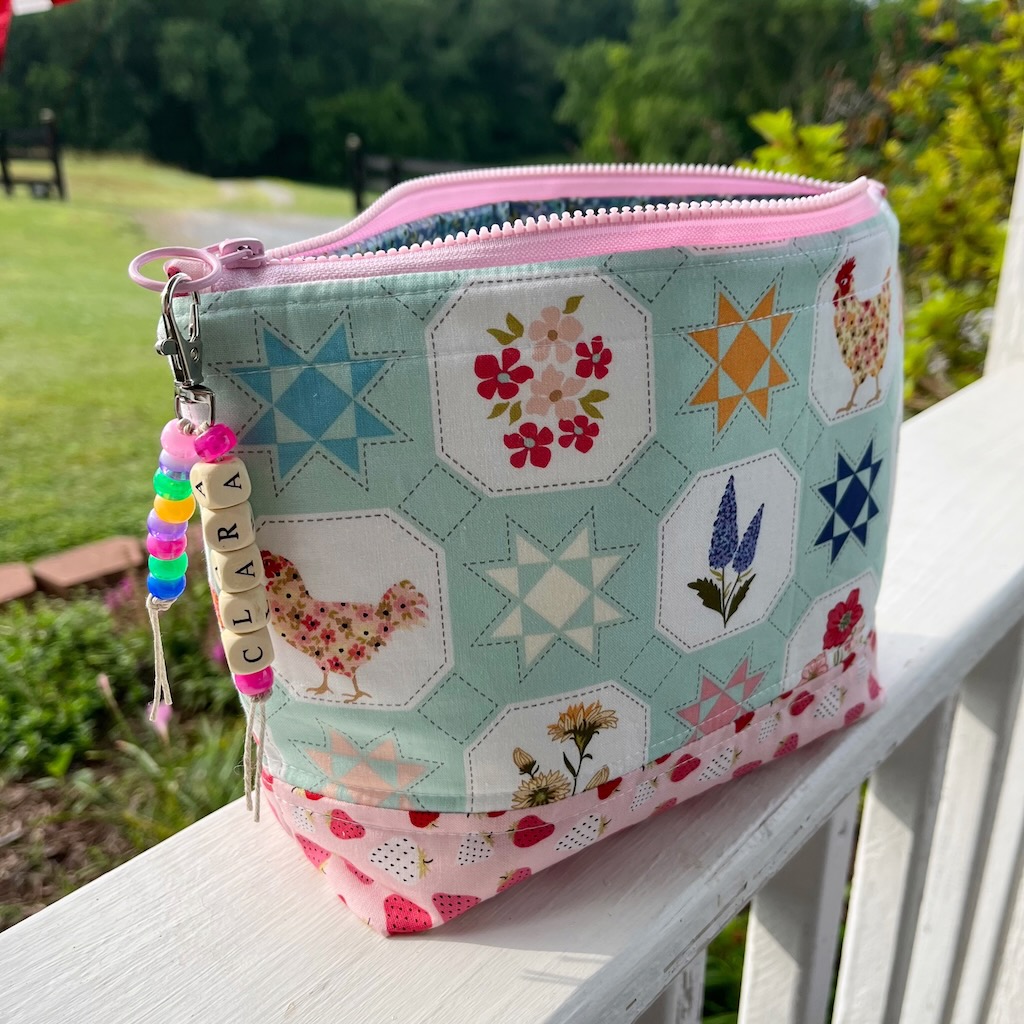
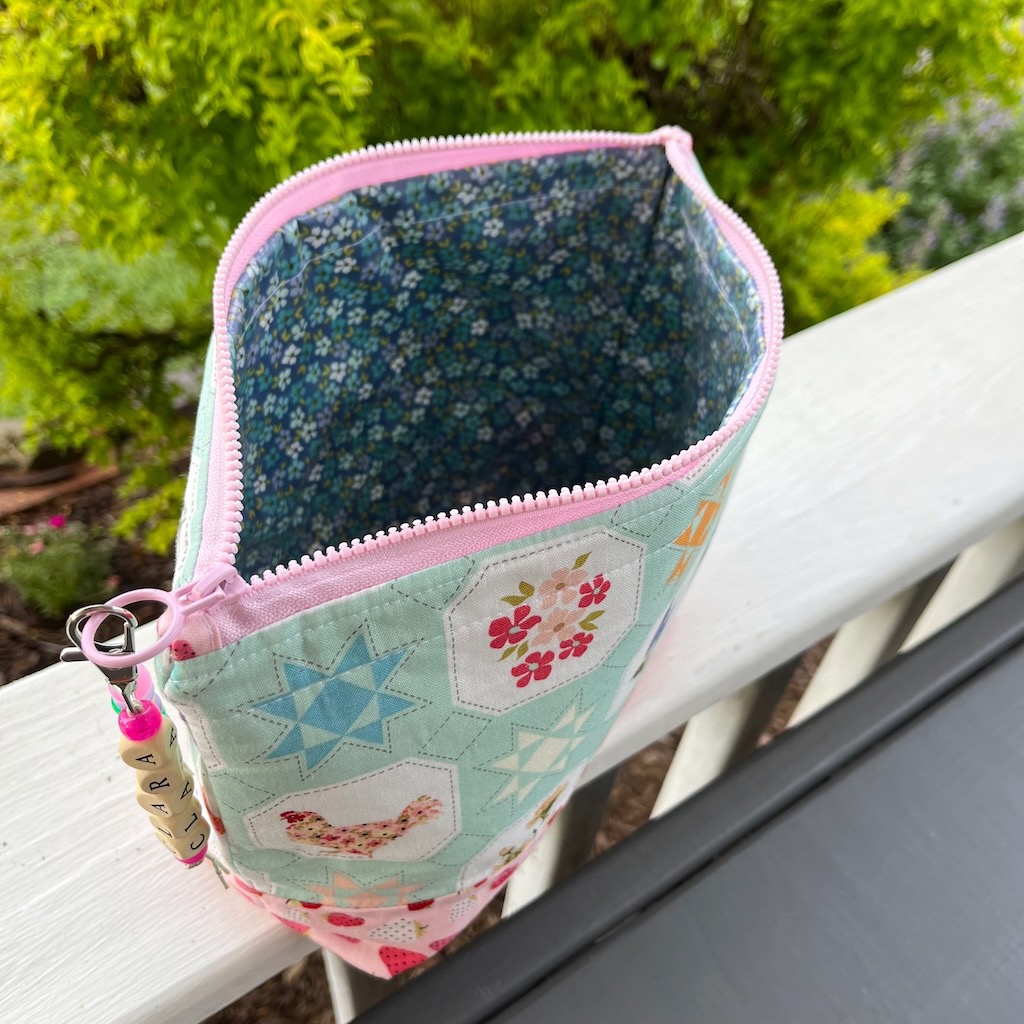
The vinyl lined cosmetic bag is complete! I hope you’ll find this pattern and tutorial helpful! Tag me on IG when you make one @redfeedsack!
Thank you for following along!