Hi! It’s Lisa Ruble from Quilty Zest!
Summer is popsicle season, so I decided to create a few popsicle applique t-shirts. This a quick and easy add-on for a t-shirt, either for youself or for a kid. I made three – my best friend has a 2.5-year-old and twin 8-month olds, and I’ll be seeing them later this week! 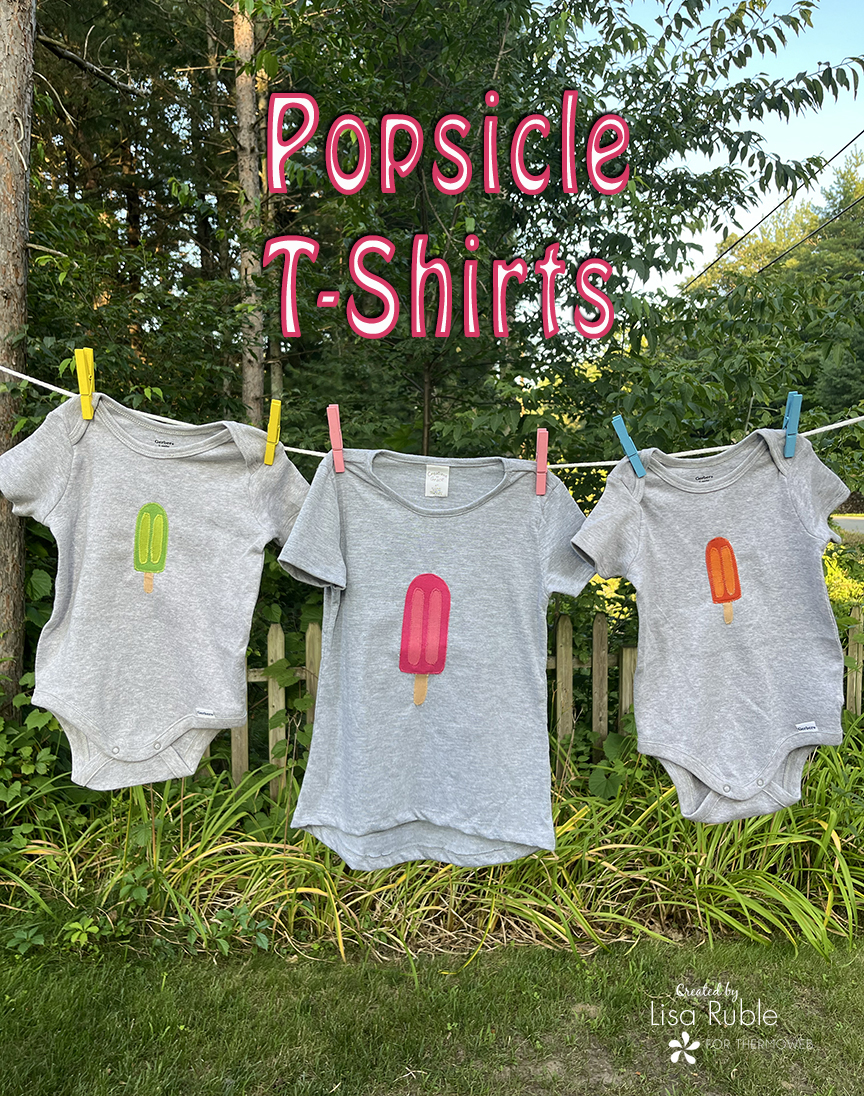 And then I decided to make one more, for my 5-year-old niece. 4th of July may be over, but a red, white and blue popsicle is fun any time!
You’ll Need:
T-shirt or onesie
Fabric scraps in your preferred popsicle color(s), plus tan for the popsicle stick*
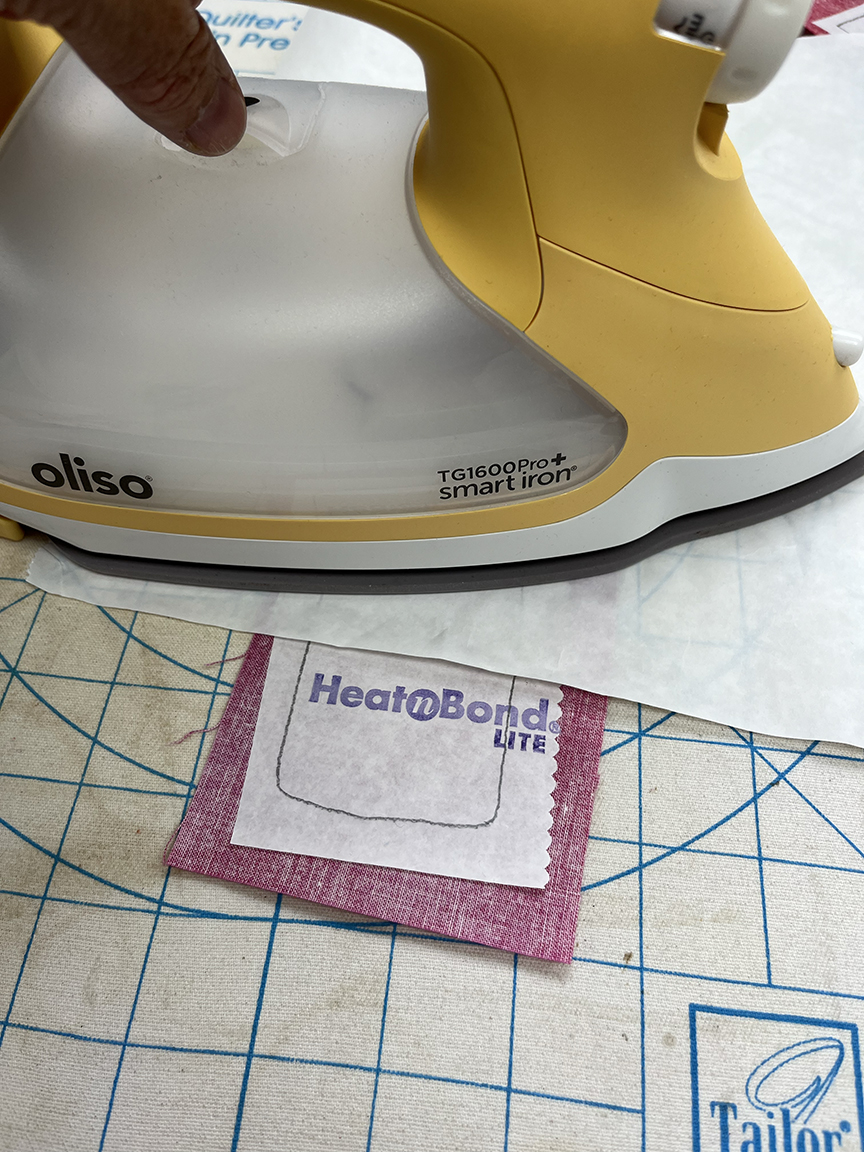
HeatnBond Lite Sewable Iron-On Adhesive
HeatnBond Fusible Interfacing
Pressing Paper
Thread in matching colors
*I used Shadow Blush fabrics from Benartex.
Download the template pages here – each popsicle comes in 3 size options. 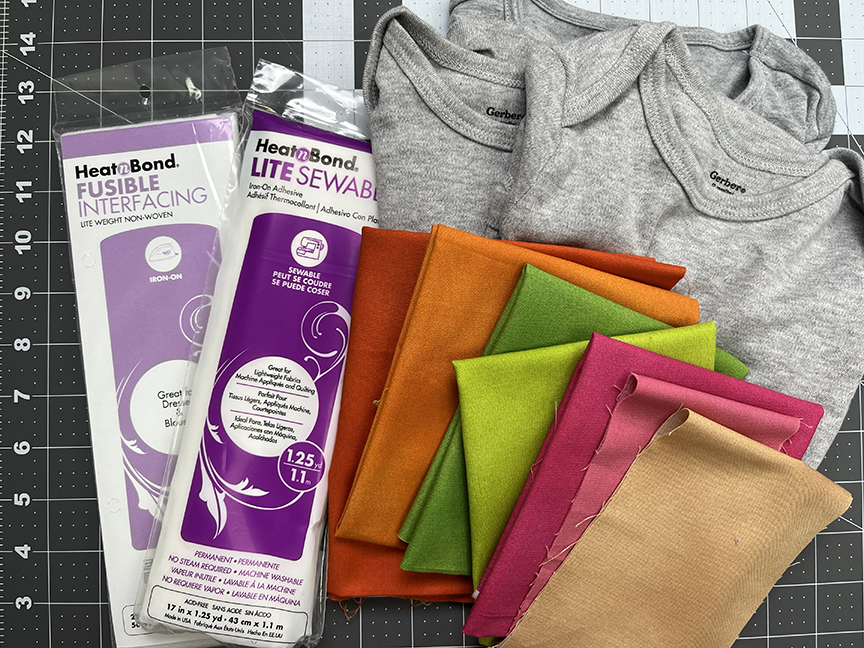 (The 3-color popsicle shirt uses the same supplies – just different colors!)
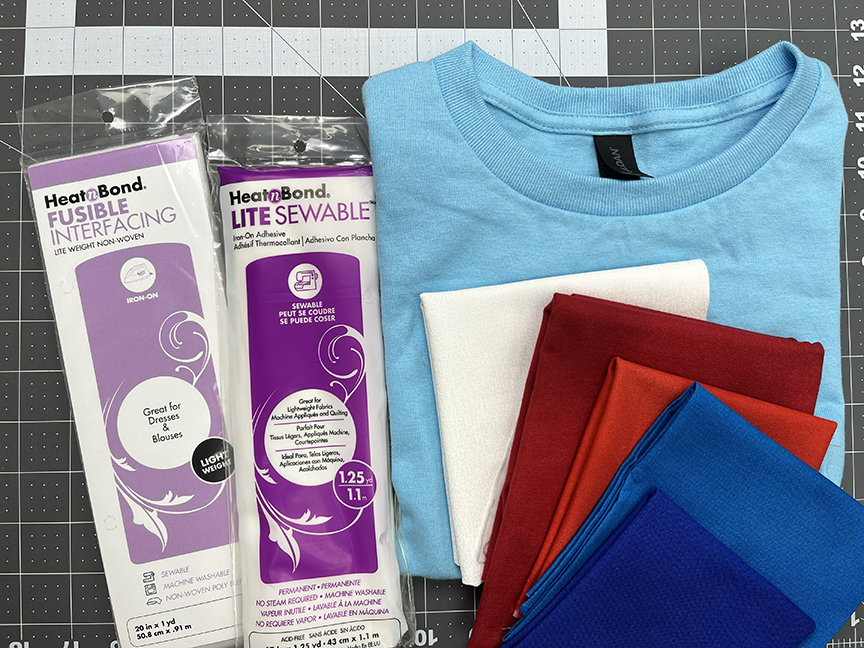
Embellish the Popsicle T-Shirt
Step 1 Trace the popsicle shapes onto the paper side of the Iron-On Adhesive. Cut out each shape approximately 1/4″ past the drawn lines.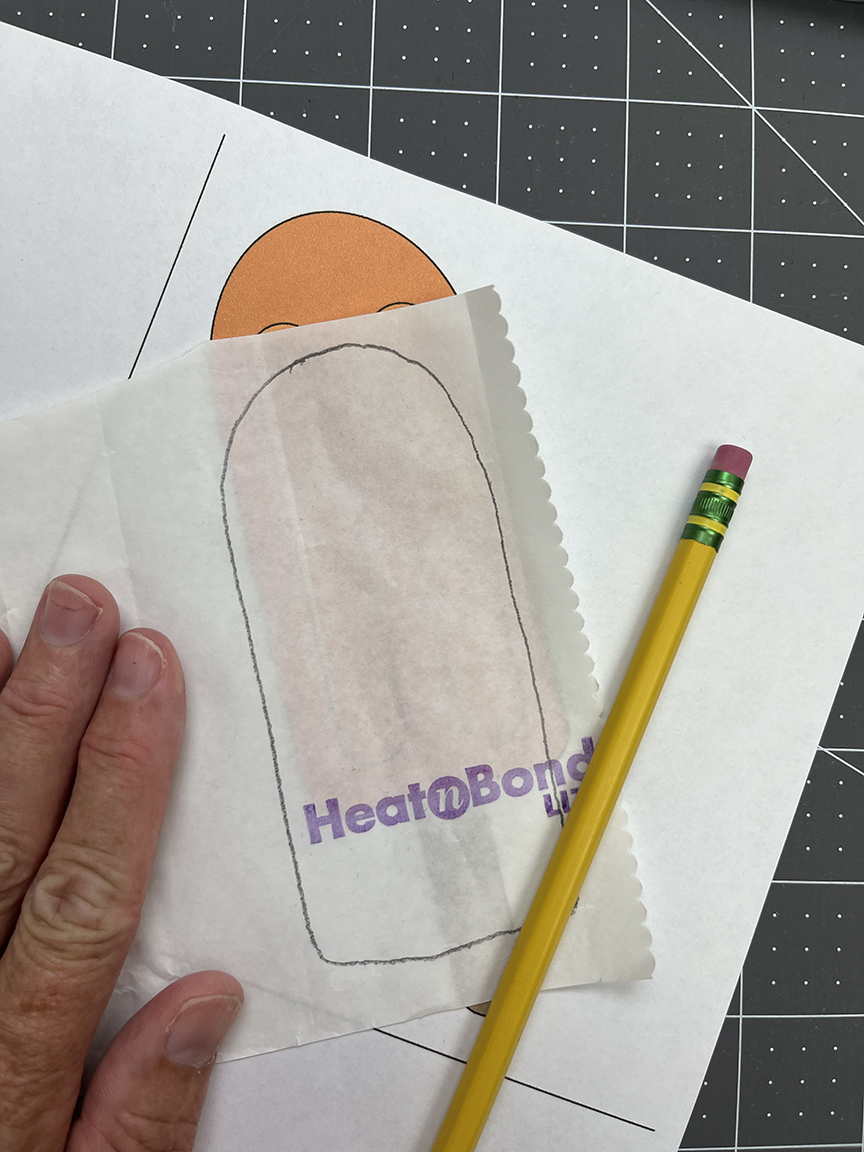
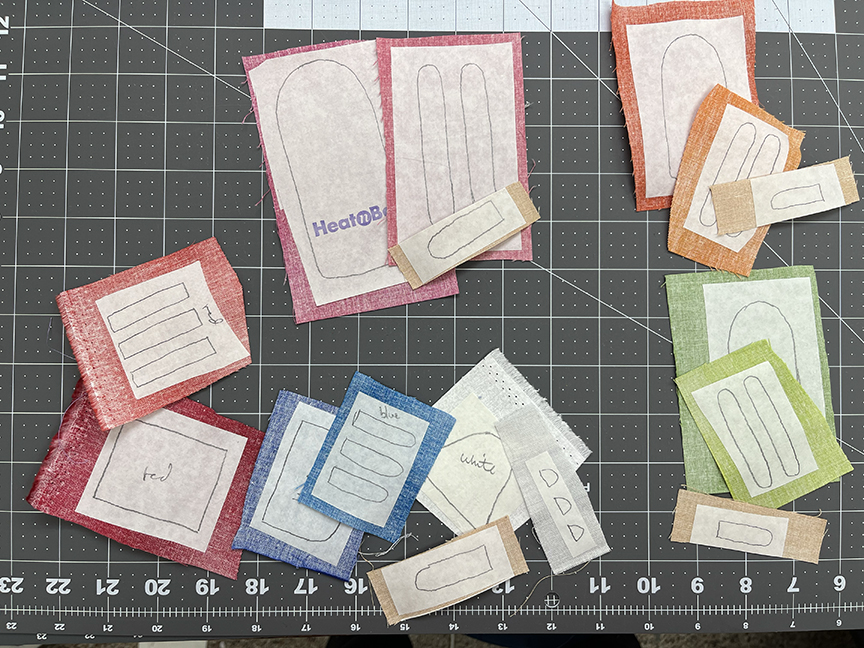
Step 2 Fuse each shape onto the wrong side of the fabric. I used a darker color (pink, green, orange) for the main popsicle shape and a lighter shade of the same color for the popsicle details.
Here are all of my traced pieces to make the four popsicle shirts.
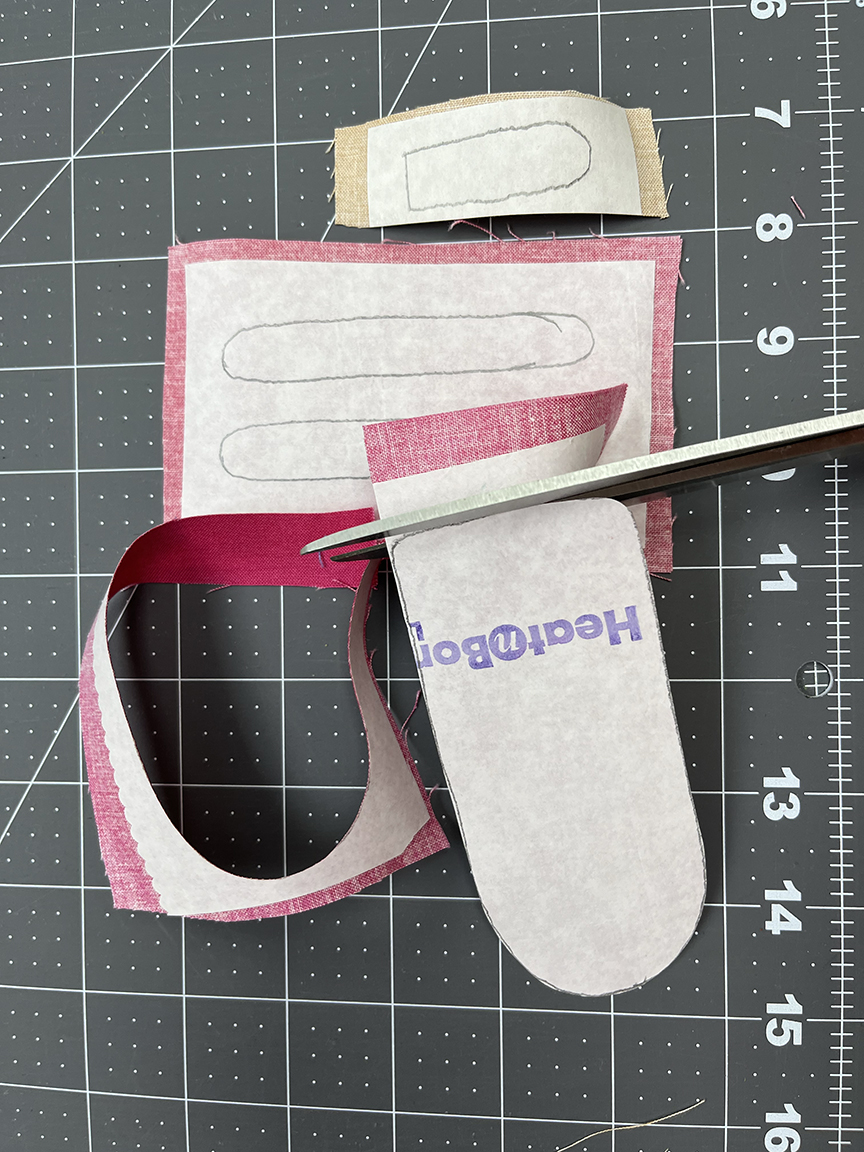
Step 3 Cut out each shape on the drawn line.
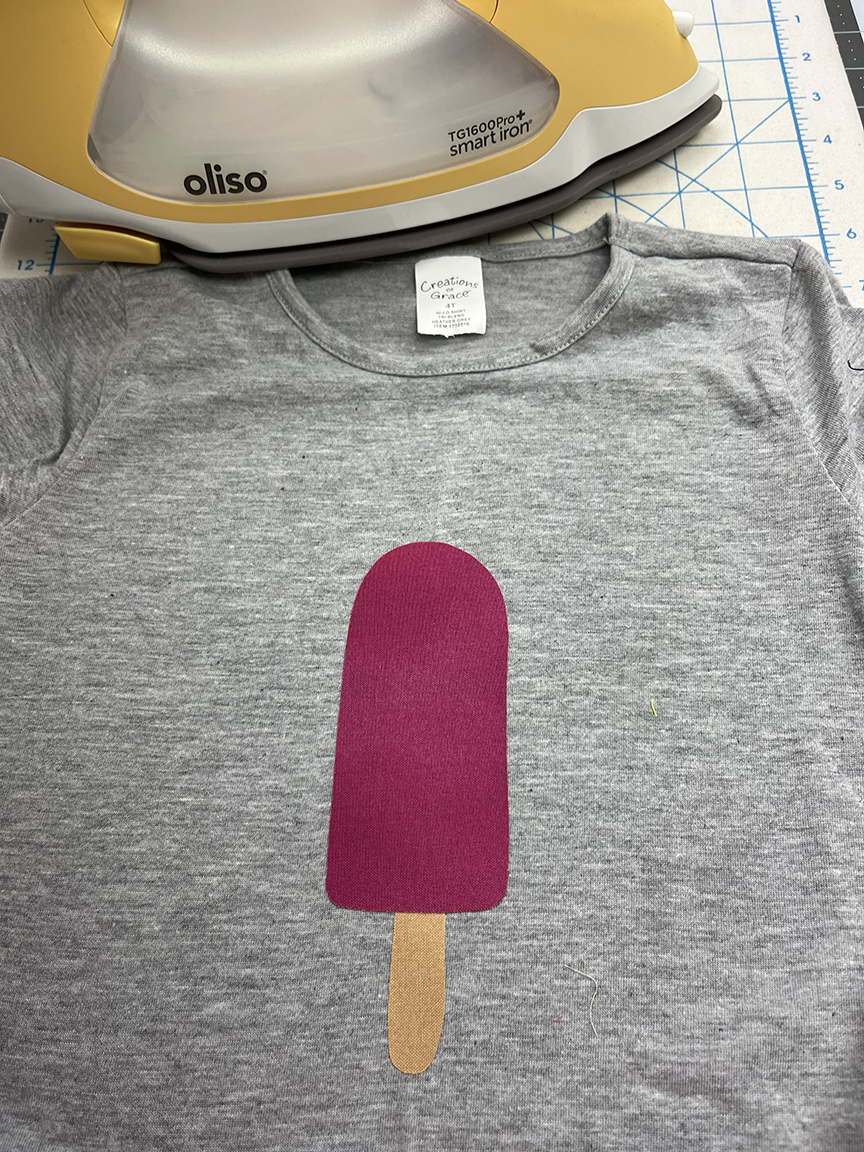
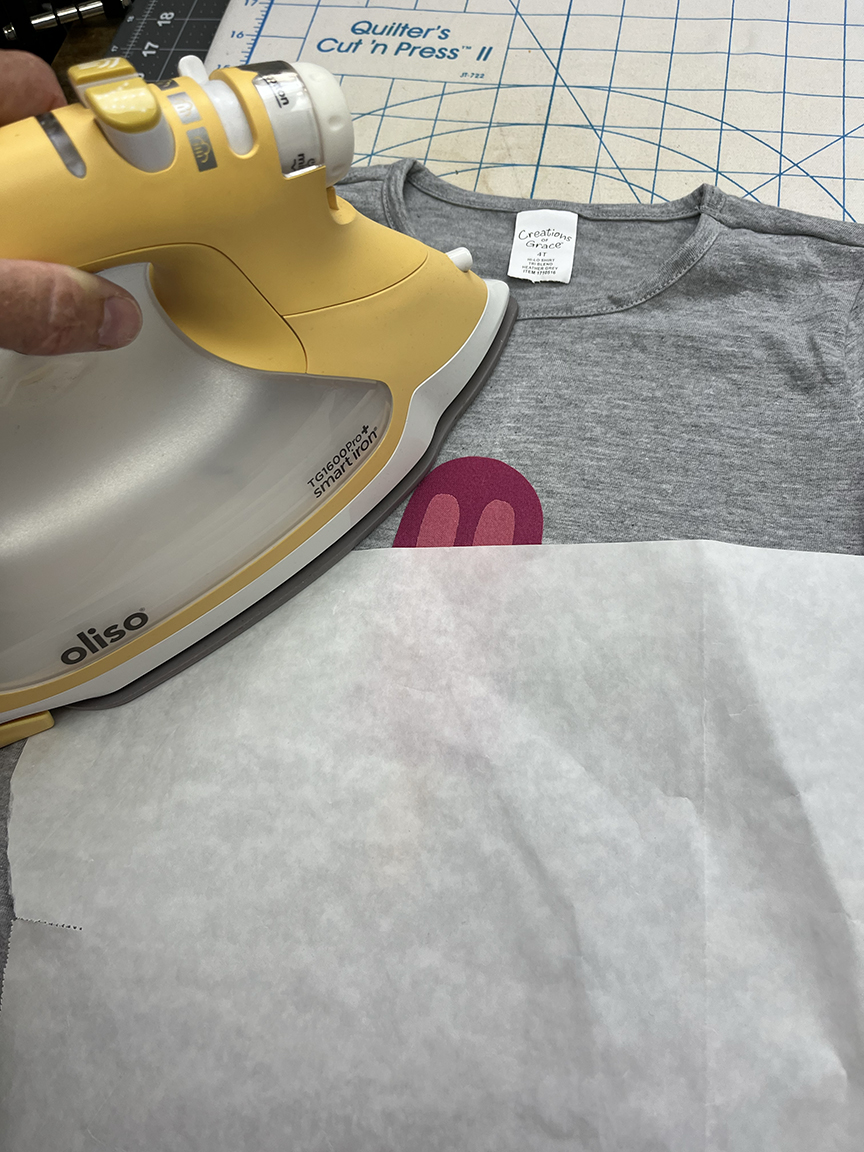
Step 4 Remove the paper and position the main popsicle shape and popsicle stick on the shirt. Tuck the top of the stick under the popsicle shape. Tip: Fold the shirt in half lengthwise and press to set the line. Align the popsicle shape and stick on the pressed line to make sure it’s straight. Fuse in place (don’t forget the Pressing Paper!).
Step 5 Arrange and fuse the popsicle details on top.
Step 6 Turn the t-shirt (or onesie) inside out. Cut a piece of Interfacing larger than the popsicle shape and fuse to the inside of the shirt, making sure that it is positioned behind the popsicle.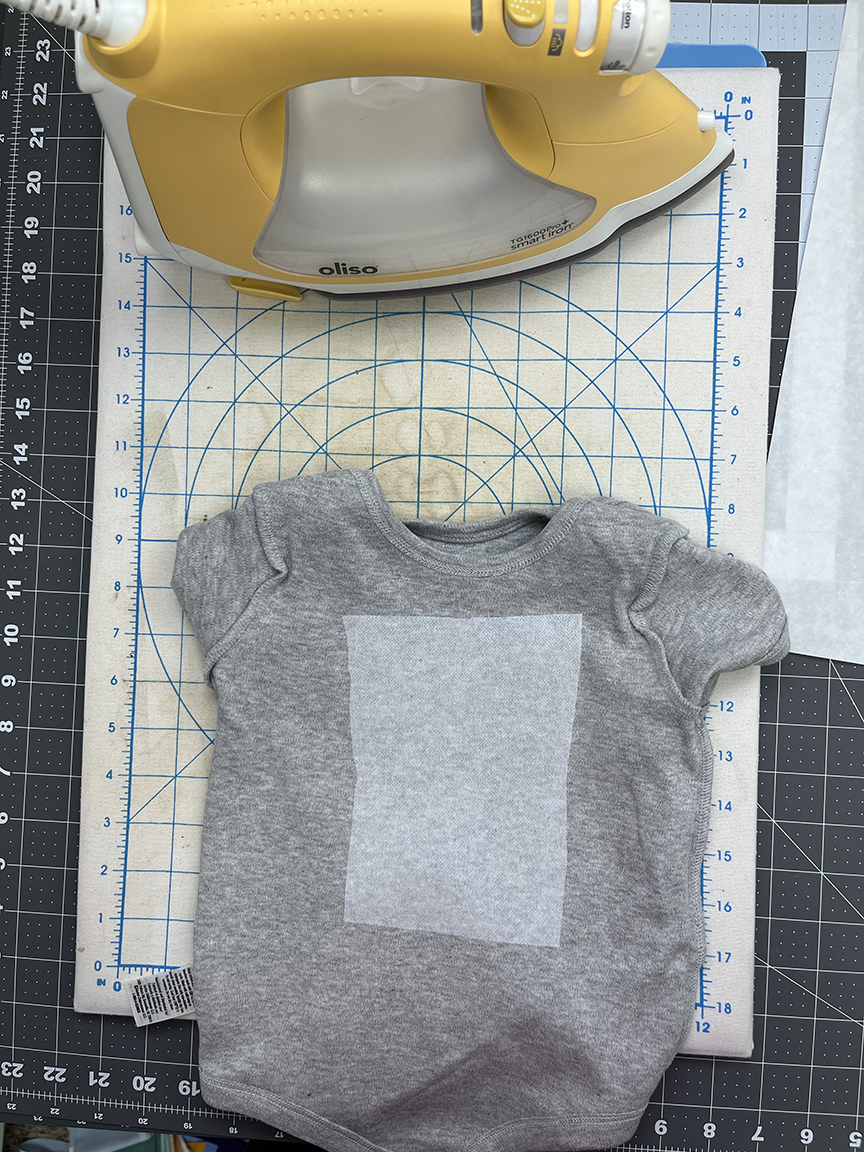
Step 7 Use matching thread and a zig zag stitch to secure each applique piece in place.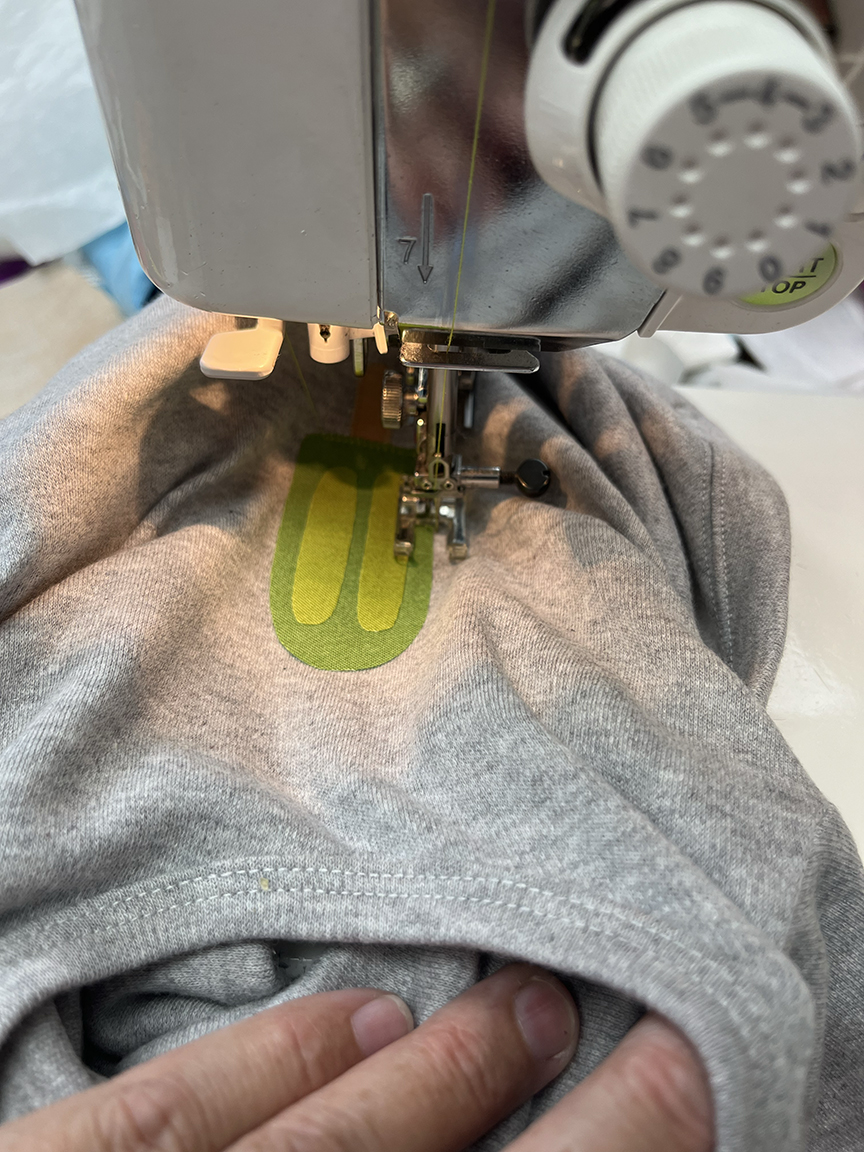
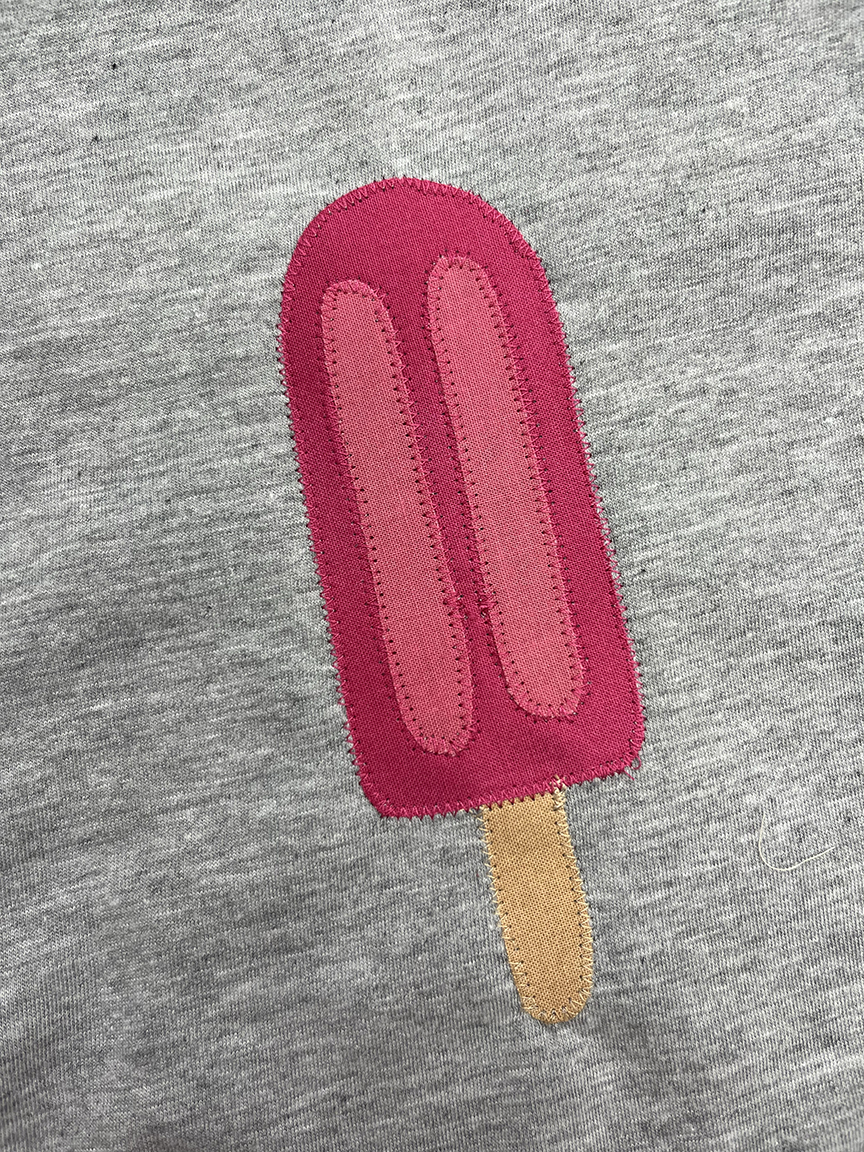
Here’s the finished popsicle!
Embellish the 3-Color Popsicle T-Shirt
Step 1 Follow steps 1-4 from above. When you add the popsicle details, make sure to align the white, red and blue strips into vertical rows. Fuse in place and follow steps 5-7 to complete the t-shirt. 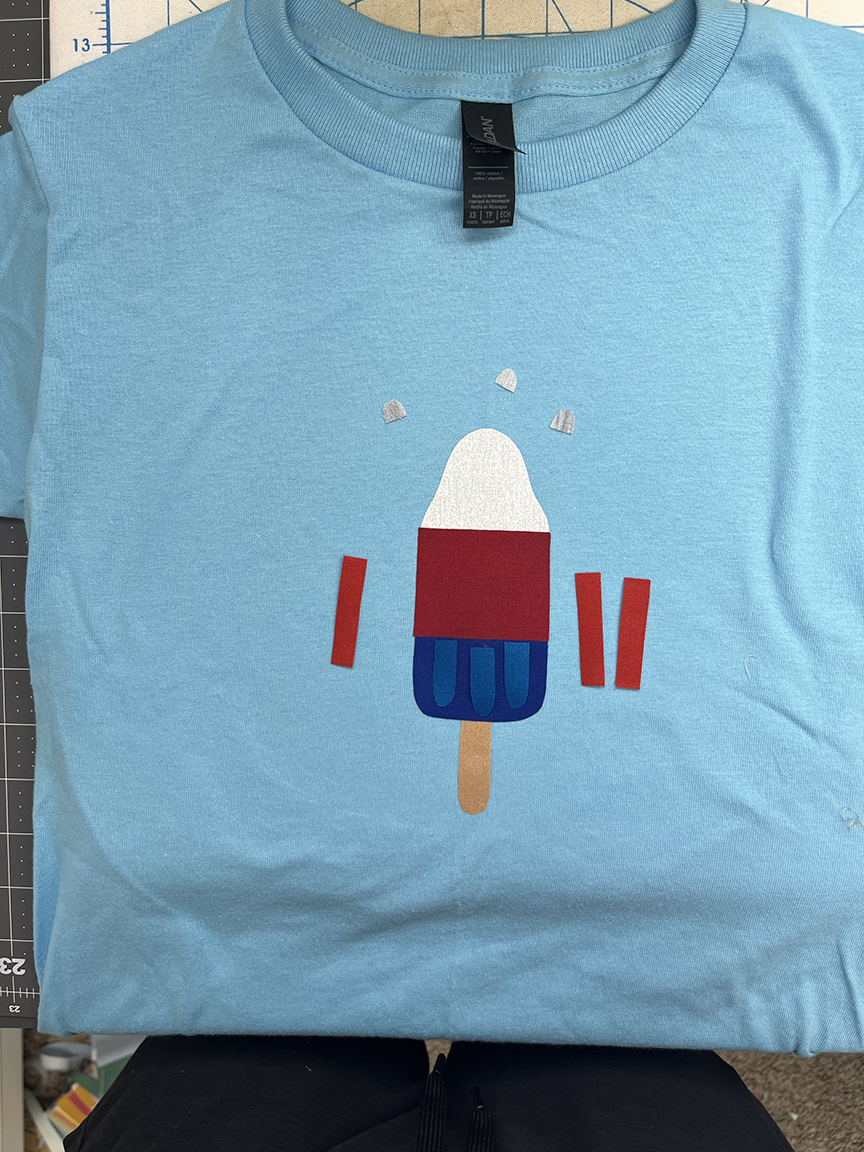
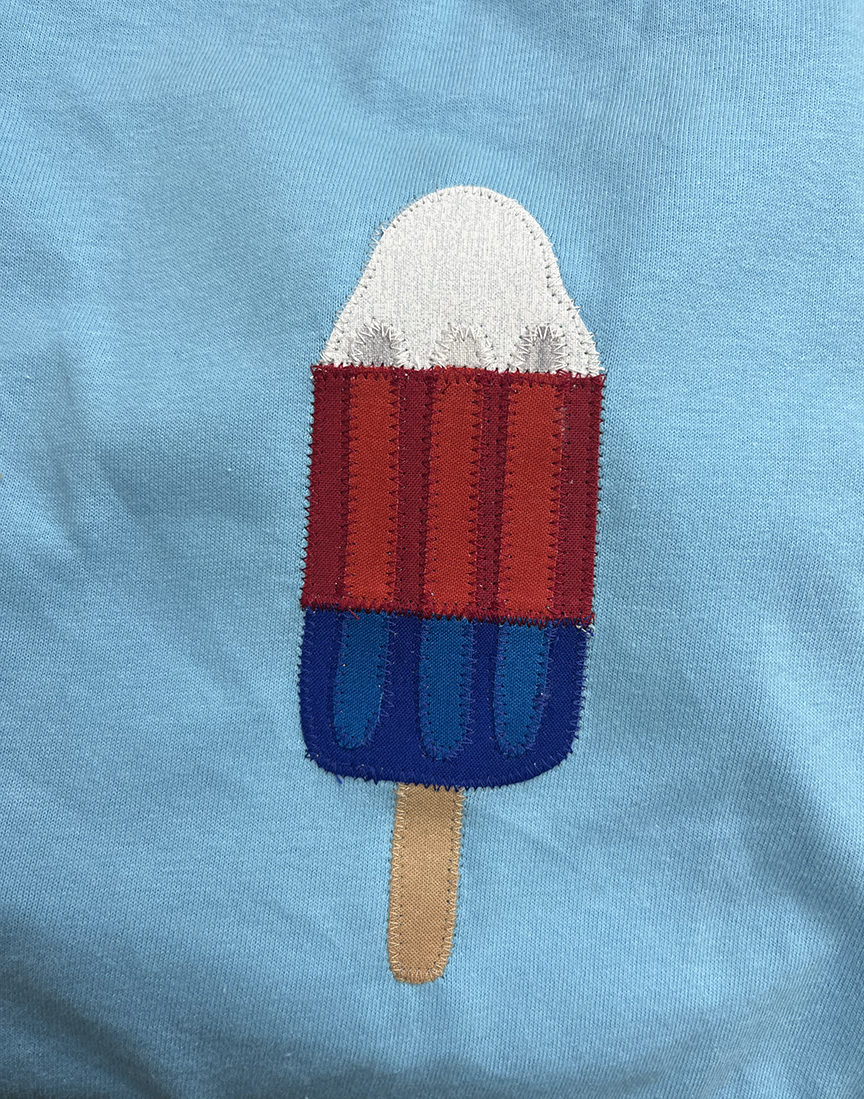
Here’s the finished 3-color popsicle!
What’s your favorite color popsicle? I think I’d make myself a red, white and blue popsicle – 3 flavors in one! I hope you enjoyed this tutorial – if you want to see what else I’m working on, head over to my blog!