
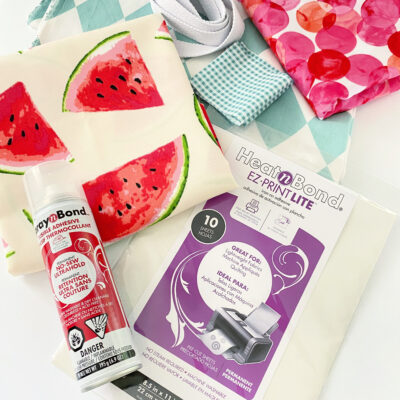
SUPPLIES:
- HeatnBond EZ-Print Lite
- SpraynBond Fusible Adhesive
- 19″ x 7 “ HeatnBond Medium Weight Non-Woven Interfacing
- 1 yard of canvas-weight fabric
- 1 yard of light cotton for lining
- 10″ x 2.5″ rectangle of printed cotton for strap accents
- 50″ of 1″-wide webbing
- Coordinating thread
- Fabric for appliqué
- Zip file with PNG, PDF, PDF mirrored and SVG TOW summer tote
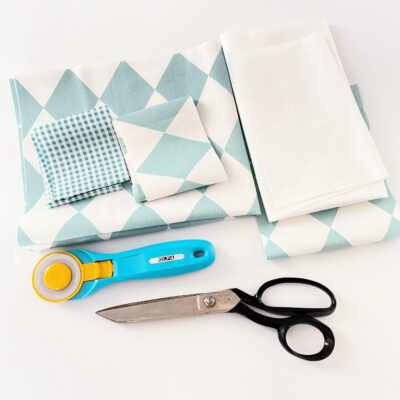
TOOLS:
- Sewing machine
- Scissors
- Rotary cutter and self-healing mat
- Ruler
- Iron and ironing board
- Hemostat or turning tool
GETTING STARTED:
Cut out all the required elements to sew up your Summer Tote :
Canvas (Main Fabric):
- 2 – 16″ H x 18.5″ W (for the outside of the bag)
- 1 – 5.25″ H x 13.5″ W (for the outside bottom of the bag)
- 2 – 3.25″ H x 18.5″ W (for the facing)
Lining:
- 1 – 33.5″ H x 18.5″ W
- 2 – 6″ H x 7″ W (for inside pocket)
Strap Accents:
- 2 – 5″ x 2.5″ (rectangles for strap accents)
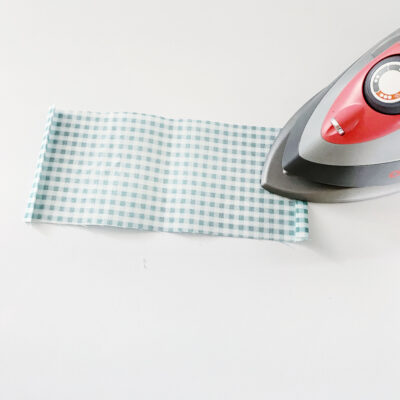
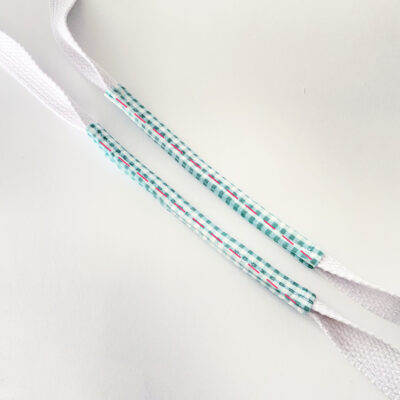
PREPARING THE STRAPS:
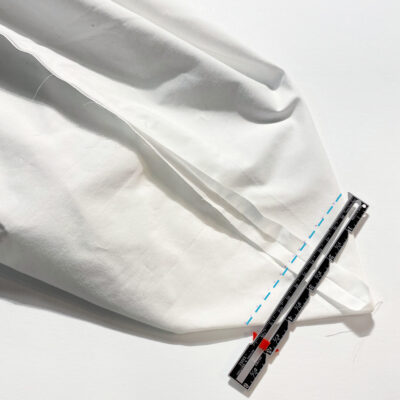
1. Press the strap accent rectangles on each of the short sides 1/4″ and again 1/4″ towards the wrong side of the fabric. Stitch hems on each side into place. Repeat this for the second rectangle.
2. Fold widthwise with right sides together and stitch along the edges with a 1/2″ seam allowance. Make sure the finished edges are lined up. Use a hemostat or turning tool to pull the tubes right side out.

3. Cut the webbing into two 25″ lengths and insert the webbing into the fabric accent tubes using the hemostat.
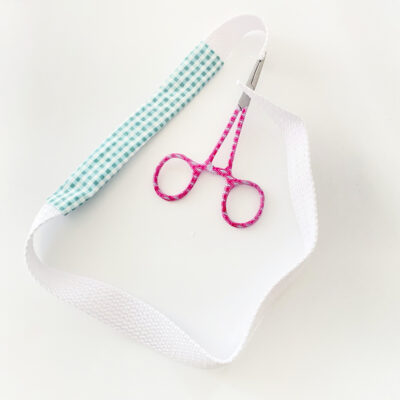
4. Make sure the fabric accents are centered on the webbing and fold the webbing in half widthwise. Stitch through all layers of accent and webbing as close to the edge as possible. Set the straps aside.
BAG APPLIQUÉ:
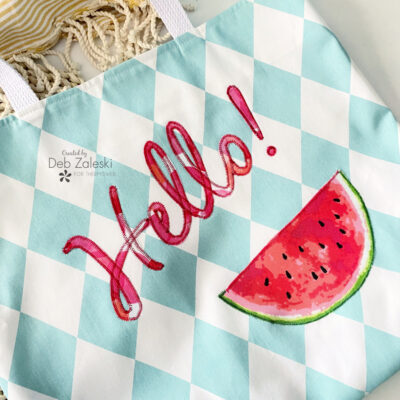
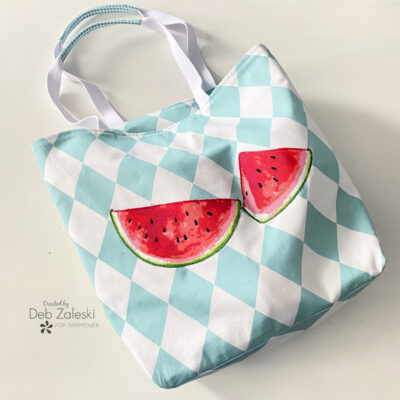
I found this great fabric with watermelons on it, so I decided to cut some out and appliqué them onto the bag. This part of the project is actually no-sew because I used the SpraynBond spray adhesive.
1. Cut out the shape you want to use. Check placement, so you don’t end up with your shape, in this case watermelon, upside down.
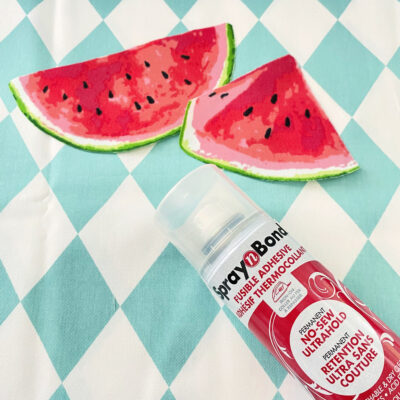
2. Follow the directions on the SpraynBond label to apply adhesive to the back of the watermelon appliques.
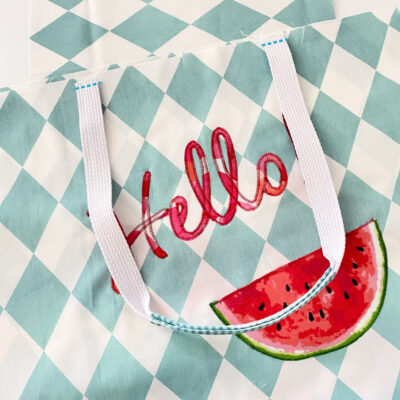
3. Position and fuse watermelon to bag front, and there you have it!

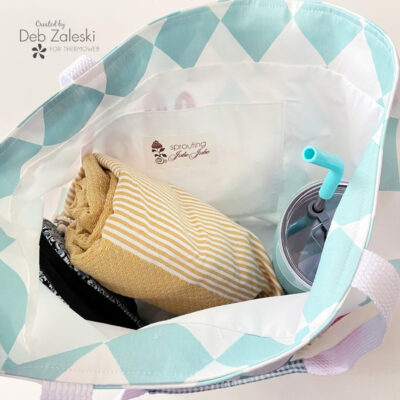
4. Print “Hello!” using HeatnBond EZ Print lite. You’ll want to use the file that says “mirrored” so that the word comes out facing the right way. Before you apply the word to your fabric, you’ll want to trim off a little bit (Tip: Save the pieces of HeatnBond Lite you trimmed off for another project in the future!)
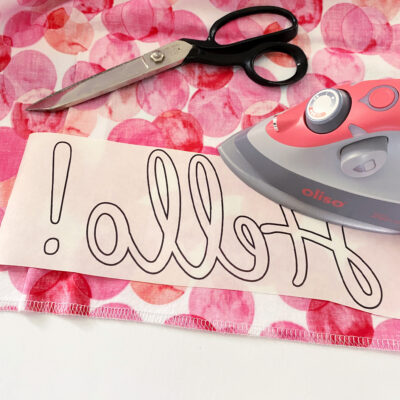
5. Use your iron to fuse the word, bumpy adhesive side down, to the wrong side of your fabric and carefully cut it out. Remove the paper backing, place the word on your bag and fuse it in place, following package directions.

6. HeatnBond Lite requires sewing to be permanent; I used a zigzag stitch around the appliqué.
MAIN BAG ASSEMBLY:
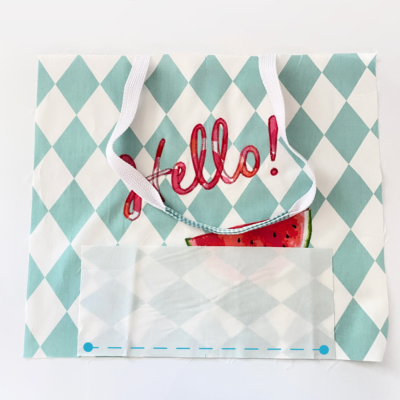
1. Find the center of the BOTTOM on the front and back of the bag and mark it with a soluble fabric marker. Do the same for the top of the bag. Baste the straps in place about 3 inches from the center. Repeat this step for the back of the bag.
2. Find the center of the long edge of the bottom piece of the bag. With right sides together, align the center bottom edge of the bag bottom with the center mark on the bottom edge of the bag front. Starting 1/2″ from the edge, stitch in place a 1/2″ seam allowance. Be sure to lock your stitches.
3. Repeat this step to attach the bag back to the bag bottom, stitching bag back to (now) top edge of bag bottom.
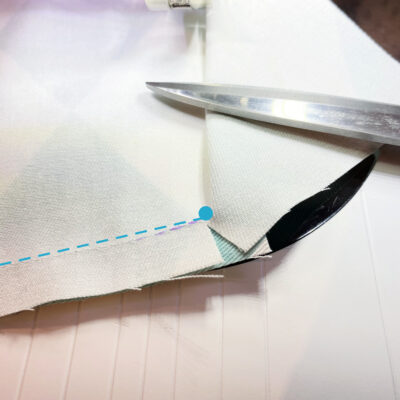
4. For a nice flat seam, trim the seam allowance and corner as shown in the picture. Don’t cut through the stitches!
5. Using a 1/2″ seam allowance, stitch down both sides of the bag. Now pull the bottom unfinished edge of the bottom piece to the side of the bag. Stitch using a 1/2″ seam allowance.
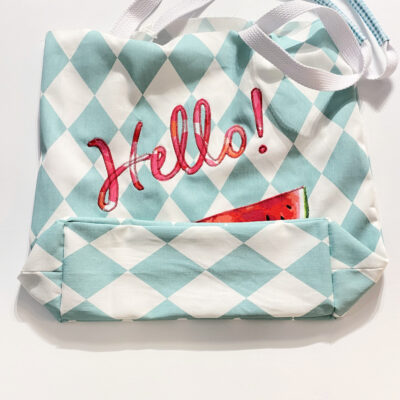
6. Turn your bag right side out. Take a few minutes to admire your work!
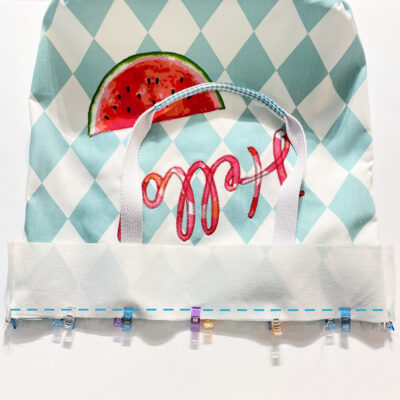
7. To add body to your bag, you may want to add some HeatnBond Medium Weight Non-Woven Interfacing to the bag facing. This will help keep the bag open as you fill it with the things you need to carry. Stitch the front and back pieces with right sides together at the short ends to form a loop. Pin the raw edge to the top of the bag and stitch all around using a 1/2″ seam allowance. Press the facing down into the bag and topstitch all around the top edge using a 1/4″ seam allowance. Set your bag aside to work on the lining.
LINING:
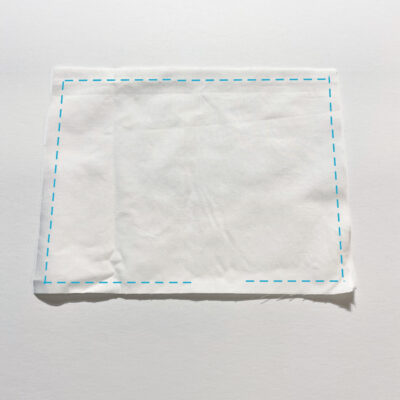
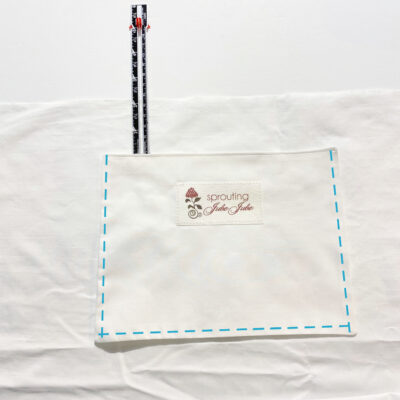
1.Take your two pocket pieces and place them right sides together. Stitch around the perimeter, leaving a 2.5″ opening. Clip corners and turn right side out. Press and topstitch only the top edge of the pocket. If you want to add a tag, now is the time to do it; sew desired tag to front of pocket.
2. Lay the bag lining flat and place the pocket on the right side 2″ from the top of the lining. Measure out the edges to make sure the pocket is centered.
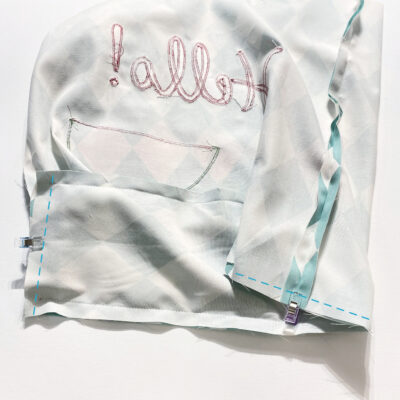
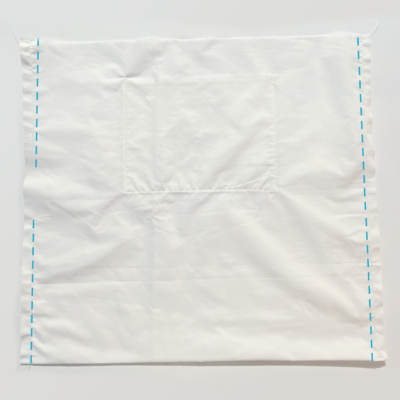
3. Fold the lining in half with right sides together. This means your pocket should be on the inside. Create a crease so you can clearly see where the bottom of the lining is for the following steps. Stitch down both sides of the lining using a 1/2″ seam allowance. Leave an opening on one side, you’ll need it to turn your work right side out.
4. Align the side seam with the bottom crease of the bag. Measure about 4.5 inches across perpendicular to the seam and crease. Draw a line with a water-soluble pen and stitch on that line. You can trim the excess to eliminate bulk, or if your lining is light, you can flatten it with a hot iron.
5. Insert the bag into the lining, matching up the side seams. Pin in place and topstitch all the way around with a 1/2″ seam allowance. Using the opening in the side seam of the lining, turn your work right side out. Hand-sew the opening closed. Give your bag one final press and you’re done!
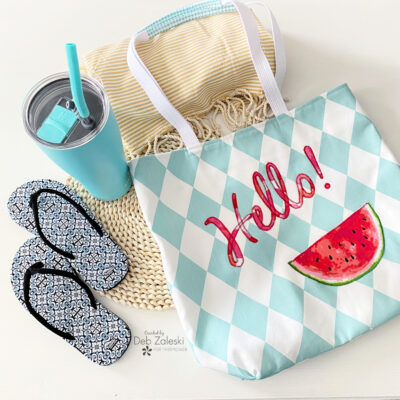

Thanks for joining me. I hope I’ve inspired you to create something fun and whimsical that you’ll love to carry around! If you liked this project, please let me know by posting a comment. And don’t forget to stop by my Instagram and say “Hello!”