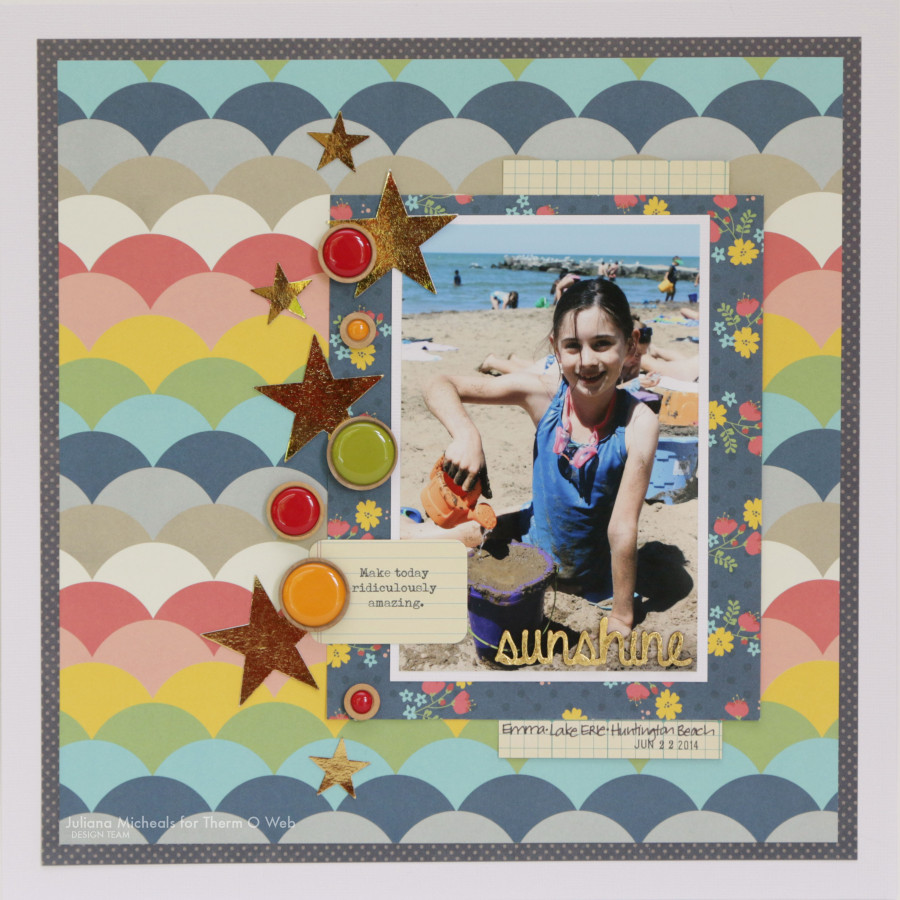
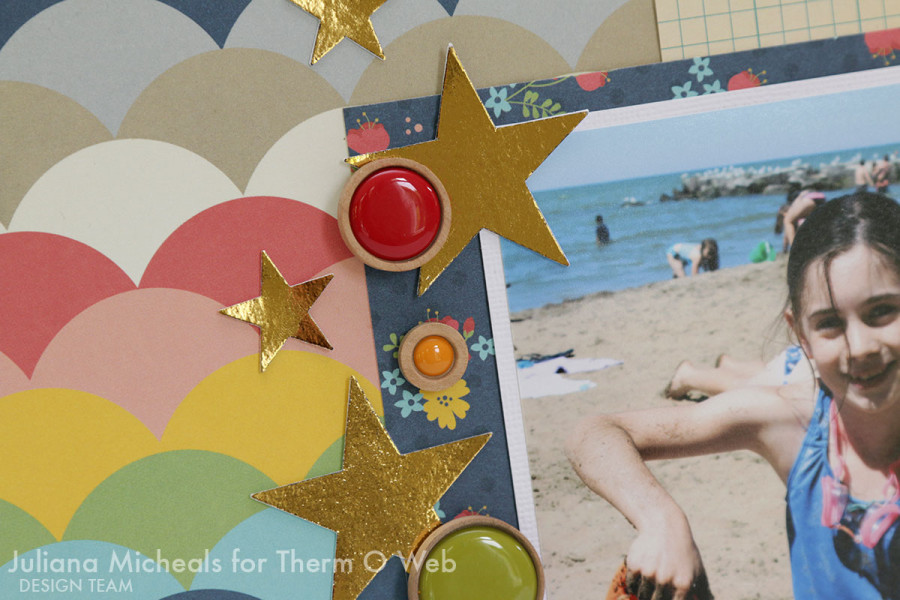
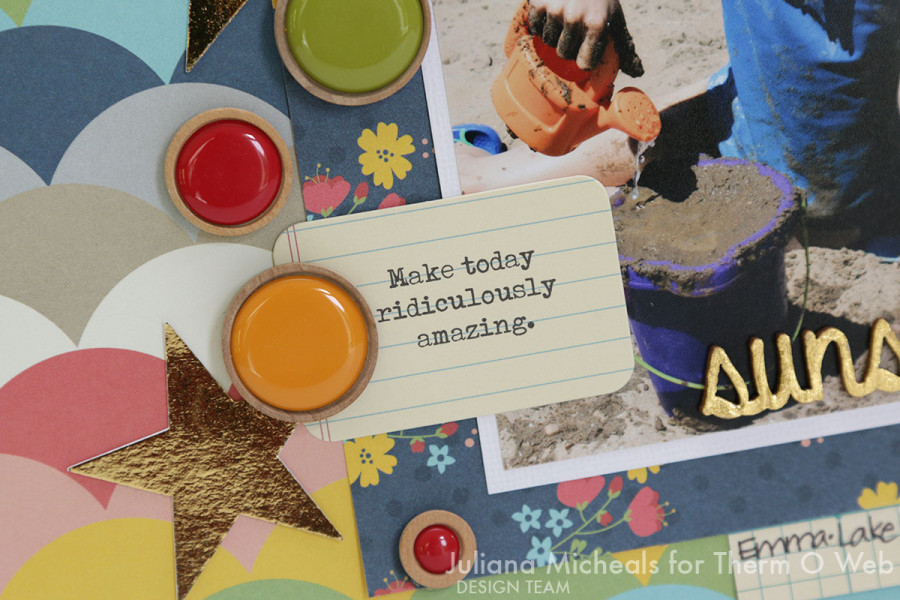
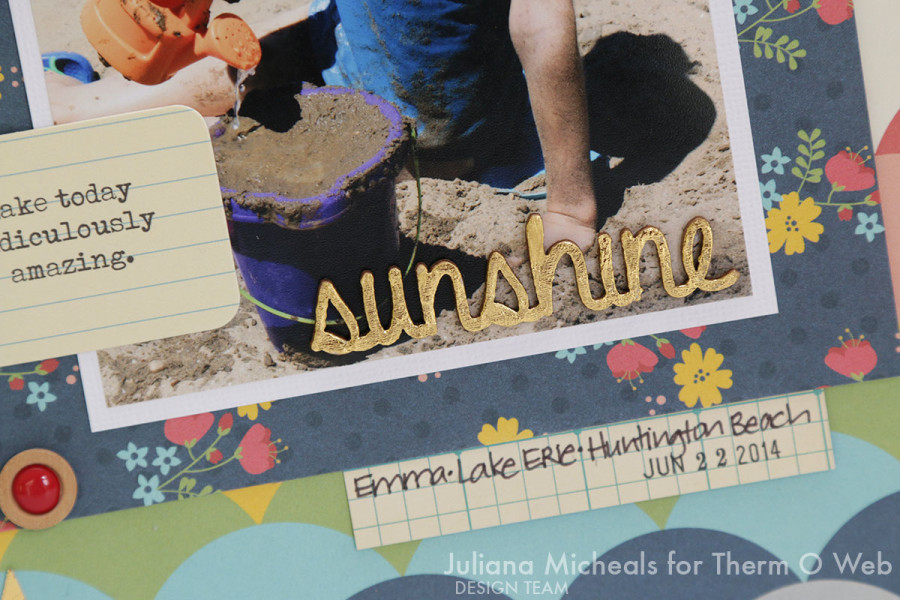
Hello everyone! It’s Juliana, from 17turtles, here to share my very first Therm O Web project. Summer is here and with it comes sunshine and trips to the beach! During one of these sunshine filled days last summer, we enjoyed a day at the beach on Lake Erie with my sister and her family. I took a ton of photos of my nieces playing in the water and the sand, but this photo ended up being one of my favorites. The smile on my niece’s face captured the pure joy and happiness of the moment!
After selecting my photo, I immediately knew that I wanted to add a touch of gold using the iCraft® DecoFoil™ Transfer Sheets to mimic the warm glow of the sunshine and the happiness that radiated from my niece.
Therm O Web Supplies:
Therm O Web Memory Tape Runner XL
Therm O Web iCraft® DecoFoil™ – Gold
Therm O Web iCraft® DecoFoil™ Liquid Adhesive
12″ Foil Royal Sovereign Laminator
Other Supplies: Patterned Paper – Fancy Pants, Jillibean Soup; Cardstock – American Crafts; Die Cut, Wood Veneer and Wood Sprinkles – Jillibean Soup; Punches – Fiskars; Laser Printer Toner Sheet printed at home
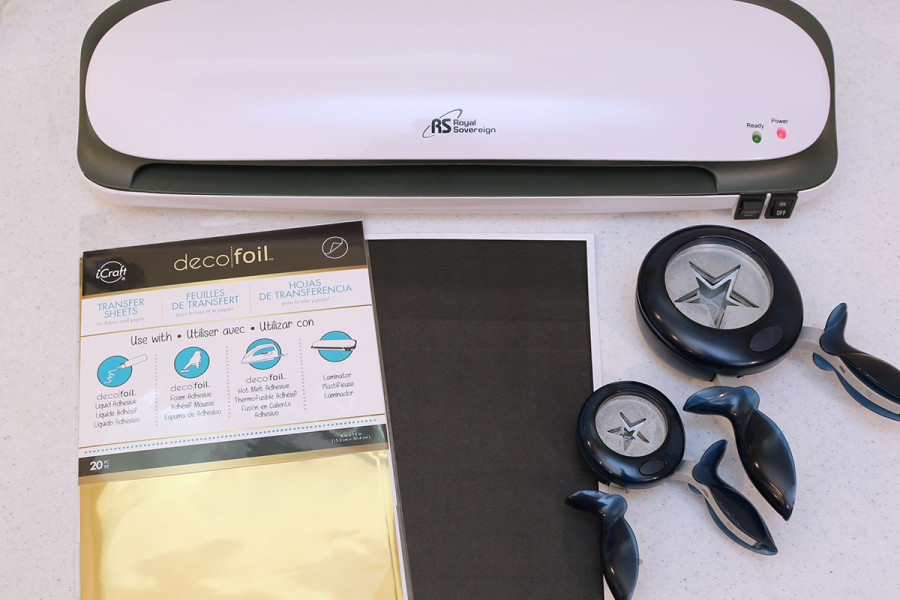
To create the gold stars, I grabbed the supplies I needed. This included my laminator, a sheet of toner that I printed at home using a laser printer, a couple of star shaped punches and of course some gold iCraft Deco Foil.
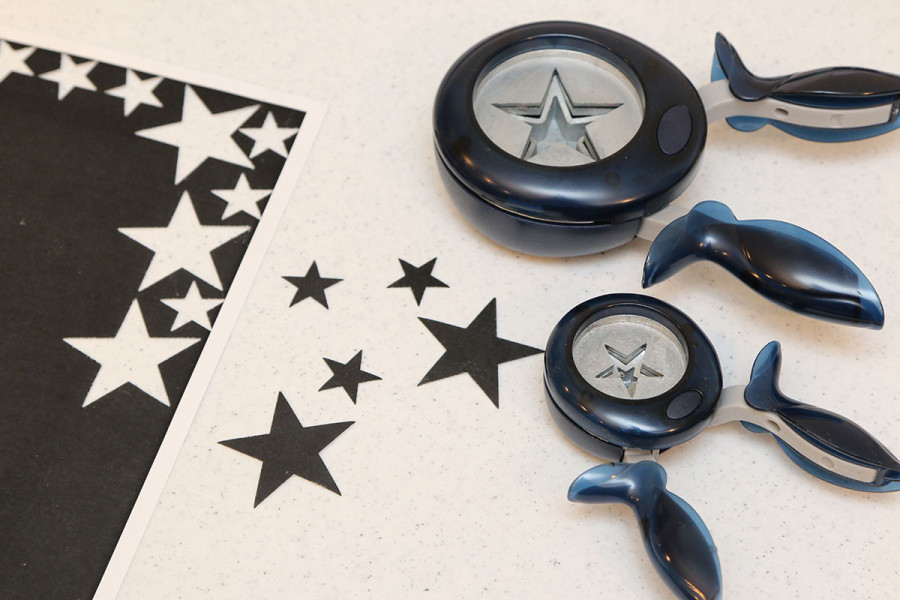
Using my punches, I punched out a bunch of stars from the toner sheet.
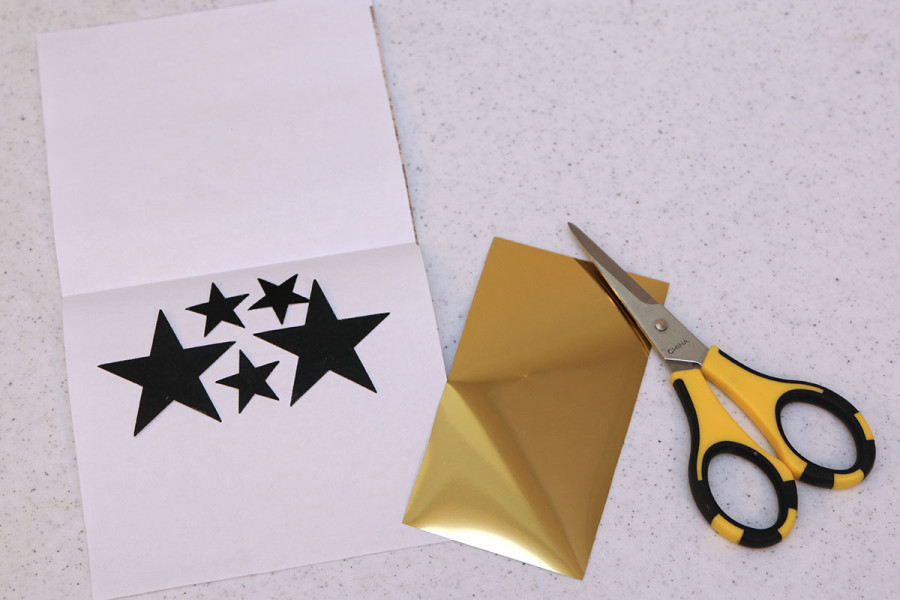
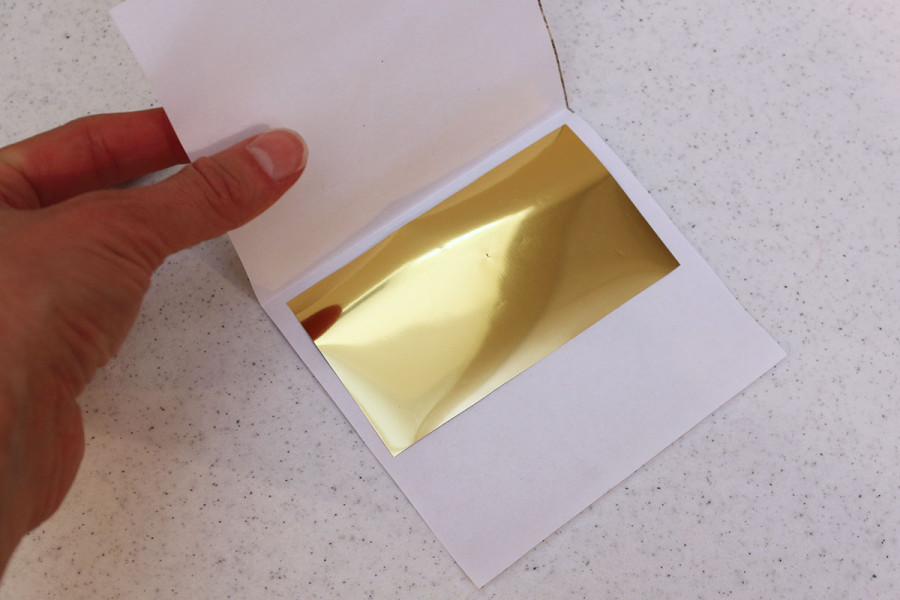
I then cut a piece of the iCraft® Deco Foil™ Transfer sheet to be just slightly larger than my punched shapes. I positioned the punched shapes on a piece of copy paper folded in half. This piece of paper is what I used to feed the punched shapes and foil sheet through my laminator.
Next, I placed the foil sheet on top of the stars with the gold side facing upward.
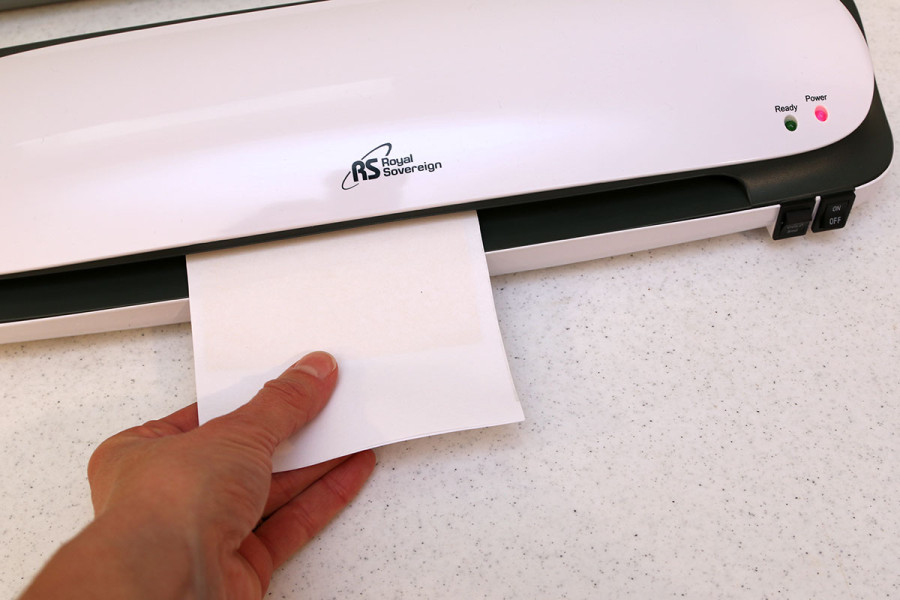
I then folded the copy paper over the top of the foil sheet and carefully fed it into my laminator. Make sure to allow your laminator to heat up thoroughly before you do attempt this step. If the laminator is not hot enough, the gold foil will not stick to the toner.
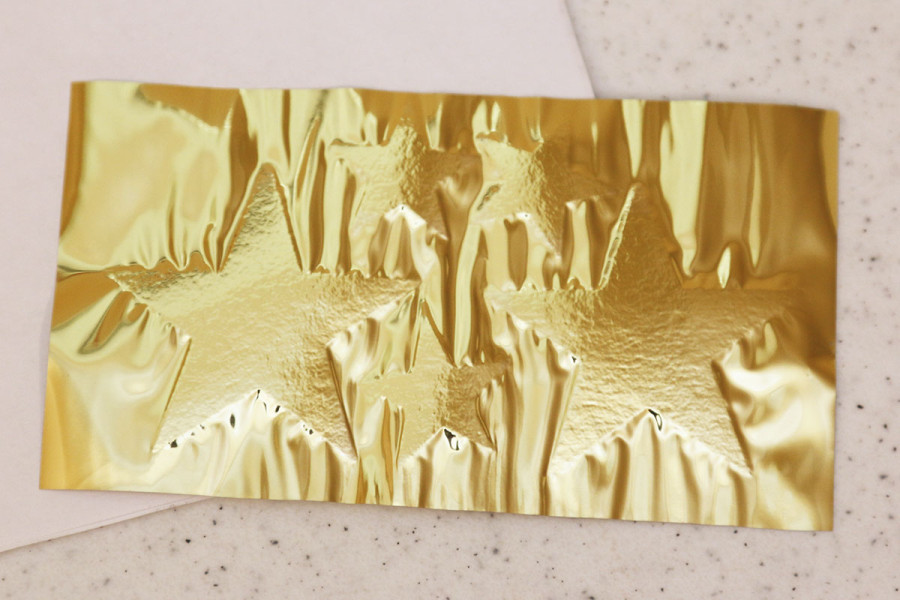
Once the piece had moved through my laminator, I removed the paper folder to reveal the now foil covered punched shapes.
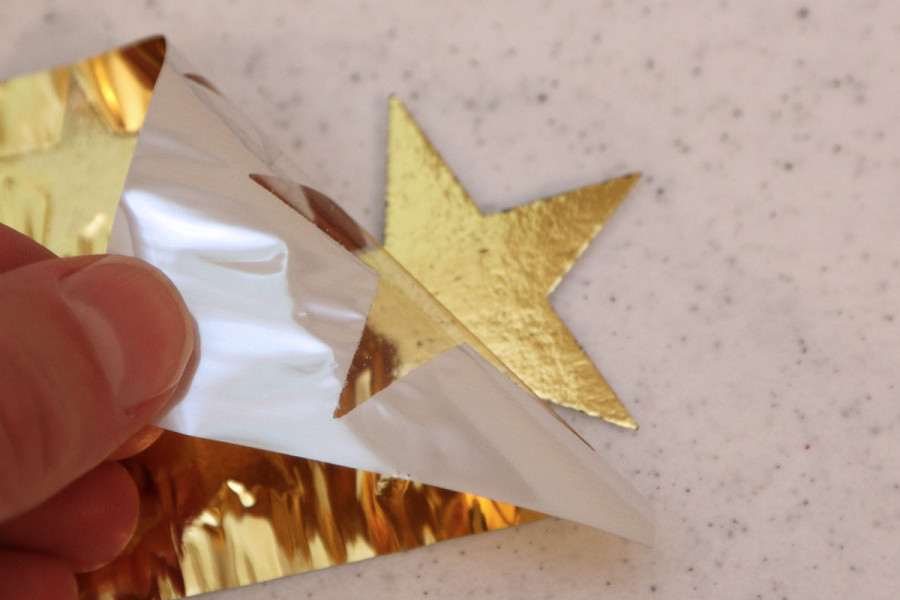
The final step was to remove the excess foil from my stars. As you can see, the foil adheres to the toner covered shapes thanks to the heat from the laminator.
Once the excess foil was removed, I was ready to adhere the gold foil stars to my layout using the Therm O Web Memory Tape Runner XL.
I also used the iCraft® Deco Foil™ Transfer Sheet to dress up a piece of wood veneer. I simply added the iCraft® Deco Foil™ Liquid Adhesive and then once set, rubbed the foil onto the wood veneer. I love how the gold foiled accents really dress up my layout!
While I was creating the gold stars, I made a few extra and used them on a card that you can check out on my blog: 17turtles. I’d love for you to hop on over and check it out!
HUGS!
Juliana

Tracey Sabella
July 8, 2015 at 8:02 am (10 years ago)What a fabulous layout and great tutorial on using the gold foil to create your stars!! ~ Blessings, Tracey