


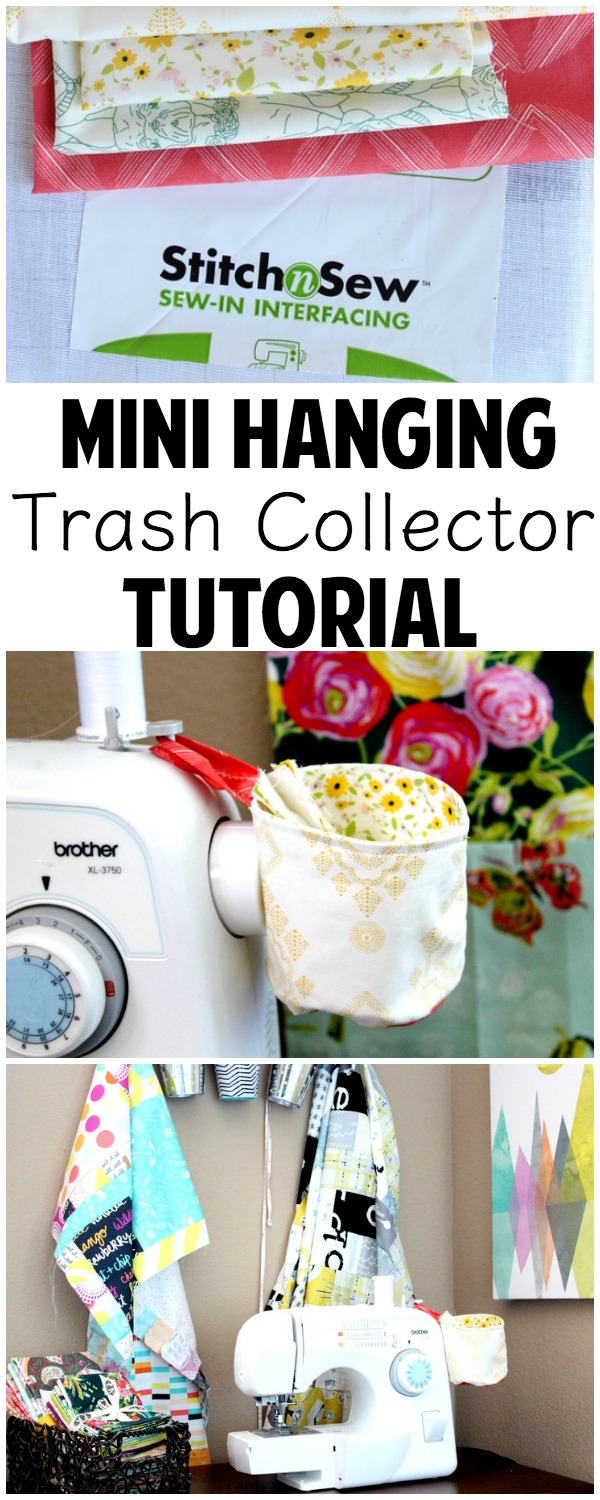
Mini Hanging Trash Bin Tutorial
Hi friends! Alicia here with another fun project for your sewing room! Friends I have to be honest, if you could see the floor under my sewing machine you would know why I HAD to make this project! It is covered with string, fabric, and general debris that I trim and toss as I am in the midst of a project! I now have a place to put all my sewing “trash” with this mini hanging trash bin!
Mini Hanging Trash Bin Tutorial
Supplies:
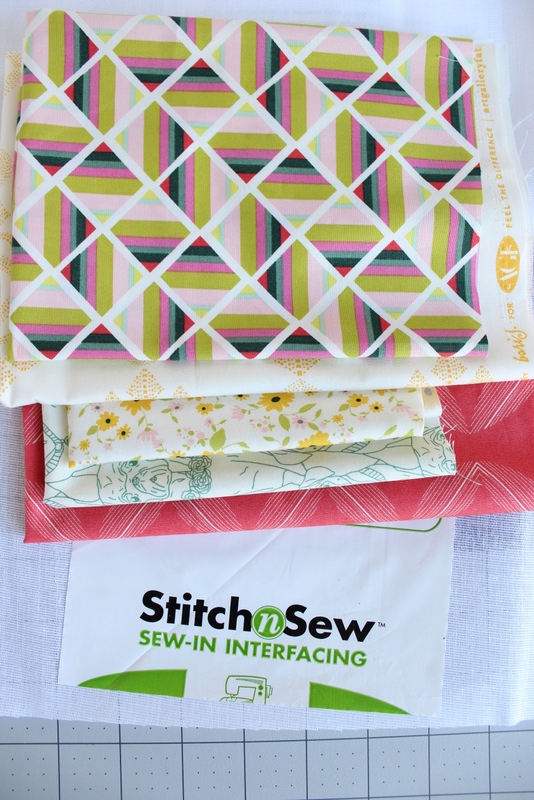
Stitch N Sew™ Sew in Interfacing
Fabric Scraps
Instructions:
The first step is to prepare the fabrics as the instructions suggest. I took a hot steamy iron to my interfacing to make sure that it wouldn’t shrink or warp after I had completed the project. I also ironed all the fabric so it was ready to go.
To make the pattern I used a big old roll of tape. You could use a candle or a cup or a bowl or really anything circular! Trace the circle onto the interfacing. (I made two so that is why I traced two circles!)
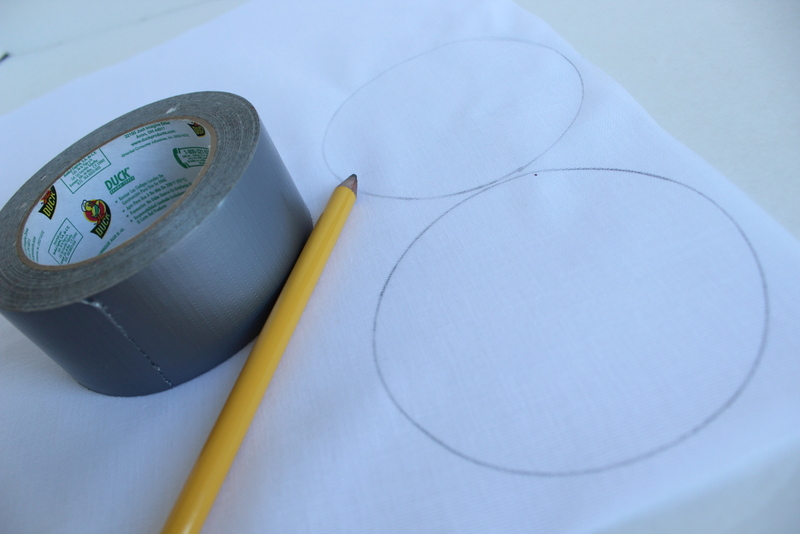
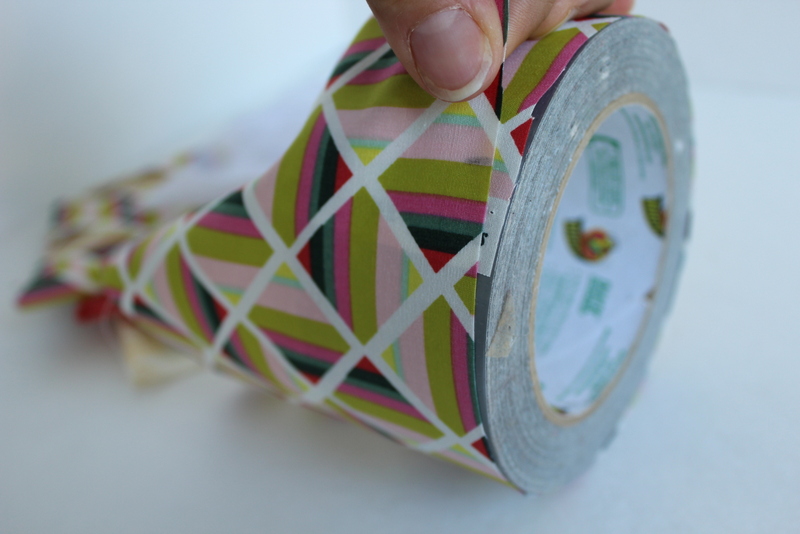
Cut the circle out. Next we are going to use the tape one more time to measure the fabric. Cut it to the exact size of the circle. With the seam allowance it will be the right size for the circle. (You don’t need to leave an overlap of the fabric. Cut it exactly the size of the circle.)
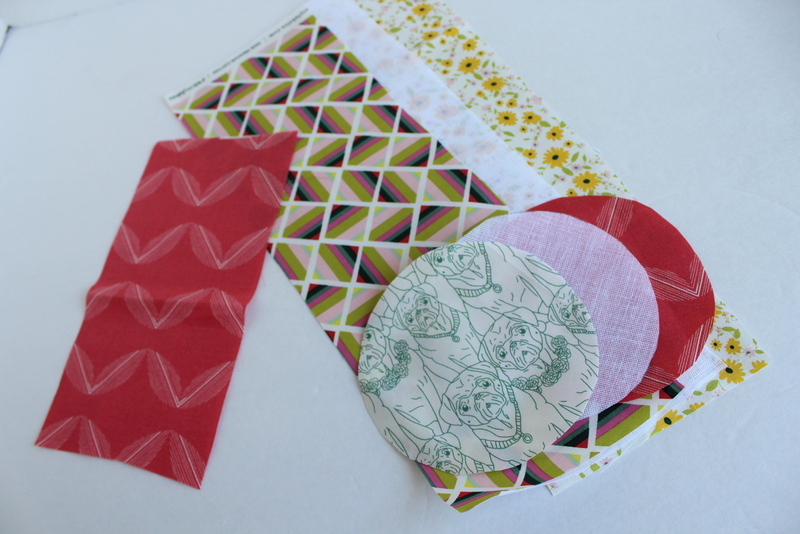
In total you will need one circle from the interfacing and two circles from fabric. Then you will need one strip from interfacing and two from fabric. The strips should measure the length of the circle by 4-6 inches. Lastly you will want a strip that is about 3″ by 9″ this last strip will be the piece that creates the hanger.
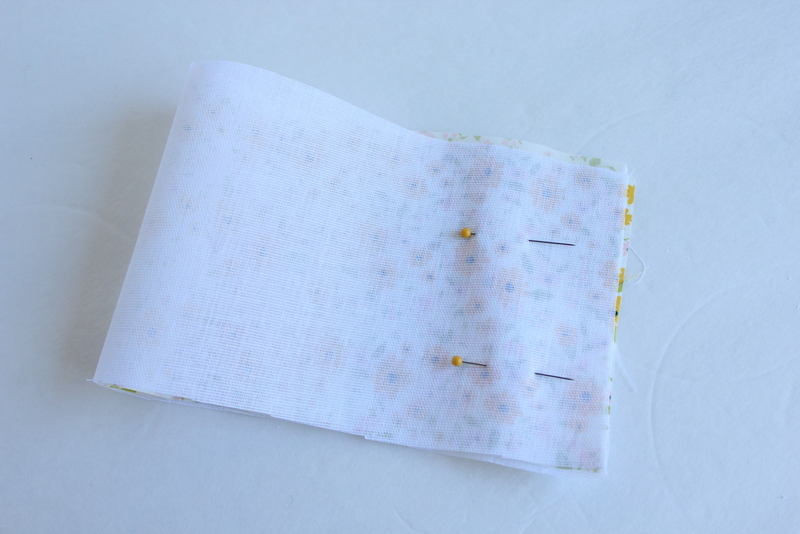
Grab the fabric strip that you want to be the inside of the bin and the strip of interfacing. Place the interfacing on the wrong side of the strip and then fold the strip in half right sides together. You should have a piece that looks like the picture below.
Sew 1/4″ in along the short edge. Next grab the circle for the inside of the bin and the interfacing circle. Sew these together 1/4″ in on the wrong side. (I tried putting this together without this step and it made it really complicated and much harder to handle.)
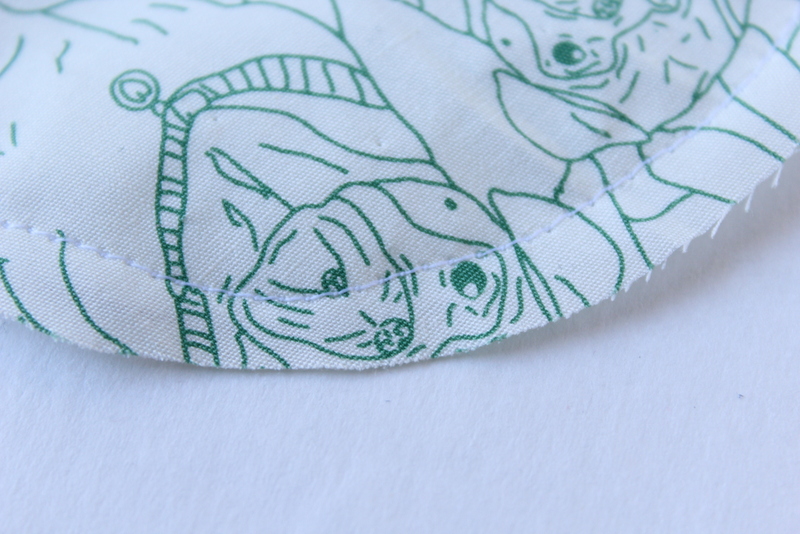
Now attach the first piece you created to the circle.
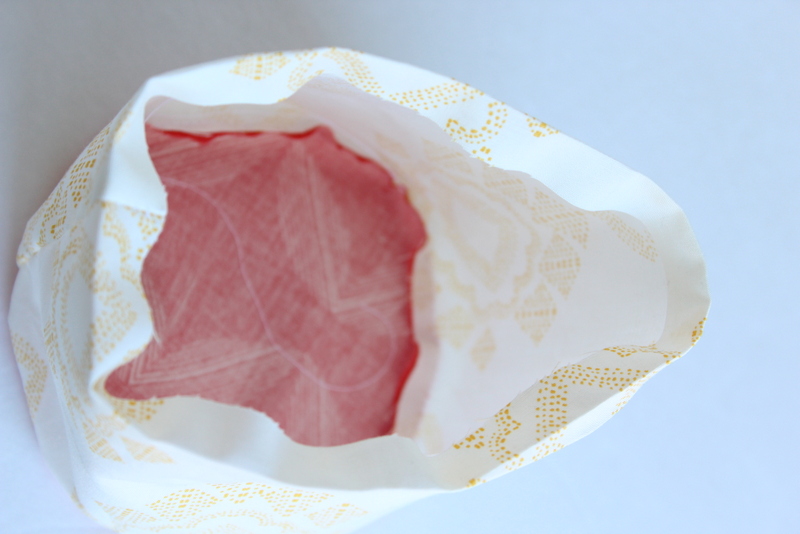
It should look like this when you have sewed the two pieces together. Don’t turn it out, leave it just like this. Repeat these steps (excluding the interfacing) with the outside of the trash bin and the bottom circle.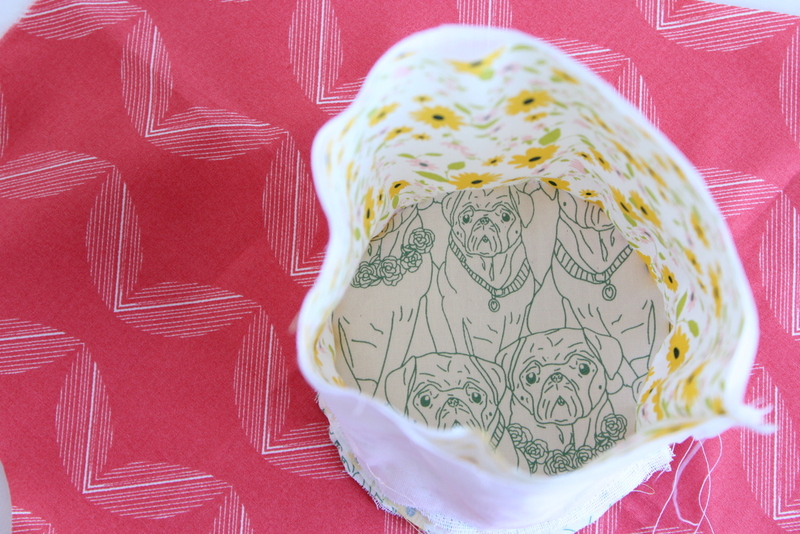
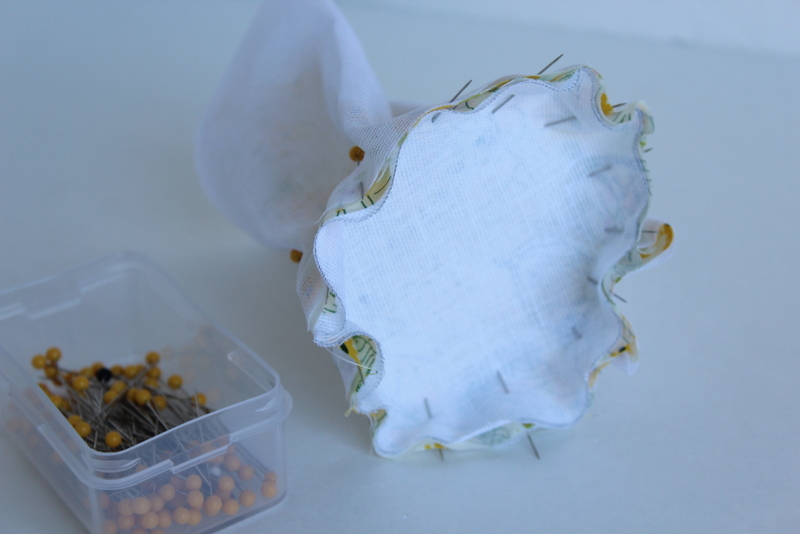
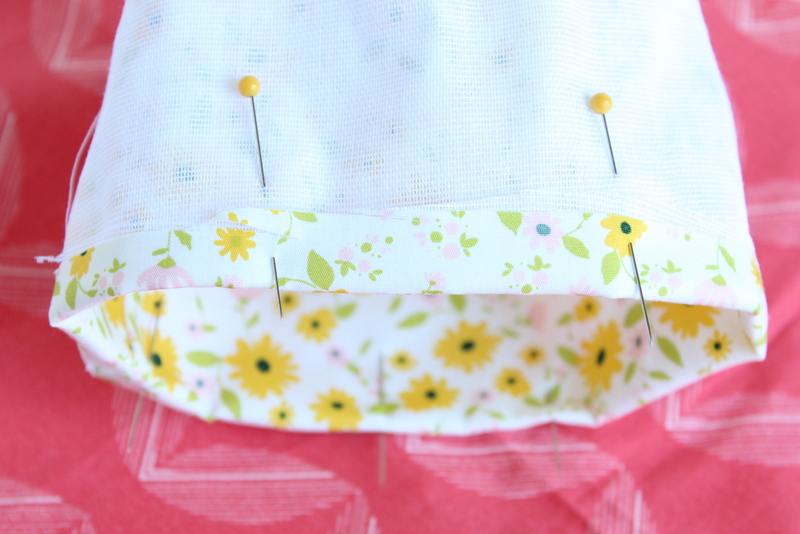
Press the edges under by 1/4″. Pin this seam in place.
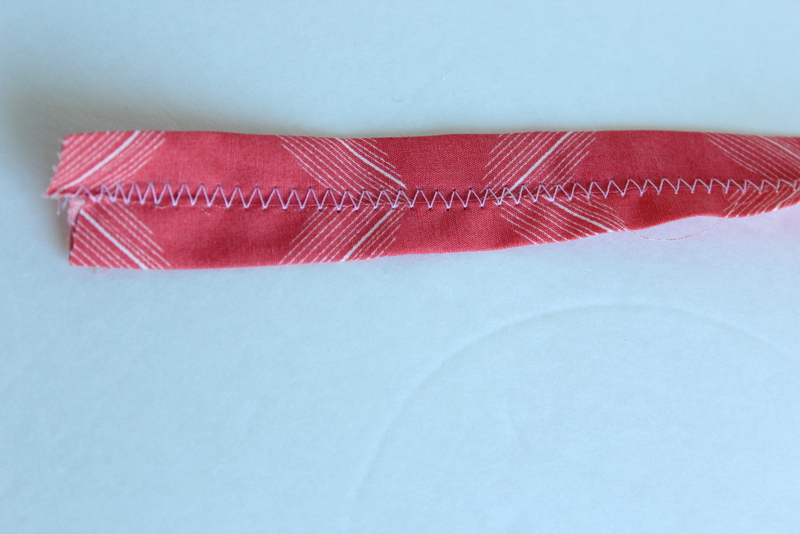
Take the strip to create the hanger and fold it in thirds longways. Sew it in place using a zig zag stitch.
Fold this hanger in half and pin it in place along the folded seam you pressed into place.
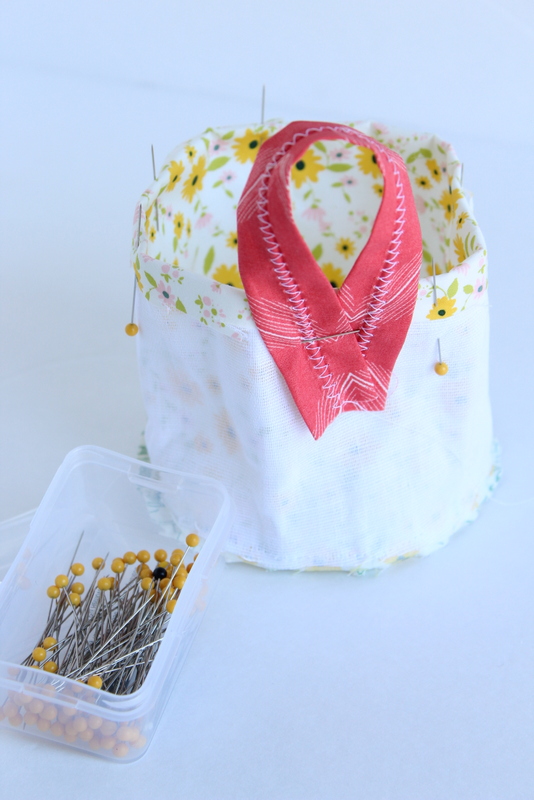
Sew the seam and hanger in place. Press the outside piece under by 1/4″.
Stuff the inside into the outside and sew around the top seam to attach the two pieces.
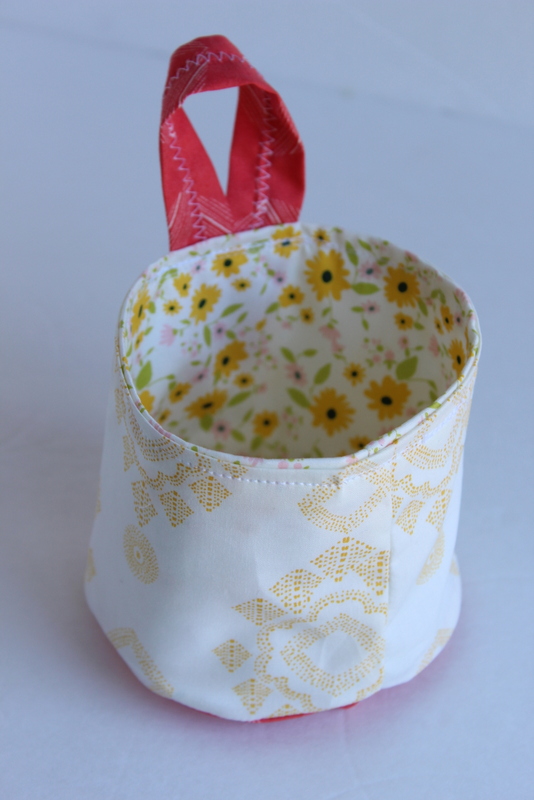
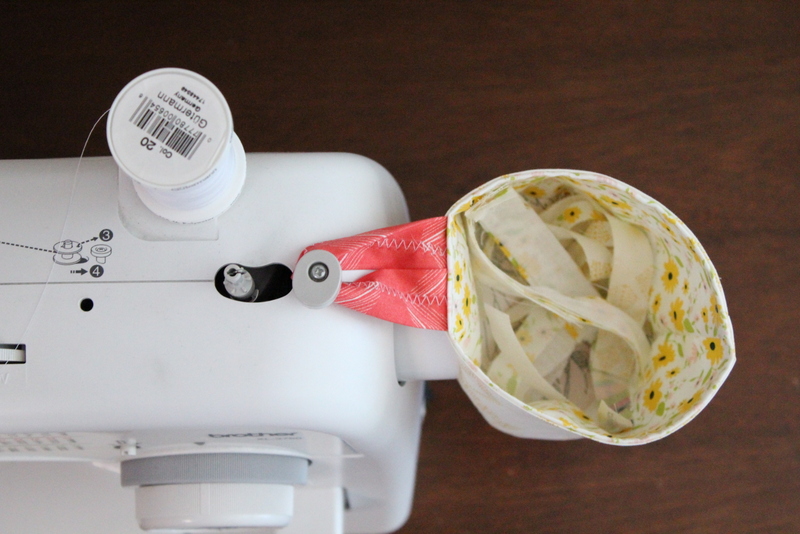
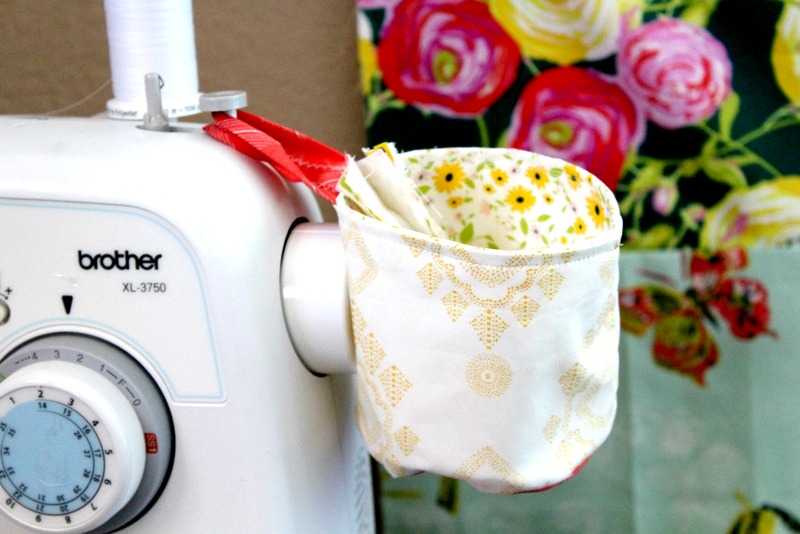
You are ready to hang it! I have a little post on the top of my sewing machine and this goes perfectly onto that post to give me a great place to put all my trash and threads!
You could put a magnet in the bottom to collect pins and needles! Or make a few and hang them to hold supplies!
 Where would you hang one of these? Share with me in the comments below.

Connect with Sew What Alicia
Facebook // Pinterest // Instagram // Twitter
3 Comments on StitchnSew Mini Hanging Trash Bin Tutorial
1Pingbacks & Trackbacks on StitchnSew Mini Hanging Trash Bin Tutorial
-
[…] StitchNSew Mini Hanging Trash Bin Tutorial, by Sew What Alicia […]
Baa Goldfarb
August 6, 2016 at 12:55 pm (8 years ago)OK I made this a lil bit larger & taller took maybe 30 from finding fabrics prep & sew.
I used home Dec fabric scraps that I’ve had forever. Sewing Big coat button to fabric quilty piece on arm of sofa & hanging it there to catch my hand embroidery scraps. Thanks for the idea & directions
admin
August 8, 2016 at 9:37 am (8 years ago)Thanks so much! We’re glad to hear you enjoyed the project!