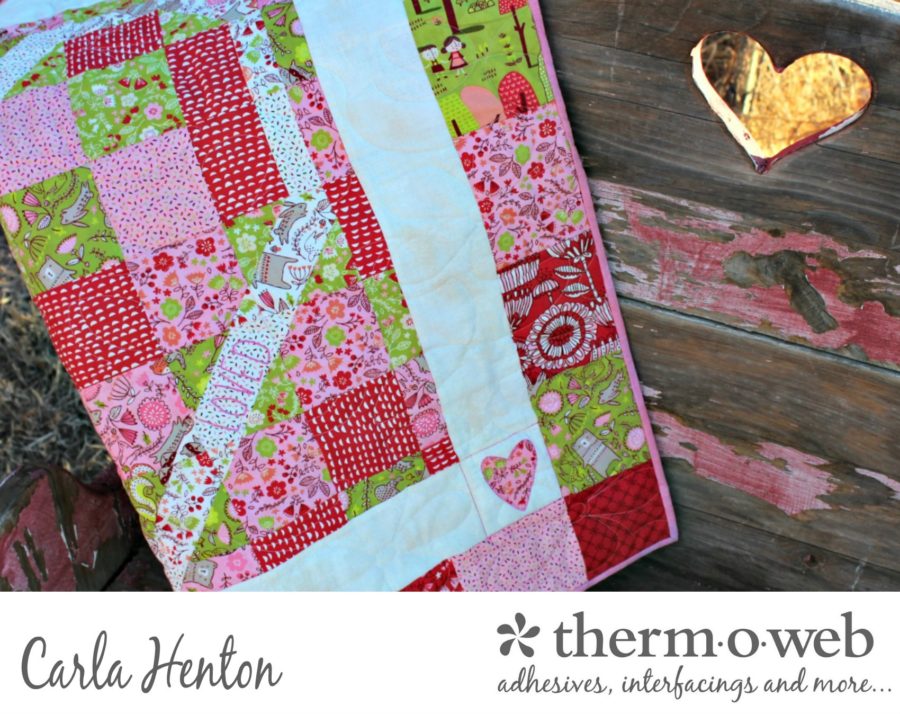
Valentine’s Day is a time for everyone to feel loved, therefore, hiding in this pieced heart is an embroidered “loved” to whisper a sweet hug to all that find it. Using HeatnBond® interfacing as a stabilizer keeps the embroidery neat and the quilt soft. No one will ever know a sewing machine was used to embroider the letters with a simple trick using Aurifl 12 wt thread in this pieced heart quilt.
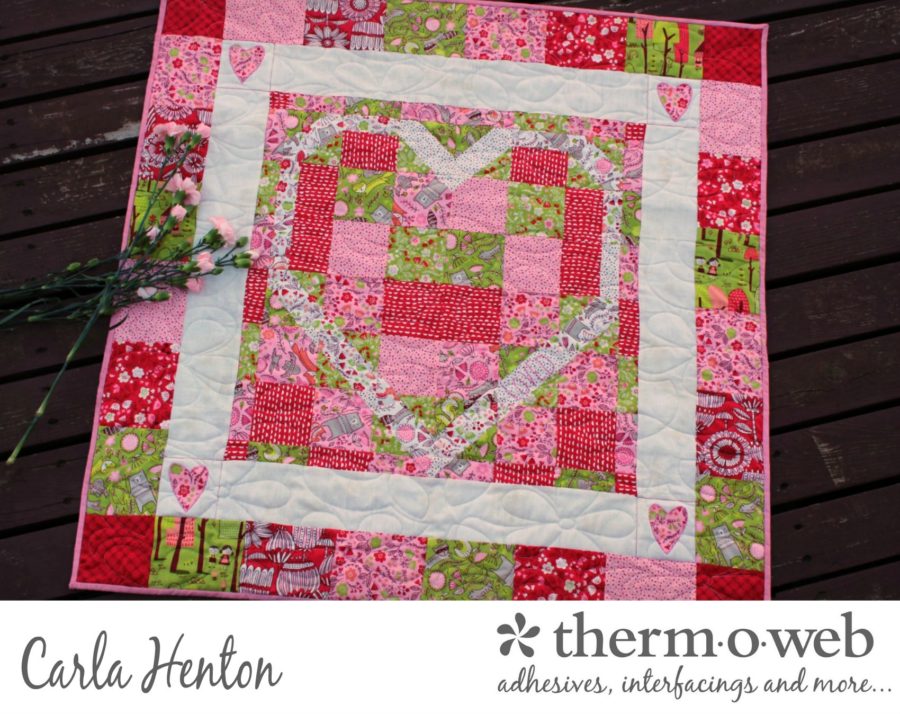
“Loved” is quick to make and features the new Moda fabric, “Just Another Walk in the Woods” by Stacy Iest Hsu. The fabric is a whimsical and playfully bright collection with cute little characters.
Loved – Stitch an Embroidered Valentine Message in this Pieced Heart Quilt with HeatNBond®
by Carla Henton from Creatin’ in the Sticks
Finished size: 34″ x 34″
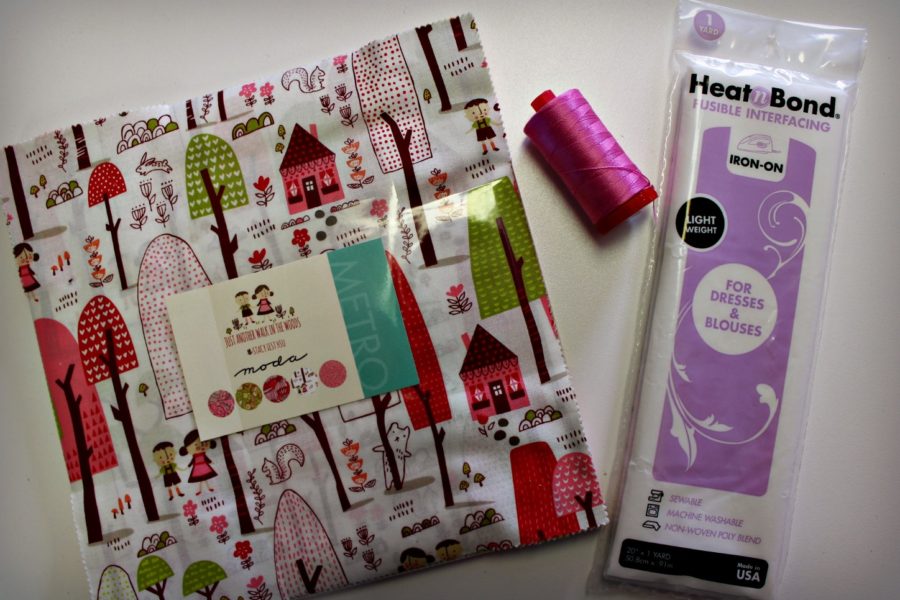
Supplies:
Heat n Bond® Fusible Interfacing – Light Weight
Therm O Web Stitch n Sew™ Fleece Sew-in High Loft/Batting
Moda Fabric:
Layer Cake of “Just Another Walk in the Woods”
Fat Quarter cream (Grunge)
1 yd backing fabric
4 – 2 1/4″ x width of fabric for binding
Other Supplies:
Aurifil 12 wt thread #2479
Aurifil 50 wt thread in a matching color
Oliso Iron
erasable pen
Sharp scissors
Sewing machine with triple stitch and blanket stitch
Basic sewing supplies
Layer Cake Cutting:
From cream cut:
10 – 3 1/2″ x 3 1/2″ for “A” blocks
6 – 1 1/2″ x 3 1/2″ for “B” blocks
10 – 1 1/2″ x 1 1/2 for “C” blocks
2 – 1 1/2″ x 1 1/2″ for “D” blocks
From green:
20 – 2 1/2″ x 2 1/2″ for “A” blocks
4 – 3 1/2″ x 3 1/2″for “E” blocks
8 – 1 1/2″ x 3 1/2″ for “F” blocks
8 – 5″ x 4″ for “K” blocks
From pink:
10 – 3 1/2″ x 3 1/2″ for “C” blocks
2 – 3 1/2″ x 1 1/2″ for “D” blocks
2 – 3 1/2″ x 3 1/2″ for “E” blocks
10 – 1 1/2″ x 3 1/2″ for “F” blocks
8 – 5″ x 4″ for “K” blocks
From red:
4 – 1 1/2″ x 3 1/2″ for “F” blocks
6 – 2 1/2″ x 3 1/2″ for “B” blocks
4 – 3 1/2″ x 3 1/2″ for “E” blocks
4 – 1 1/2″ x 1 1/2″ for “G” blocks
8 – 5″ x 4″ for “K” blocks
4 – 4″ x 4″ for “L” blocks
From fat quarter:
2 – 3 1/2″ x 21″ for “I” blocks
2 – 3 1/2″ x 21 1/2″ for “J” blocks
4 – 3 1/2″ x 3 1/2″ for “H” blocks
Heat n Bond® Fusible Interfacing – Light Weight:
Cut 5 pieces 3 1/2″ x 3 1/2″
Loved Quilt Instructions:
All seams are 1/4″ unless otherwise stated.
Prepare “A” blocks – 10 blocks
Fuse one 3 1/2″ x 3 1/2″ piece of Heat n Bond® Fusible Interfacing – Light Weight:to the wrong side of one 3 1/2″ x 3 1/2″ piece of cream fabric.
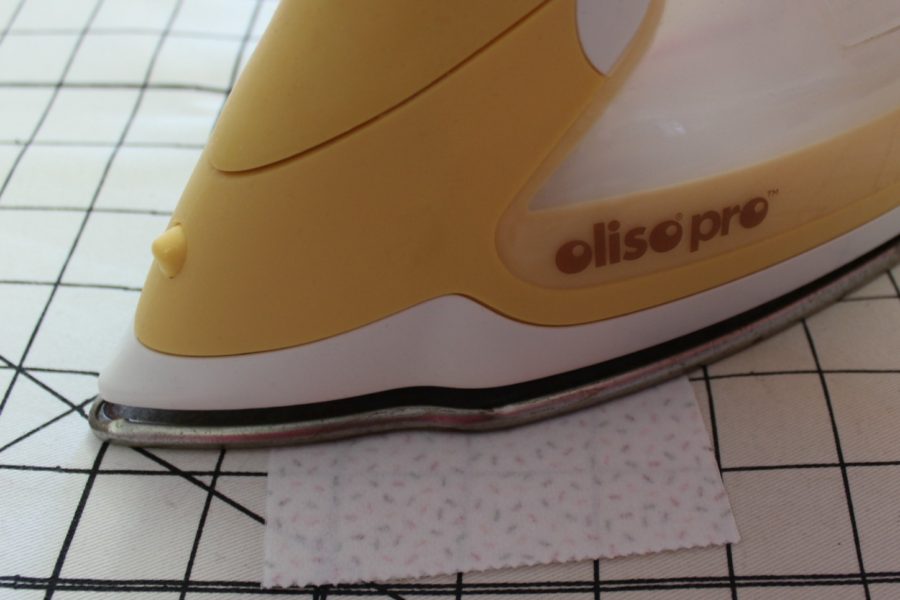
This will be the embroidered piece.
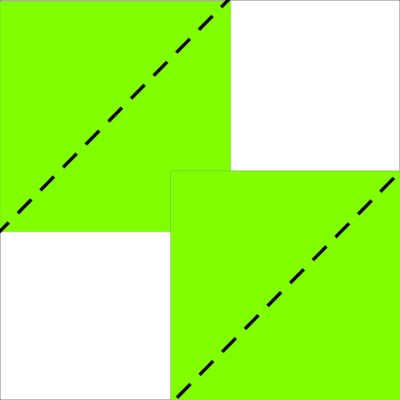
With all “A” blocks use 10 cream 3 1/2″ x 3 1/2″ squares (including the interfaced piece) and 20 green squares. Prepare the green corners by drawing a diagonal line (stitching line) from one corner diagonal to another corner on the wrong side of each of the 20 green squares with an erasable pen.
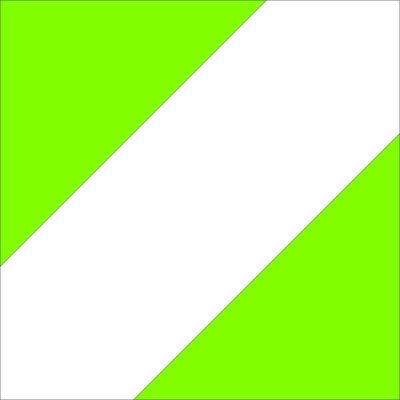
For every cream “A” place 1 green square in one corner, right sides together and stitch on the drawn line. Trim outside corner to 1/4″ from seam line and press corner open. Repeat on opposite diagonal corner. This leaves a cream stripe with 2 green corners. TIP: After trimming the corners, take the trimmings, all ready right sides together and stitch 20 half square triangles to use on a later project.
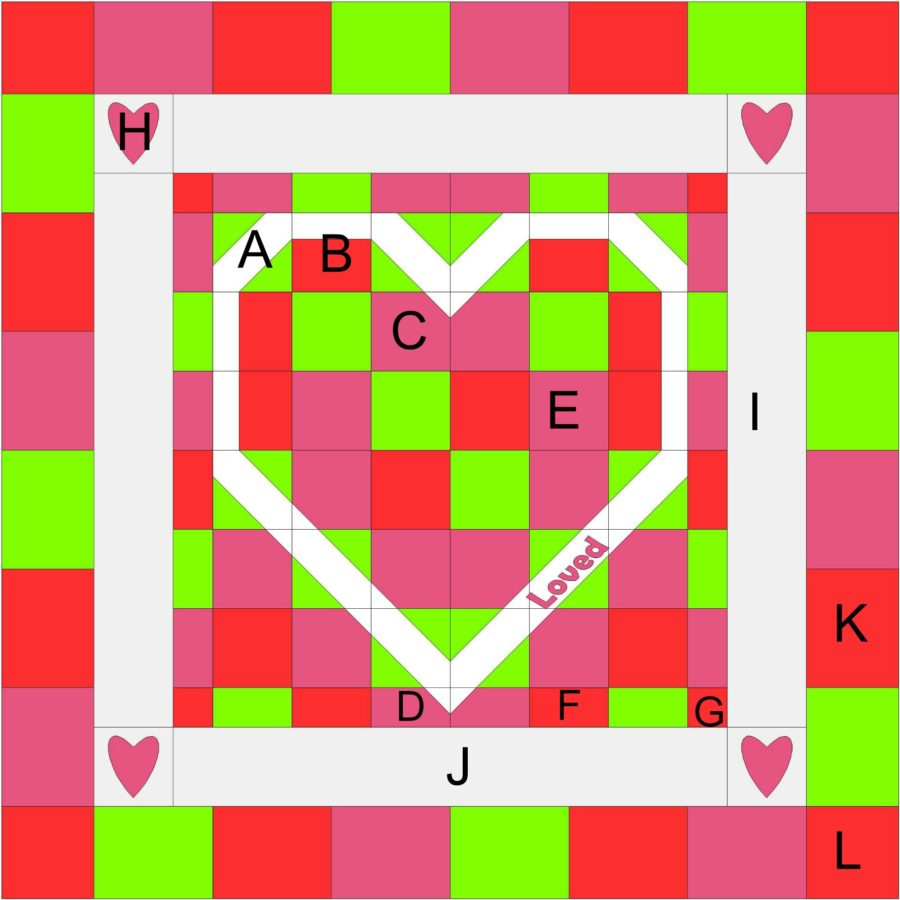
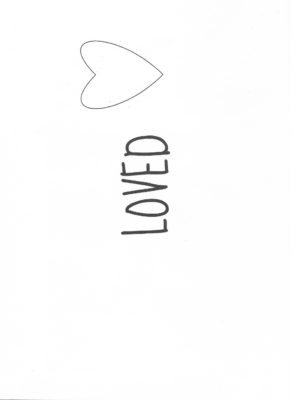
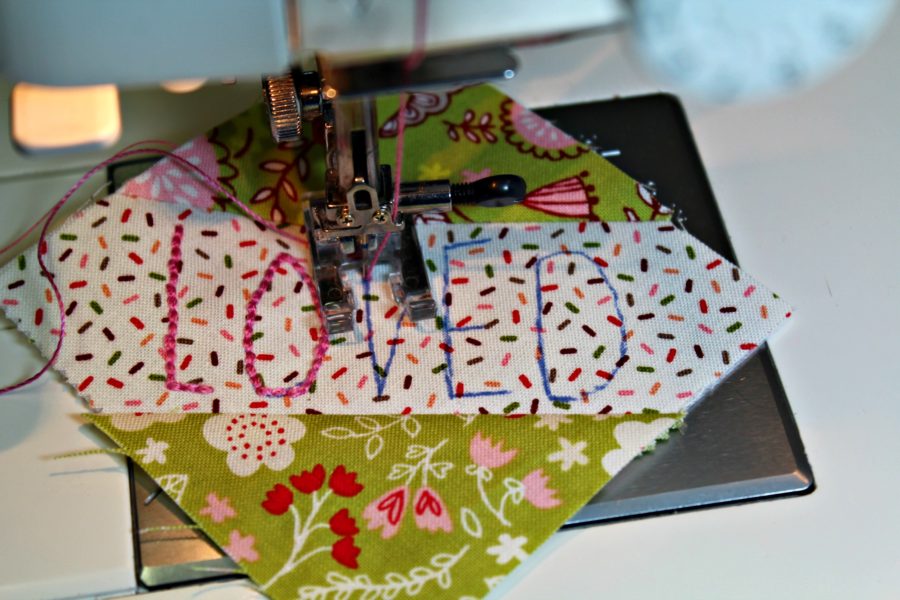
The unit with interfacing will be embroidered with “LOVED.” Trace the pattern on the right side of fabric as shown and embroider. This is the template for the letters and hearts. Just right-click on the picture and save it to print later in the size you want.
TIP:
Thread Aurifil 12 wt thread on top and Aurifil 50 wt in the bobbin with a 90/14 needle and triple stitch with a sewing machine. It looks like it’s been hand embroidered.
Prepare “B” blocks – 6 blocks:

Stitch 6 “B” units together by stitching the six 1 1/2″ x 3 1/2″ cream rectangles to the six 2 1/2″ x 3 1/2″ rectangles using 1/4″ seams. Press.
Prepare “C” blocks – 10 blocks:
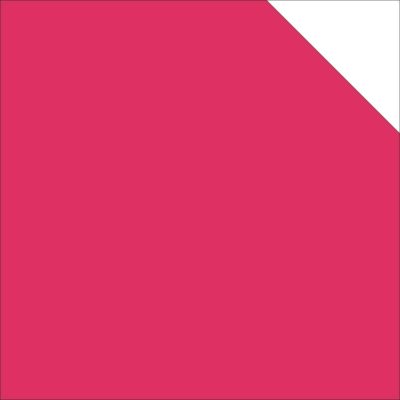
Using 10 pink 3 1/2″ x 3 1/2″ squares and ten 1 1/2″ x 1 1/2″ cream squares, draw a diagonal line across the wrong side of each cream square as was done for the “A” blocks. This drawn line is the stitching line. Place white square in one corner of pink square right sides together and stitch on the drawn line. Trim outside corner to 1/4″ and press.
Prepare “D” blocks – 2 blocks:
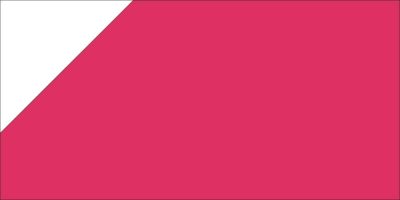
One “D” block will be this way and the other will be opposite to form the point of the heart. As done before, draw a diagonal line on the wrong side of two 1 1/2″ x 1 1/2″ cream squares. Lay these squares right sides together with 2 pink rectangles 1 1/2 x 3 1/2″.

Stitch on the lines, trim, and press.
Finish center of quilt:
Follow the diagram above to lay out blocks A-G and stitch together in rows while matching seams. Press.
Add inner border and hearts:
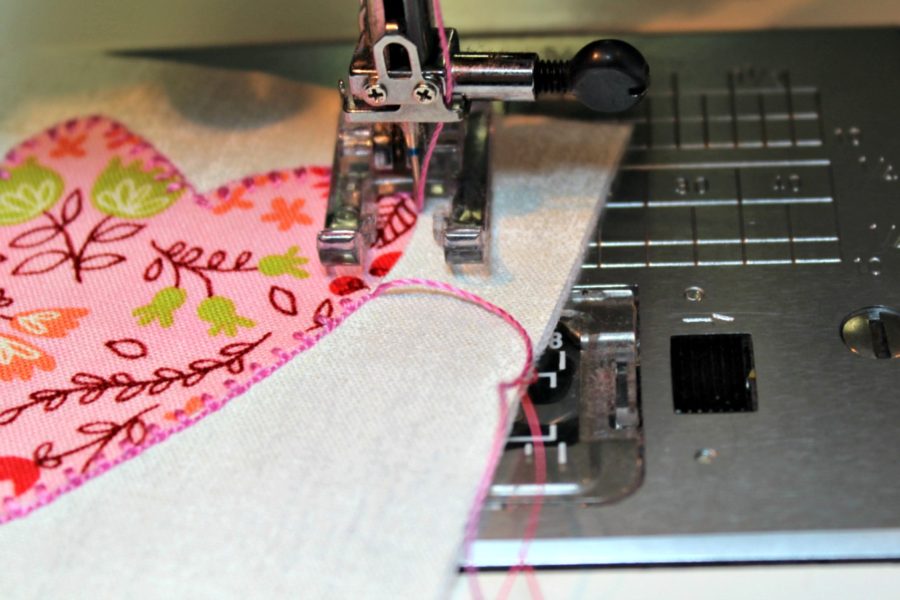
Stitch both 3 1/2″ x 21″ rectangle to the sides of the quilt center. Fuse four 3 1/2″ x 3 1/2″ Heat n Bond® Fusible Interfacing to the wrong side of four 3 1/2″ x 3 1/2″ cream squares. This will stabilize the fabric for the appliqued hearts. Now trace 4 hearts to the paper side of HeatnBond® Lite. Fuse the fabric adhesive to leftover fabric from the quilt center construction following package instructions and cut the hearts out. Peel the backing paper off the hearts and center to the right side of prepared cream squares. Bond the hearts to the 4 squares. Stitch around the hearts with a sewing machine blanket stitch using Aurifil 12 wt thread on top and 50 wt in the bobbin just like the embroidery before.
Sew heart blocks, “H” on each end of remaining border strips and stitch to top and bottom of the center quilt with 1/4″ seam. Press.
Outer border:
Next, stitch side borders by sewing six “K” blocks together on the 4″ sides of the squares following the diagram above for color placement. Stitch the two side borders on the quilt using 1/4″ seams.
Sew the top and bottom borders in the same way as the sides and then stitch a 4″ x 4″ (“K”) block on each end. Stitch the top and bottom borders on the quilt and press.
Finishing the quilt:
Sandwich the backing fabric, Therm O Web Stitch n Sew™ Fleece Sew-in High Loft/Batting, and quilt top and quilt in your desired pattern. TIP: Aurifil 12 wt thread is great for machine quilting too.
Finally, apply the binding to the edges of the quilt using your preferred method.
