Hi! I’m Lisa from Love to Color My World, and my family is thick in the middle of both soccer and baseball seasons. Raise your hand if you are too?
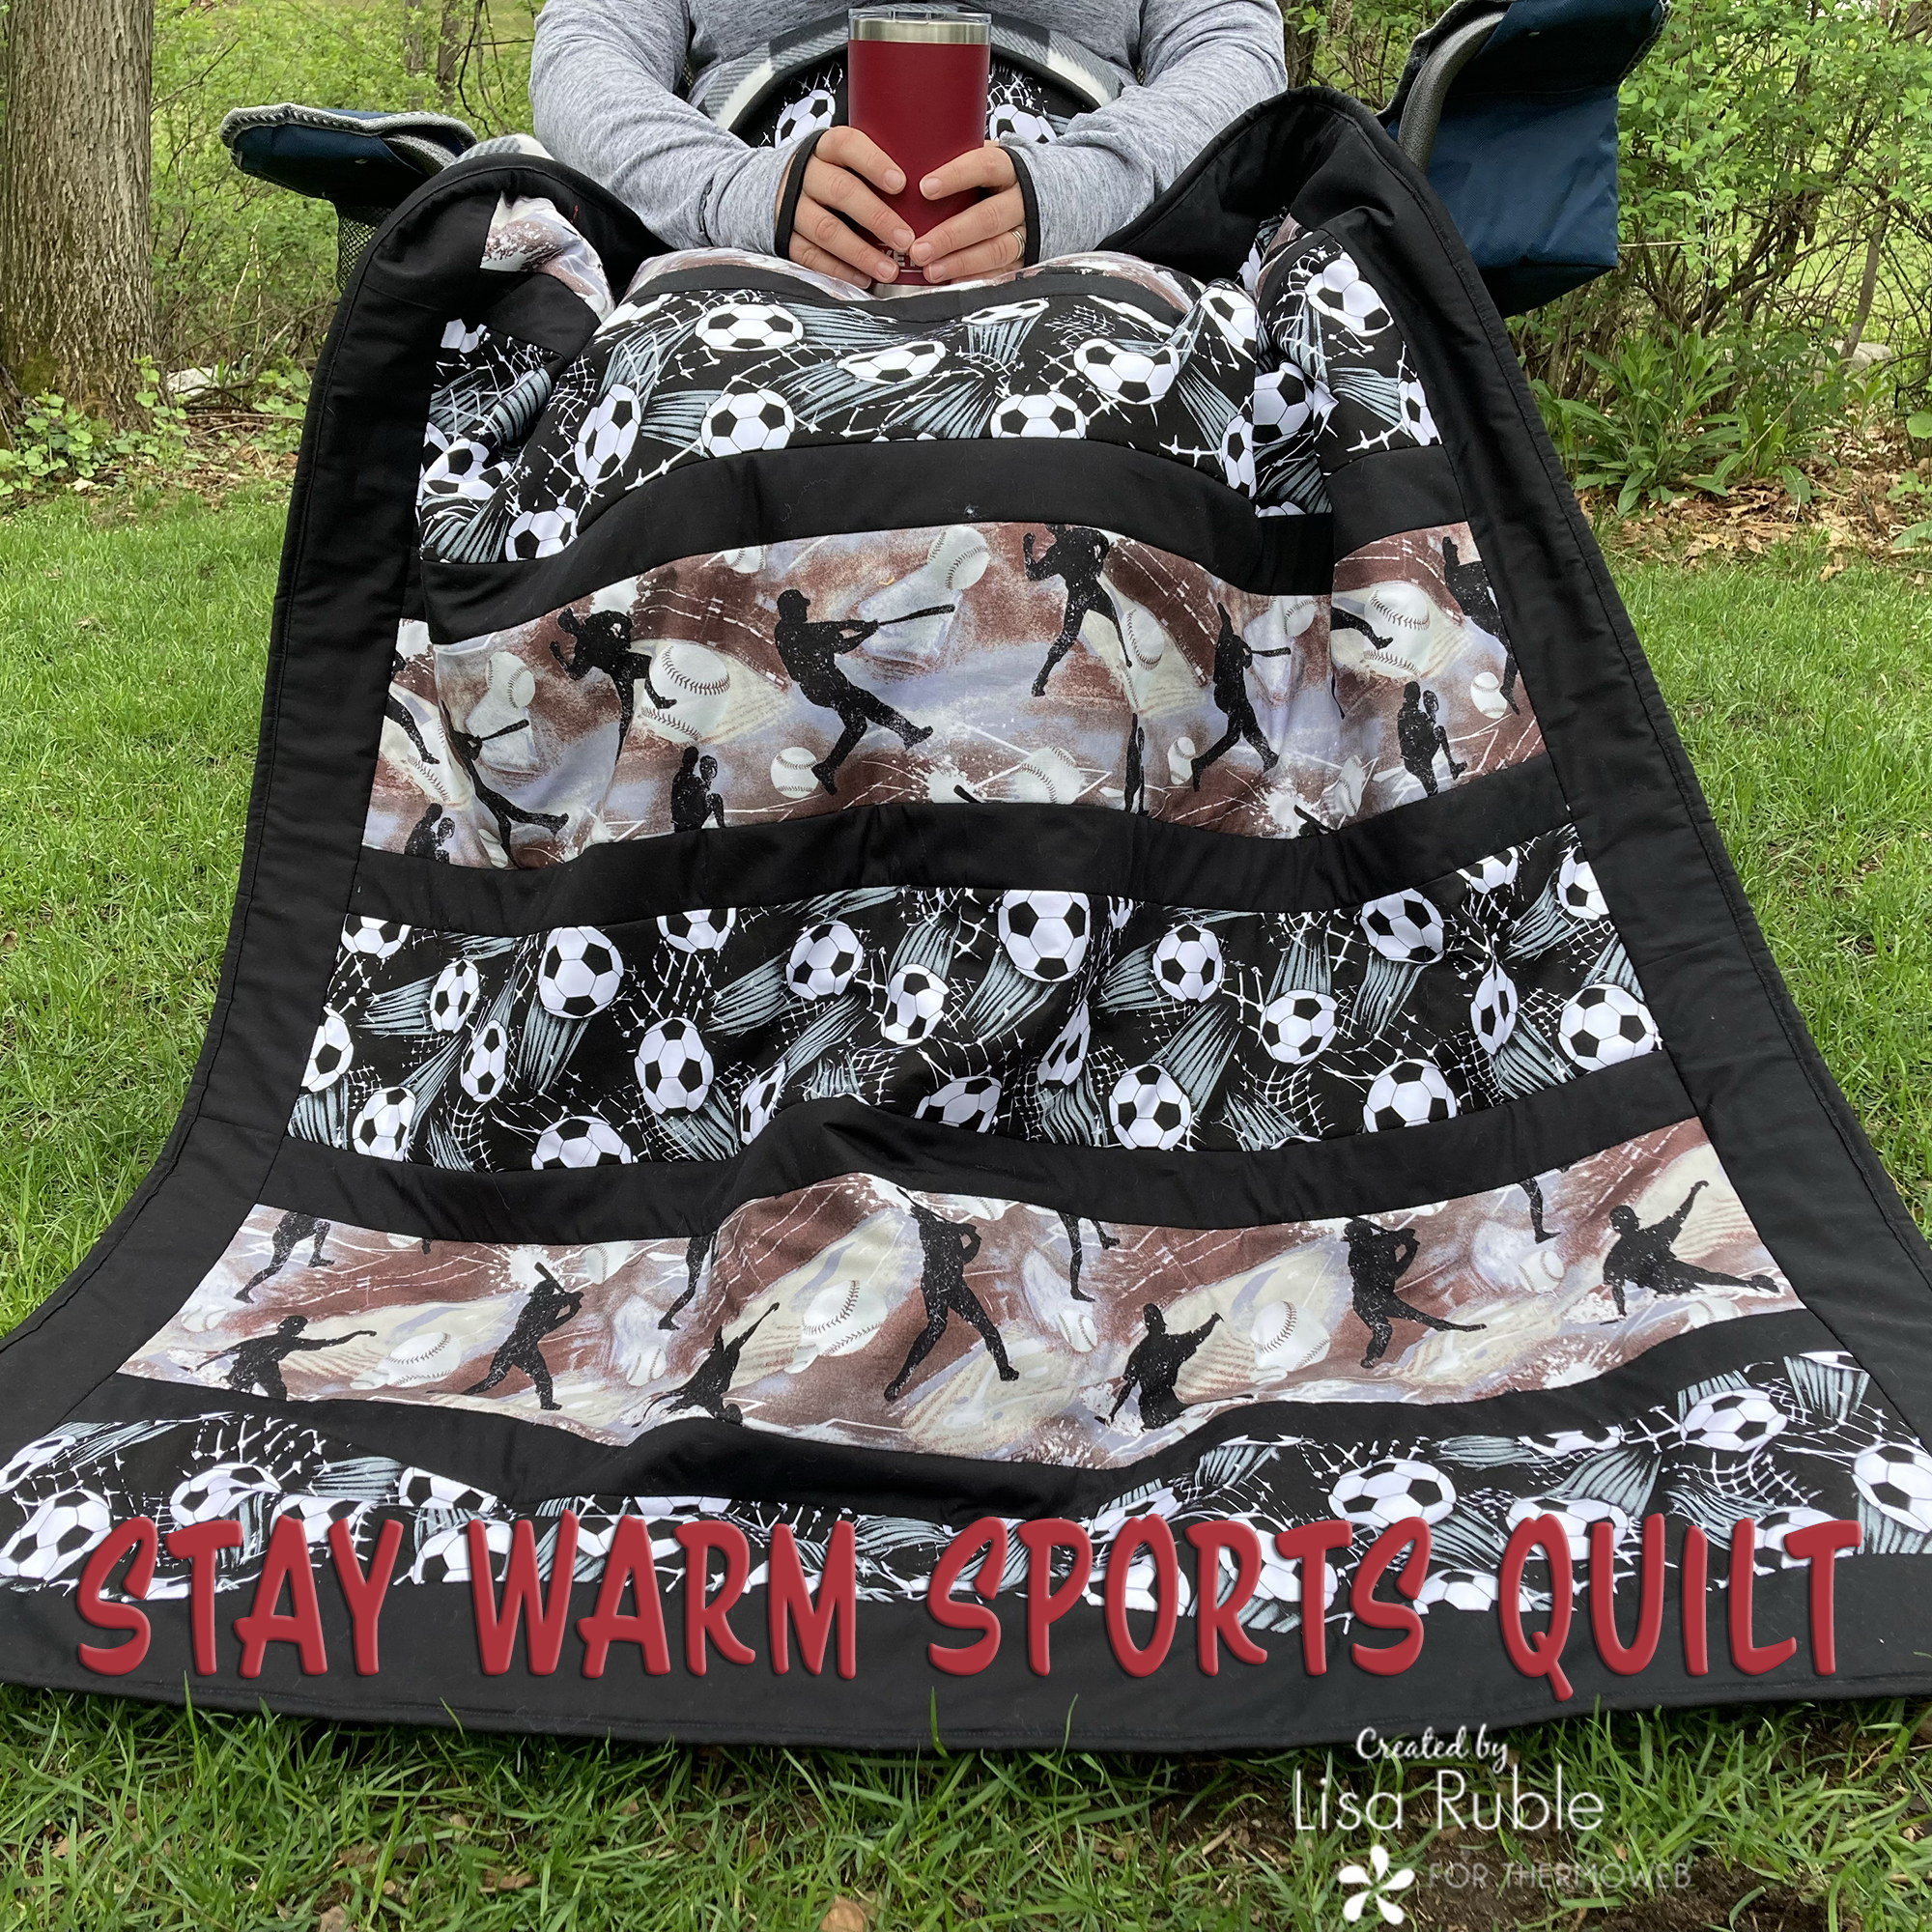
Plus its spring in Michigan, so more often than not, we’re bundled up in our long underwear on the sidelines, cheering and shivering at the same time! I decided to make a sports-themed quilt as part of Gifts for Him week. Although I might be borrowing this quilt come game time if it doesn’t warm up soon!
I assembled this using a quilt-as-you-go method, so it’s pretty quick to stitch while still looking good!
Quilt-as-you-go means that as you piece the quilt top, you stitch the pieces to the backing/batting, so when the top is assembled, the entire quilt is already quilted!
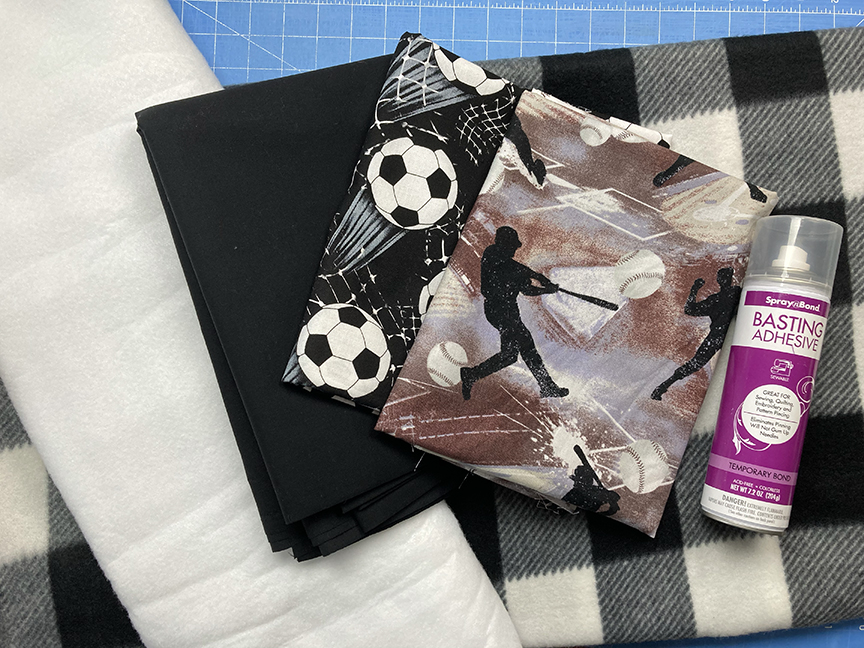
Since we’re a multi-sport family, I picked soccer and baseball fabrics, plus a black solid to break up the design. (Bonus – these darker fabrics won’t show dirt from the fields!) I couldn’t resist the black and white buffalo plaid for the backing! With an inner layer of Sew-In 60″ wide fleece, this quilt will be toasty warm!
Note: Use a generous 1/4” seam allowance while quilting as you go. Use a walking foot for ease of stitching through all the layers.
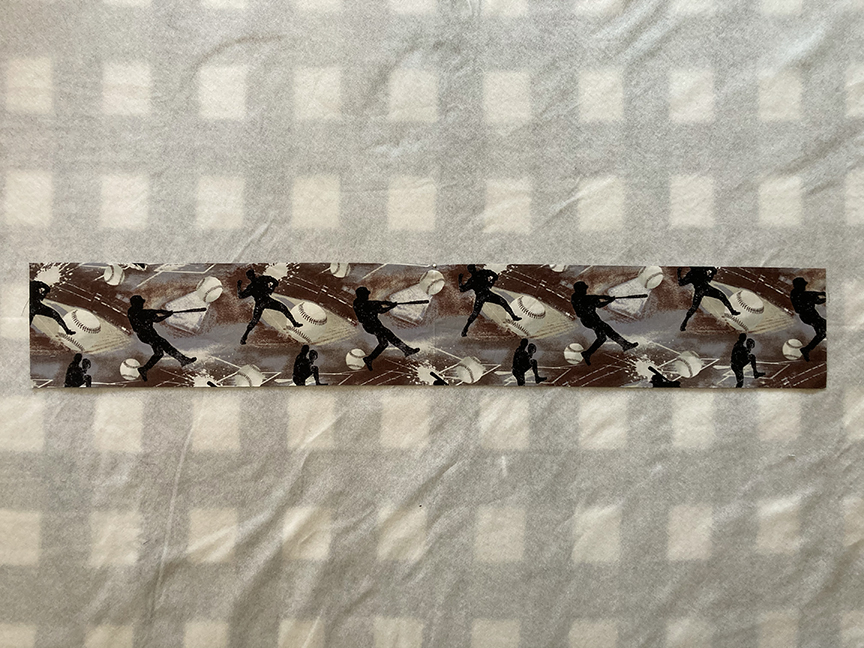
Step 1 Trim the baseball, soccer, and 2-1/2” black sashing strips to measure 42”. (If one of your fabrics is slightly shorter, trim all strips to that length.)
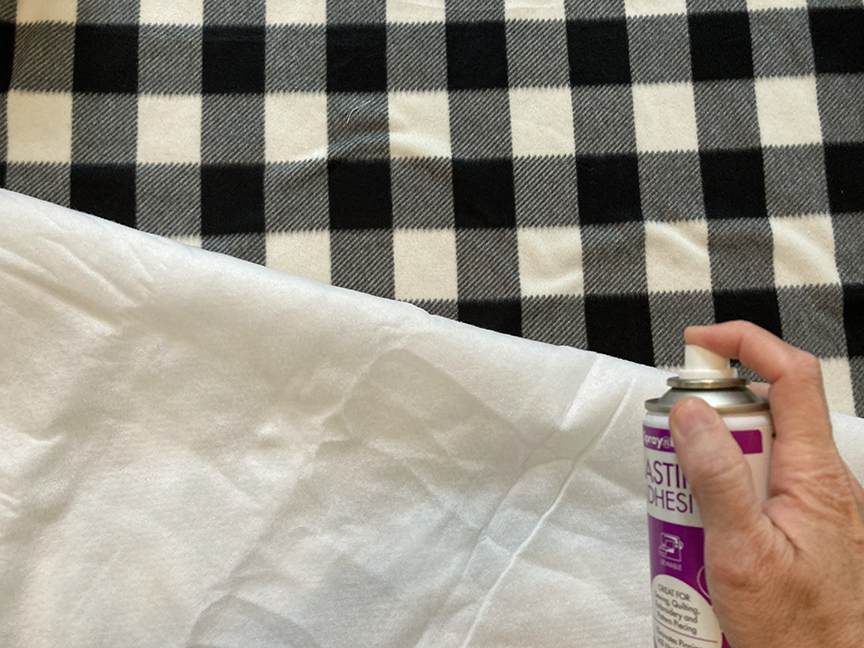
Step 2 Use the Basting Adhesive to secure the Sew-In Fleece to the backing.
Step 3 Find and mark the center backing/batting.
Tip: Consider drawing a vertical line on the batting marking the center. (Part of why I liked this plaid for my backing is that it created a grid for me to follow to make sure my strips stayed straight!)TooltipText
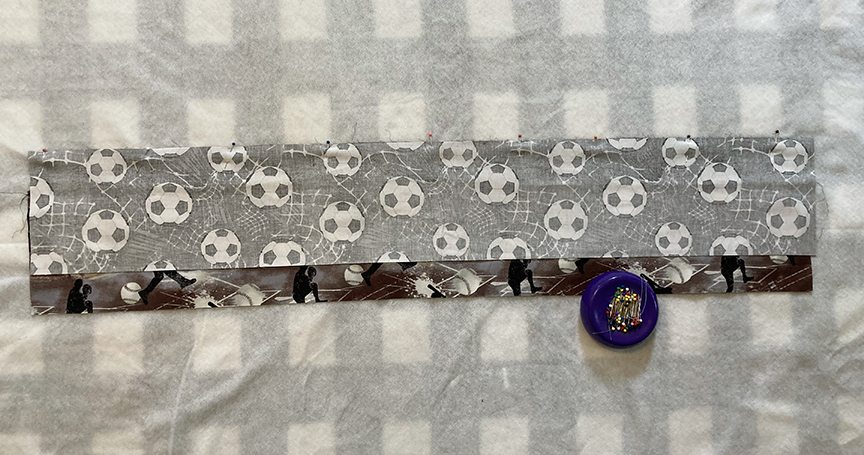
Step 4 Center (1) 6-1/2” x 42” baseball strip right side up on the backing/batting.
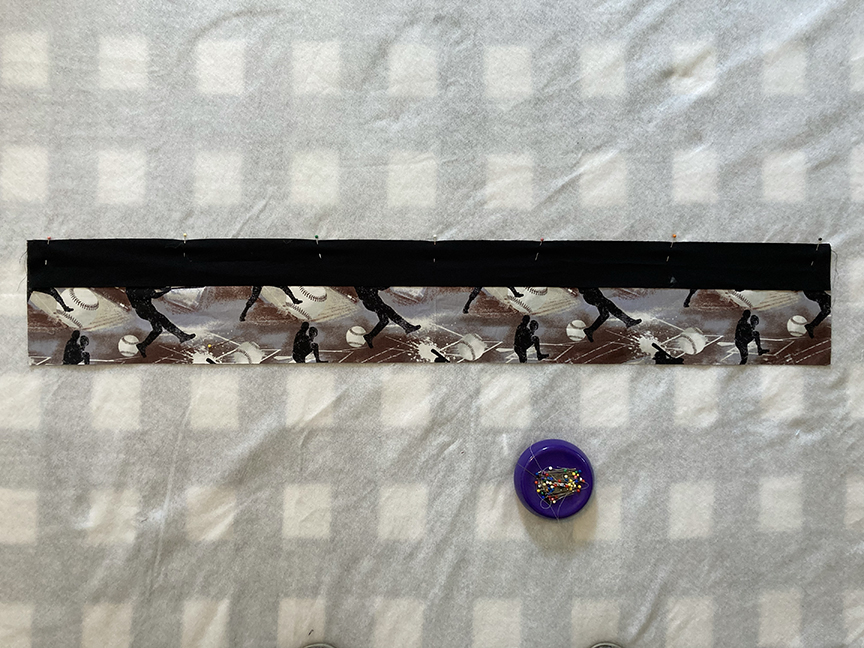
Step 5 Lay (1) 2-1/2” x 42” black strip on top, matching raw edges. Pin in place, through all the layers.
Step 6 Stitch the strips in place using a generous 1/4” seam allowance. You’ll be stitching through all layers so that the strips are attached to the batting/backing.
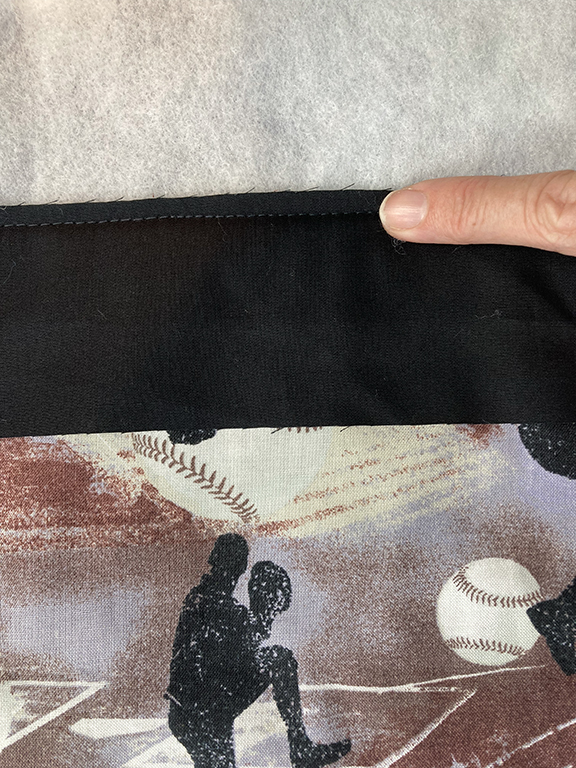
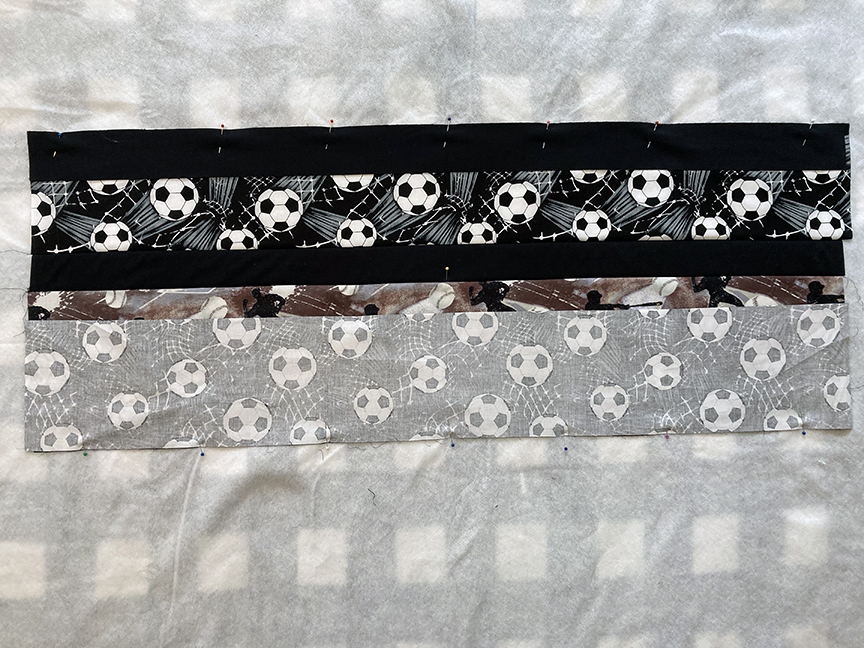
Step 7 Press the black strip open.
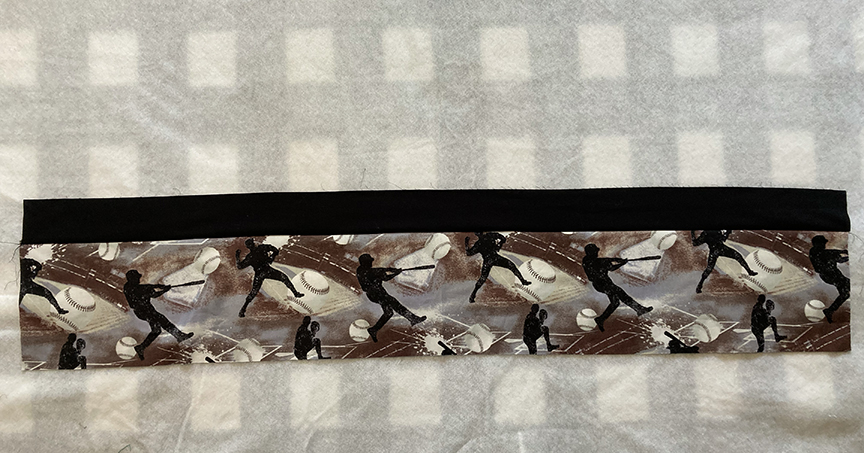
Step 8 Position and pin (1) 6-1/2” x 42” soccer strip on the black strip and pin in place. Stitch to secure. Press the soccer strip open.
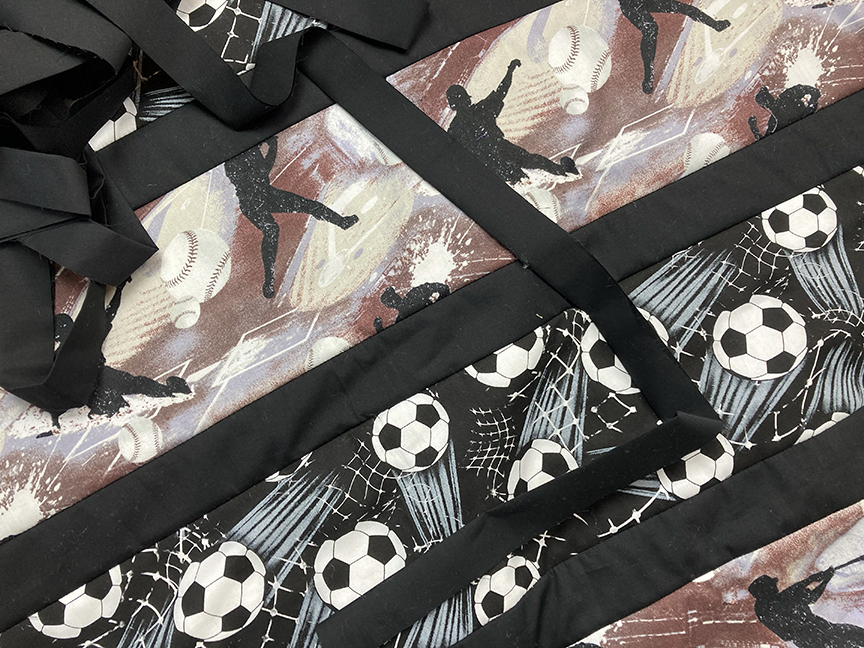
Step 9 Continue adding strips, alternating wider print strips with black sashing strips. I like to add (2) at a time – one to the top raw edge of my quilt and one to the bottom raw edge – because it’s more efficient to pin (2) strips at a time and then stitch.
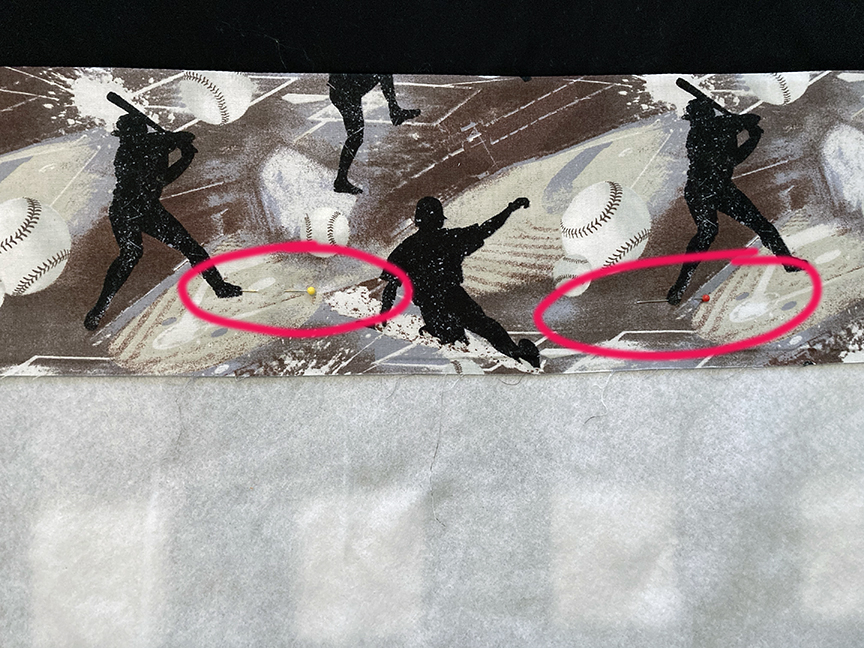
Tip: Especially with the wider strips, pin the strips to the backing so they don’t creep up before you pin the next strip in place. This will help your quilt lay flat.
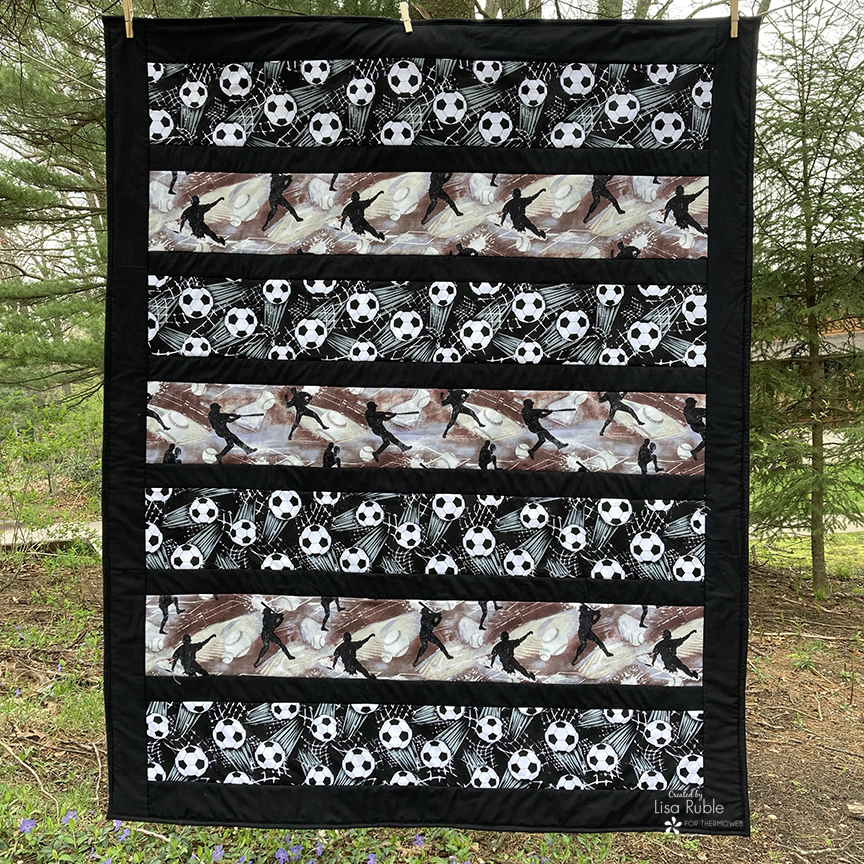
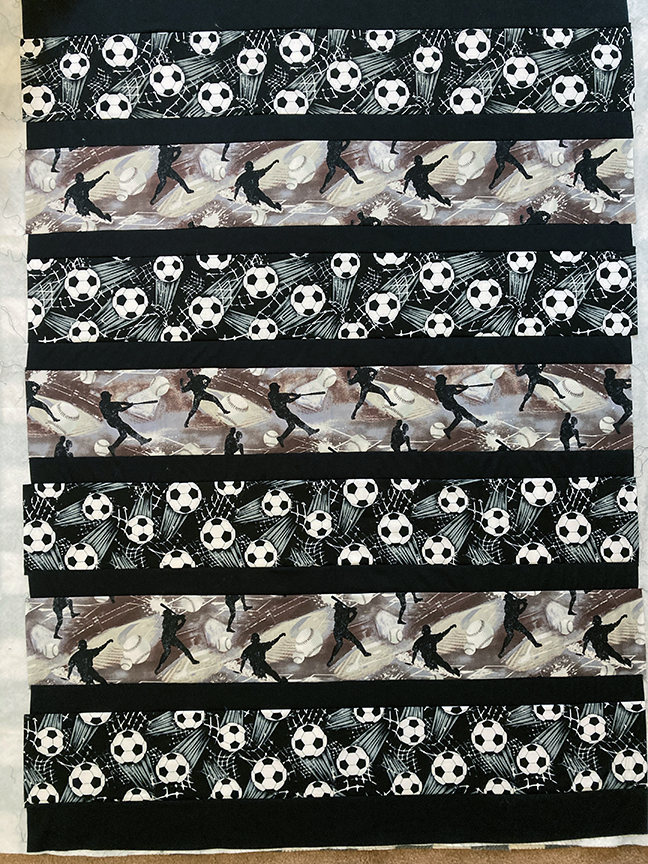
Step 10 Add 3-1/2” x 42” black strips to the top and bottom to complete the quilt center. When all of the horizontal strips are added your quilt should look like this:
Step 11 Sew the (3) 3-1/2” x WOF strips short ends together using a straight seam. Cut into (2) equal lengths for vertical borders.
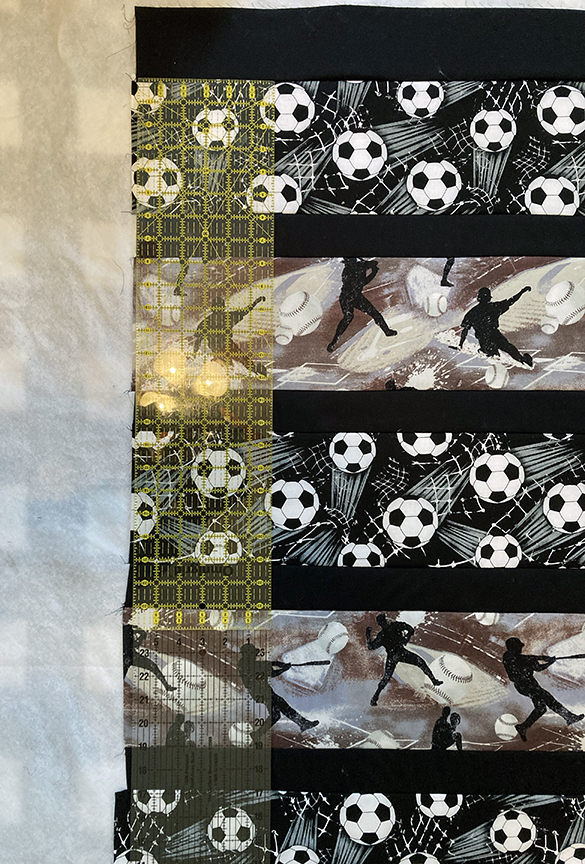
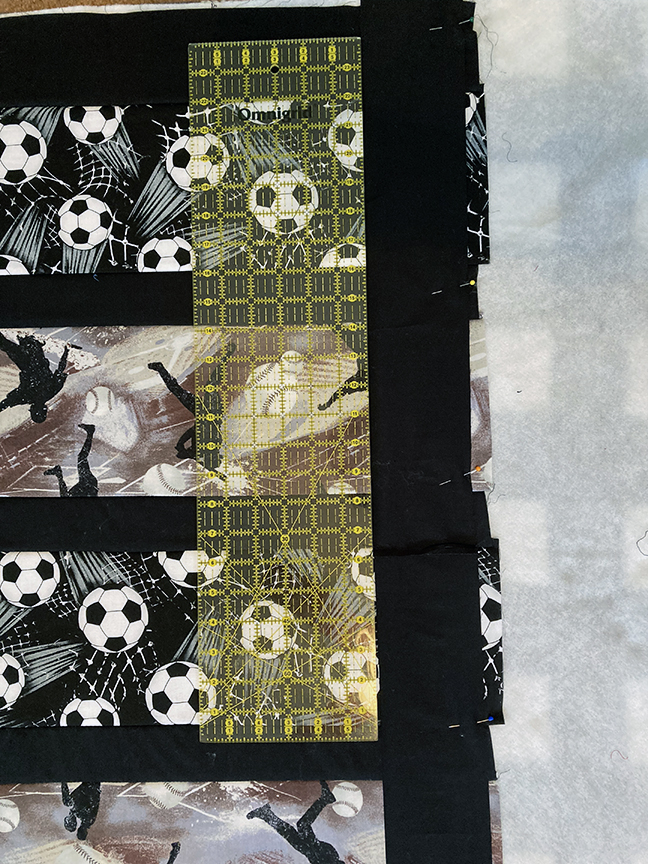
Step 12 If all of your horizontal strips are perfectly aligned, great job! Simply add vertical borders to both sides. If the edges of your strips vary, like mine did, use a long ruler to mark the edge of the quilt center. Align the ruler with the shortest strip on the left side. Position your vertical border strip on this line, pin it in place and stitch.
Tip: Before stitching the vertical border, align the edges of the ruler with the vertical border to double-check its straightness compared to the horizontal seams. Adjust as needed to create the squareest quilt possible.
Step 13 Add the second vertical border in the same way.
Step 14 Use the (6) 2-1/2” x WOF black strips to bind the quilt.
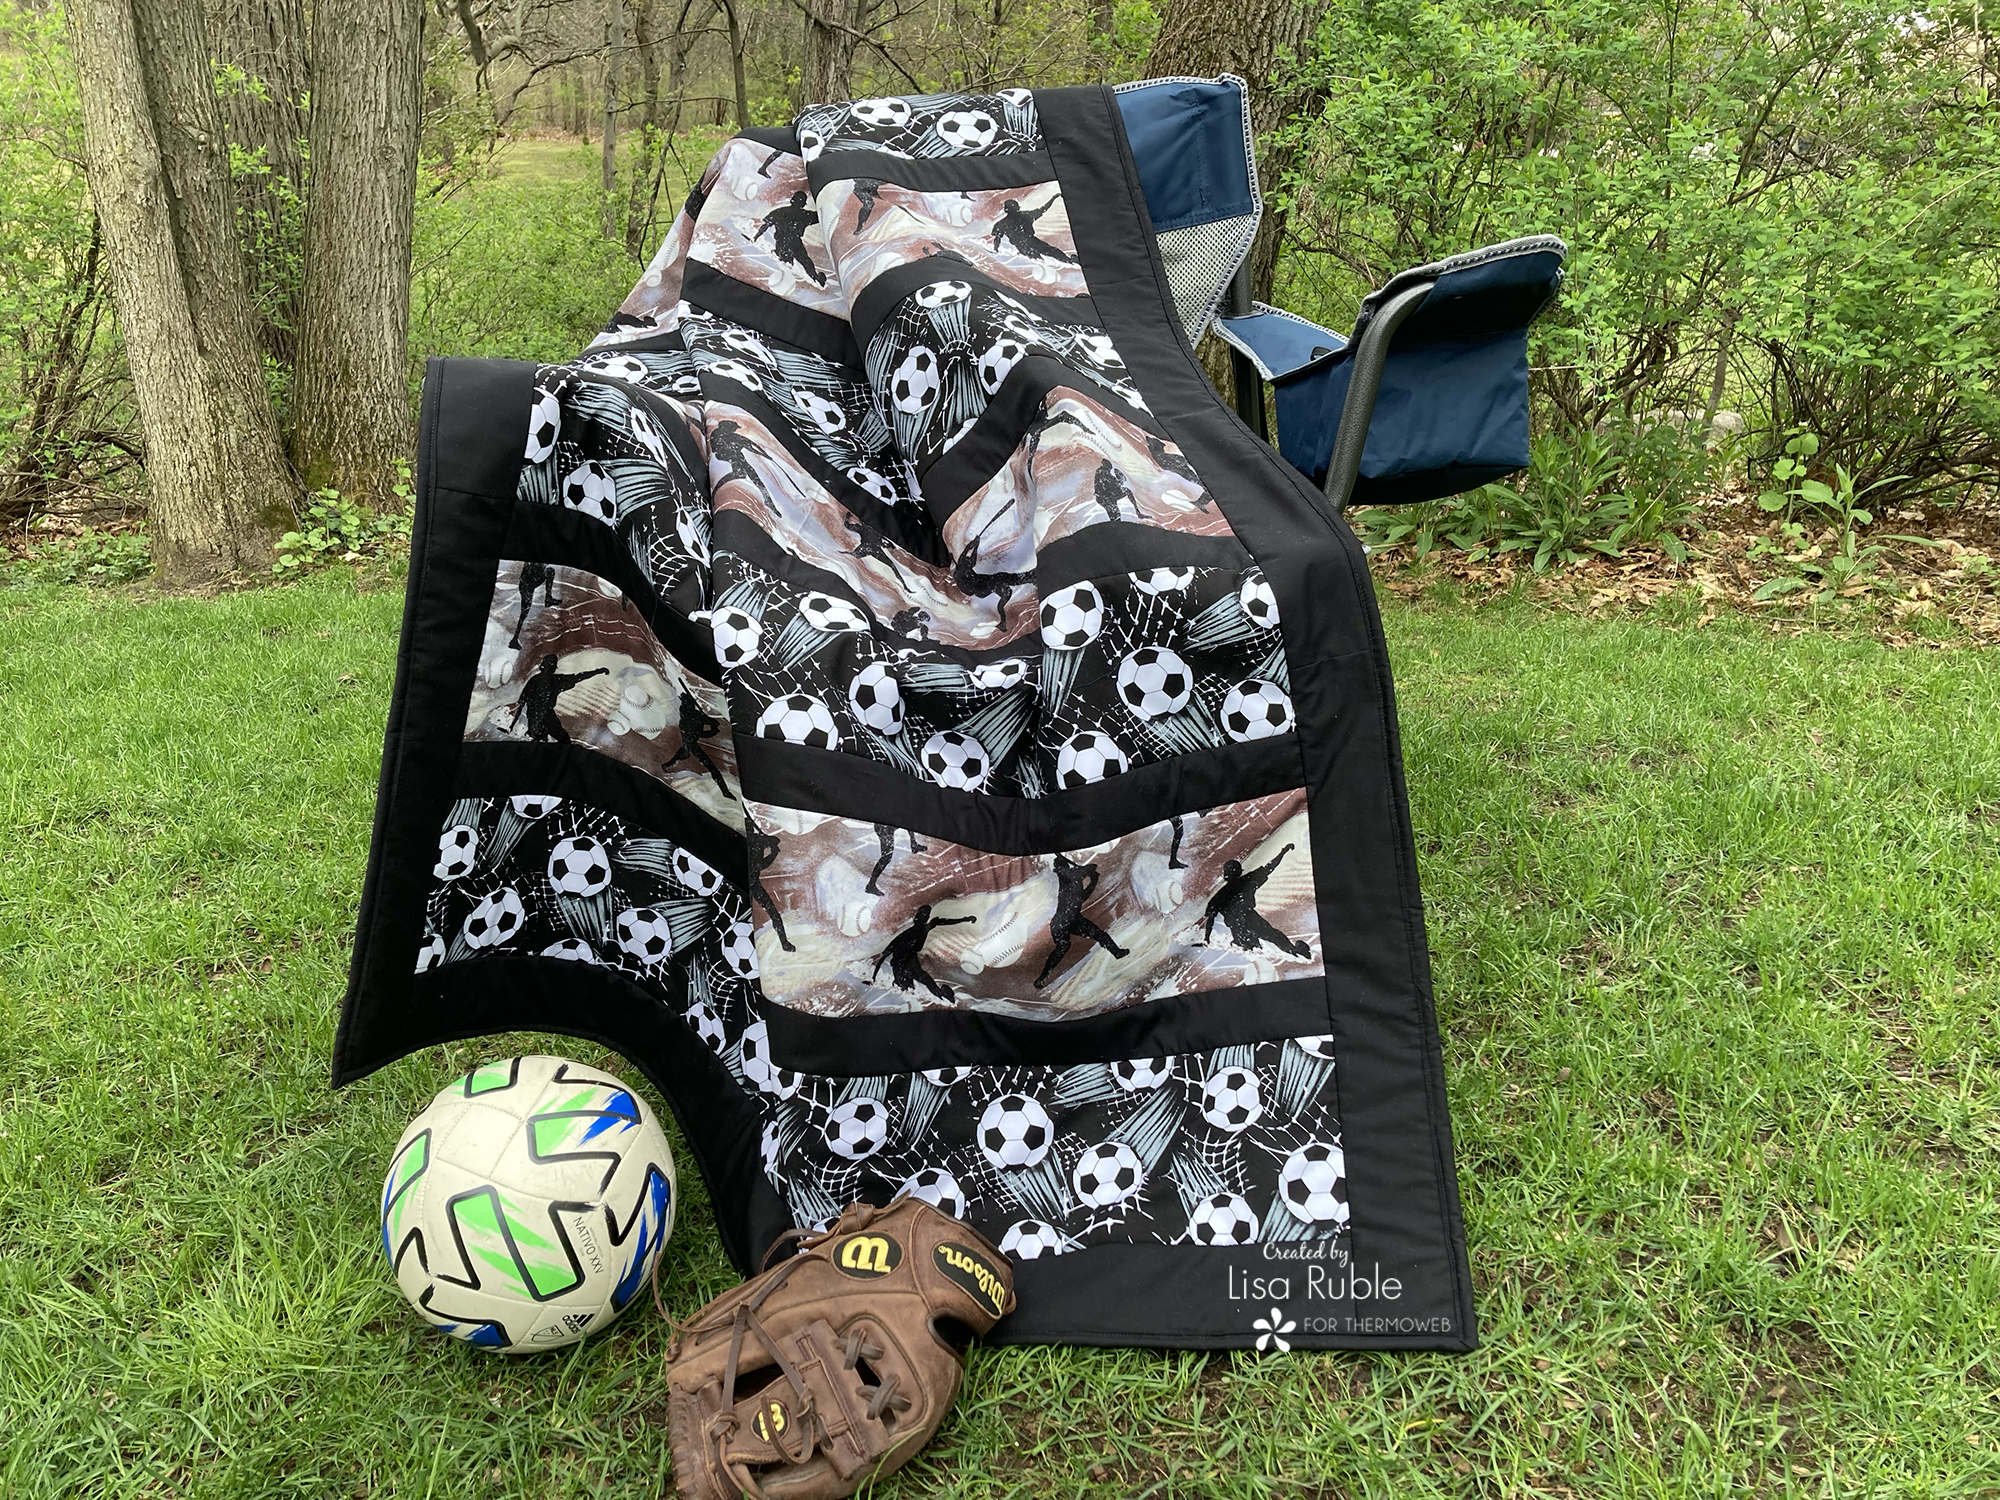
Enjoy staying toasty warm under your sports quilt!
Please pop over to my blog to see more of my tutorials and quilts. I’d love to see you there!
by Lisa Ruble | Comments Off on Stay Warm Sports Blanket with Sew-In Fleece