


Starflower Scissor Station featuring SpraynBond
Greetings! It’s Belinda Karls-Nace from Blue Ribbon Designs, here today with a brand new project tutorial featuring some of my favorite SpraynBond products. Today, I am excited to share my “Starflower Scissor Station” with you.
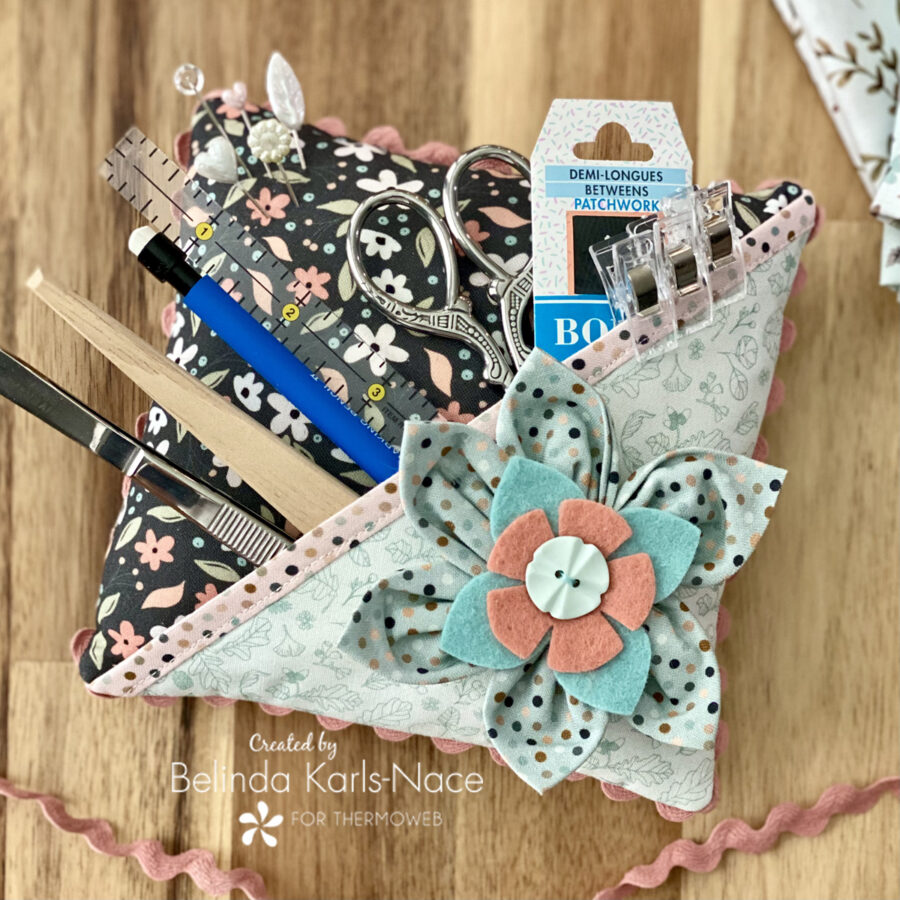
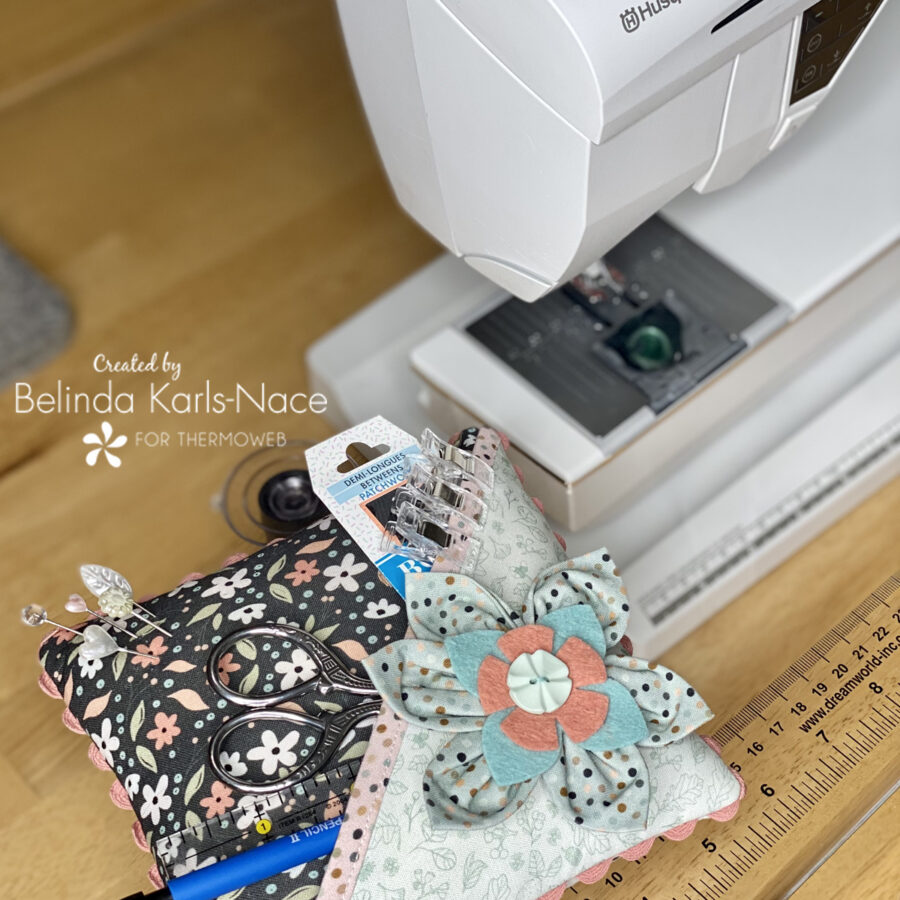
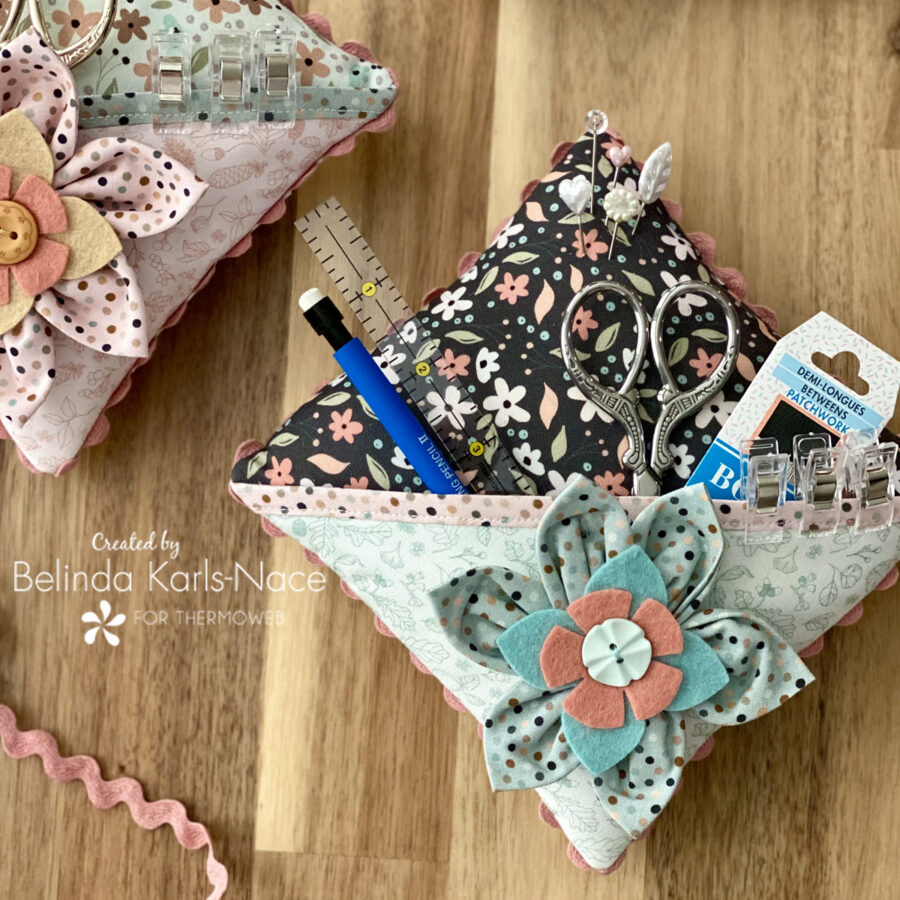
Spring is in full swing, and this project will bring a colorful fabric bloom into your creative space. My Starflower Scissor Station is so much more than a simple pincushion. It has a pocket to hold your stitching tools and keep them close at hand; plus, it is pretty and practical. As always, I encourage you to use the supplies you have on hand to make this project fit your personality and décor.
Let’s get started! Simply gather the materials/supplies listed below, then download the PDF templates and layout diagram.
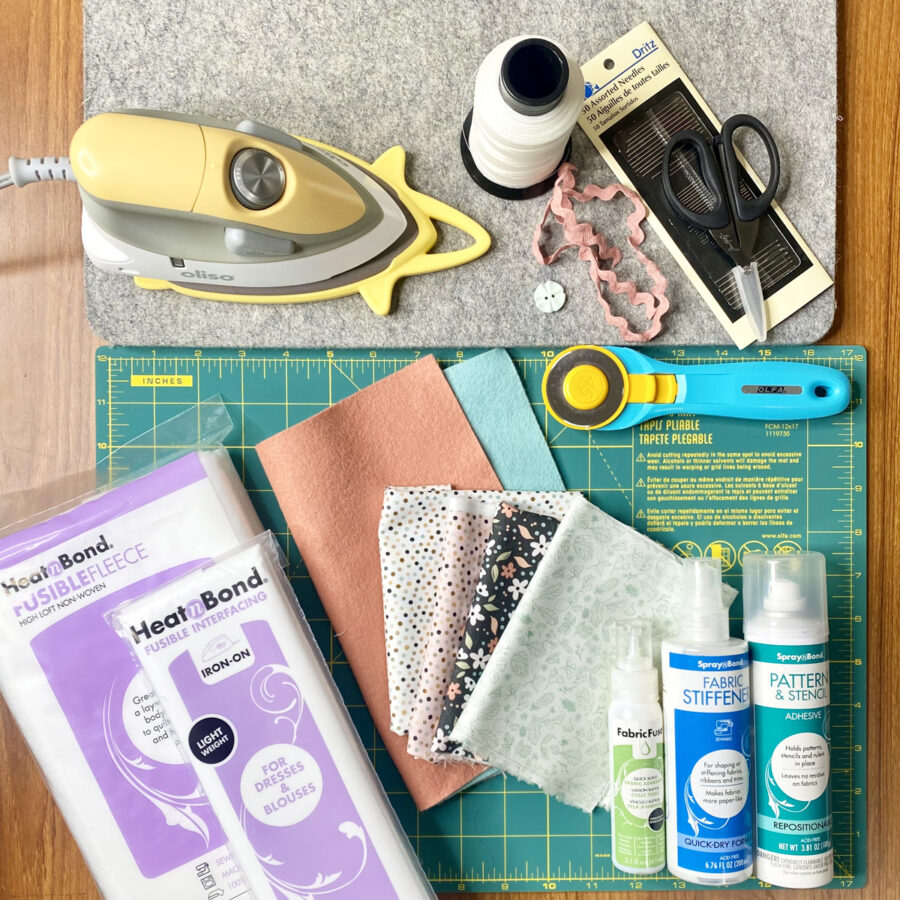
What you need:
- SpraynBond Pattern & Stencil Spray
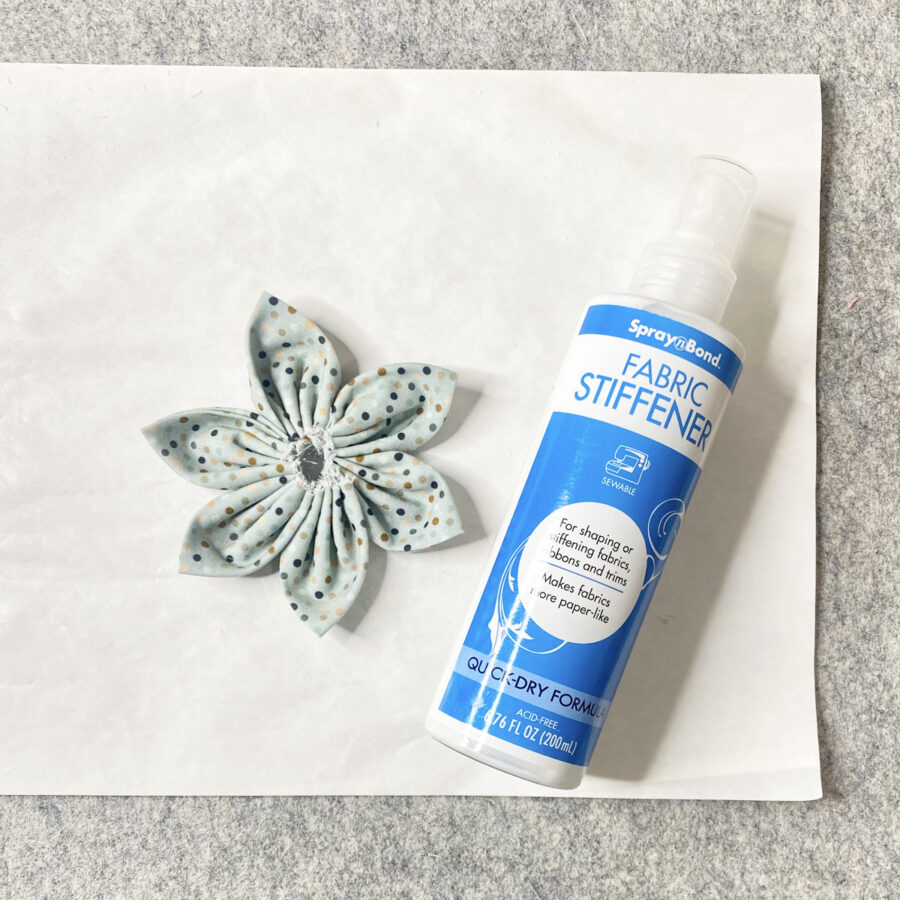
- SpraynBond Fabric Stiffener Spray
- Heatnbond Fabric Fuse Liquid Adhesive
- HeatnBond Fusible Fleece
2 – 6” x 6” - HeatnBond Light Weight Non-Woven Fusible Interfacing
1 – 6” x 6” - Pressing Paper Fabric and Craft Sheets
1 Sheet - Cotton Fabrics: model uses House and Home by Michal Marko for Poppie Cotton – I encourage you to use fabric and scraps you have on hand
- Front fabric – 6 ½” x 6 ½” (Cicely Black)
- Front pocket – 6 ½” x 6 ½” (Forest Green)
- Pocket binding – 10” x 1 ¼” (Dotty Blush)
- Backing fabric – 6 ½” x 6 ½” (Dotty White)
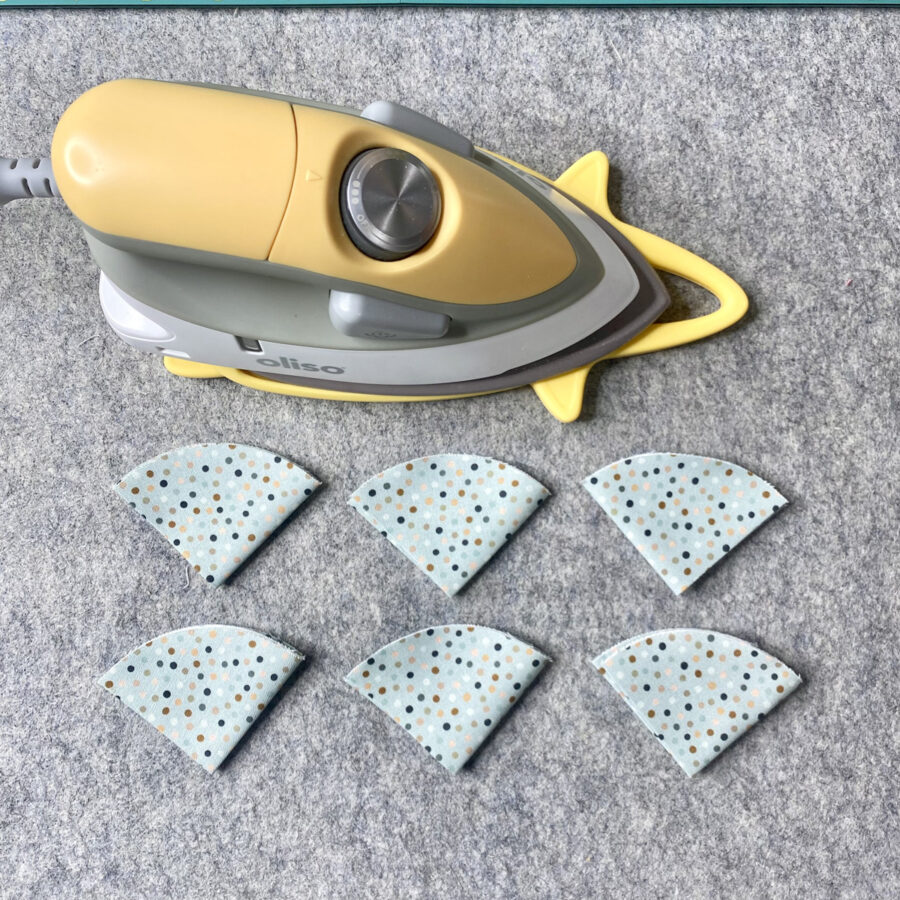
- Flower Petals – (6) 4” Circles (Dotty Green)
- Wool Blend Felt: model uses Benzie Design
- Bottom flower center (four petals) – 2 ½” x 2 ½” Swan (Blue)
- Top flower center (five petals) – 2” x 2” Grapefruit (Peach)
- Coordinating Button
1 – ¾” round - Optional: Rick Rack
28” – ½” Hand-Dyed Rick Rack in color Barn Door from Lady Dot Creates - Pincushion Stuffing of your choice (model used a combination of fiberfill and sawdust shavings
- Oliso Iron
- Olfa Cutting Tools (cutting mat, rotary cutter)
- Sewing Machine
- Basic Sewing Supplies/Tools (small sharp scissors, clips or pins, rulers, strong sewing thread, hand sewing needle, pencil, etc.)
How to Make a Starflower Scissor Station
(6” W x 6” H)
1. Download and Print the Starflower Scissor Station PDF.
Starflower Scissor Station – A Project for the Therm O Web Blog
Print actual size – do NOT “fit to page” or “shrink to fit.” Print both pages on regular printer paper.
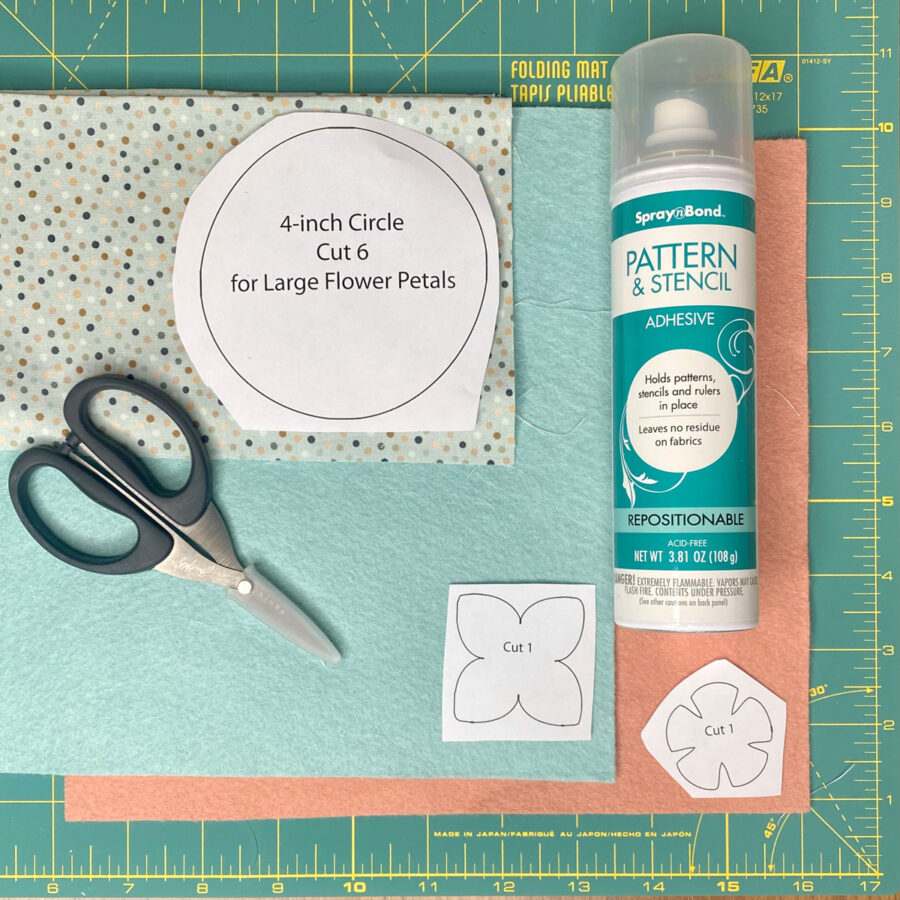
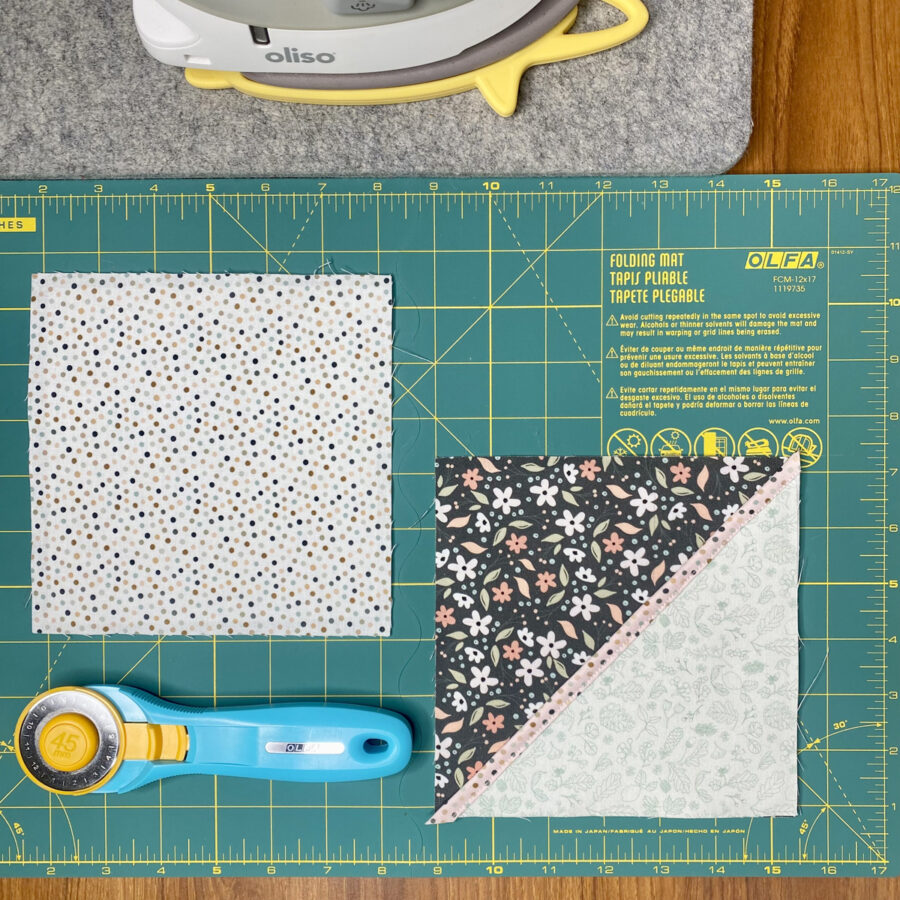
2. Cut the materials listed in the supply list.
• To cut the flower centers and 4” circles, loosely cut apart the templates printed on regular printer paper and apply to the selected wools/fabric with SpraynBond Pattern & Stencil Spray following the manufacturer’s instructions. Cut out all shapes on the solid lines. The fabric for the 4” circles can be layered to cut more than one at a time and the template can be used more than once. Pattern & Stencil Adhesive is repositionable, re-usable and does not leave residue on fabrics.
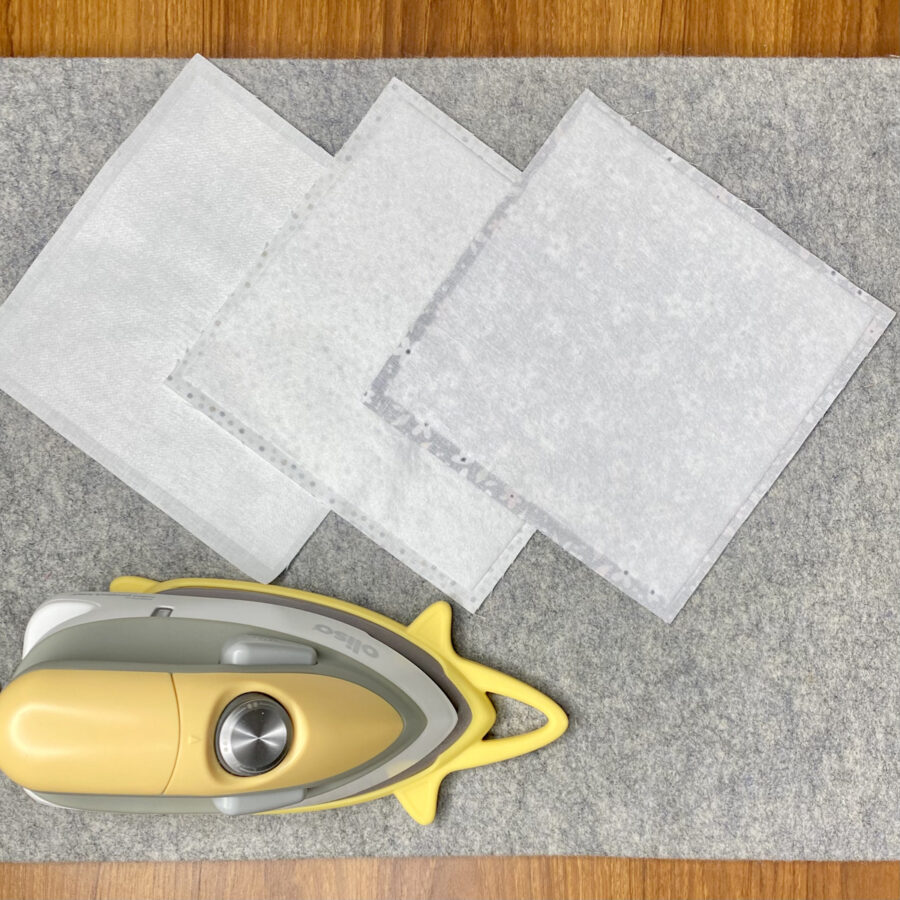
3. Prepare fabrics.
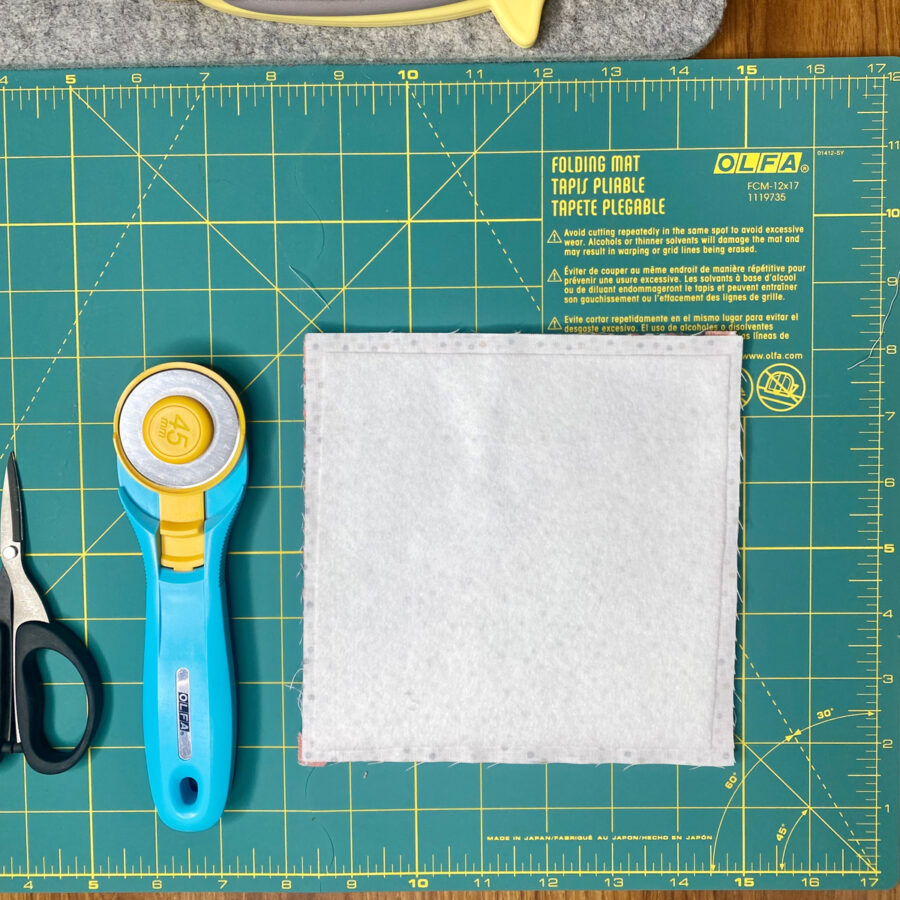
• Center and fuse the 6” x 6” piece of HeatnBond Light Weight Non-Woven Fusible Interfacing to the wrong side of the 6 ½” x 6 ½” pocket fabric, following the package instructions. Set it aside.
• Center and fuse a 6” x 6” piece of HeatnBond Fusible Fleece to the wrong side of the 6 ½” x 6 ½” front fabric, following the package instructions. Set it aside.
• Center and fuse a 6” x 6” piece of HeatnBond Fusible Fleece to the wrong side of the 6 ½” x 6 ½” backing fabric, following the package instructions. Set it aside.
4. Create the pocket.
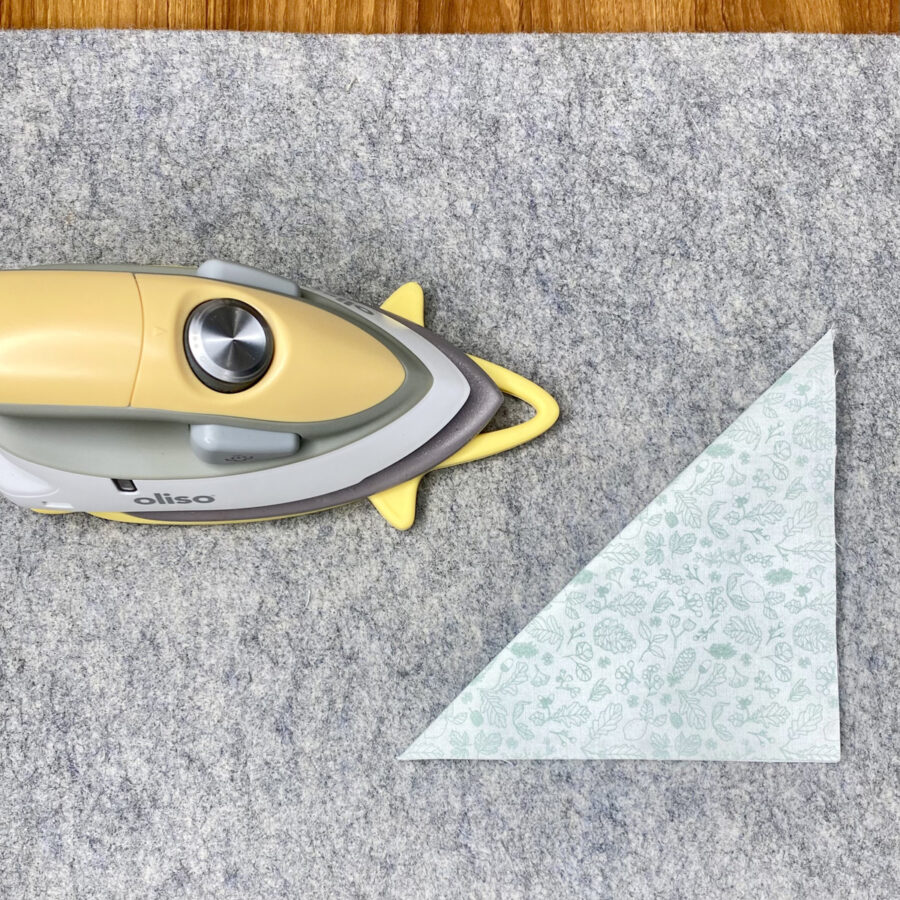
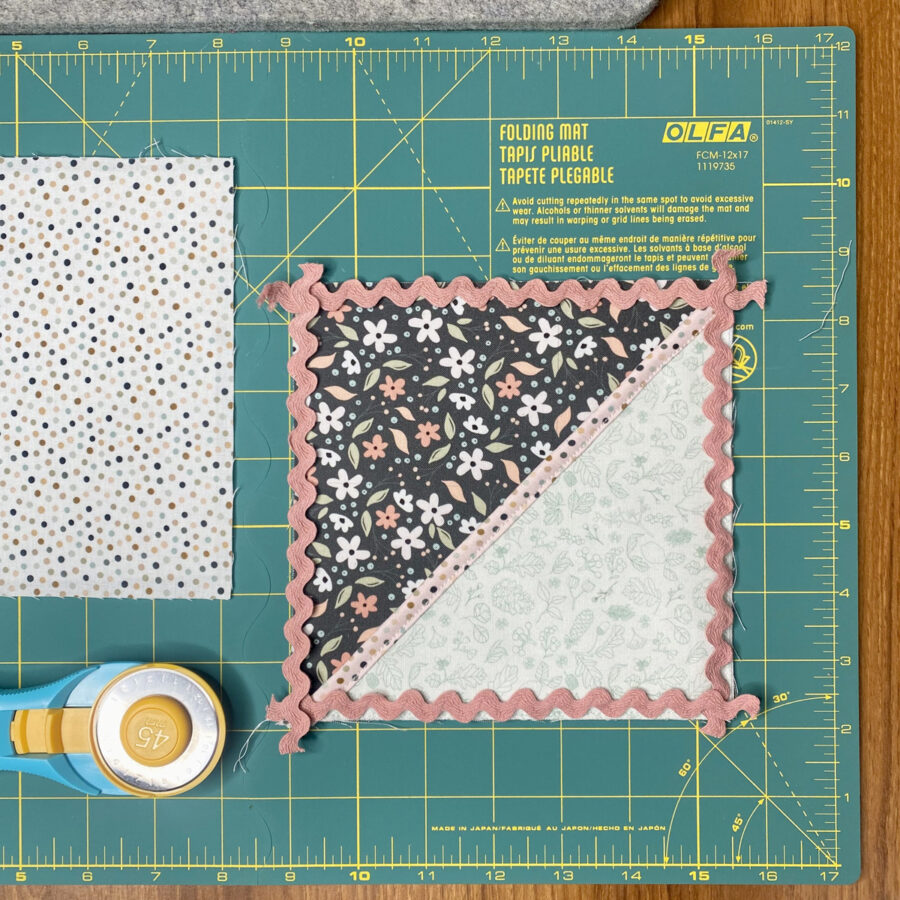
• Fold and press the 6 ½” x 6 ½” pocket fabric in half on the diagonal with wrong sides together.
• Press the 10” x 1 ¼” pocket binding strip in half lengthwise wrong sides together to give you a visible center fold. Open. Press both lengthwise raw edges to the center fold (wrong sides together). Next, fold in half lengthwise again and press. You will now have a piece of pocket binding approximately ⅜” wide with raw edges buried inside.
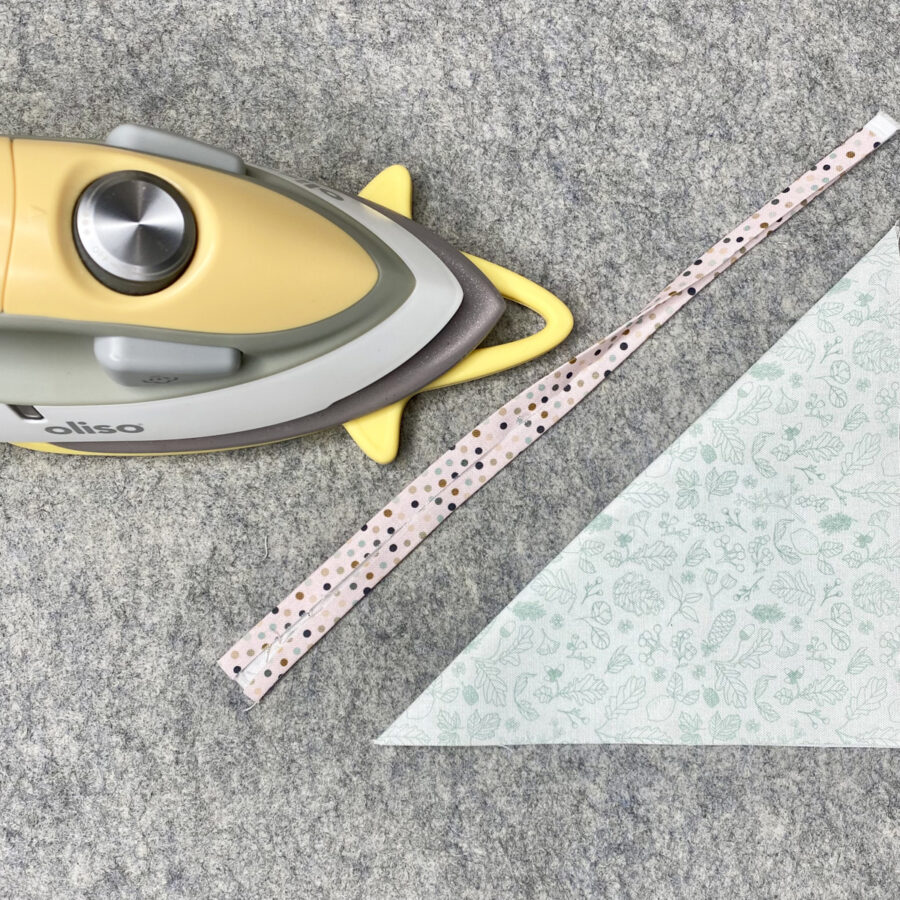
• Insert the diagonal side of the pocket inside the pocket binding, right against the fold. You will have binding on the top and the bottom of the pocket. Pin or clip in place.
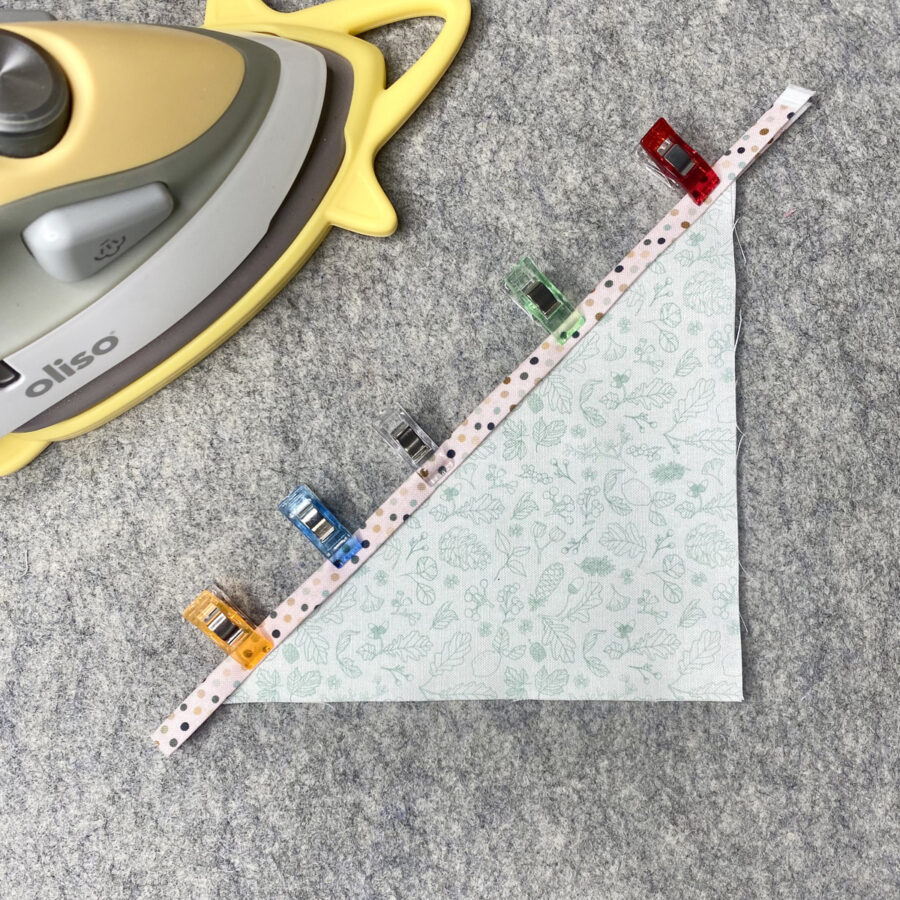
• Top stitch the binding in place. I used a ¼” seam allowance from the edge of the binding.
• Trim off excess binding.
5. Create the pincushion portion of the scissor station.
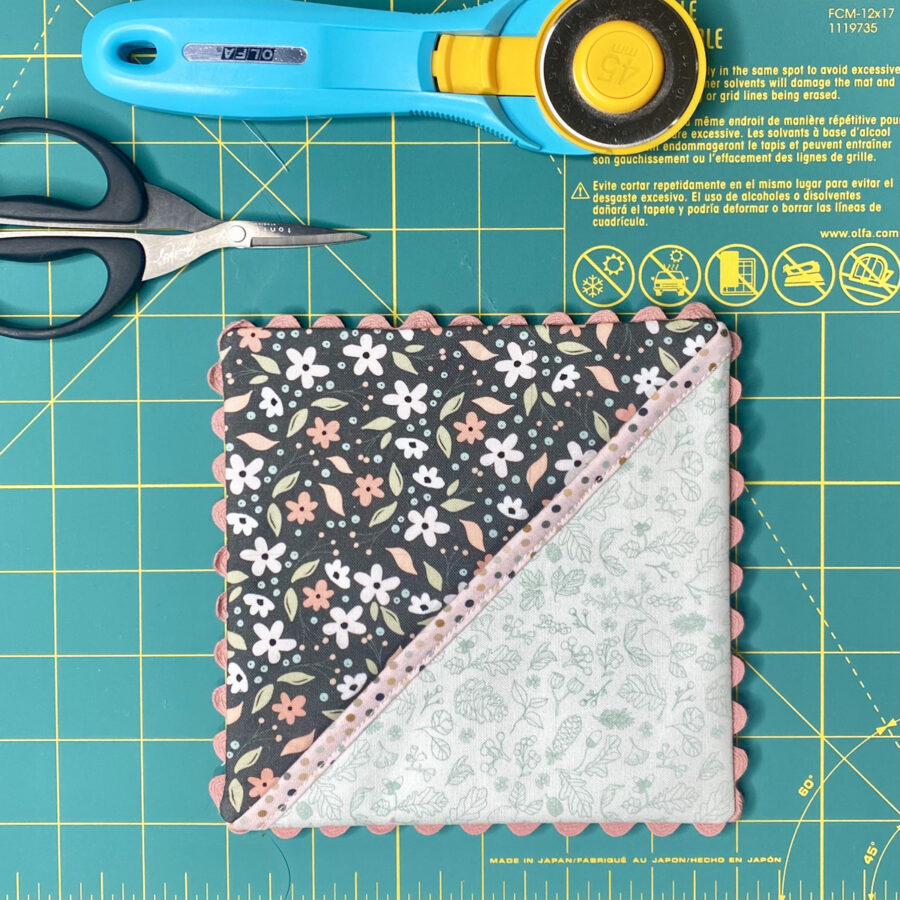
• Place the pocket on top of the front fabric and baste in place along both sides. Use an ⅛” seam allowance.
• Optional: Baste ½” rick rack on all four sides, lining up the outside edge of the rick rack with the outside edge of the front fabric with pocket.
• Place the backing fabric and the front fabric with pocket right sides together and sew around all four sides, leaving a 2 ½” opening for turning. To make this easy, leave the opening on one of the sides without the pocket.
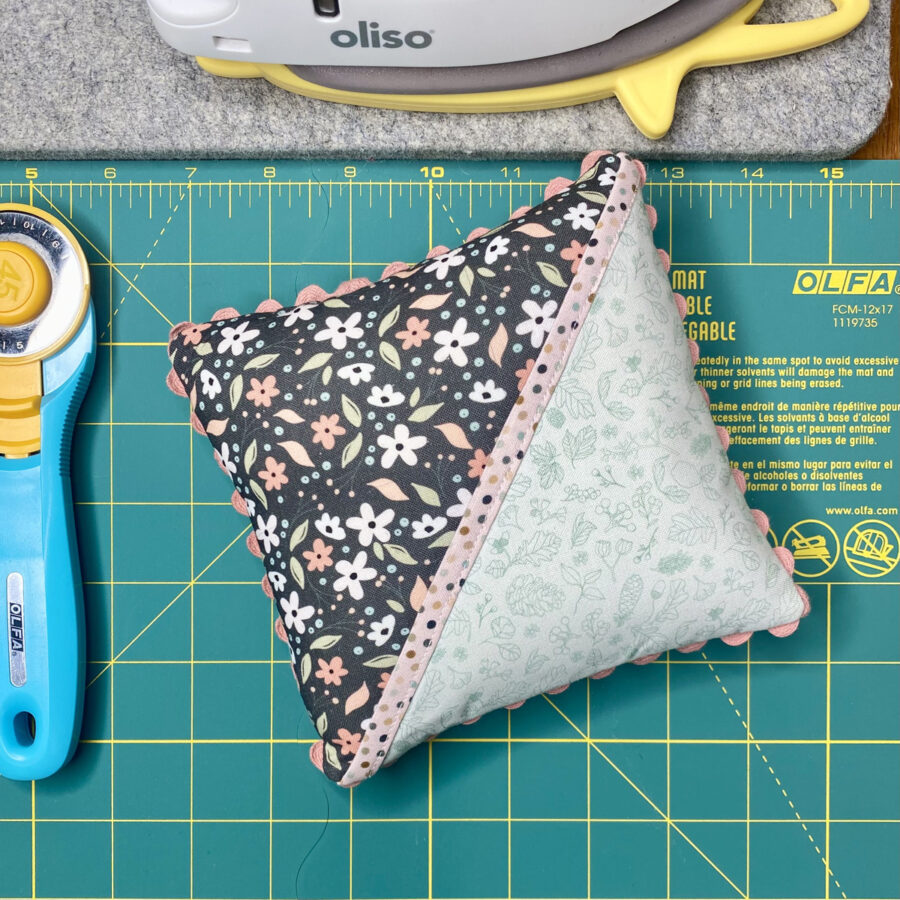
• Clip corners to reduce bulk and turn right side out. Press well.
• Stuff.
• Sew the opening closed and set aside.
6. Create a fabric flower.
• Fold each 4” circle in half and press.
• Fold each half circle in half again and press (making a quarter circle)

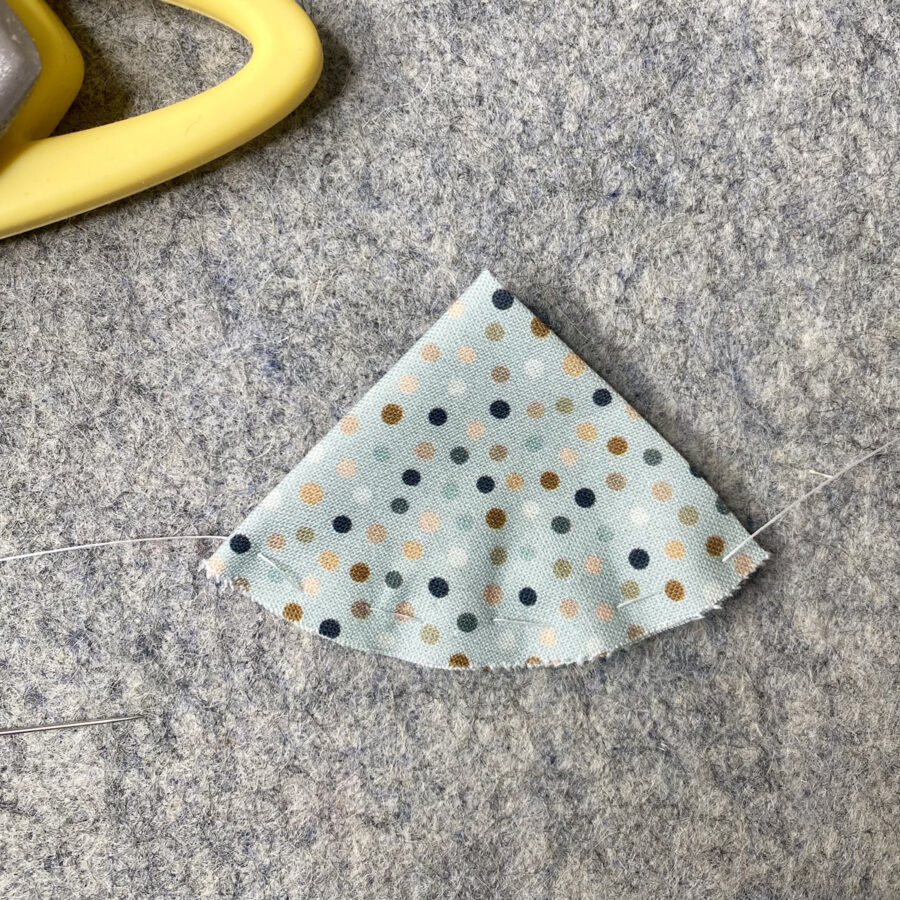
• Thread a hand-sewing needle with strong sewing thread and knot the end, leaving a tail.
• Use a running stitch to make five or six stitches in the round (raw edges) side.
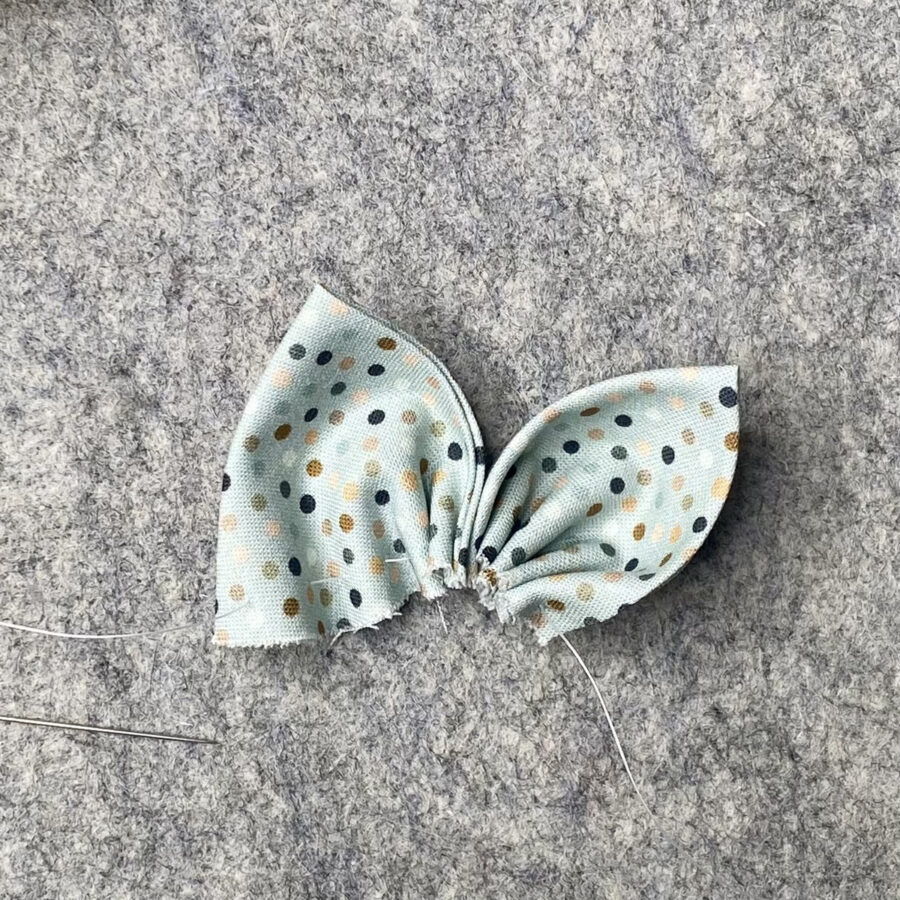
• To create the first petal, slide the fabric towards the knot with tail, gathering the base.

• Continue adding the other five petals in the same fashion.
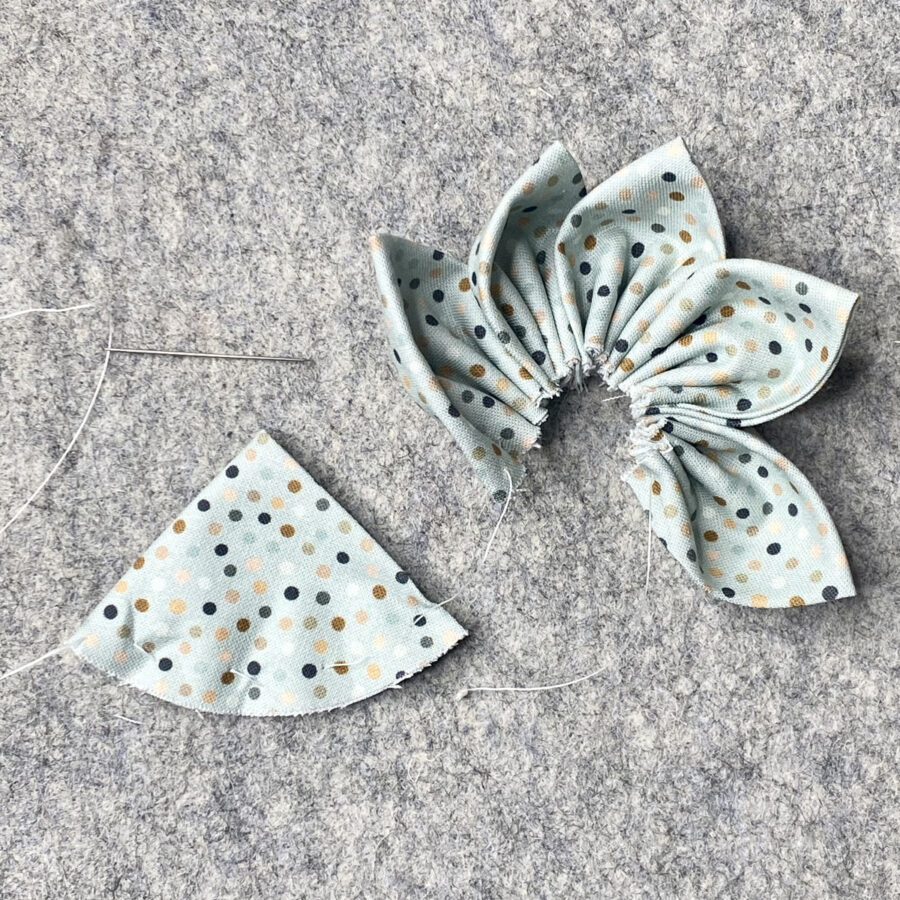
• Gather tightly together to form the flower. Tie a knot and trim off excess thread.
• Use your fingers and an iron to press the flower into an eye-pleasing shape.
• Place the flower on a Pressing Paper Fabric and Craft Sheet and spray both sides with SpraynBond Fabric Stiffener Spray. Follow the manufacturer’s instructions. Do not soak. Set it aside to dry.
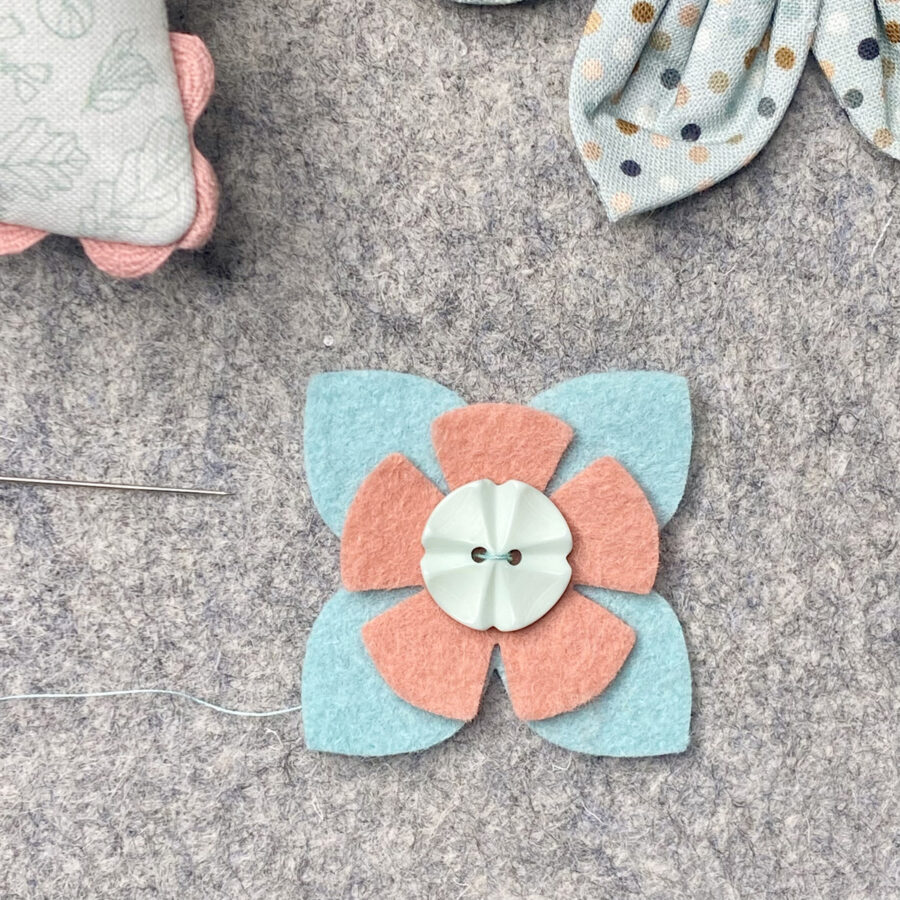
• While the fabric flower is drying, layer the bottom wool flower center, the top wool flower center, and the button. Hand sew the layers together through the button holes with coordinating sewing thread.
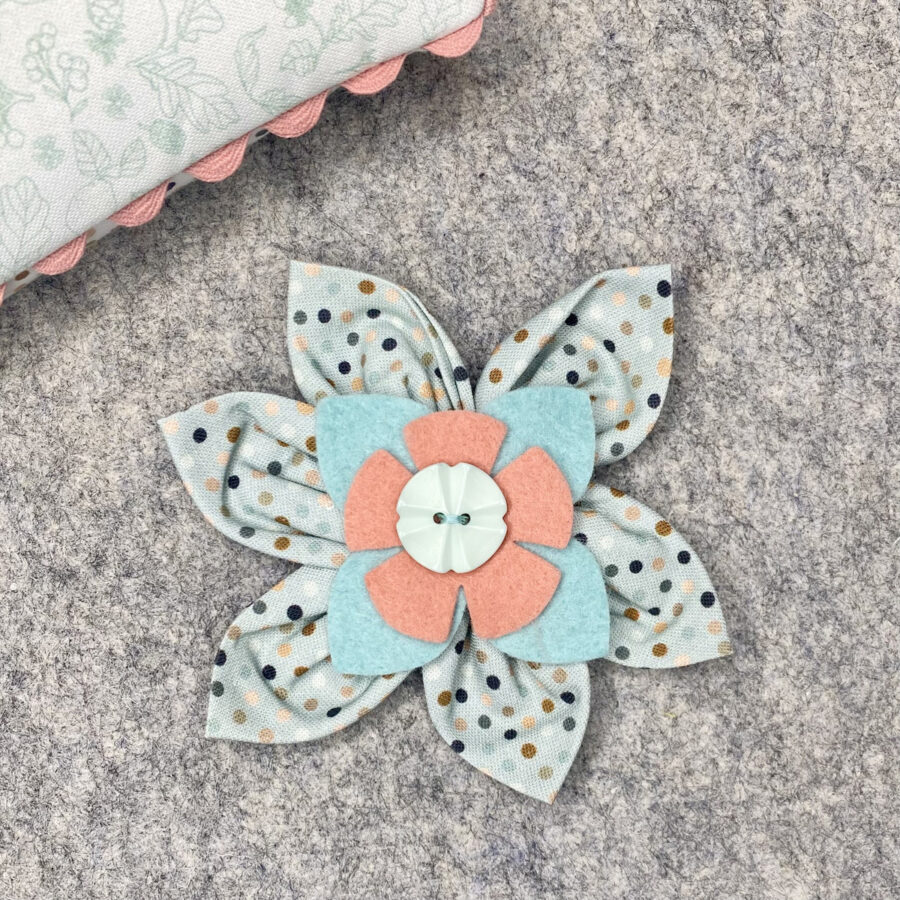
• Place the flower center on top of the dry fabric flower and stitch all layers together.
7. Attach the flower.
• Place an even line (ring) of Heatnbond Fabric Fuse Liquid Adhesive in the center of the back of the flower to adhere the flower to the center of the pocket on your scissor station. Follow the manufacturer’s instructions. Press the flower firmly in place for a few moments to allow the glue to set. To make this easier, place a ruler in the pocket, this will give you a sturdy base to press against. Allow the glue to dry for 4 – 6 hours.

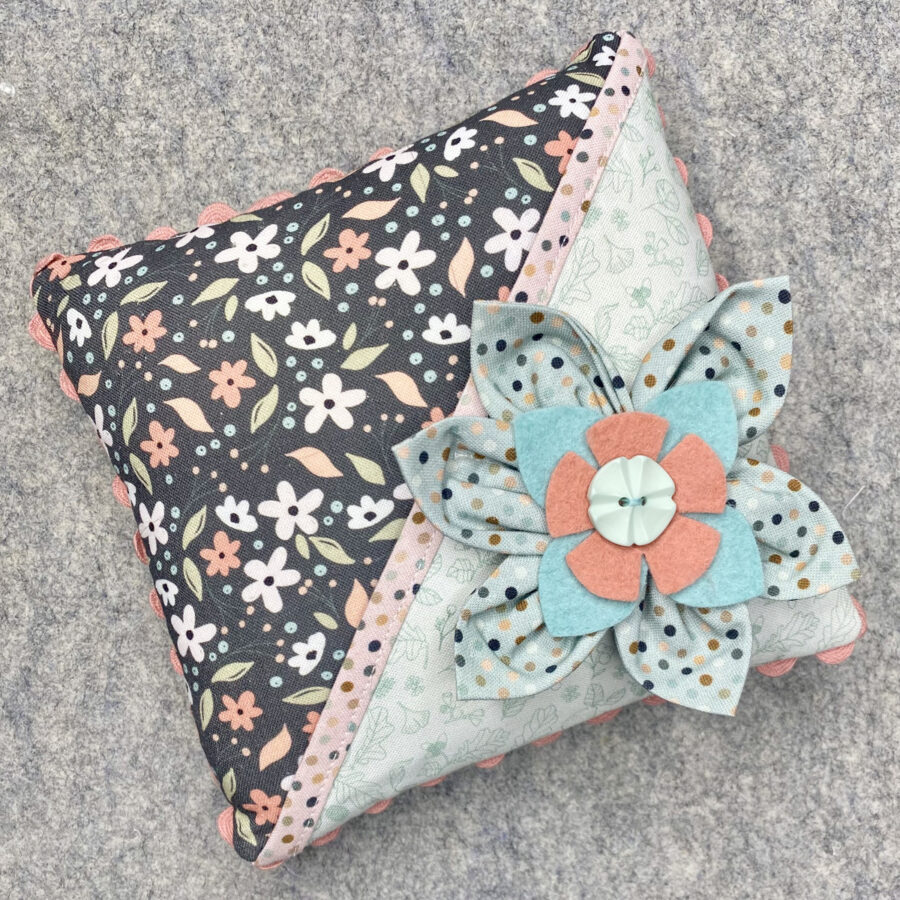
8. Your Starflower Scissor Station is now complete. Fill the pocket with your favorite tools and enjoy!
Thank you for joining me today for my ThermOWeb blog tutorial. I hope this post inspires you to create a Starflower Scissor Station that matches your personality and style, using materials you have on hand. This pretty project is perfect to have next to your sewing machine or in your stitching nest. To see more of my projects, stop by my blog, website or Instagram – I would love to visit with you and see what you create!