St. Patrick’s Day Pillow
I can’t believe it’s almost St. Patrick’s Day! Of course a St. Patrick’s Day pillow is in order. I hope you get a chance to make one – you will be so LUCKY!!!
Supplies:
19″ pillow
An assortment of green fabrics
1/8 yard white fabric
A scrap of Gray fabric for letters
3/4 yard backing fabric
zipper – 20″ or longer
St. Patrick’s Day Pillow Tutorial
Dig out all your green fabrics and toss it into a pile!!
Cut into 2.5″ strips – it doesn’t matter how long they are, just get a nice assortment.
Cut the strips into random lengths – using your scissors, gasp!! You can use a rotary cutter – I am all about speed when I sew and the scissors seemed faster!
Put all the pieces in a basket. Pull out 2 pieces and sew them together (1/4″ seams) end to end, continue doing this by grabbing 2 pieces at a time. I dare you to not even look at the fabrics and just be totally random!!!
Here is the chain piecing. Once you have a fair amount of pairs sewn, pair up the pairs, then pair up those strips. The goal is to have 7 strips that are 19″ long.
I went pretty random and did not pay attention to the pattern – I like how it’s scrappy.
Once you have laid out the strips, sew them together using 1/4 inch seams. There are 5 strips on the bottom and 2 strips on the top. Don’t worry about the fact they don’t line up. Sew them together, then square them up to 19″ long.

Cut a piece of white fabric 5″ x 19″. This is for the appliqué. Sew all pieces together like this:
Prepare the appliqué by downloading the pattern
HERE. I used these
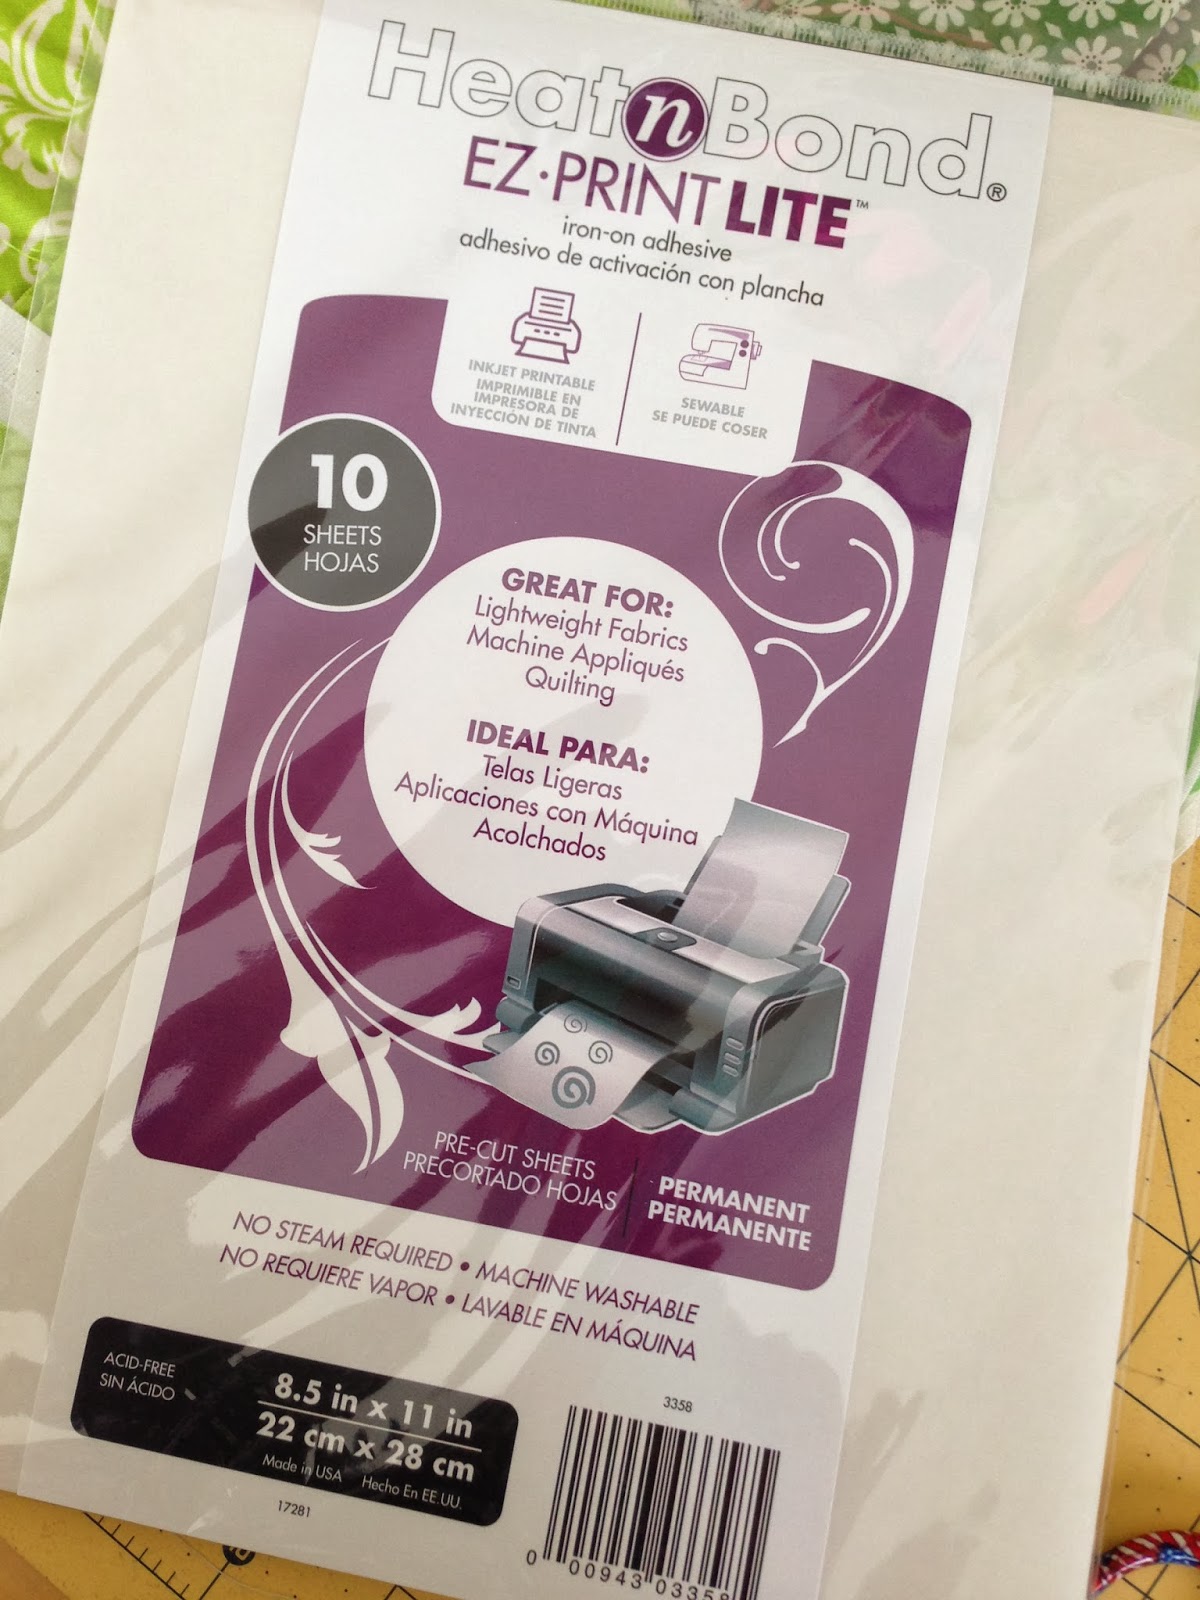
HeatnBond EZ-Print sheets from Therm o Web. You put them in your printer and then you don’t have to draw the pattern by hand! They are great!
Make sure to print it in reverse.Once the pattern is printed, cut around the words and shamrock. Iron to the WRONG side of your fabric. I choose to use a gray dot for the letters. Then cut out the letters and shamrock. The letters are a little bit tedious, so you could always cut on a Cricut or Silhouette to save time!
Sew using a straight stitch in black thread twice around the letters and the shamrock.

Cut a piece of HeatnBond Fusible Fleece 19″ square and iron it to the wrong side of the lucky pillow top.
Sew straight lines 1/8″ from each seam.
Prepare the pillow back….
From your backing fabric cut (1) 4.5″ x 19″ and (1)16″ x 19″
Cut a 4.5″x 19″ strip from a green fabric
Lay the pieces out like this with the zipper. Press the green piece in half lengthwise.
Turn the zipper over, align with the top of the large back piece and sew using a zipper foot along the edge:
Sew the opposite side of the zipper adding the green strip, layer like this:
My backing fabric was a heavy woven fabric, I choose to zigzag my seams because they were already starting to fray. Press the seams away from the zipper. Put the zipper pull in the center of the pillow and cut the excess zipper off both edges.
Place the pillow front on the pillow back with right sides together. Pin all the way around. Make sure the zipper is open so you can turn it after it’s sewn. Sew all the way around the pillow using a generous 1/4″ seam.
Notice there is about an inch of extra backing hanging out – don’t freak out!!!! I added a little extra in the measurement to account for variances in zippers. Just cut it to size, making sure you line up the tops. Turn and place the pillow inside!!! Aren’t you LUCKY!!!!


[…] Lucky Pillow […]