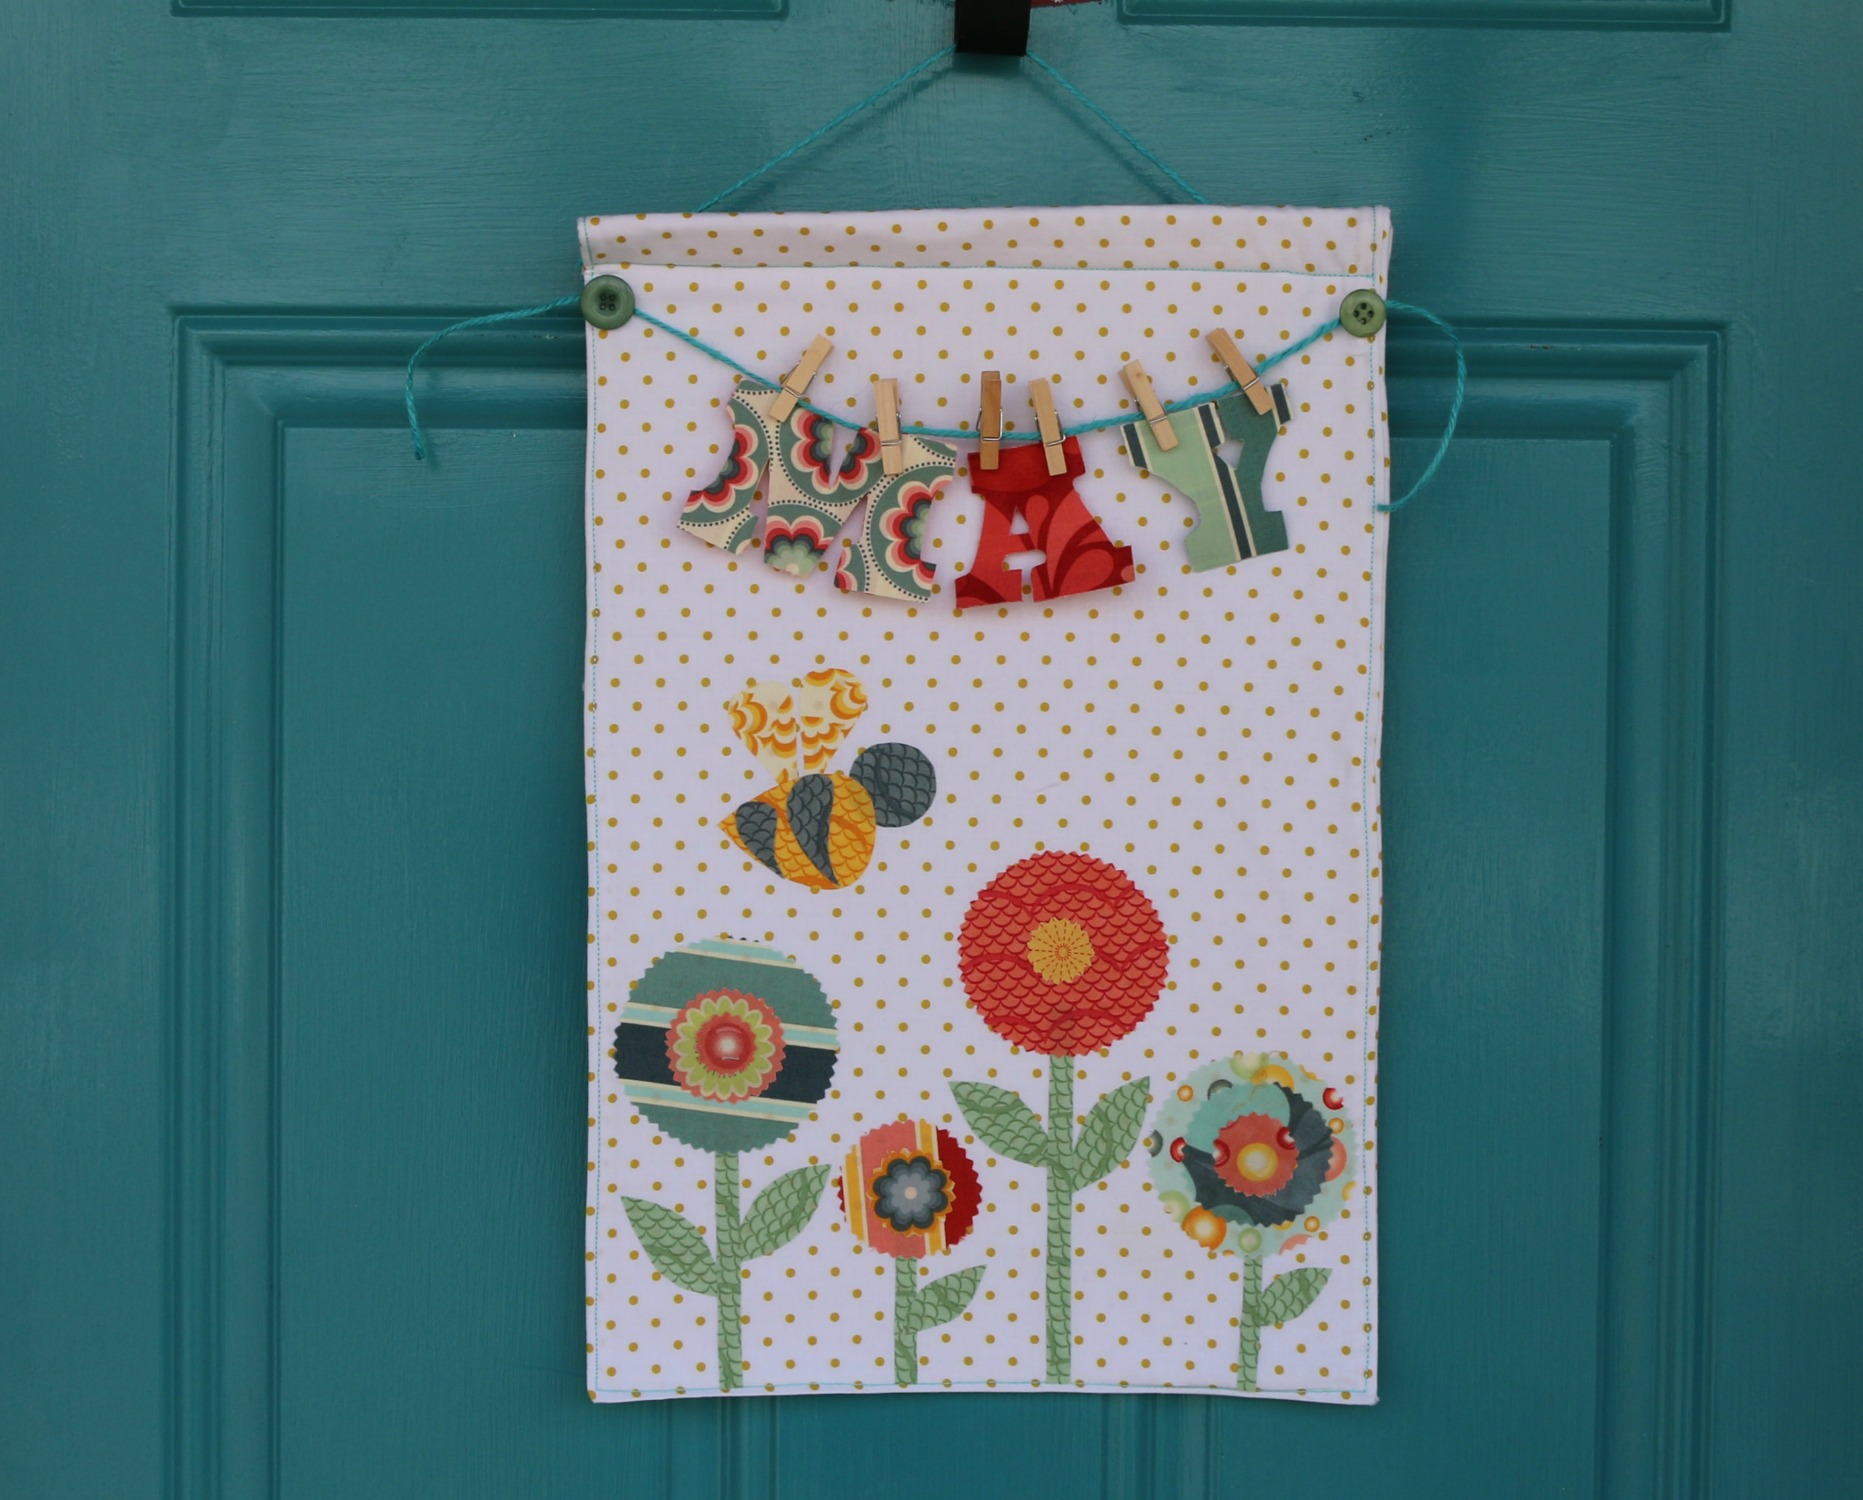
 Spruce Up Your Front Door with A May Bee Banner
Hi, Everyone! It is Amy from Sew Incredibly Crazy. How is it possible that we are so very close to May? As the saying goes, April showers bring May flowers. There are just a few days left in April to make a cute little door banner before May is upon us.
The supplies you will need:
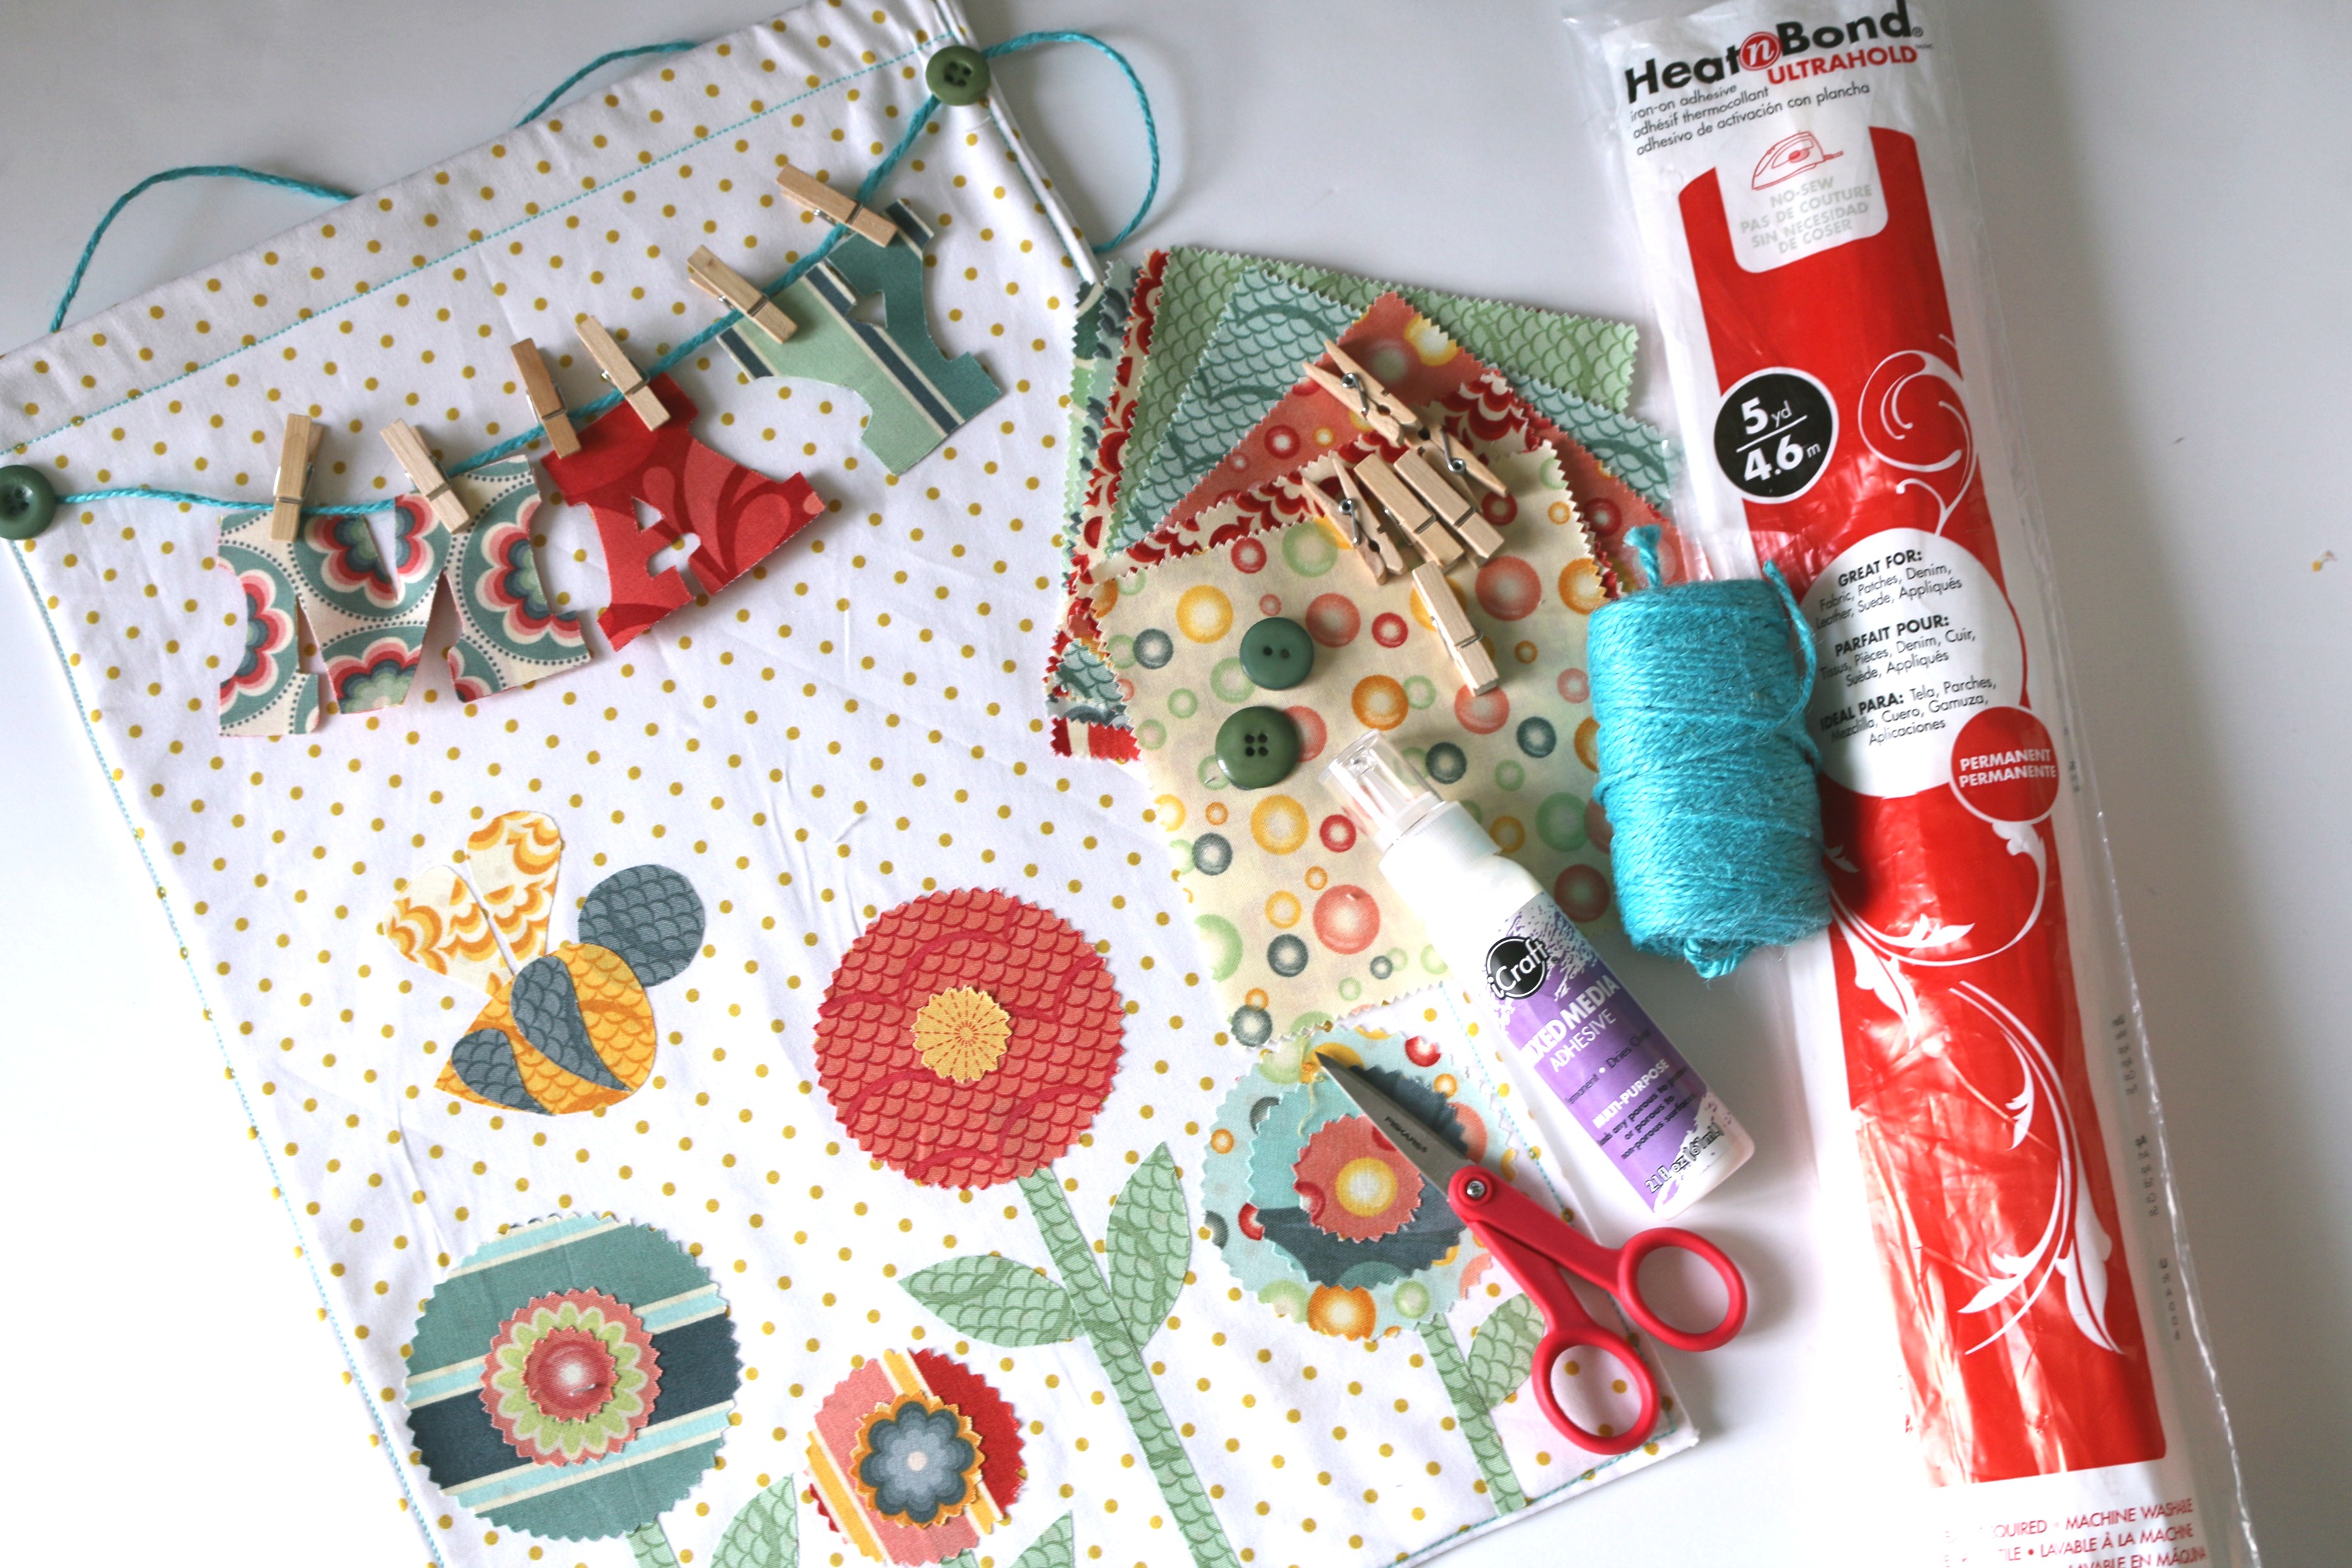
HeatnBond Ultra Fusible Adhesive
iCraft Mixed Media Adhesive
12 1/2″ x 20″ piece of HeatnBond Fusible Fleece
Charm squares or fabric scraps
2 – 12 1/2″ x 20″ Background pieces of fabric
6 Small clothes pins
20″ piece of Jute String
2 Coordinating buttons
Pinking shears
Sharp scissors
Oliso Iron
Aurifil 12 wt. thread in a coordinating color
May-Bee Banner Pattern or another of your choice
Bee Door Banner Instructions:
Take the one of the 12 1/2″ x 20″ Background pieces of fabric and the 12 1/2″ x 20″ piece of HeatnBond Fusible Fleece. Iron it to the wrong side of the fabric.
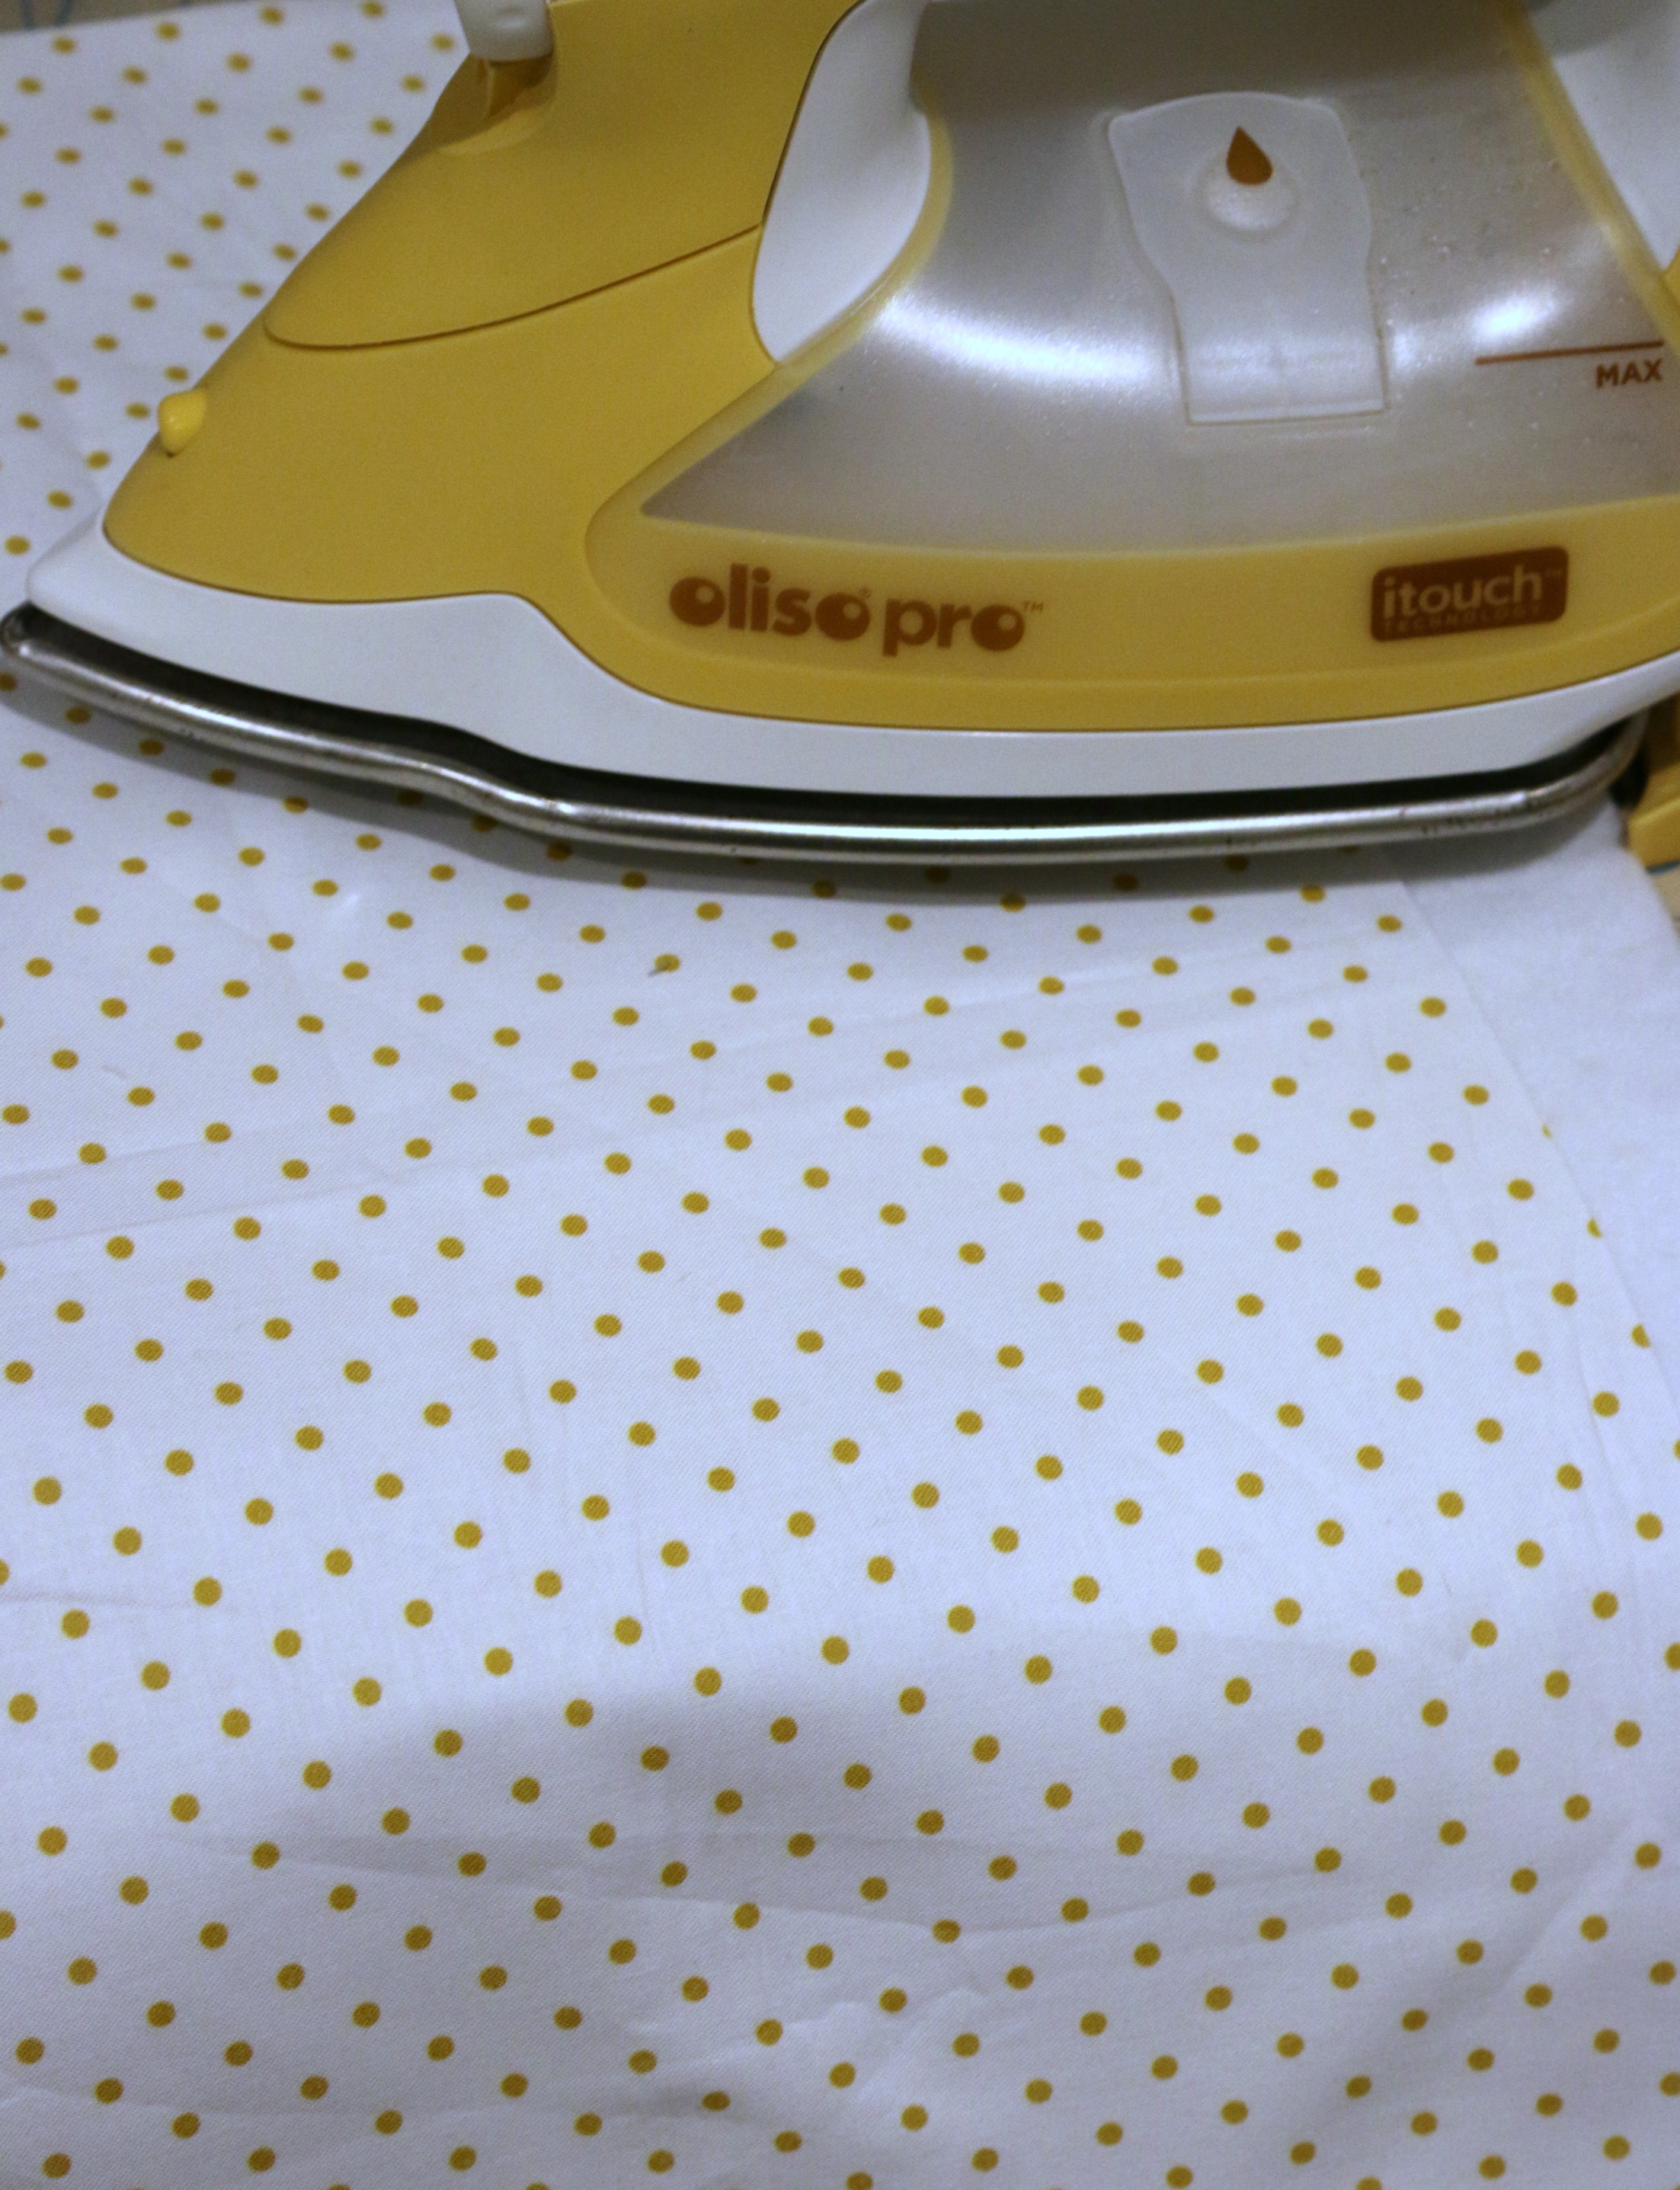
After ironing the fusible fleece, place the other 12 1/2″ x 20″ Background pieces of fabric to the right side of the other. Sew around the perimeter of the fabric pieces. Leave a space large enough to turn inside out.
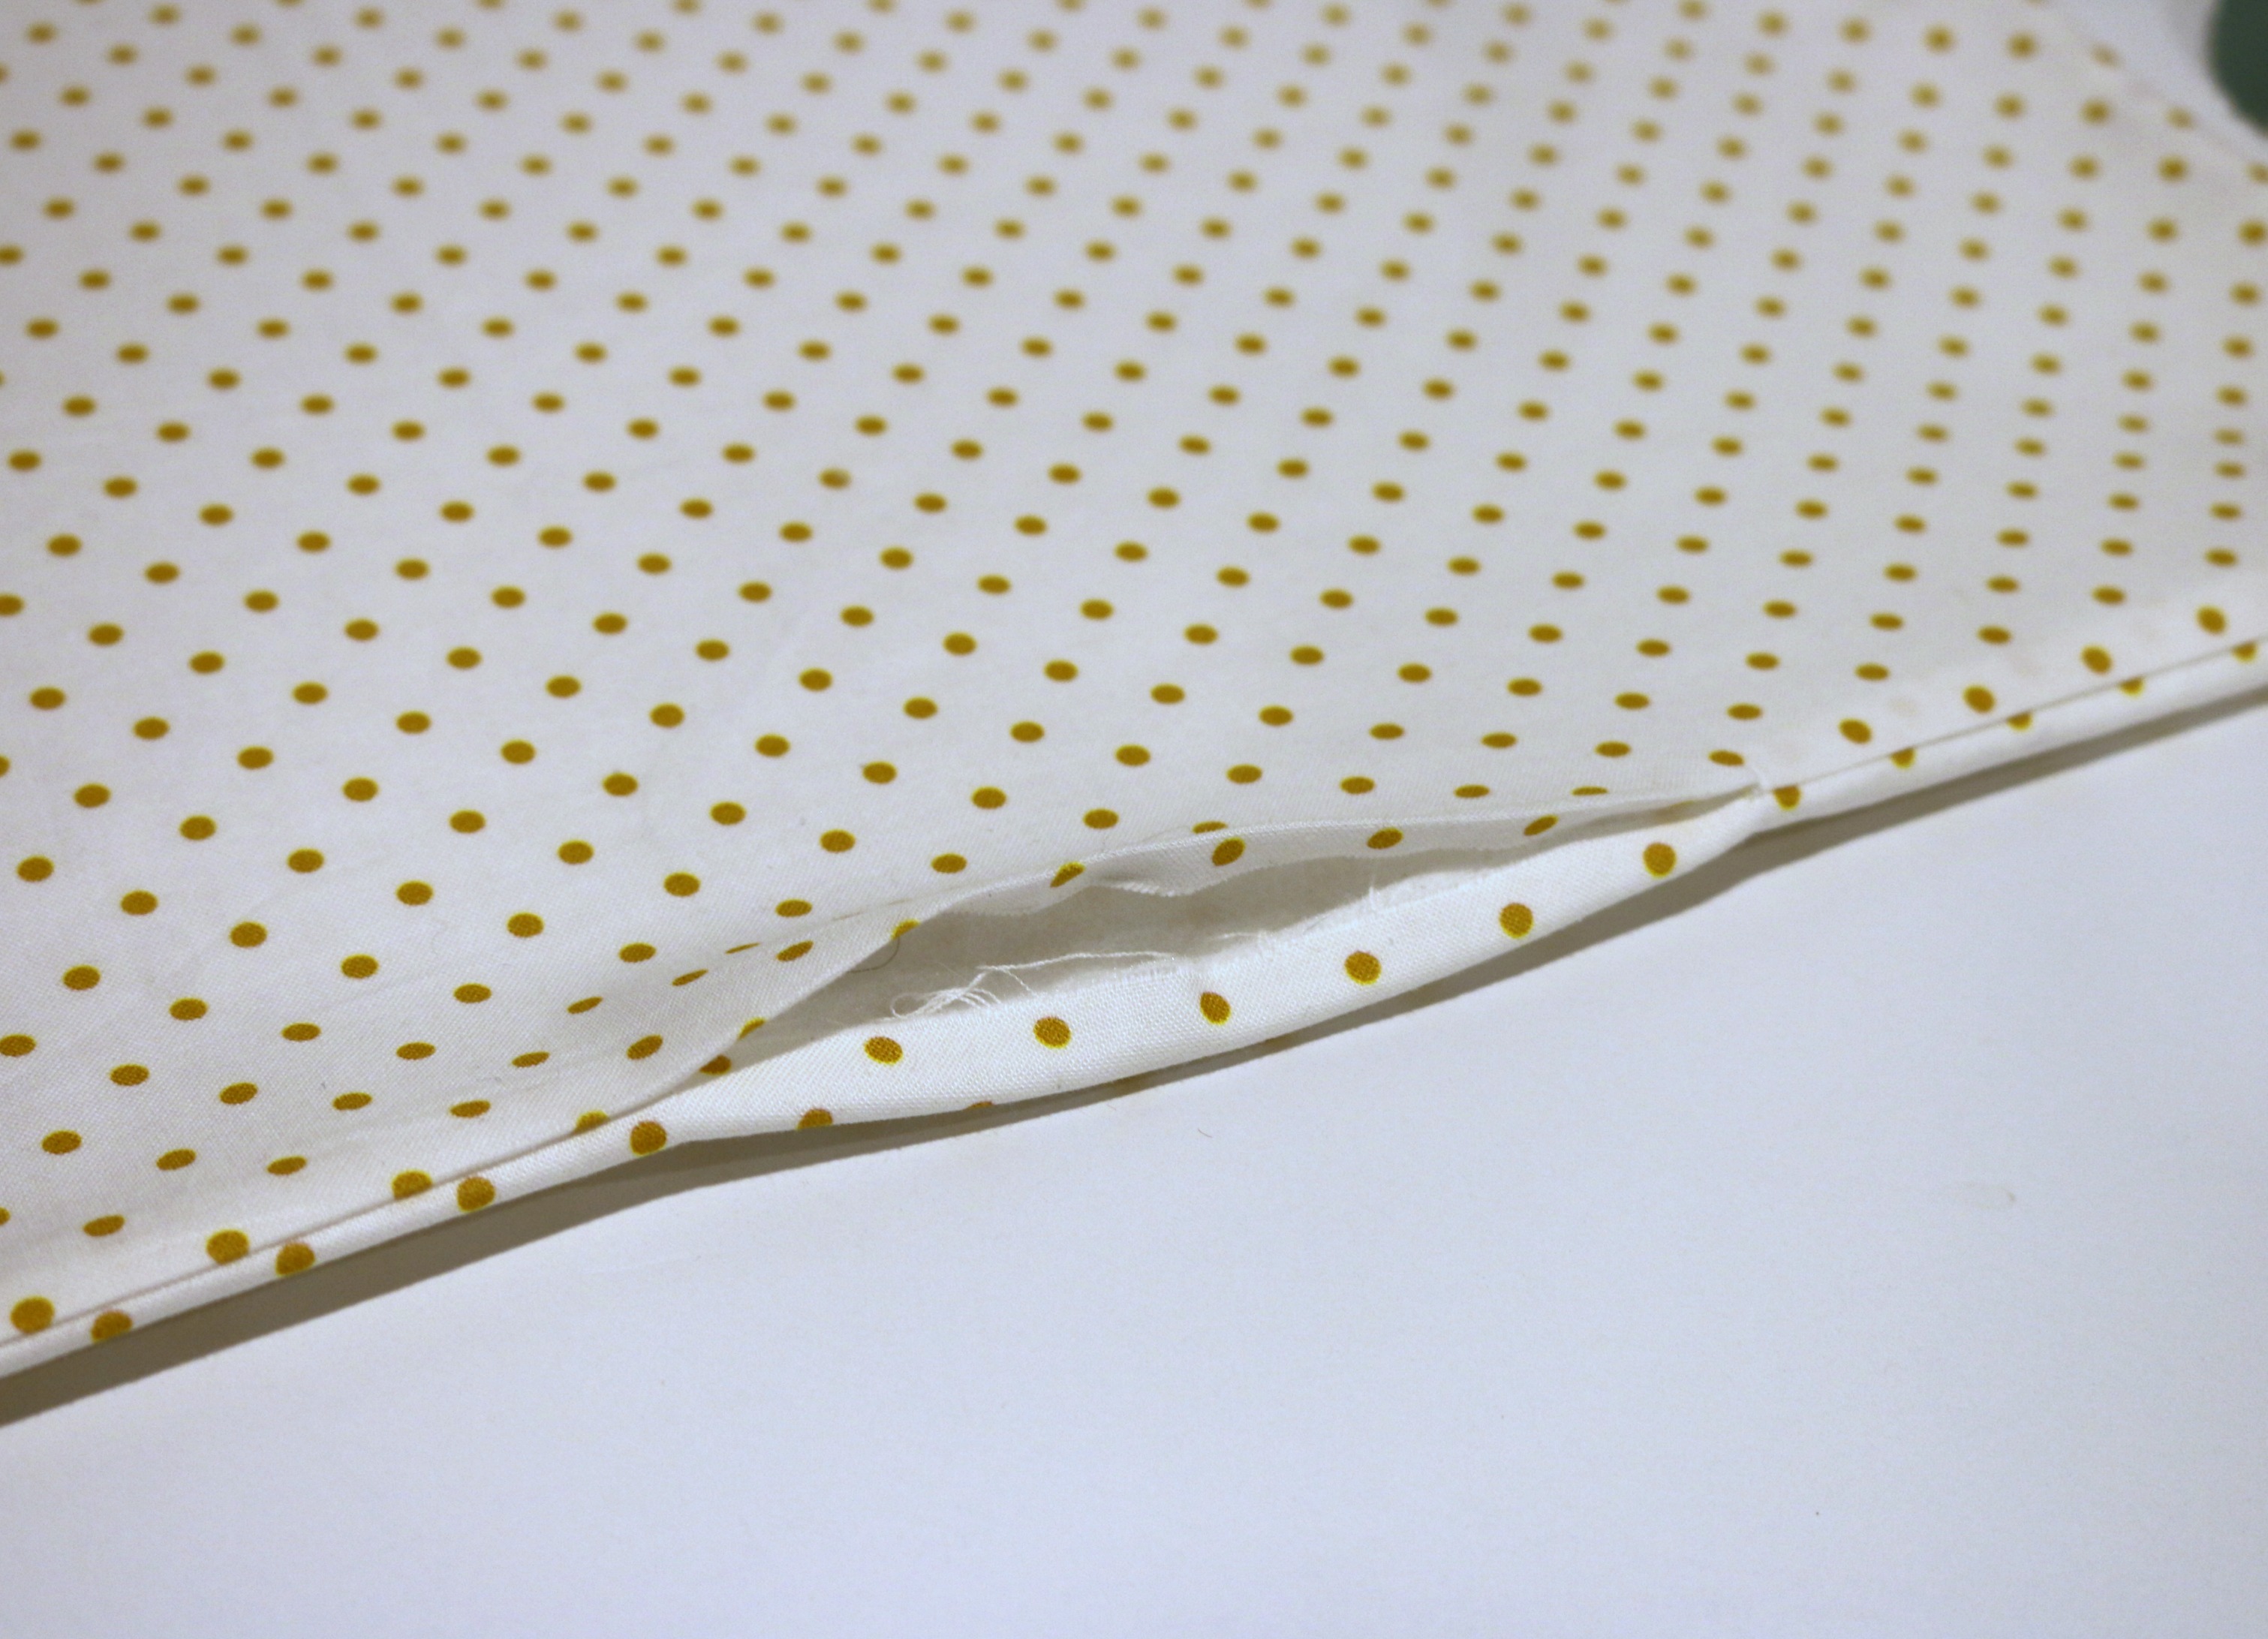
Fold in the seam allowance and iron. Measure down from the top of the banner on each side 3 1/2″. Take the jute and pin it in place. Then using a 12 wt. Aurifil thread in your machine, stitch around the perimeter of the fabric banner. Set the machine to sew at a longer stitch. Sew close enough to the edge to sew the turning opening closed and over the top jute, backstitching over the top to secure it.
Trace the May-Bee Pattern onto the HeatnBond Ultra Fusible Adhesive. Cut the flower circles directly on the line. (With the rest of the pattern pieces leave a 1/4″ space around them before ironing them to the fabric.) Iron the flower pieces on different coordinating fabrics.
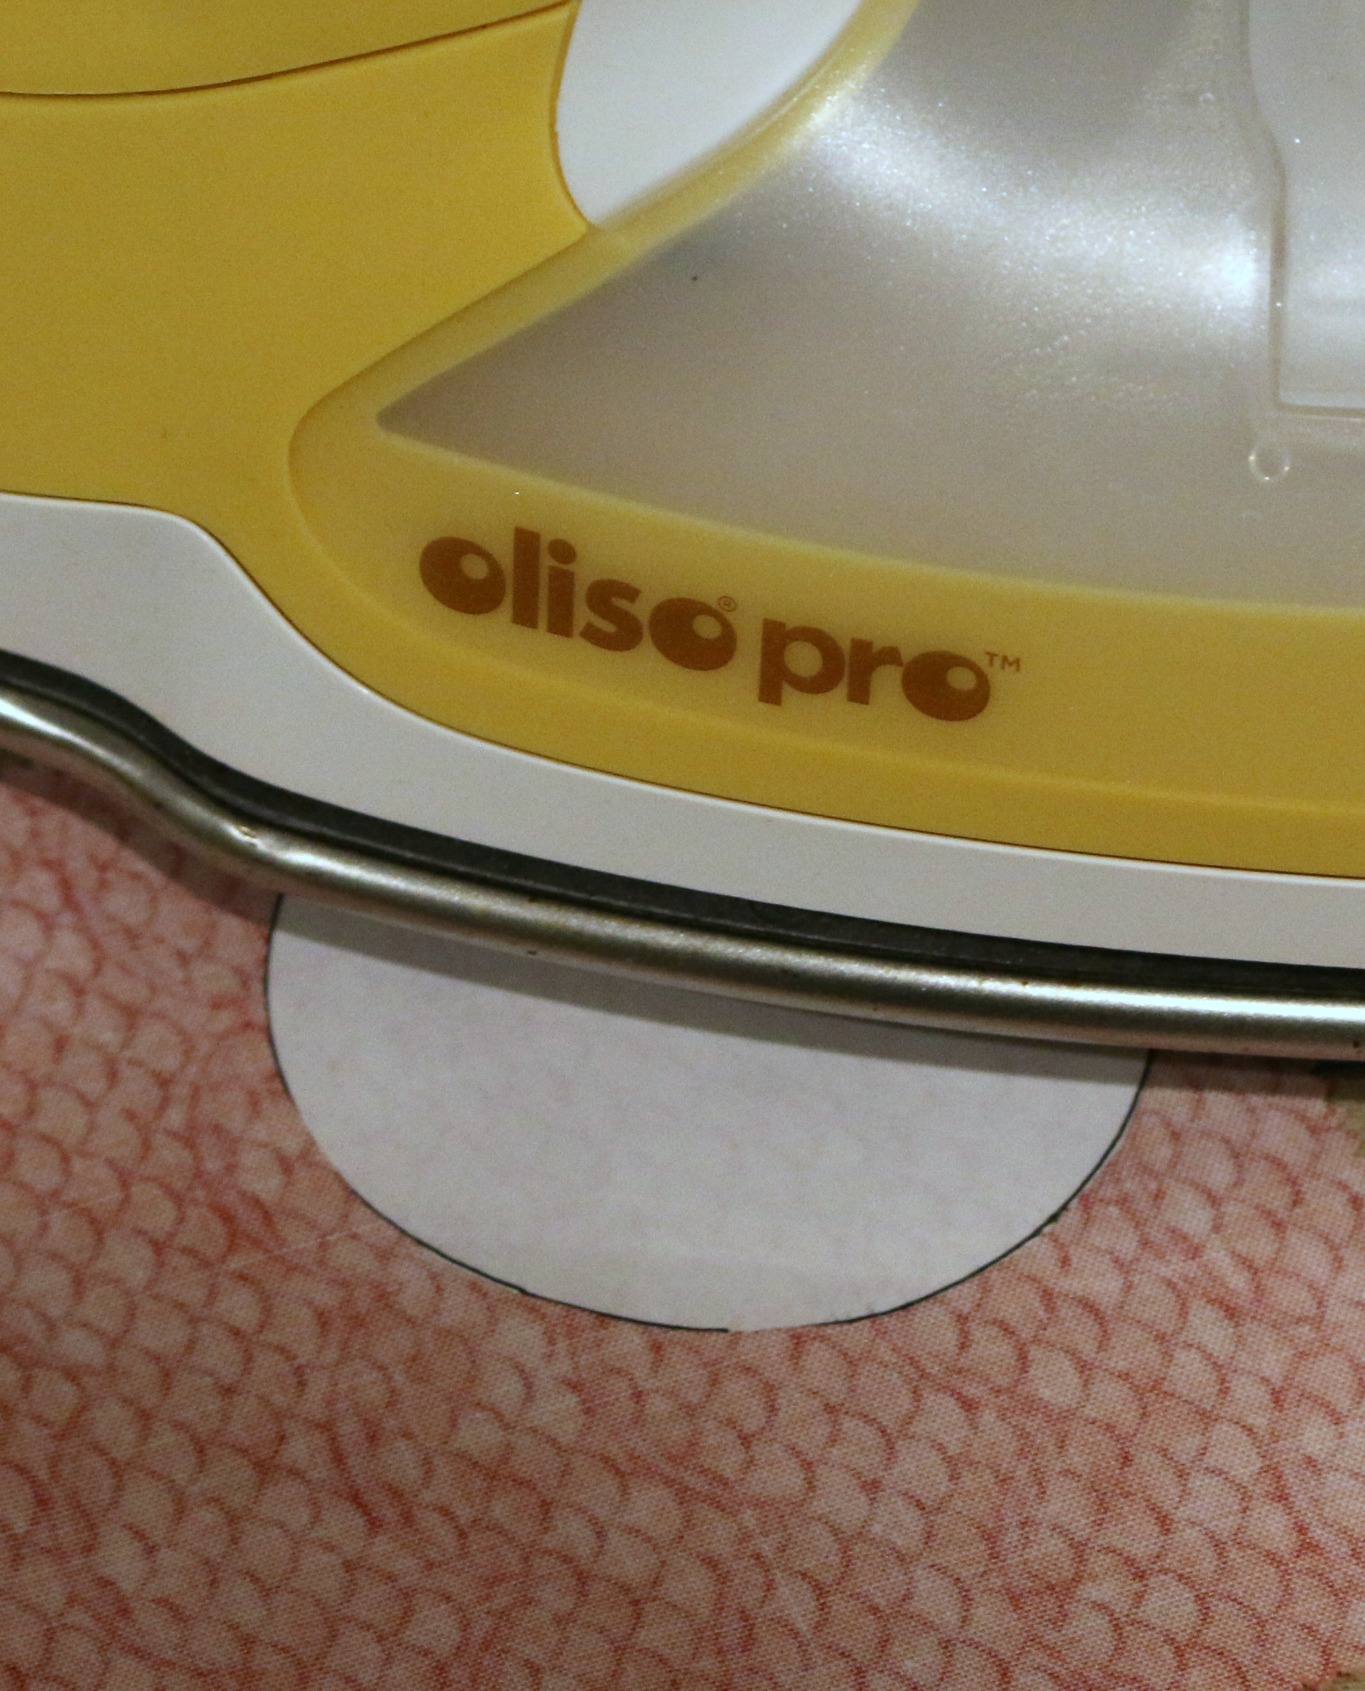
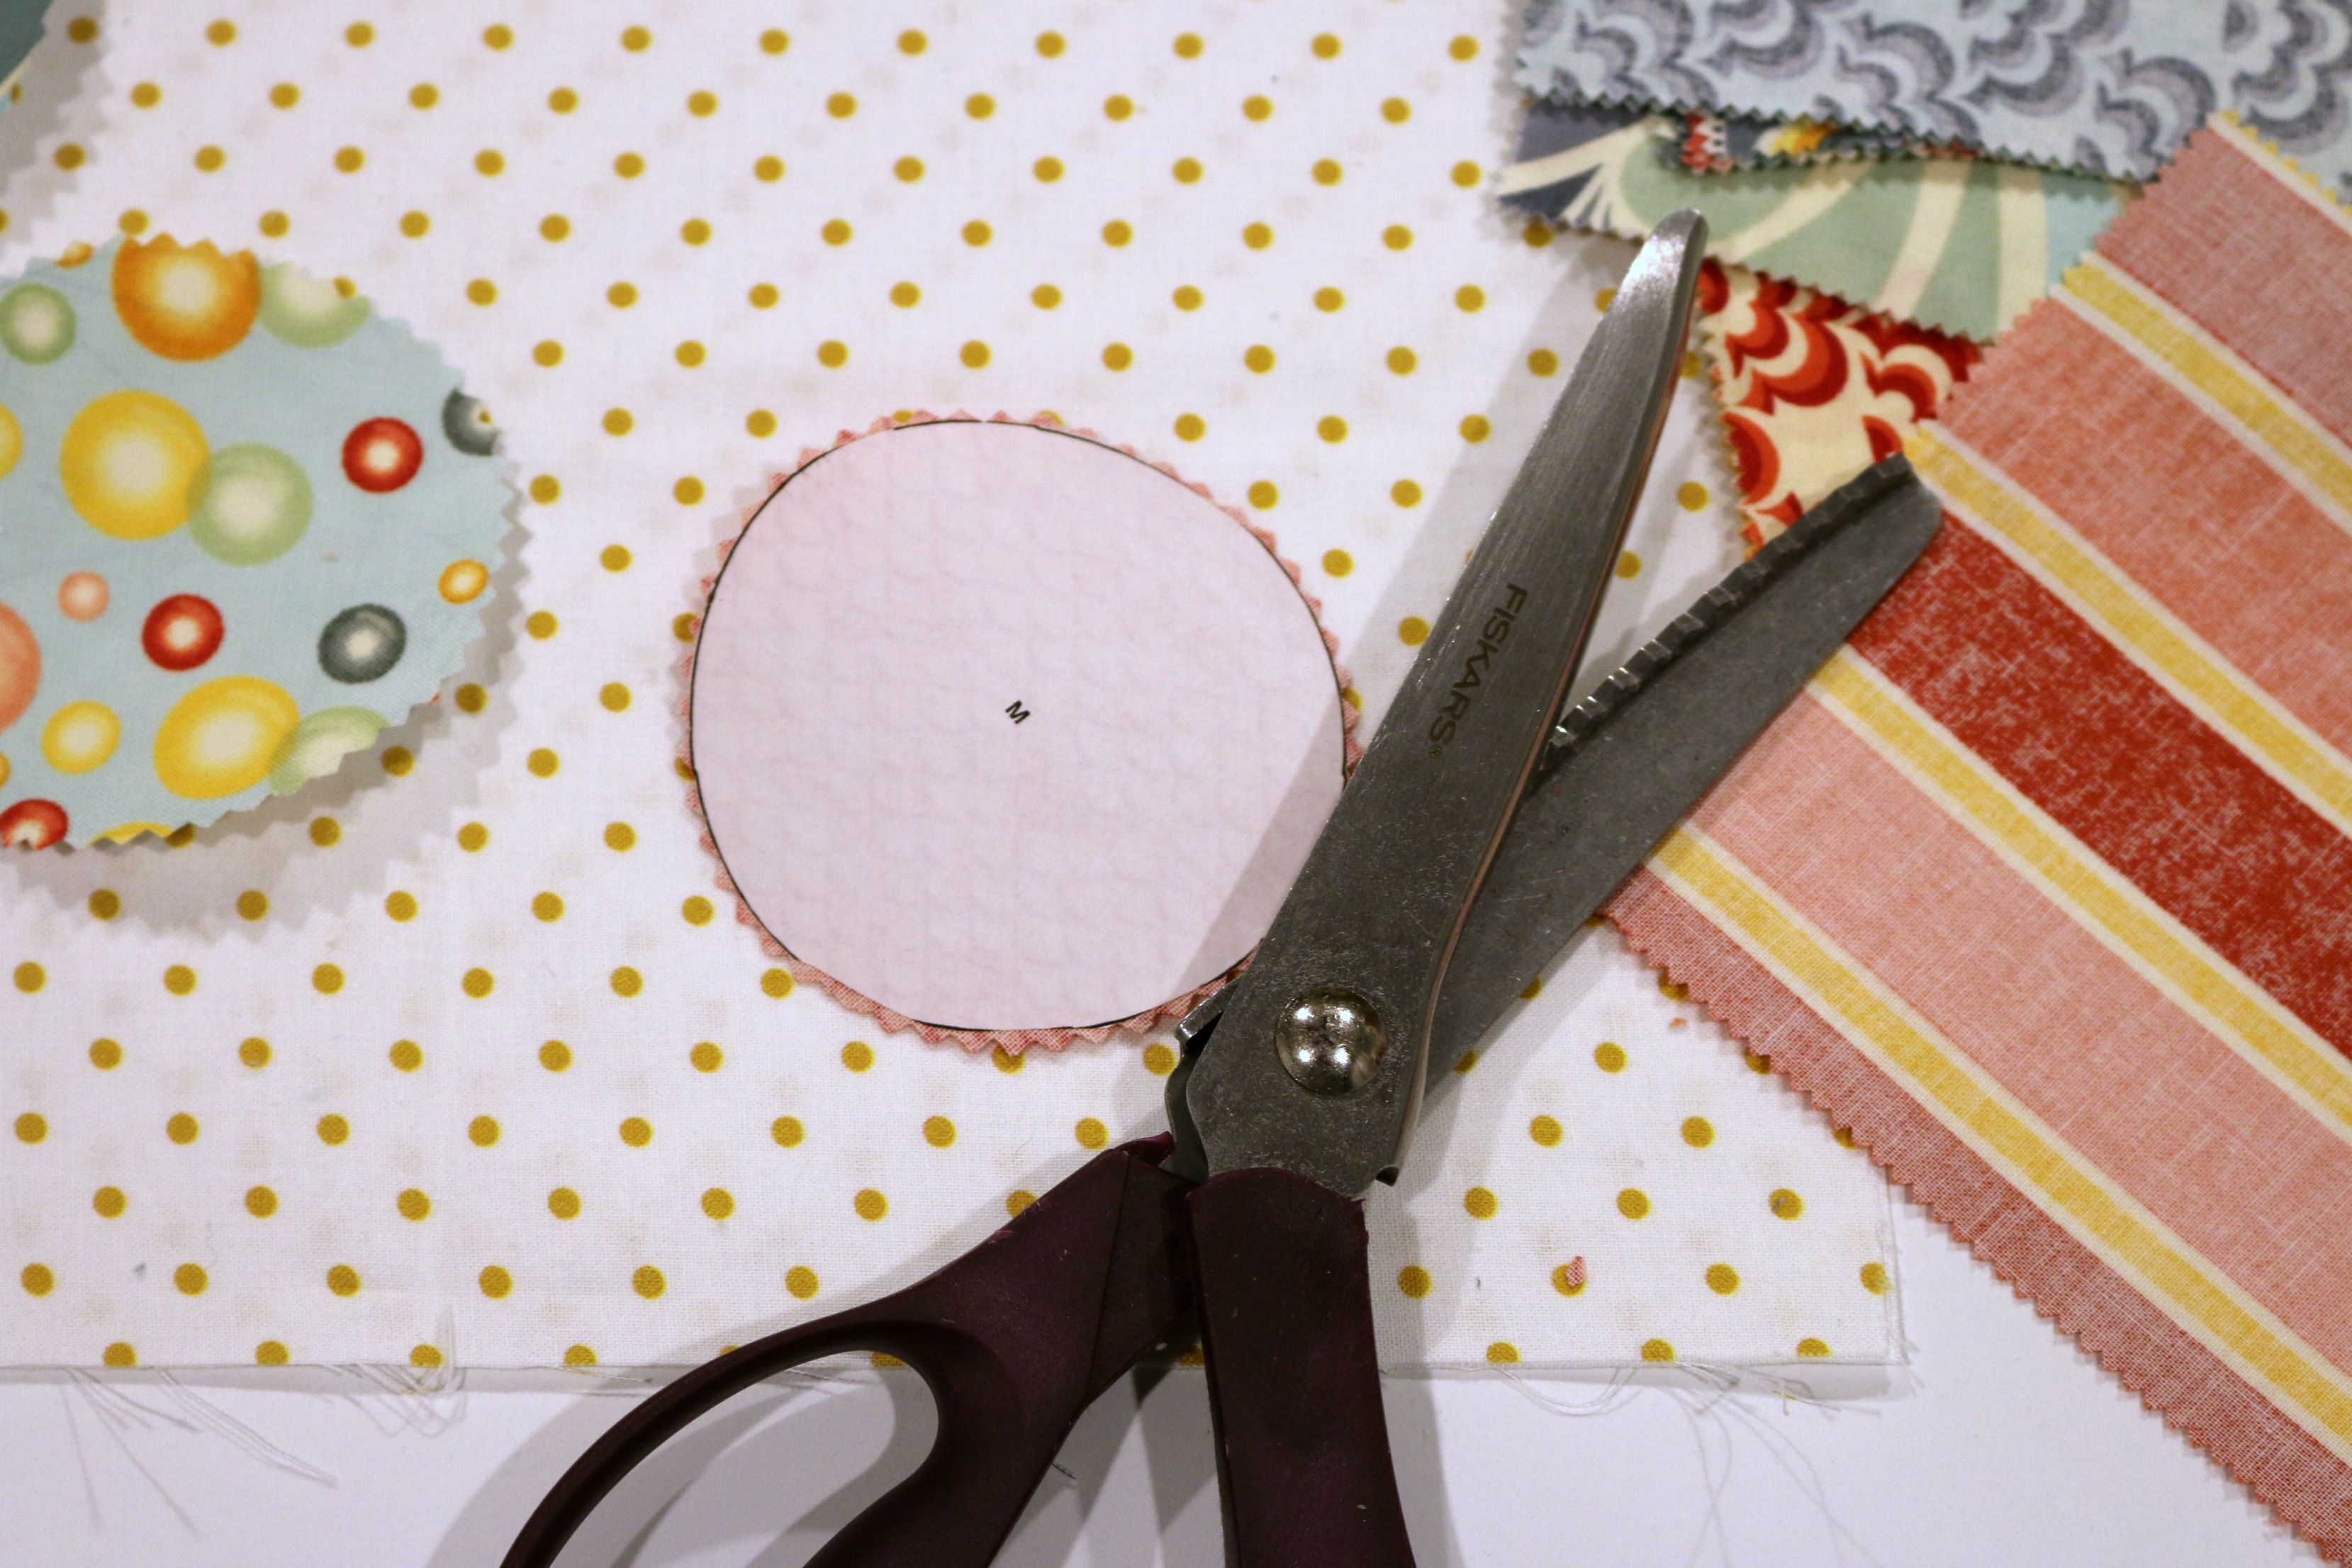
With the pinking shears, cut around the circle. This will leave the edges raised after adding ironing it to the banner.
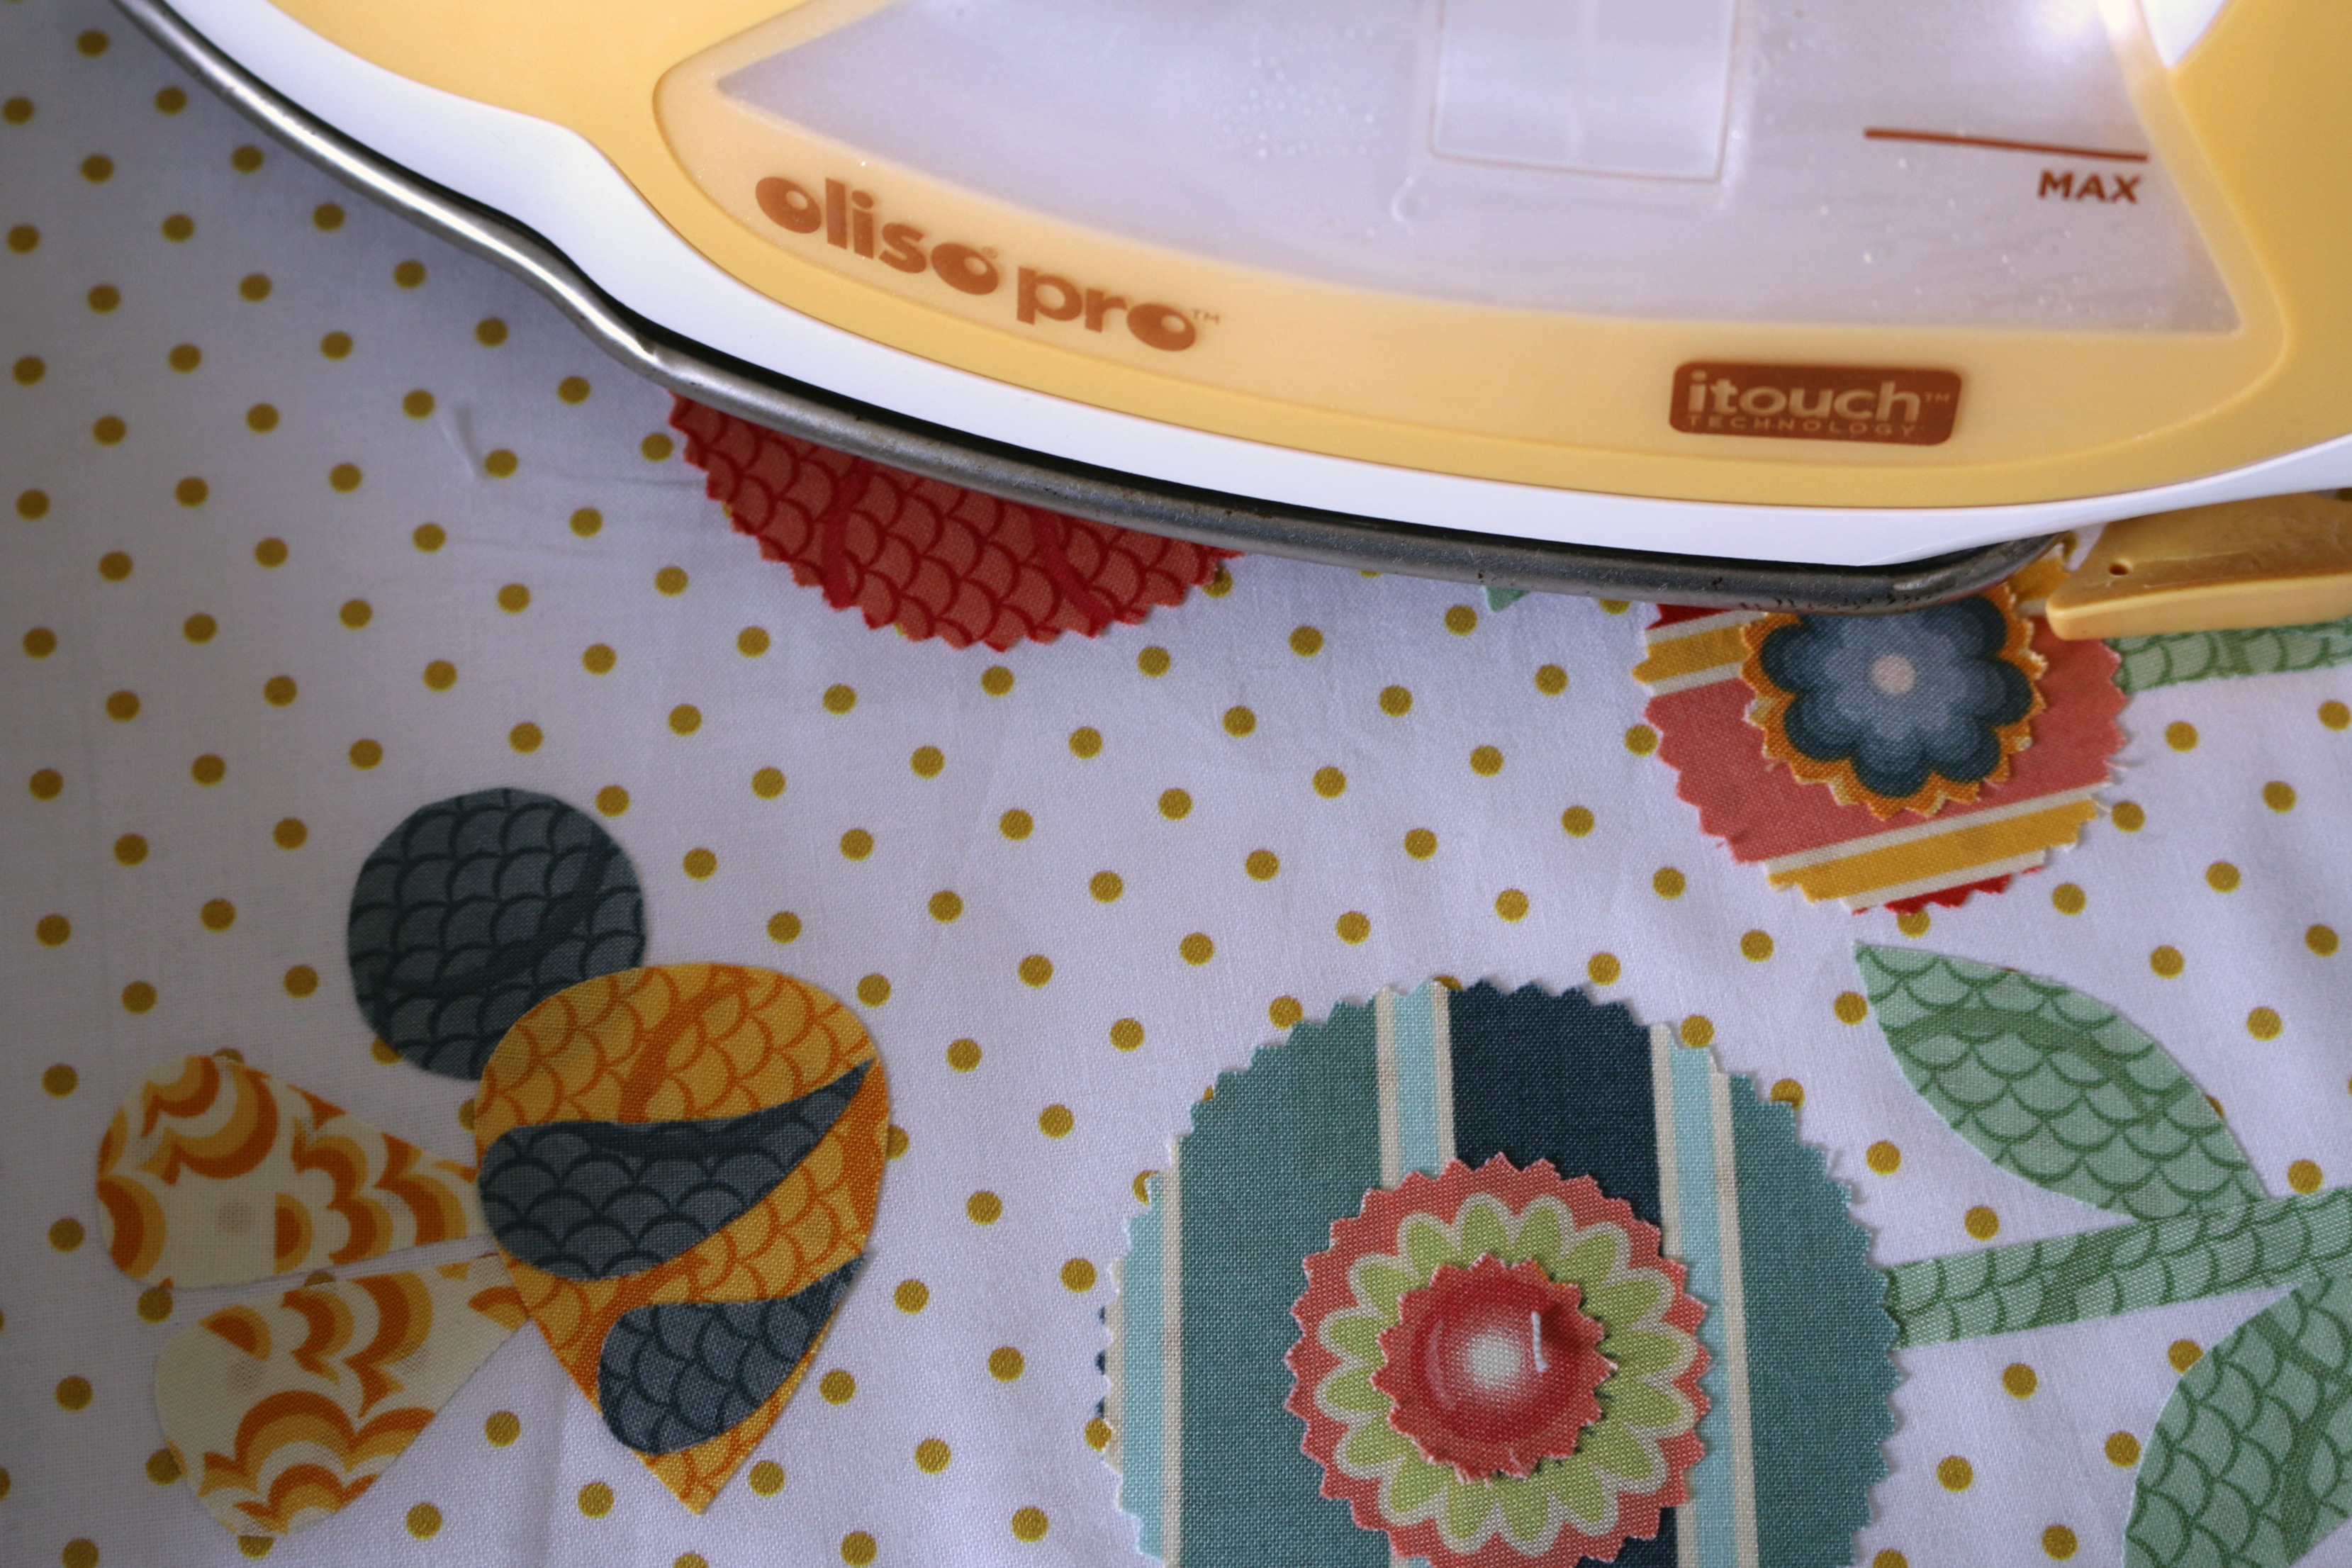
Iron the pattern pieces, except for MAY letters, to the banner according to the pattern.
For the letters, MAY, trace them onto a piece of HeatnBond Ultra. Iron them to the wrong side of the fabric. Cut them out. Then, iron them to another fabric piece. Again, cut them out around the line that was previously cut to make double-sided.
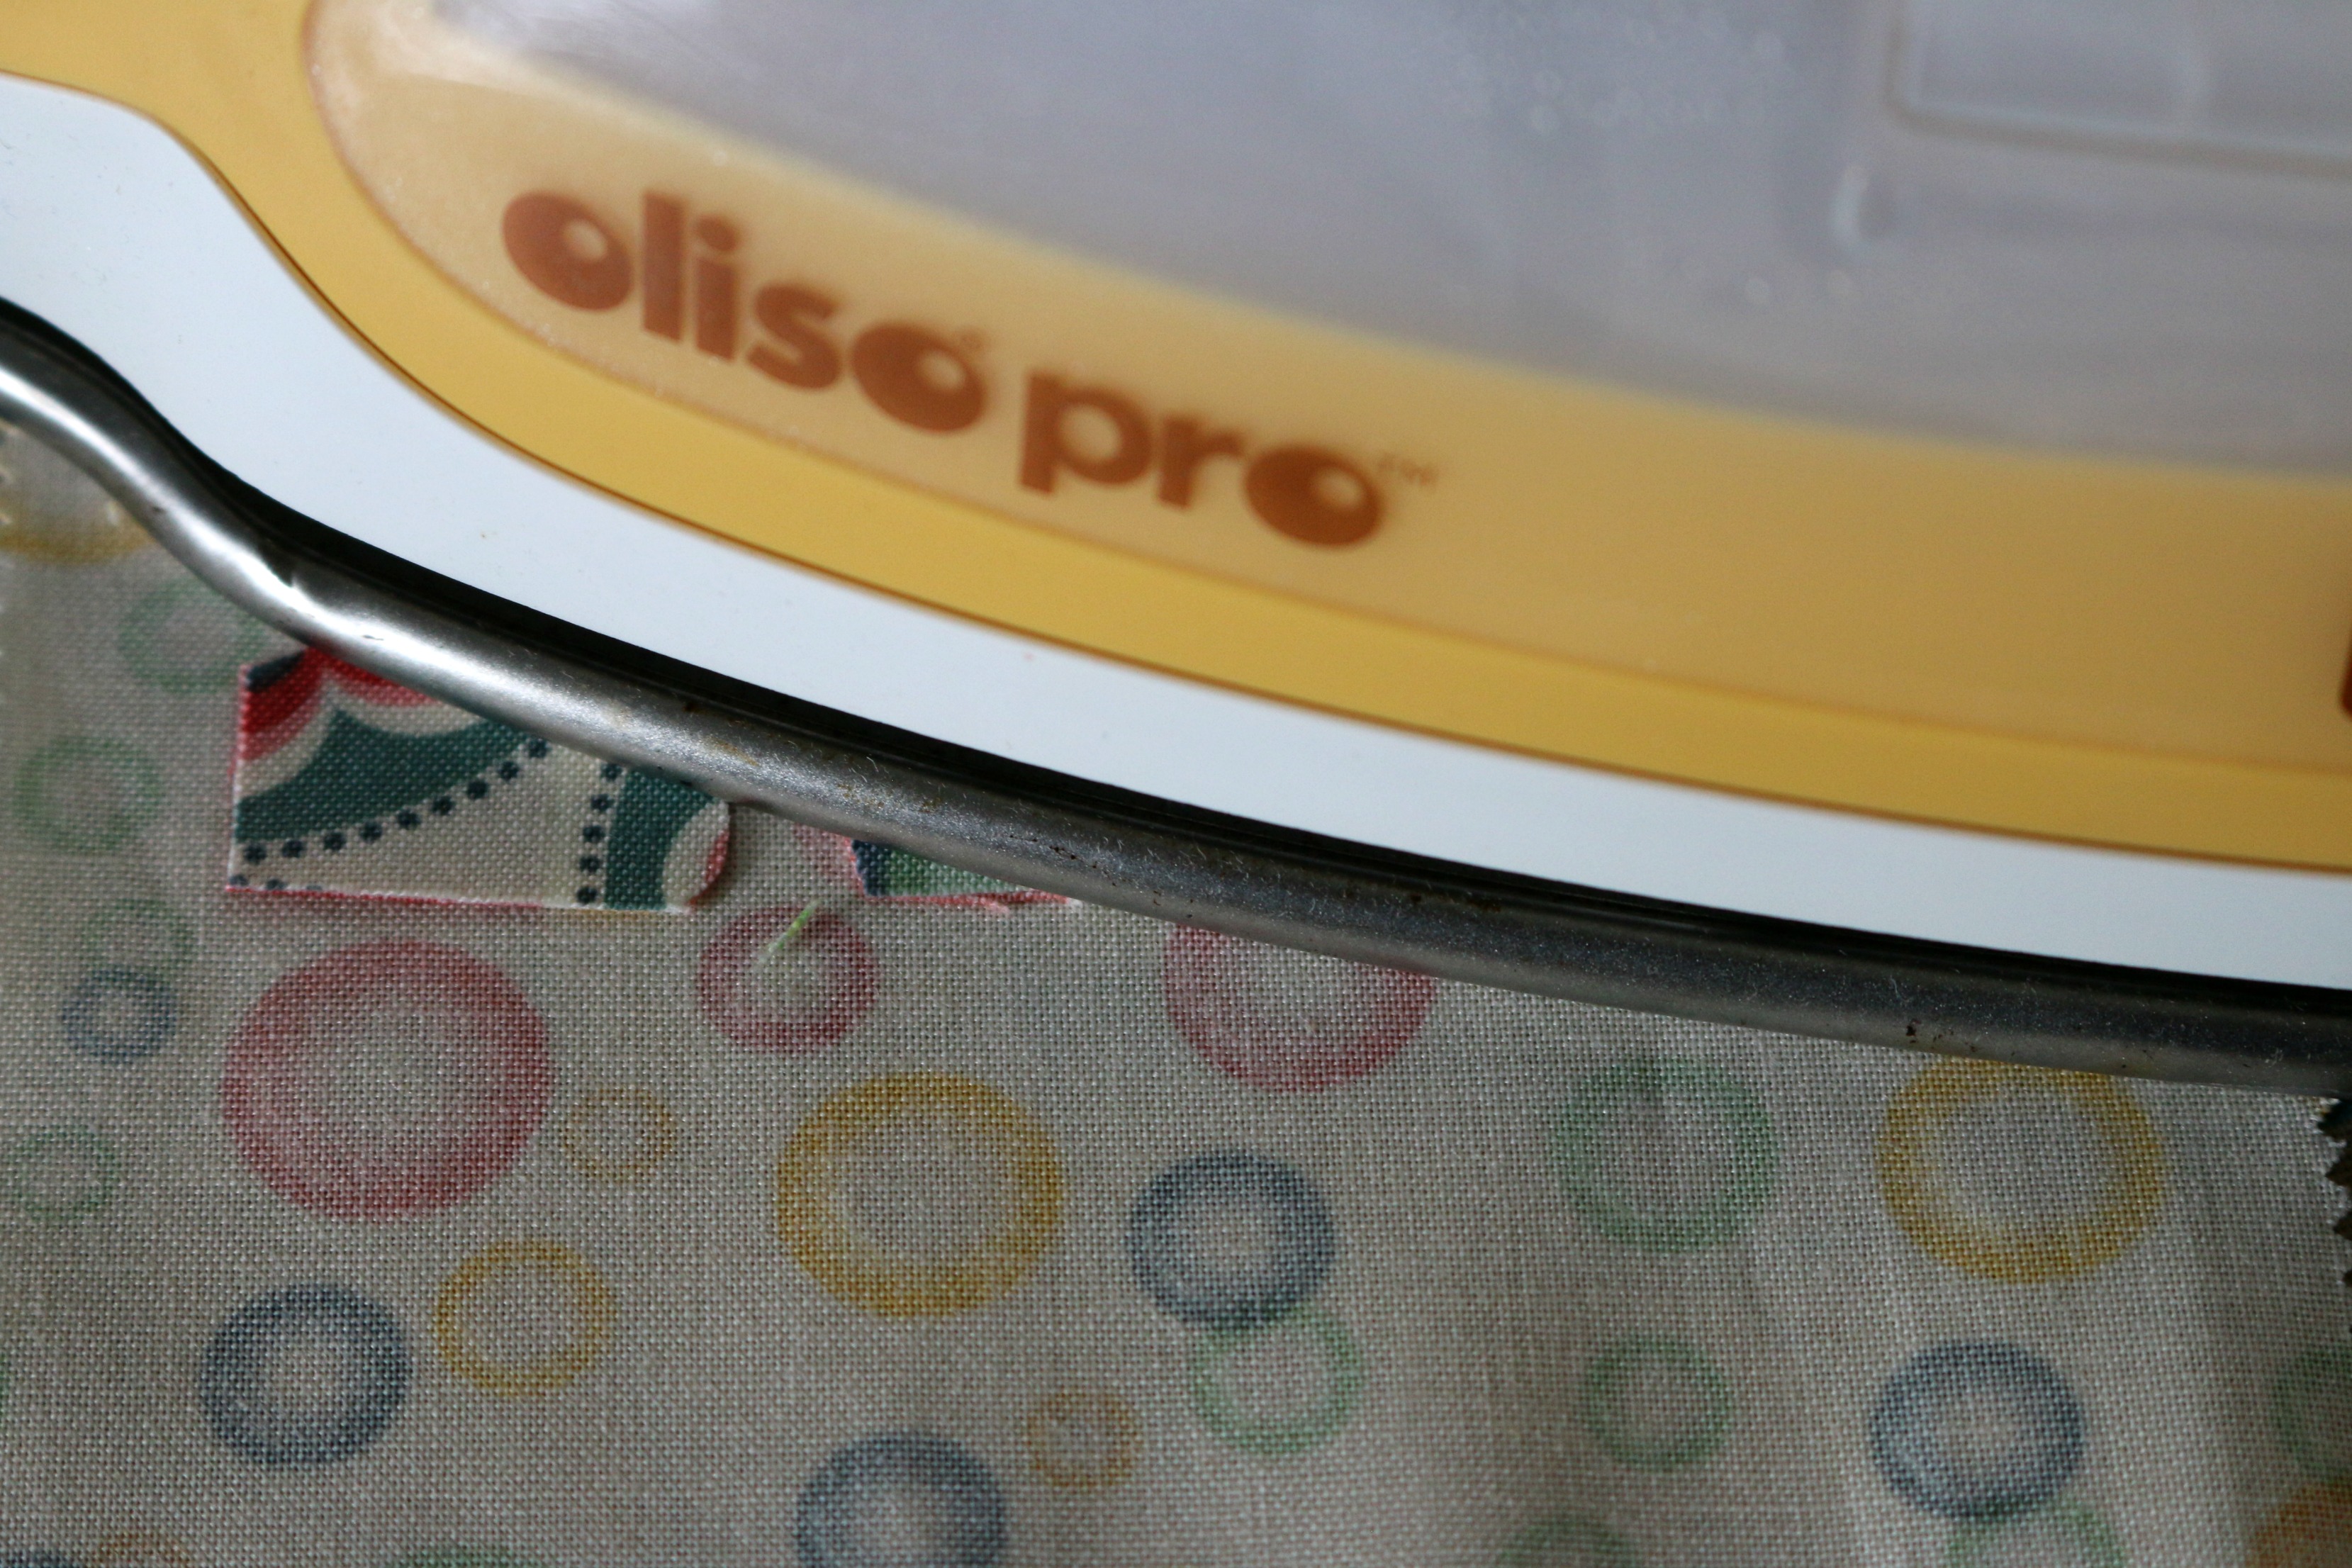
Taking the finished banner, fold over the top edge 1″ twice. Before sewing down, take the second piece of jute and align it an inch from each side of the top edge that was turned down. Sew 7/8″ to 1″ down from the top. This makes the top edge sturdy enough not to have a dowel rod in the top. Taking your two buttons, take a small amount of iCraft Mixed Media Adhesive and cover the sewn edge where it was backstitch to hold the jute string. Let set over night. There might need to have a little weight put on the buttons so that it will securely hold the buttons flat to the banner. Hang the letters with your small clothes pins.

Hang on your door and Enjoy your May-Bee Banner !!
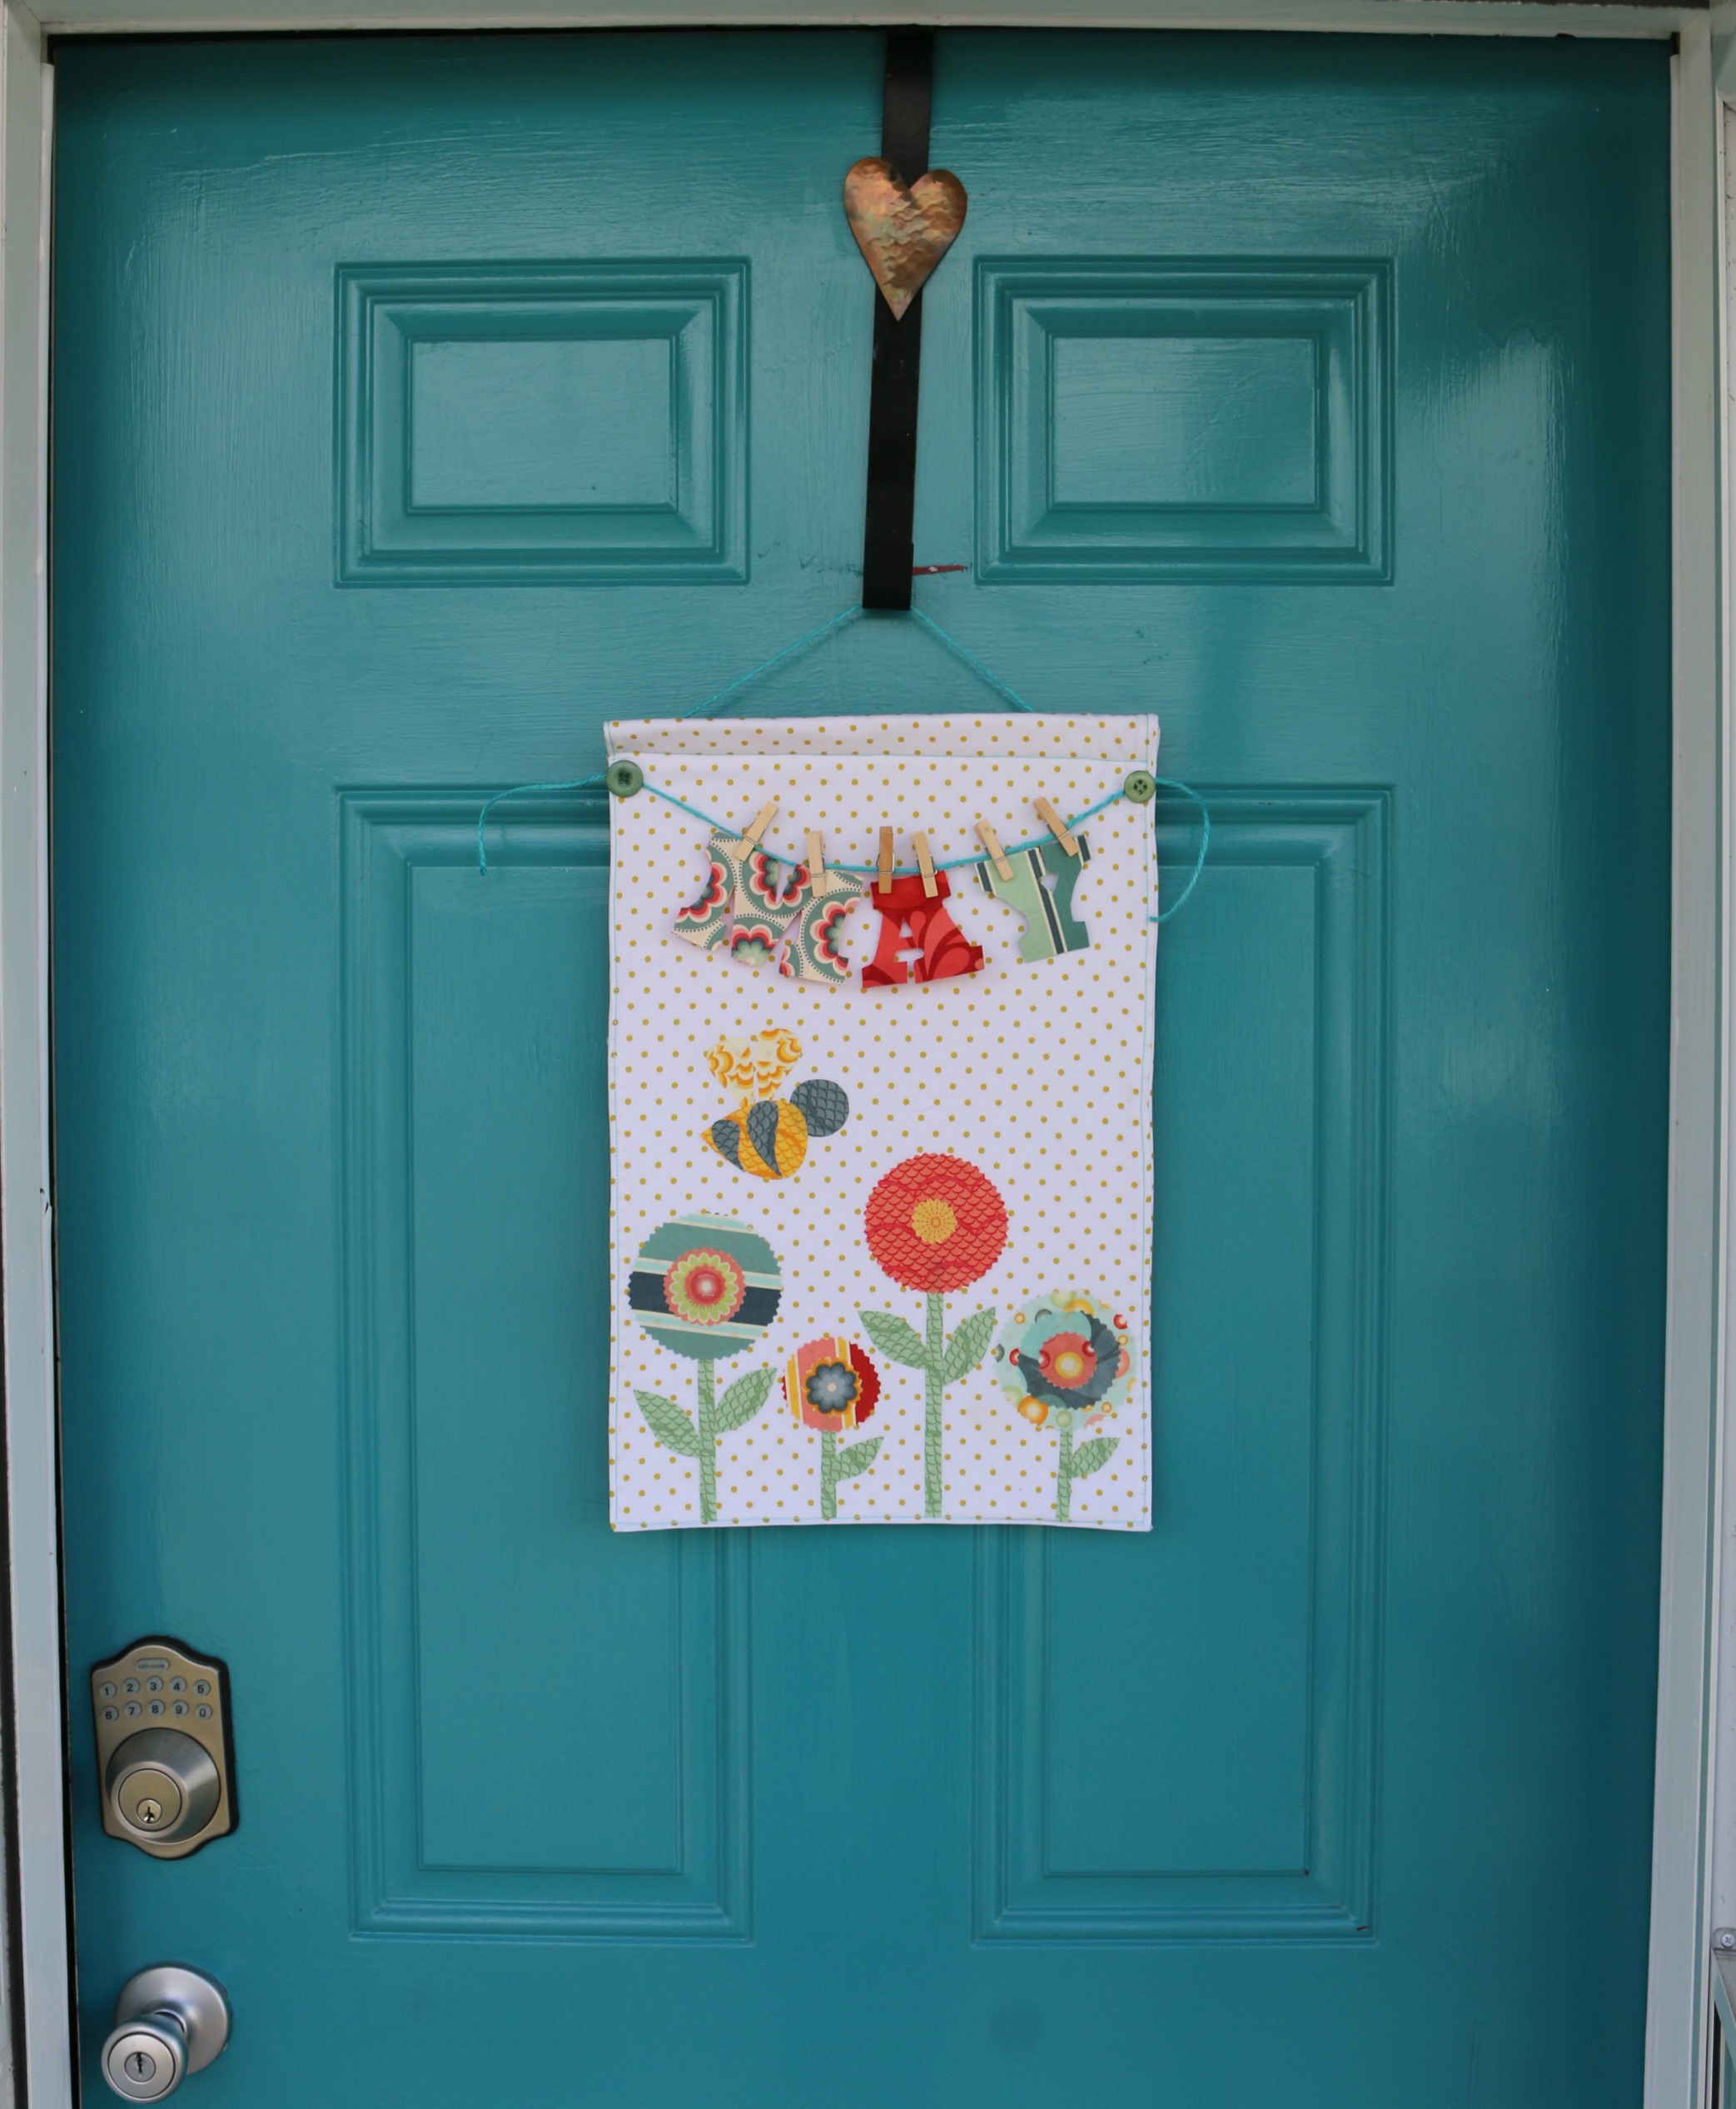
I just love how the color coordinate with the color of my front door. If you enjoyed this tutorial, please stop in at Sew Incredibly Crazy.
Be sure to pin this and share too! And if you make one…tag us on social with #thermoweb and #heatnbond so we can see it too!
2 Comments on Spruce Up Your Front Door with A May Bee Banner
1Pingbacks & Trackbacks on Spruce Up Your Front Door with A May Bee Banner
-
[…] like to finish my cards with a bow. I used the new iCraft Ultra Bond Adhesive to adhere the bow to the front of my […]

Joan
April 26, 2018 at 10:26 am (7 years ago)That is just adorable! Love the color of your door!