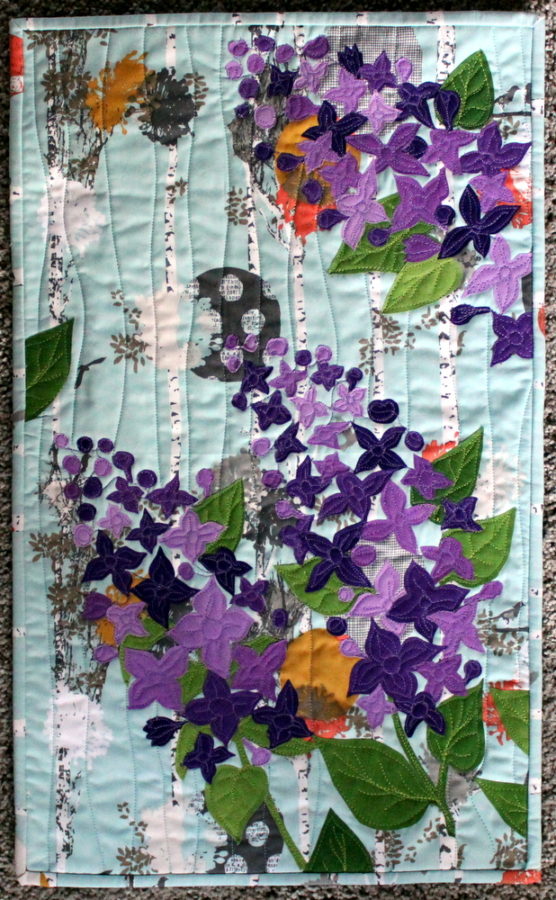
Hi everyone! This is Kim Lapacek from Persimon Dreams! I’m excited to be here today to share with you a fun tutorial to make the perfect little wall hanging for spring! Who’s ready for spring!? I know I am!
Spring Lilac Quilted Wall Hanging
Like the majority of my projects, this project is fun and free-flowing. I’m going to give you the templates, tools, and tips you need to create this piece but I hope you take that and create a fun wall hanging that is perfect for you! (And feel free to share your work in my group “Quilt and Dream Along with Kim Lapacek” … I always love to see what folks come up with!)
Project Supplies:
- (1) 12.5″ x 20.5″ background fabric .. I went with a fun and whimsical wooded scene
- (1) 9″ x 11″ green fabric for leaves – ombre fabric works great for the leaves
- (2) 9″ x 11″ purple fabrics for petals – ombre fabrics once again works great for petals
- 13.5″ x 21.5″ rectangle of high loft HeatnBond® Fusible Fleece batting
- 2.25″ x 120″ fabric binding striip
- (1) 14″ x 22″ backing fabric
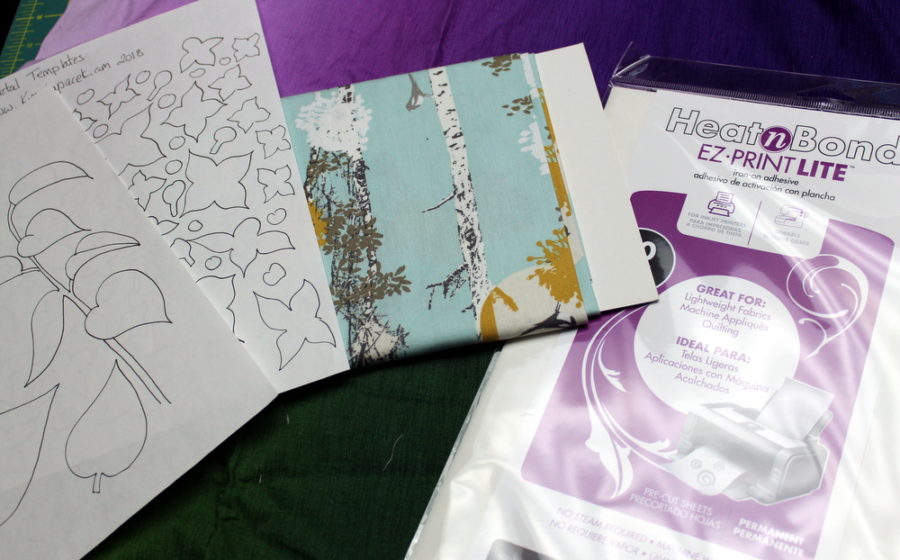
- (3) EZ Print Lite Heat N Bond® sheets
- Lilac Petal and Leaf Templates from Craftsy
- Spray N Bond® Basting Adhesive
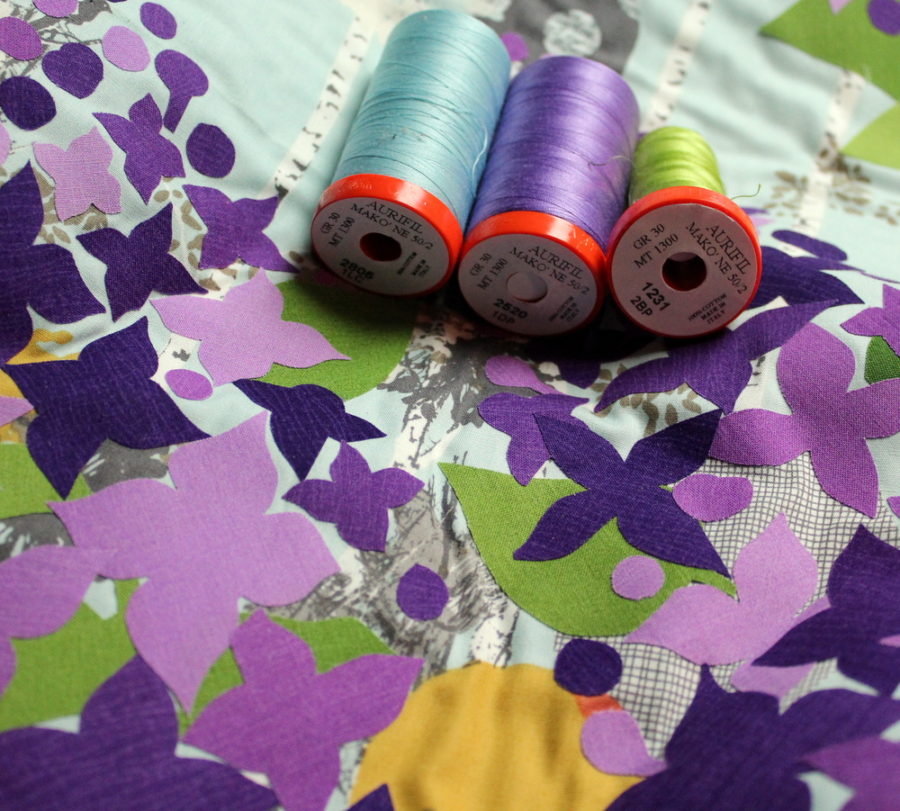
- Aurifil Thread, 50 wt, colors 2806, 2520, 1231
- Optional: Karen Kay Buckley Perfect Scissors, 6″
Spring Lilac Quilted Wall Hanging Project Instructions:
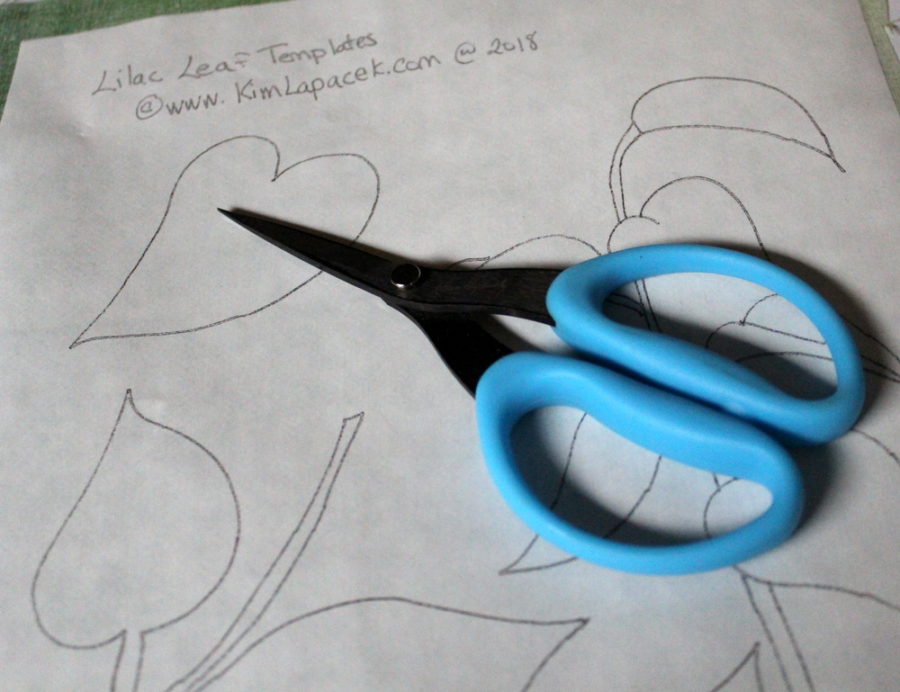
Download the Lilac Petal and Leaf Templates from Craftsy HERE.
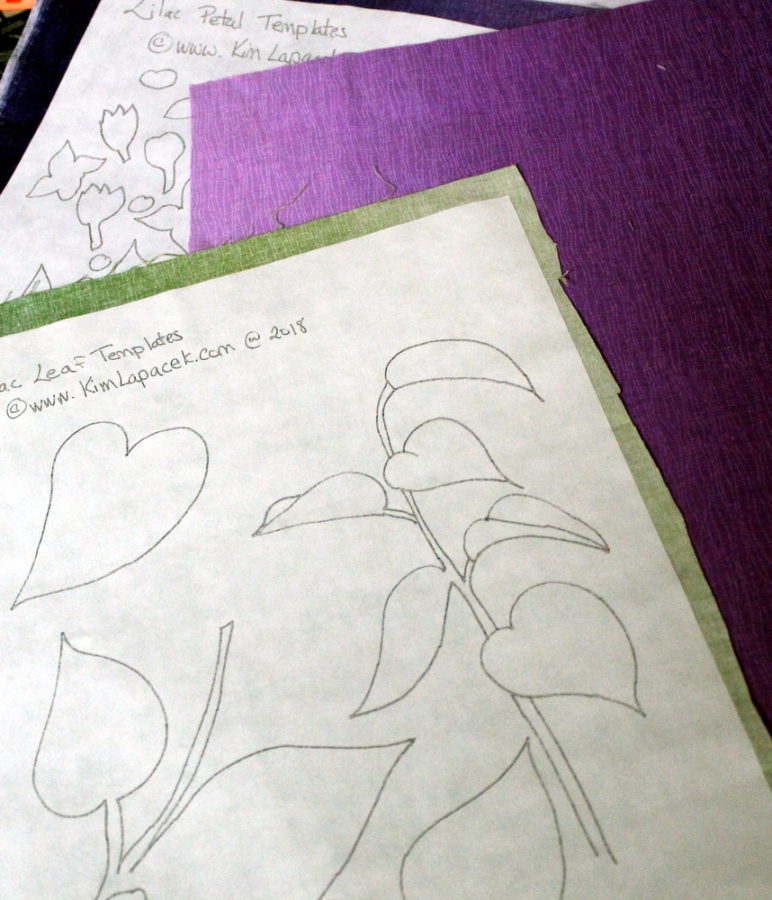
Print the templates – 1 sheet of leaves and 2 sheets of the petal templates – right onto EZ Print Lite Heat N Bond® sheets. This will enable you to get the details of the leaves and petals directly onto the fusible without having to trace them all over again. Trust me, this makes your world a whole lot easier.
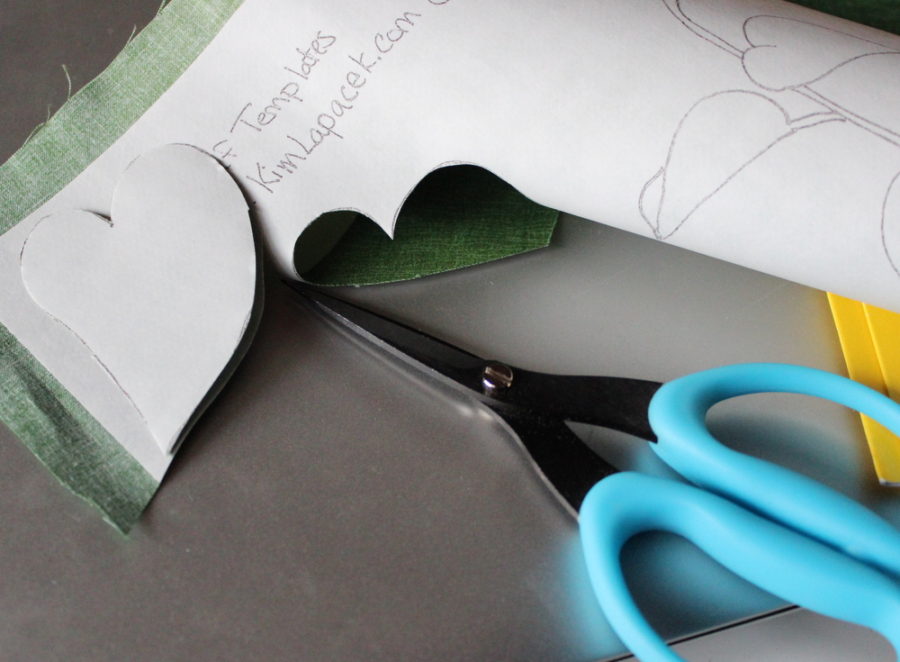
Fuse the sheets onto the ombre fabrics – the leaf template onto the green and the two petal templates onto the purple fabric.
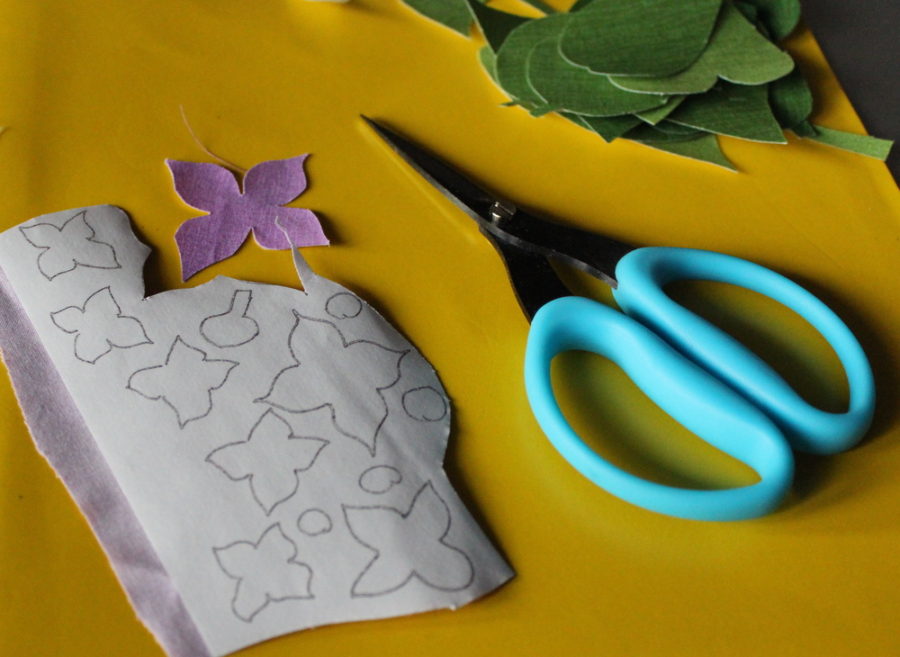
Cut out the fused leaves and petals along the lines. I’ll admit – this is a bit tedious but I promise it will be worth it in the end. This is something I will do in front of the tv or while watching my girls at a sporting event.
I also highly recommend using Karen Kay Buckley Perfect Scissors, 6″ for cutting. These scissors are sharp and not too huge which makes cutting out the details of the leaves and petals so much easier!
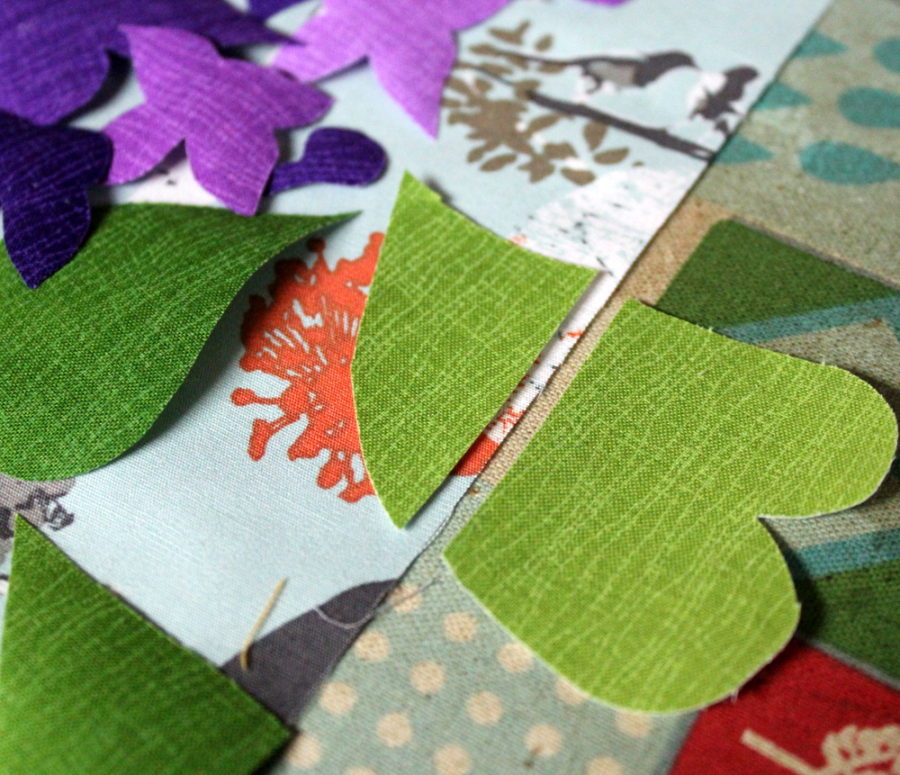
*Note* There’s quite a bit of extra ombre green that with fusible on it. If you want some more leaves then are includedinn the template, simply hold a leaf you’ve already cut out and cut around it in a portion of the fused fabric. This is not necessary, just an option if you want.
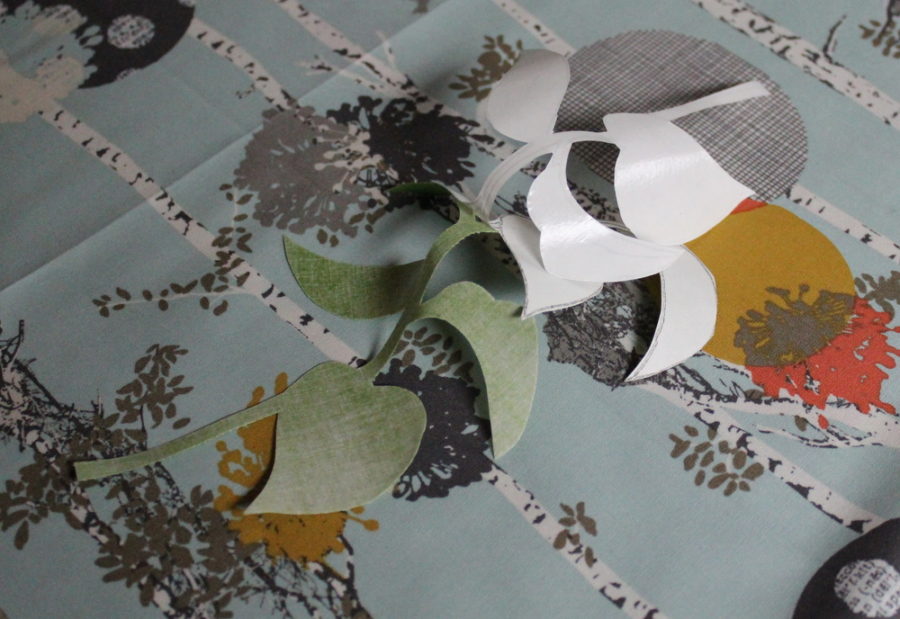
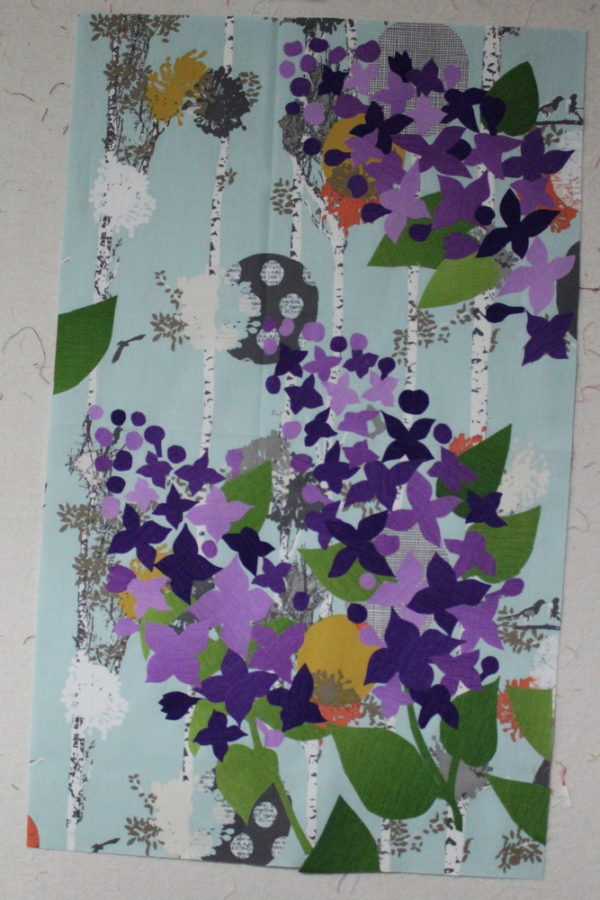
Before you place the petals and leaves onto your quilt top, peel the backing paper off first. Place them in a manner that is pleasing to you.
I wanted to create the illusion of more lilac flowers off the piece so I cut straight edges on just a few leaves to create that effect.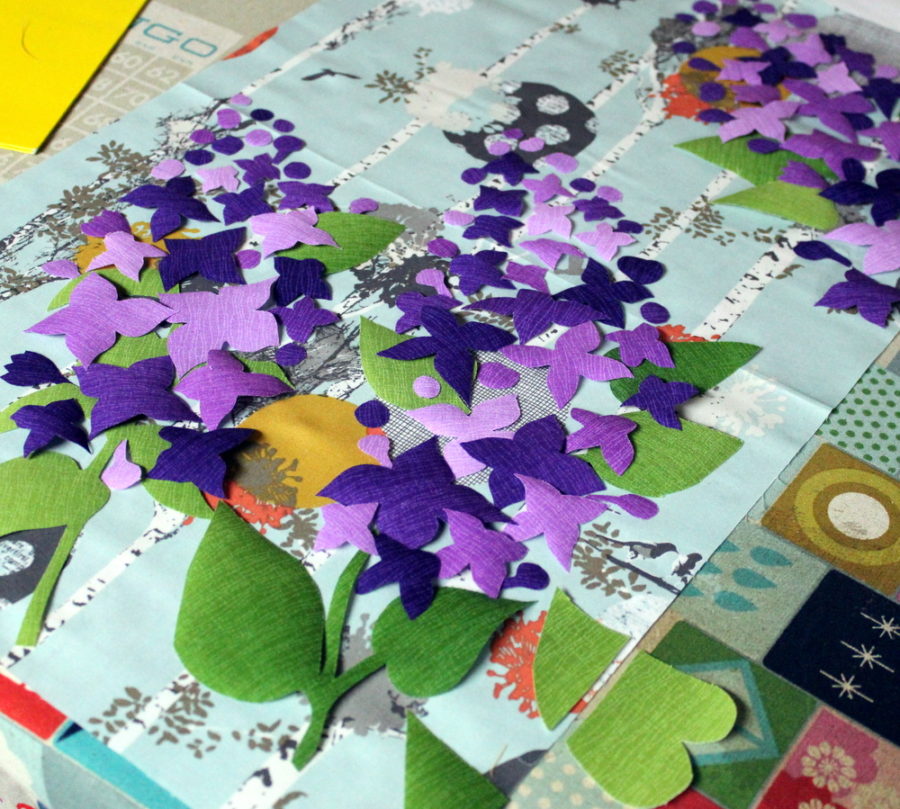
Once everything is in place and looks good – press with a hot iron to secure into place.
Create a quilt sandwich … backing fabric (right side down), batting, lilac fused top (right side up) and fuse with your preferred method. I prefer spray basting and I really like the Spray N Bond® Basting Adhesive.
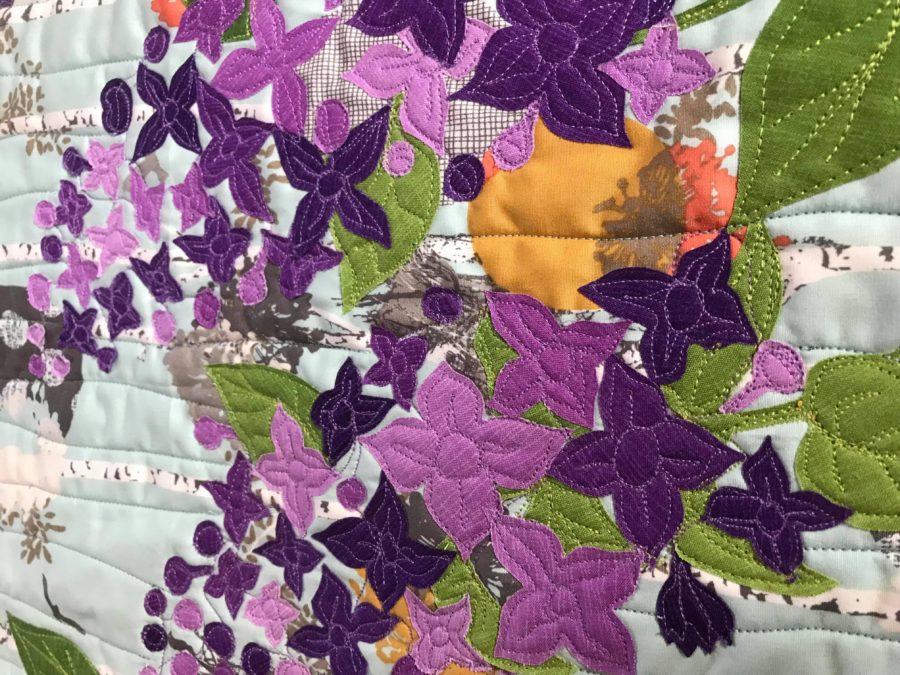
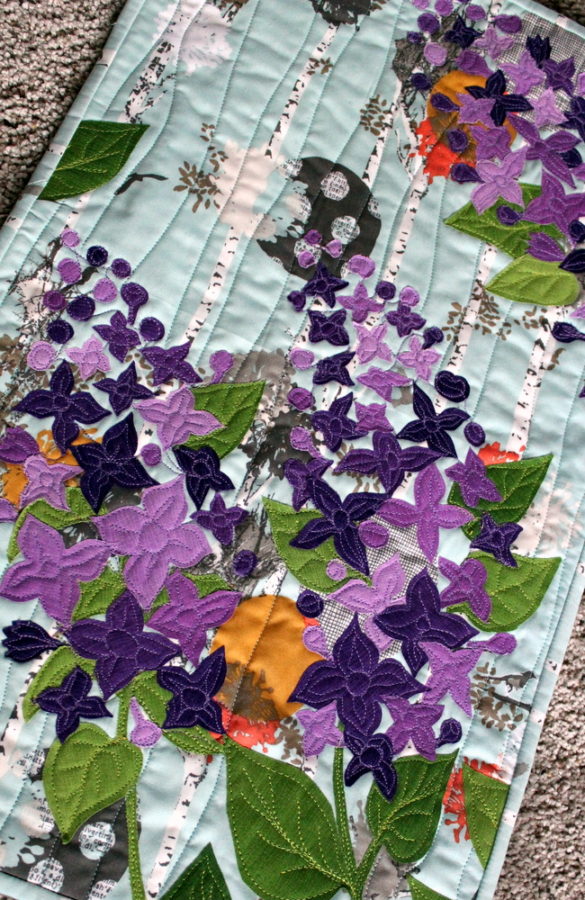
Now it’s time to quilt your mini quilt as you like. I free-form quilted mine using Aurifil thread in light blue (2806) for the sky, purple (2520) for the petals and green (1231) for the leaves.
Because I used HeatnBond EZ Print Lite sheets to fuse my leaves and petals down … they all needed stitching to secure them. This was simple to do with my free-form quilting foot and really just added to the end overall effect.
Once your piece is quilted – just bind in your preferred method and voile! You have an adorable wall hanging!
March is National Craft Month and National Quilting Month and we want to offer you a chance to win some fun supplies!
As promised we have two prizes to give away this week…and are we ever excited about this one. We’re thrilled to offer a copy of the Tula Pink Coloring With Thread Book! PLUS we’ll include a $20 Gift Certificate to shop online with us for some of your favorite products!
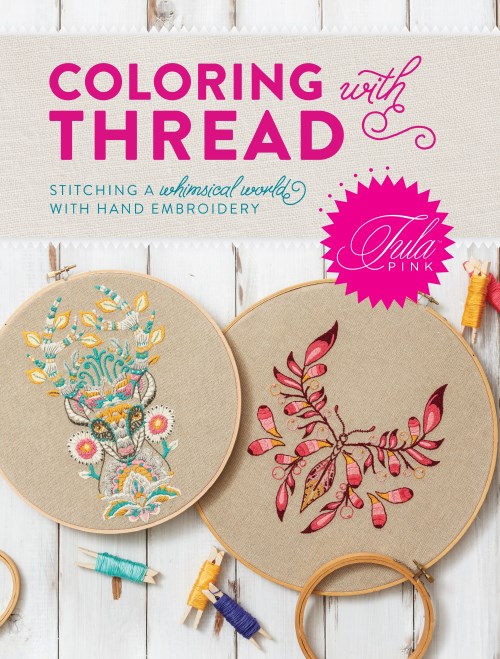
“There is no name more closely linked to ornate and fanciful fabric designs than Tula Pink. Sewists and quilters have long delighted in using her fabric to create whimsical sewn creations. Now hand embroiderers, too, can join the fun and stitch her signature designs with needle and tread!
In Coloring with Thread, you’ll find 17 of Tula’s animal and floral designs from her best-selling fabric collections rendered and primed for hand embroidery. Step-by-step stitch instructions for over 20 embroidery stitches are included to help you bring adorable bunnies, chipmunks, octopi, and elephants to life right in your hands. Each motif features a color guide and thread color suggestions selected by Tula herself to insure a gorgeous finished design. Plus, you’ll find every motif on CD-rom, where they are ready to size and print for your individual project needs.
Whether you follow her color guides or make each design your own, you’ll love coloring with thread and stitching the whimsical world of Tula Pink!”
Simply follow the Rafflecopter steps to get yourself entered to win this incredible idea book from F & W!
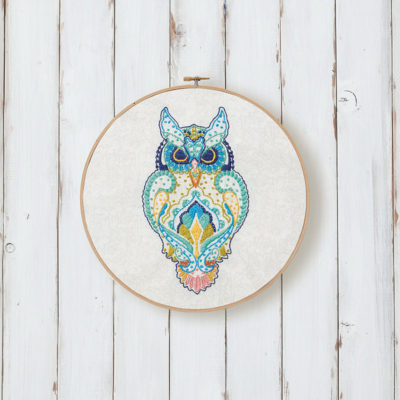
Our second giveaway is perfect for the paper crafter! It’s filled with a Sizzix paper pad, coloring pad and stamps, Photo Paper Play Hoppy Easter paper kit, DCWV White Foil Paper Pad, Deco Foil Transfer Sheets, Adhesive Pen and our NEW Designer Stencil plus 3D Foam Squares and our favorite Mini Tape Runner!
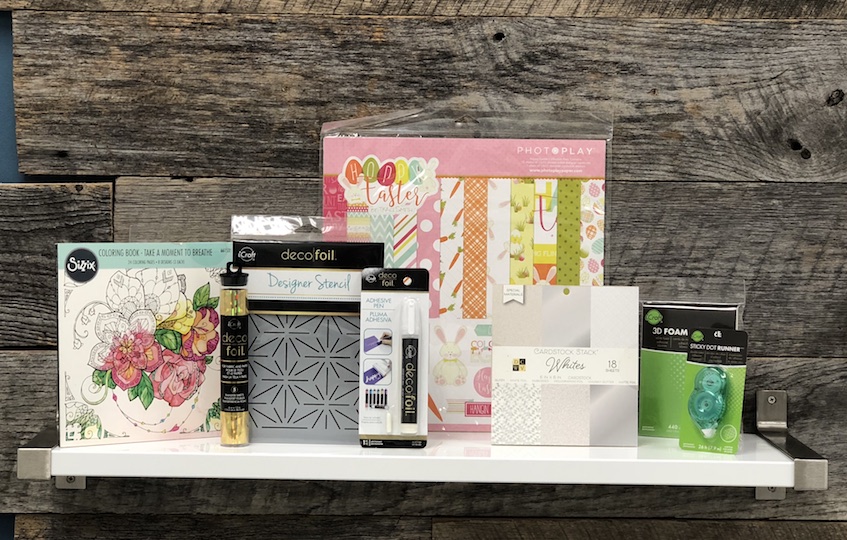
Follow the Rafflecopter steps to get yourself entered to win! We’ll pick two winners to send these goodies out to!

